Hey there! Ever wondered if composting could be a fun activity for your kids, but felt a bit unsure about where to start? You’re not alone! Getting the mix just right can seem tricky. But don’t worry, it’s simpler than you think. We’ll walk through how to get the perfect balance, making composting easy and enjoyable for everyone. Let’s get those little hands digging and discovering the magic of turning scraps into garden gold!
Composting for Kids: Getting the Green and Brown Balance Right
Welcome to the wonderful world of composting! If you’re looking to get your kids involved in a fun, educational, and Earth-friendly activity, then composting is a fantastic choice. It teaches them about nature, recycling, and where food comes from. One of the most common questions when starting out is: what’s the right mix of “greens” and “browns”? This is super important for making sure your compost pile works its magic efficiently. Let’s break it down in a way that’s easy to understand for both you and the kids.
Why the “Greens” and “Browns” Ratio Matters
Think of composting like baking a cake. You need the right ingredients in the right amounts for it to turn out perfectly. In composting, our main ingredients are “greens” and “browns.” These provide the nutrients and the structure that the tiny microbes (nature’s little decomposers!) need to do their job. Getting the balance right means your compost won’t get too slimy or too dry, and it will break down faster into that rich, dark stuff we call compost.
A good compost pile needs a mix of nitrogen (from the greens) and carbon (from the browns). This partnership fuels the decomposition process. Too much green and your pile can get smelly and wet. Too much brown and it will decompose very slowly. We’re aiming for a happy medium!
Understanding “Greens” and “Browns”
Let’s get practical. What exactly goes into each category?
What are “Greens”?
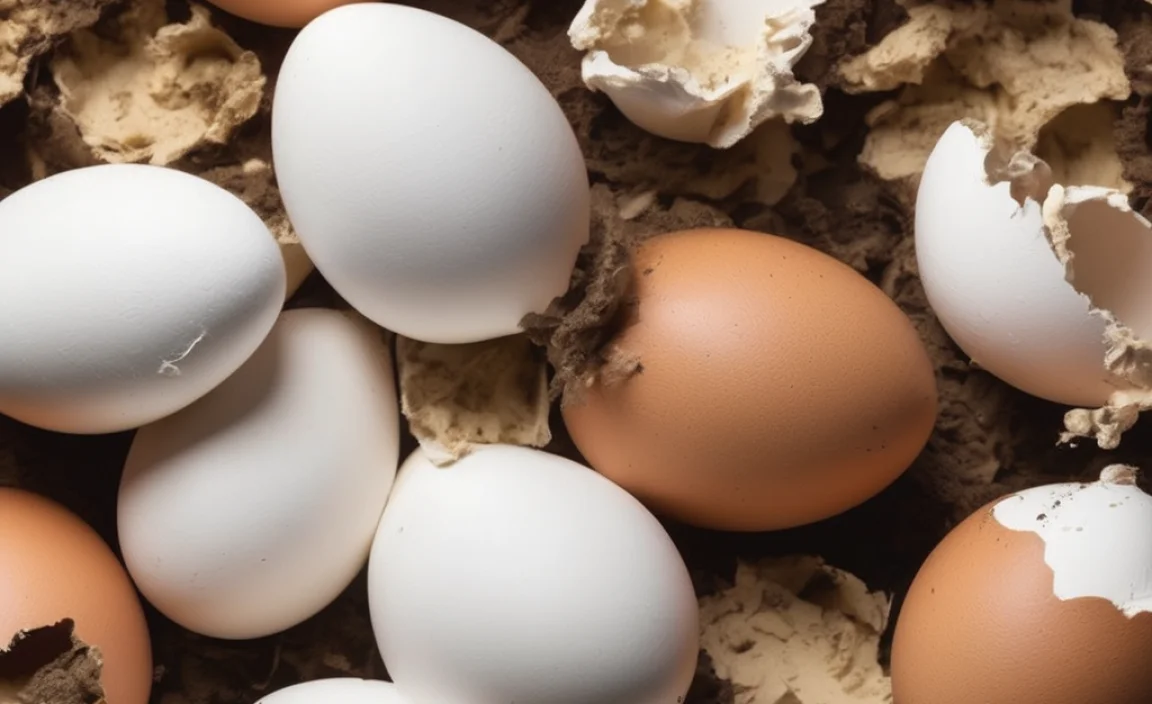
Greens are the nitrogen-rich materials. They tend to be moist and break down quickly. Think of them as the “food” for the decomposers. Kids love helping collect these from the kitchen!
- Fruit scraps (apple cores, banana peels, orange rinds)
- Vegetable scraps (carrot tops, broccoli stems, lettuce leaves)
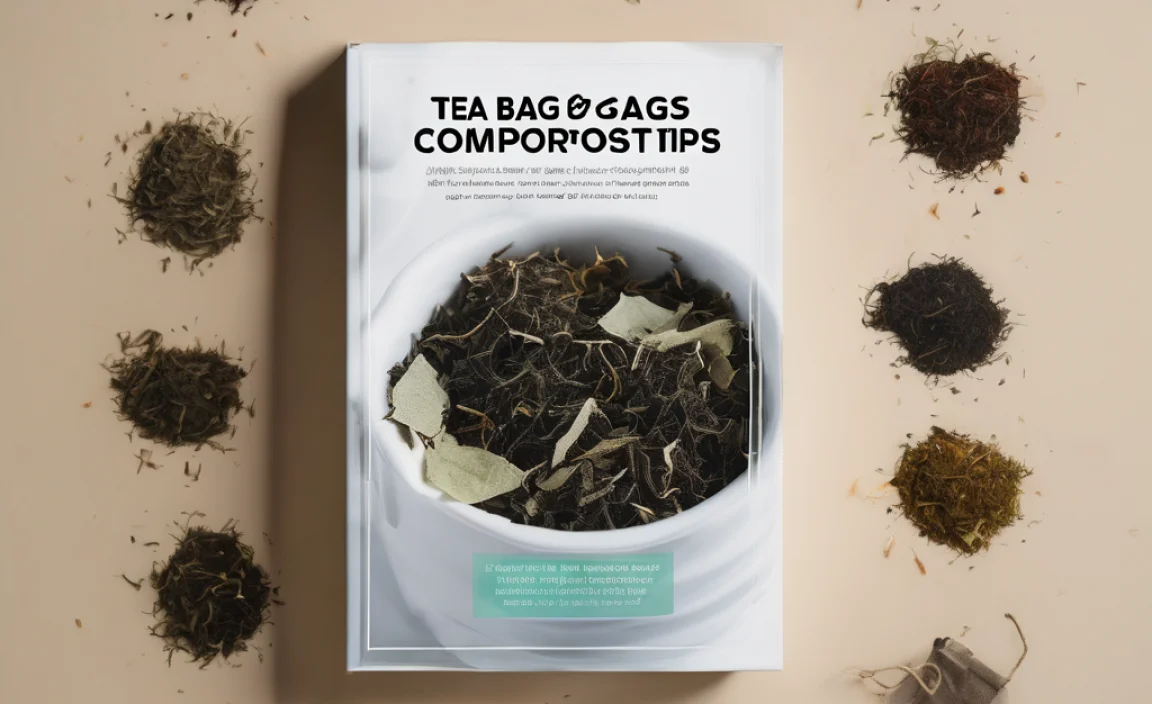
- Coffee grounds and tea bags (with paper tags removed)
- Grass clippings (fresh ones add good nitrogen)
- Eggshells (crushed up)
When collecting kitchen scraps, it’s a great idea to have a dedicated bin for them. This makes it easy to hop over to the compost bin when it’s time to add them. For kids, this “collection” part can feel like a treasure hunt!
What are “Browns”?
Browns are the carbon-rich materials. They are usually dry and provide the structure and air pockets that the compost pile needs. Think of them as the “beds” for the decomposers.
- Dry leaves (a fantastic free resource!)
- Shredded newspaper and cardboard (avoid glossy paper or colored inks if possible)
- Straw or hay
- Small twigs and wood chips
- Paper towels and napkins (if not used with harsh chemicals)
- Sawdust (from untreated wood only)
Shredding or chopping up larger brown materials, like cardboard boxes or large leaves, will help them break down faster. This is another great job for little hands, armed with safe scissors or by tearing things up. For a more robust pile, consider adding things like small branches, which offer great aeration.
A little tip from my own garden: collecting dry leaves in the fall is a composting goldmine! I often bag them up and store them in a dry spot to use throughout the year. This way, I always have plenty of browns on hand.
The Magic Ratio: Aiming for a Balanced Blend
So, what’s the magic number? The general rule of thumb for a healthy compost mix is about 2 parts Browns to 1 part Greens. This can be measured loosely by volume. It sounds simple, and it is! Don’t stress about being perfectly exact. Nature is forgiving.
Imagine you have a bucket. For every bucket of kitchen scraps (greens) you add, try to add two buckets of dry leaves or shredded cardboard (browns). This approximate 2:1 ratio of browns to greens is a great starting point. As you get more comfortable, you’ll start to “feel” the right balance.
It’s also worth noting that different types of compost bins might have slightly different needs, but this ratio is a universal starting point. For example, tumblers and enclosed bins might require a bit more attention to airflow, which the browns help with.
Visualizing the Ratio
To make it even easier, here’s a quick way to visualize it:
- If you have a small handful of greens (like a few strawberry tops): Add a medium-sized handful of browns (like torn-up paper).
- If you have a whole bucket of kitchen scraps (greens): Add two whole buckets of dry leaves or shredded cardboard (browns).
Think of it this way: browns are like the fluffy blanket for the greens. They keep things cozy but not too dense.
Creating a Kid-Friendly Composting System
When composting with kids, simplicity and safety are key. You don’t need a fancy setup to get started.
Choosing a Compost Bin
There are many options, and the best one depends on your space:
- Open Pile: The simplest method. Just designate an corner of your yard. It’s easy to add materials and turn, but can look a bit messy.
- Compost Tumbler: These are enclosed barrels that you can spin. They are tidier, have fewer pest issues, and are great for mixing.
- Enclosed Bin: These are often plastic bins with lids and sometimes doors at the bottom. They keep things contained and can deter pests.
For composting with kids, a tumbler or an easily accessible enclosed bin can be very engaging. They can help add scraps and then give it a spin or lift the lid!
For more information on different types of compost bins, the U.S. Environmental Protection Agency (EPA) offers a great overview of composting basics and bin types.
Setting Up Your Kid-Friendly Bin
- Location: Choose a spot that’s easy to access, gets some sun (but not baking hot all day), and is shaded in the hottest part of the day.
- Foundation: If using an open pile or an enclosed bin, place it directly on the soil if possible. This allows beneficial microbes and earthworms from the ground to move into your compost.
- Layering: Start with a layer of browns at the bottom for good aeration. Then, begin adding your greens and browns in roughly the 2:1 ratio.
The Composting Process: Step-by-Step for Kids
Making compost with children is all about involving them in the process. Here’s how you can do it:
Step 1: Designate a Collection System
Have a small bin in the kitchen for collecting fruit and veggie scraps. Let kids be the “compost collectors” each day.
Step 2: Gather Your Browns
Keep a stockpile of dry leaves, shredded paper, or cardboard near the compost bin. Kids can help add these to the bin whenever kitchen scraps are added.
Step 3: Layer It Up!
In the compost bin, start with browns. Then, add kitchen scraps (greens). Cover these greens with another layer of browns. This helps prevent odors and pests, and it’s a great visual for the ratio.
Step 4: Add Water if Needed
Your compost pile should be as damp as a wrung-out sponge. If it feels dry, sprinkle some water on it. Kids can help with a watering can!
Step 5: Mix or Turn It (The Fun Part!)
This is where tumblers shine – give it a spin! For open piles or bins, use a pitchfork or a compost aerator tool to mix everything. Turn it about once a week or every few weeks. Kids often love this stomping or shoveling activity.
This mixing process introduces oxygen, which is vital for the decomposers. It also helps distribute moisture and heat throughout the pile.
Step 6: Check for Readiness
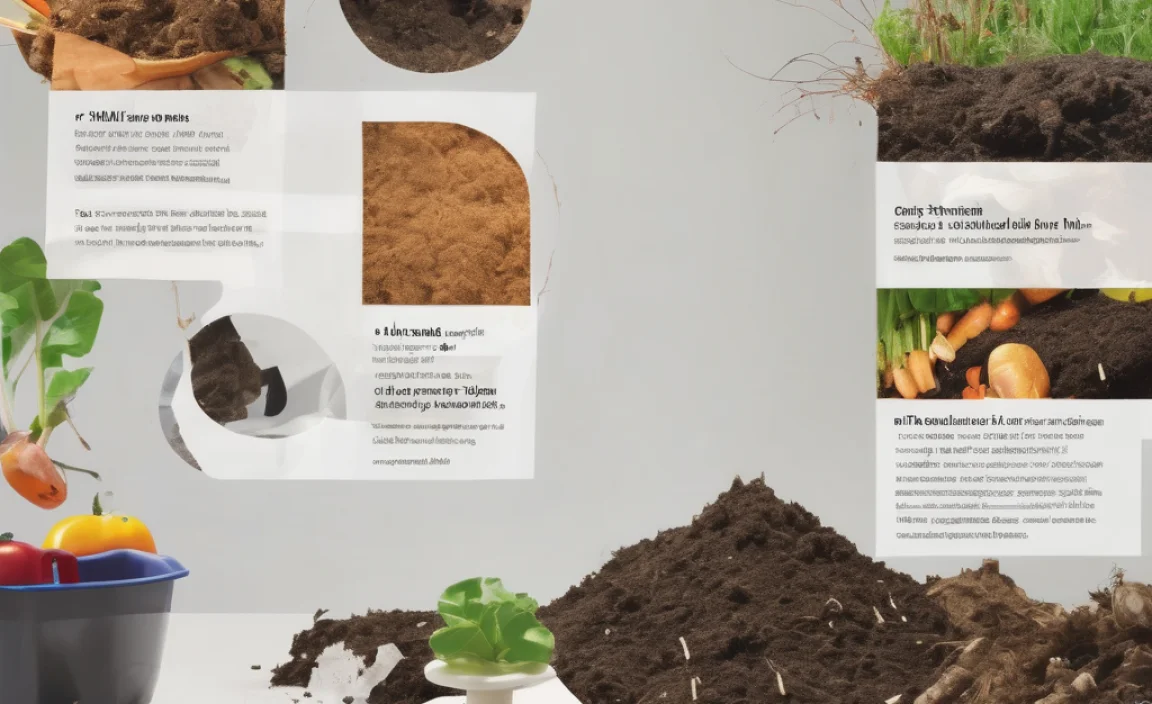
It takes time! Depending on the conditions, materials, and how often you turn it, compost can be ready in a few months to a year. You’ll know it’s ready when it looks dark, crumbly, and smells earthy like a forest floor. You shouldn’t be able to recognize the original materials.
Step 7: Use Your “Black Gold”!
Once it’s ready, you can spread it on your garden beds, around trees and shrubs, or even mix it into potting soil for your houseplants. Kids will be so proud to see their hard work making the plants grow!
Troubleshooting Common Composting Issues (Kid-Style)
Even with the best intentions, sometimes compost piles can be a bit finicky. Here’s how to fix common problems in a way kids can understand:
Problem: It Smells Bad (Like Rotten Eggs or Ammonia)
Kid Translation: “Uh oh, the compost is too stinky!”
Why it Happens: Too many greens (nitrogen) and not enough air. It can also be too wet.
The Fix: Add more browns! Stir in plenty of dry leaves or shredded cardboard. Make sure the pile isn’t waterlogged. If it’s very wet, try adding even more browns and turning it well.
Problem: It’s Not Breaking Down (Dry, Slow, or Cold)
Kid Translation: “The compost is sleeping!”
Why it Happens: Not enough greens (nitrogen) or moisture. The pile might be too small, or it’s too filled with browns.
The Fix: Add more greens! Fruit and vegetable scraps are perfect. Add some moisture, too – enough to make it feel like a damp sponge. Turn the pile to mix everything and introduce air.
Problem: Pests (Flies, Rodents)
Kid Translation: “Uh oh, critters are visiting too much!”
Why it Happens: Often due to exposed food scraps or adding the wrong things.
The Fix: Always bury your kitchen scraps (greens) under a layer of browns. Avoid adding meat, dairy, or oily foods, as these attract pests and can cause odors. An enclosed bin or tumbler can also help deter pests.
A great resource for understanding what can and cannot be composted is often provided by local municipalities or university extension offices. For instance, many university extension programs offer detailed guides. For a good example, check out the University of New Hampshire Extension on composting.
Composting Materials: A Quick Reference Table
To make things super easy, here’s a table of common things you can and can’t compost. Remember to always supervise kids when they are adding materials.
| Can Compost (Greens & Browns) | Avoid Composting (Or Compost Carefully) |
|---|---|
| Fruit scraps | Meat, fish, bones |
| Vegetable scraps | Dairy products (cheese, milk, yogurt) |
| Coffee grounds & filters | Oily foods, fats, grease |
| Tea bags (paper ones) | Diseased plants (unless you hot compost) |
| Eggshells (crushed) | Weeds that have gone to seed or invasive weeds |
| Grass clippings (fresh or dried) | Pet waste (dog, cat feces) |
| Dry leaves | Treated wood products |
| Shredded newspaper/cardboard (no gloss) | Coal ash or charcoal briquettes |
| Straw and hay | Synthetic materials |
| Twigs and small branches | Anything with persistent chemicals |
This table is a great visual aid to keep near your compost bin, so everyone knows what goes in and what stays out. It helps avoid those frustrating “uh-oh” moments.
Making Composting Engaging for Kids
The real secret to successful composting with kids is making it an adventure! Here are some ideas:
- Compost Journal: Let kids draw pictures of what they put in the compost, or write simple notes. They can draw the stages of decomposition or the worms they find.
- Worm Watching: If you get some composting worms (like red wigglers), it becomes a whole new level of fascination! You can get a worm bin called a vermicomposter. Red wigglers are fantastic decomposers.
- Sensory Exploration: Kids can feel the difference between dry browns and moist greens. They can smell the earthy compost.
- Compost Bingo: Create bingo cards with pictures of composting materials and have kids mark them off as they add items.
- The “Magic Potions” Game: Call the compost bin a “magic potion maker” where scraps turn into “plant superfood.”
Involving kids in these activities not only makes composting fun but also reinforces the lessons about sustainability and the circular economy. They learn that “waste” can be transformed into something valuable, which is a powerful concept.
Why the 2:1 Ratio Works Best for Beginners
That 2:1 brown-to-green ratio is your best friend when you’re starting out:
- Prevents Smells: Browns act like a natural deodorizer. They soak up excess moisture and help keep the air flowing, which is exactly what happens when you have plenty of them compared to the wet, nitrogen-rich greens.
- Ensures Faster Decomposition: The balanced diet of carbon (from browns) and nitrogen (from greens) gives those hardworking microbes and worms the energy they need to break down materials quickly.
- Maintains Ideal Moisture: Browns help prevent the pile from becoming a soggy mess, which can slow down decomposition and attract unwanted pests. They act like a sponge, keeping things just right.
- Easy to Achieve: Most households tend to produce more “brown” materials (like paper, cardboard, yard waste) than “green” materials (food scraps). So, aiming for about double the volume of browns is often naturally achievable.
Think of it as giving your compost pile a comfortable, breathable environment to thrive in. It’s like building a cozy home for the decomposers!
FAQs About Composting for Kids Ratio
Q1: Do I need to measure the greens and browns exactly?
A: No, not at all! The 2:1 ratio is a guideline. Don’t stress about being perfect. A general approximation is great. If your compost is too wet or smelly, add more browns. If it’s too dry and slow, add more greens and a little water.
Q2: Can kids add anything from the kitchen?
A: Mostly, yes! They can add fruit and vegetable scraps, coffee grounds, and tea bags. However, it’s best to avoid meat, dairy, and oily foods, as these can cause smells and attract pests.
Q3: What if my compost pile smells bad?
A: A stinky compost pile usually means it has too much “green” material or not enough air. Add plenty of “browns” like dry leaves or shredded cardboard, and turn the pile to mix it and let air in.
Q4: How long does it take for compost to be ready?
A: It varies! It can take anywhere from a few months to a year. Factors like the size of your pile, how often you turn it, and the weather all play a role. You’ll know it’s ready when it’s dark, crumbly, and smells like fresh earth.
Q5: What are some fun ways to get kids excited about composting?
A: Make it a treasure hunt to collect scraps, let them do the turning or spinning of the bin, create a compost journal with drawings, or even get a worm bin for extra fascination. Calling it a “magic soil maker
Related Posts

I am passionate about home engineering. I specialize in designing, installing, and maintaining heating, ventilation, and air conditioning systems. My goal is to help people stay comfortable in their homes all year long.