Let’s be honest, the thought of composting in an office can bring up some… well, pungent ideas. You might be picturing a science experiment gone wrong in the breakroom. But what if I told you that composting in an office doesn’t have to smell bad? In fact, it can be a clean, green win for everyone. This guide is here to show you exactly how to set up and manage an office composting system that keeps things fresh and odor-free. Get ready to turn those food scraps into something useful without adding unwanted smells to your workspace.
Composting for Offices: Tackling the Odor Head-On
Bringing composting into the office is a fantastic step toward sustainability. It reduces landfill waste and can even provide valuable compost for local gardens or office plants. However, the biggest hurdle for many businesses considering this change is the fear of unpleasant smells. It’s a valid concern! Nobody wants their office to smell like last week’s lunch.
But I’m here to tell you that with the right approach, “composting for offices odor” is a myth you can easily debunk. It’s all about understanding the science behind composting and implementing a few smart strategies. Think of me as your friendly neighbor, walking you through how to get this done without any of the whiffy drama. We’ll cover everything from choosing the right system to daily management, ensuring your office composting journey is a pleasant one.
Why Compost in the Office?
Before we dive into the “how-to,” let’s quickly touch on the “why.” Offices generate a significant amount of organic waste, from coffee grounds and tea bags to fruit peels and uneaten snacks. Landfilling this waste contributes to greenhouse gas emissions. Composting diverts this valuable material and turns it into a rich soil amendment.
Beyond the environmental benefits, a successful office composting program can:
- Boost employee morale and engagement in sustainability initiatives.
- Enhance the company’s green image.
- Potentially reduce waste disposal costs over time.
- Provide opportunities for team-building and educational sessions.
Understanding Composting Odors: What Causes Them?
The main culprit behind composting odors is something called anaerobic decomposition. This happens when organic material breaks down without enough oxygen. In a healthy, aerobic compost pile, microorganisms thrive, feeding on the waste and producing carbon dioxide and water as byproducts – with minimal smell. When oxygen is scarce, different types of bacteria take over, creating foul-smelling compounds like ammonia and hydrogen sulfide (that classic rotten egg smell).
So, to prevent odors, our primary goal is to keep the composting process aerobic, meaning full of oxygen.
Choosing the Right Office Composting System
The best composting system for your office depends on your space, the amount of waste generated, and your team’s commitment. Here are a few popular options, focusing on their odor-control features:
1. Countertop Compost Bins with Filters
These are small, attractive bins designed to sit on office kitchen counters or in convenient common areas. They’re perfect for collecting food scraps before they’re transferred to a larger system.
- Pros: Easy to access, encourages immediate scrap collection, relatively inexpensive.
- Cons: Requires regular emptying into a larger system, can still develop mild odors if not emptied frequently or if food scraps are left too long.
- Odor Control: Most come with activated charcoal filters that trap smells. Regular emptying is key.
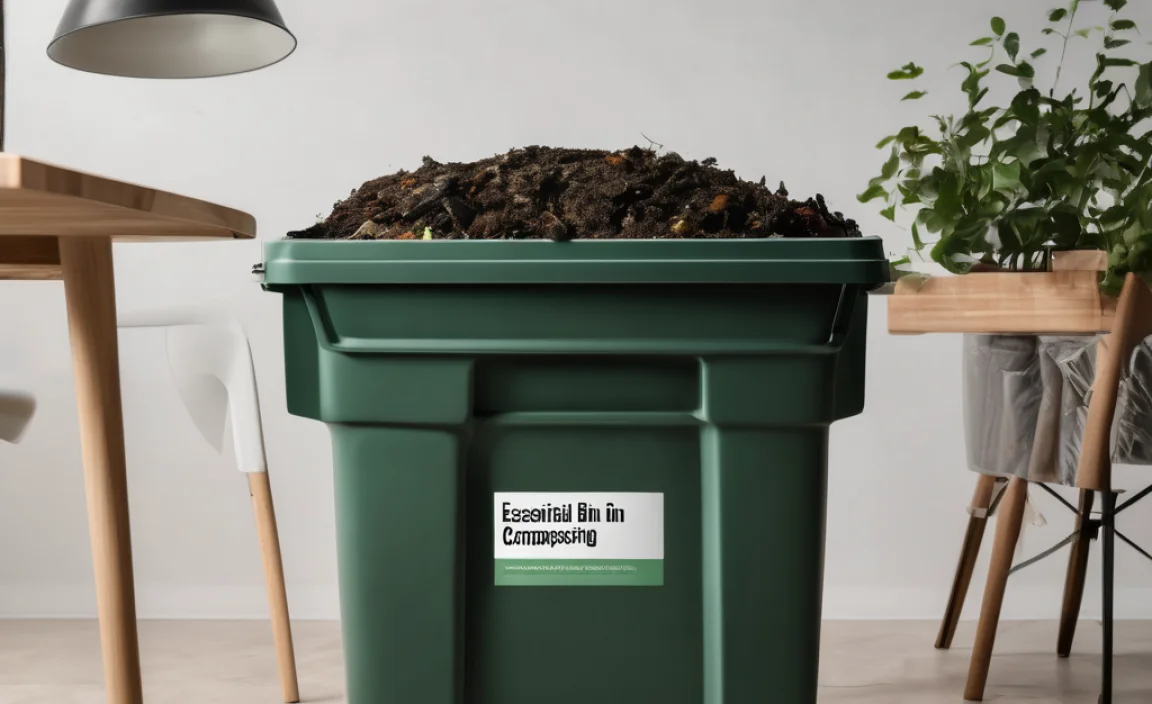
2. Sealed Collection Bins (e.g., Stainless Steel or High-Quality Plastic)
For collecting scraps from multiple workstations or for a central collection point, a larger, securely lidded bin is ideal. These are often made of materials that are easy to clean and don’t absorb odors.
- Pros: Holds more waste, good seal to contain smells, durable.
- Cons: Needs regular emptying, can become heavy.
- Odor Control: A tight-fitting lid is crucial. Consider bins with silicone seals.
3. Electric Composter/Food Recycler
These countertop appliances use heat and agitation to dehydrate and break down food scraps in a matter of hours, producing a dry, compostable material. They are designed to be odorless.
- Pros: Very fast, minimal to no odor, reduces waste volume significantly, can handle a wider range of food scraps, user-friendly.
- Cons: Higher upfront cost, uses electricity, the end product isn’t “finished” compost but rather a dehydrated material that can be further composted or added to soil.
- Odor Control: Excellent, as they use heat and aeration to prevent decomposition.
- Example: Brands like Lomi or Vitamix have models that fit this description. For more details on their technology, you can check out resources from appliance manufacturers.
If you’re looking for more information on the science behind how these dehydrate food scraps, the EPA has excellent resources on composting principles.
4. Bokashi Composting (Fermentation)
Bokashi is a fermentation process that uses a special inoculant (bran or sawdust with microbes) to pickle organic waste. It’s done in an airtight bucket. While it doesn’t produce finished compost, it pre-treats the waste, making it ideal for anaerobic digestion systems or for burying.
- Pros: Odorless (has a pleasant, pickled smell), compact, can handle meat and dairy, produces a nutrient-rich liquid (“compost tea”) that can be used as fertilizer.
- Cons: Requires purchasing the Bokashi bran, the fermented waste still needs to be buried or added to a traditional compost pile for full decomposition, which might be a challenge in some office settings.
- Odor Control: Excellent due to the anaerobic fermentation process specifically designed to prevent the “bad” smells.
5. Vermicomposting (Worm Composting)
This method uses specific types of worms (like red wigglers) to break down food scraps. It can be done in contained bins, often kept indoors or in a sheltered outdoor area.
- Pros: Produces high-quality compost and nutrient-rich liquid, relatively low energy input once set up.
- Cons: Requires maintaining a healthy worm population, unsuitable for large volumes of meat/dairy/oily foods, can develop odors if not managed correctly, requires a space that can accommodate the bin(s).
- Odor Control: Good when managed properly. Overfeeding or too much moisture can lead to smells.
Key Strategies to Prevent Odor in Office Composting
Regardless of the system chosen, these fundamental principles will keep your office composting smelling fresh:
1. Balance Your Greens and Browns
Composting is all about getting the right mix of “greens” (nitrogen-rich materials) and “browns” (carbon-rich materials). Too many greens can lead to a nitrogen-heavy, wet, and smelly pile. Too many browns can make it slow to decompose.
Greens (Nitrogen):
- Fruit and vegetable scraps
- Coffee grounds and tea bags
- Eggshells
- Fresh grass clippings (if applicable)
Browns (Carbon):
- Paper towels and napkins (unsoiled by chemicals or grease)
- Shredded cardboard and paper (avoid glossy paper)
- Dry leaves (if applicable)
- Sawdust (from untreated wood)
A general guideline is to aim for a ratio of about 2-3 parts browns to 1 part greens by volume. For office settings, your “greens” will likely come from kitchen scraps. Your “browns” can be office paper waste, shredded cardboard, or sawdust provided in a separate bin.
2. Ensure Proper Aeration (Oxygen!)
This is the most crucial step to prevent smells. Microbes need oxygen to do their work efficiently and without odor. If you’re using a traditional compost pile or bin, regular turning is essential. For enclosed systems like Bokashi or electric composters, aeration is built-in or managed by the system’s design.
For bins that require manual aeration:
- Turn the compost regularly (daily or every few days) with a pitchfork or compost aerator.
- Ensure the bin has adequate ventilation holes.
For sealed systems:
- Follow the manufacturer’s instructions for operation.
- For Bokashi, ensure the lid is tightly sealed after each addition.
3. Manage Moisture Levels
A compost pile should be damp like a wrung-out sponge, not soaking wet. Too much moisture is a common cause of anaerobic conditions and foul odors. Too little moisture will slow down decomposition.
If too wet:
- Add more brown materials (shredded paper, cardboard).
- If it’s a bin system, ensure drainage holes are clear.
- Turn the pile to help it dry out.
If too dry:
- Add water. If it’s a large outdoor pile, you might need to use a hose. For smaller indoor bins, a spray bottle can help.
- Add fresh green materials.
4. Chop Materials into Smaller Pieces
The smaller the pieces of food scraps and other organic matter, the faster they will break down. This means less time for anaerobic bacteria to take hold and cause smells. Encourage employees to chop up larger items before adding them to the bin.
5. Limit “Problem” Materials
While some composting methods can handle them, certain items can contribute to odor if not managed carefully, especially in a beginner-friendly office setup:
- Meat, fish, and dairy: These decompose slowly and can attract pests and cause strong odors if not properly buried or handled in a hot compost system. Bokashi or electric composters are better equipped for these.
- Oily or greasy foods: These can coat other materials, preventing oxygen flow and creating anaerobic pockets.
Start by focusing on fruit and vegetable scraps, coffee grounds, and tea bags. As your team gains experience, you can gradually introduce other items, especially if using systems designed for them.
6. Use Odor-Absorbing Materials
Adding a layer of “browns” on top of your compostable materials each time you add them can act as a natural odor absorber. Shredded newspaper, sawdust, or even a thin layer of garden soil can help trap smells. For countertop bins with filters, ensure the charcoal filters are replaced regularly as recommended by the manufacturer.
7. Regular Collection and Transfer
The most crucial habit for odor-free office composting is to empty the collection bins frequently. Don’t let food scraps sit in a warm bin for days. Establish a routine for collecting from smaller bins and transferring them to a larger, more robust system or the designated compost area.
Setting Up Your Office Composting Program: A Step-by-Step Guide
Let’s get this composting party started without the party fouls (i.e., smells!).
Step 1: Form a Green Team and Get Buy-In
Identify a few enthusiastic employees to champion the initiative. Educate management about the benefits and address any concerns, especially regarding odor and hygiene. Getting everyone on board from the start makes the program much smoother.
Step 2: Choose Your System(s)
Based on your office size, waste volume, and willingness to manage a composting system, select the best fit. You might use a combination: small filtered countertop bins in kitchens for immediate collection, feeding into a larger sealed bin that’s periodically emptied by a composting service or taken to a community compost site. Or, if budget allows, an electric composter can be a great, self-contained solution.
Step 3: Designate Collection Points
Set up clearly labeled bins in convenient locations. Kitchens, breakrooms, and high-traffic common areas are good spots. Ensure bins are easily accessible and have clear signage explaining what can and cannot be composted.
Signage Example:
- YES: Fruit scraps, vegetable peels, coffee grounds, tea bags (staple removed), eggshells.
- NO: Plastics, metals, glass, soiled paper towels (from cleaning chemicals), meat, dairy, oils.
Step 4: Procure Necessary Supplies
This includes the bins themselves, compostable liners (if used), signs, and any specific materials for your chosen system (e.g., Bokashi bran, charcoal filters). Ensure you have a plan for obtaining “browns” if you’re managing an active compost pile or bin.
Step 5: Establish a Collection Schedule and Responsibility
Who is emptying the countertop bins? Who is transferring them to the main bin? Who on the “Green Team” is turning the compost (if applicable) or managing the electric composter? Clearly define roles and create a schedule. This is paramount for odor control.
For example:
| Task | Frequency | Responsible Party | Notes |
|---|---|---|---|
| Emptying kitchen countertop bins | Daily | Designated “Kitchen Duty” team member | Transfer to main collection bin in storage |
| Transferring main collection bin contents | Every 2-3 days | “Green Team” Lead | To outdoor compost pile/bin or scheduled pickup |
| Aerating outdoor compost pile | Twice weekly | “Green Team” Maintenance | Ensure it’s damp, add browns as needed |
| Replacing charcoal filters | Monthly | Office Manager | As per countertop bin manufacturer’s guidelines |
Step 6: Educate Your Team
This is huge! Hold a brief lunch-and-learn session or send out clear guidelines on how to use the composting system. Explain why certain items can’t be composted and how proper usage prevents smells. Make it easy and engaging.
Step 7: Monitor and Troubleshoot
Regularly check in on the composting system. Are there any signs of odor? Is it too wet or too dry? Address issues immediately. Small problems can escalate quickly if ignored.
Troubleshooting Common Office Composting Odor Issues
Even with the best intentions, you might encounter a whiff of something unpleasant. Here’s how to tackle it:
- Slightly Sour or Ammonia Smell: This usually means too much green material or not enough air. Add more brown materials (shredded paper is great for this in an office setting) and turn the compost to introduce oxygen. Lighten up on the kitchen scraps for a bit.
- Rotten Egg Smell (Hydrogen Sulfide): This is a clear sign of anaerobic conditions – materials are likely too wet and compacted, preventing air circulation. Turn the pile thoroughly, add dry brown material, and ensure there’s good drainage and airflow.
- Pest Problems (Flies, etc.): While not directly an odor, pests are often attracted by improperly managed compost. Ensure your bins are sealed, bury new food scraps under a layer of browns, and don’t compost meat/dairy/oily foods unless your system is designed for it. Electric composters and Bokashi are excellent for deterring pests.
- The Bin Itself Smells: If your collection bin or countertop bin seems to be the source of an odor between emptying, it’s time for a good clean. Use a mild soap and water, or a diluted vinegar solution. Make sure it dries fully before reuse.
Who Can Help? External Resources
Don’t hesitate to seek advice! Many local municipalities offer free composting workshops or have resources online. If you’re considering a commercial composting service for your office, they can often provide guidance on best practices for collection.
For more in-depth information on the science of decomposition and odor prevention, check out resources from institutions like:
- The U.S. Environmental Protection Agency (EPA): Offers comprehensive guides on composting. You can find them by searching for “EPA composting.”
- Your local university extension service: Many land-grant universities have excellent horticultural and composting advice tailored to local conditions. A quick search for “[Your State] University Extension Composting” will likely yield helpful results. For example, North Carolina State University’s Composting website is a great example of detailed, research-backed information.
Making it Work Long-Term
Once your system is up and running, consistency is key. Regular monitoring, timely emptying, and continued education will ensure your office composting program remains a success

I am passionate about home engineering. I specialize in designing, installing, and maintaining heating, ventilation, and air conditioning systems. My goal is to help people stay comfortable in their homes all year long.