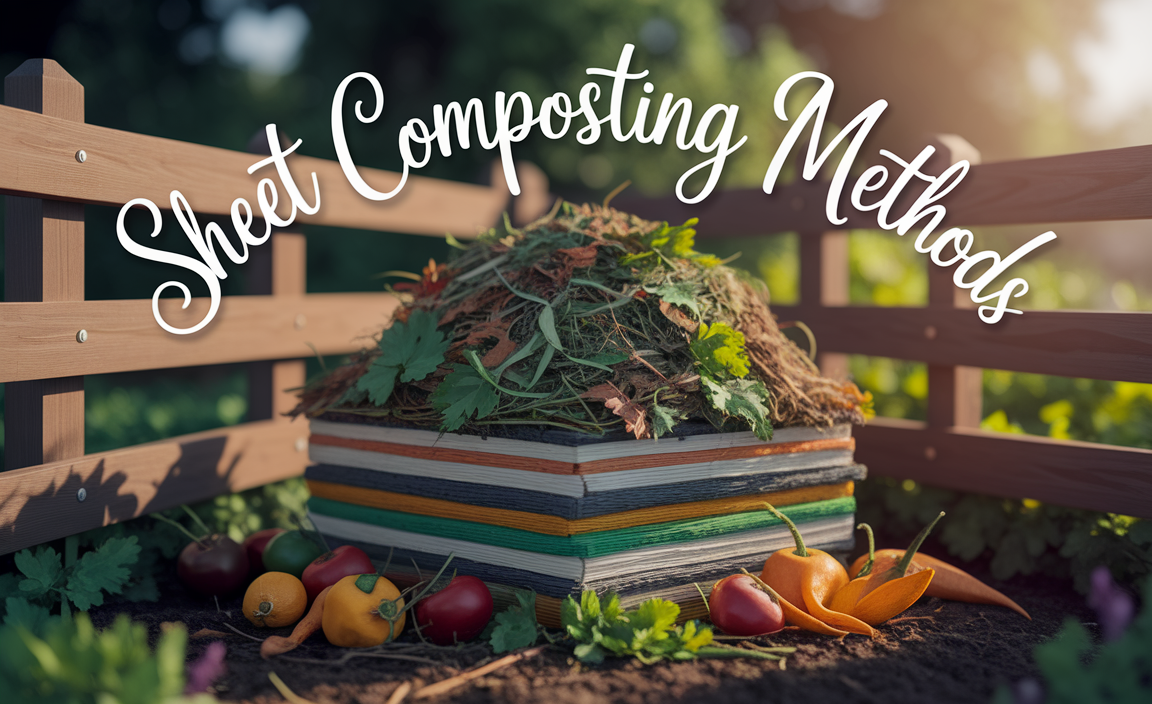
Hey there! Troy D Harn here. Feeling like your office is drowning in paper waste and leftover coffee grounds? It’s a common puzzle, especially when you’re not in a bustling city center. But what if I told you that turning that office waste into something useful is totally doable, even in a rural setting? We’re going to break down exactly how to set up composting for your rural office. It’s easier than you think, and we’ll walk through it together, step by step.
Why Your Rural Office Needs Composting

Let’s be honest, offices generate a surprising amount of waste. Think about all those discarded papers, food scraps from lunches, used coffee filters, and even some packaging. In a rural setting, getting rid of this waste might mean longer trips to the dump or higher disposal costs. Composting offers a brilliant, eco-friendly solution that benefits everyone.
By setting up a composting system, your office can:
- Reduce landfill waste: Less trash leaving the office means a smaller environmental footprint.
- Save money: Lower waste disposal fees can add up over time.
- Create valuable compost: This finished compost can be used for landscaping around the office, donated to local gardens, or even given away to staff.
- Boost employee morale: Many people feel good about working for a company that has strong environmental practices.
- Meet sustainability goals: If your company has green initiatives, composting is a tangible way to achieve them.
It might seem like a big undertaking for an office, but especially for those of us with a bit more space in rural areas, it’s a fantastic opportunity. We’ll focus on making it simple, effective, and low-maintenance.
Getting Started: What You’ll Need

Before we dive into the how-to, let’s gather our materials. The beauty of composting is that it doesn’t require fancy gadgets. We’ll focus on practical, reliable options.
Choosing Your Composting System
For an office, especially in a rural setting where you likely have some outdoor space, a few types of compost bins work well. The goal is to find something that manages odor, keeps pests out, and is easy to access for your team.
Outdoor Compost Bins
These are the most common and effective for office waste. They come in various styles:
- Stationary Bins: These are typically enclosed bins made of plastic, wood, or wire mesh. They’re great for containing everything and keeping things tidy. You’ll often add materials to the top and harvest compost from the bottom.
- Tumblers: These are sealed drums that rotate. Tumbling helps aerate the compost, speeding up the process. They’re excellent for containing smells and deterring pests.
- Open Piles: While simple, an open pile is best if you have ample space and a dedicated area away from the main office building. It requires more manual turning. For an office, a contained system is usually a better choice to manage odors and appearance.
For an office, I’d lean towards a good quality, enclosed stationary bin or a tumbler. They’re more contained. Look for bins that are at least 10-15 cubic feet in size to handle a decent amount of office material.
Essential Tools
You don’t need a lot, but a few key tools will make the job much easier:
- Compost Bin: As discussed above.
- Pitchfork or Compost Aerator: For turning and mixing the compost. A pitchfork is perfect for larger bins.
- Sturdy Gloves: To keep your hands clean and protected.
- Collection Bin/Bucket: A small lidded bin to collect food scraps and coffee grounds from common areas or break rooms. This is key for easy collection throughout the day.
- Shovel: For moving finished compost.
- Water Source: A hose or watering can to keep the compost moist.
Location, Location, Location
Choosing the right spot for your compost bin is crucial, especially for an office. You want it to be:
- Accessible: Easy for employees to get to with collected scraps and for you to manage.
- Partially Shaded: Direct sun can dry out the compost too quickly, while too much shade might keep it too wet. A spot that gets morning sun and afternoon shade is often ideal.
- Well-Drained: Avoid areas where water pools after rain.
- Away from Main Entrances: While a well-managed compost pile shouldn’t smell bad, it’s best to place it a reasonable distance from high-traffic areas or windows to prevent any potential concerns.
- Near a Water Source: Makes it easier to maintain the right moisture level.
For a rural office, you likely have more flexibility here. Consider a corner of the property that’s out of the way but still practical for staff to access. A small shed or designated area can help keep it neat.
The Art of Composting: What Goes In?

This is where it gets exciting! Composting is all about balance. You need a mix of “greens” (nitrogen-rich) and “browns” (carbon-rich) to create a healthy compost ecosystem. Think of it like a balanced diet for your compost pile.
Greens (Nitrogen-Rich)
These materials are usually moist and break down quickly, providing nitrogen for the microorganisms. For an office, think:
- Coffee grounds and filters: A staple in most offices!
- Tea bags: Remove any staples or plastic threads.
- Fruit and vegetable scraps: From lunches or break room snacks.
- Paper napkins and paper towels (unsoiled): If they aren’t greasy or too heavily inked.
- Fresh grass clippings: If your office has landscaping.
Browns (Carbon-Rich)
These materials are dry and provide carbon, which feeds the microorganisms and adds bulk to the pile, helping with aeration. For an office, think:
- Shredded paper: Non-glossy, non-colored paper is best. Think printer paper, plain envelopes.
- Cardboard: Torn into small pieces. Remove any plastic tape.
- Dry leaves: If you have trees on the property.
- Sawdust: From any small DIY projects or if you have wood shops nearby (use untreated wood only).
- Eggshells: Crushed.
The ideal ratio is roughly 2 parts browns to 1 part greens. This is a guideline, not a strict rule. You’ll learn to adjust as you go.
What NOT to Compost

This is just as important as knowing what to add! Certain items can cause odors, attract pests, or introduce harmful pathogens.
- Meat, fish, and dairy products: These attract pests and can smell really bad. Not ideal for an office setting.
- Oily or greasy foods: Same reasons as meat and dairy.
- Diseased plants: You don’t want to spread plant diseases.
- Weeds that have gone to seed: They might still sprout in your compost or garden.
- Pet waste (dog or cat): Can contain harmful pathogens.
- Chemically treated wood or yard waste: Avoid anything that could leach chemicals into your compost.
- Glossy or heavily inked paper: The inks can be problematic, and glossy paper breaks down very slowly.
For an office, stick to the basics: paper, coffee, tea, and approved food scraps. This keeps things simple and safe. You can find more detailed information on composting best practices from the U.S. Environmental Protection Agency (EPA).
Step-by-Step: Setting Up Your Office Compost System

Alright, let’s get down to business and build this system. We’ll make it easy for everyone in the office to participate.
Step 1: Designate a Collection Point
Set up a dedicated bin or container in a central location, like the break room or kitchen area. Make sure it has a lid to manage smells and deter pests. Label it clearly: “Office Compost Bin – For Coffee Grounds, Tea Bags, and Paper Products Only.”
Educate staff on what can and cannot go in. A simple sign with pictures can be really helpful. Think about having a small compostable bag liner for this bin to make emptying it easier.
Step 2: Prepare Your Outdoor Bin
If you have a stationary bin, place it in your chosen location. If it has a bottom opening, make sure it’s accessible. If it’s a tumbler, ensure it’s on a stable surface.
Start by adding a layer of ‘browns’ to the bottom of the bin, about 4-6 inches deep. This could be shredded cardboard or dry leaves. This layer helps with drainage and airflow from the start.
Step 3: Start Layering Your Compost
Now, start adding your collected materials. Aim for that 2:1 ratio of browns to greens. When someone brings greens from the break room, try to mix them with some browns immediately, or add a layer of browns on top.
Example: If you add coffee grounds (green), follow it with a scoop of shredded paper (brown).
Tip: Chop larger items into smaller pieces. This increases the surface area, allowing microorganisms to work faster.
Step 4: Maintain Moisture Levels
Your compost pile should feel like a damp sponge – moist, but not soaking wet. The ideal moisture level is crucial for decomposition. Microorganisms need water to thrive.
- Too Dry? Add water with a hose or watering can.
- Too Wet? Add more dry ‘brown’ materials (like shredded paper or cardboard) to absorb excess moisture.
Check the moisture regularly, especially during dry spells or if your bin is in a sunny spot.
Step 5: Aerate Your Compost
Compost piles need oxygen to breathe. Without it, they can become anaerobic, leading to foul odors. Turning your compost helps introduce air and speeds up the decomposition process.
- For Stationary Bins: Use a pitchfork to turn the materials, mixing the contents from top to bottom and side to side. Aim to do this about once a week, or at least every two weeks.
- For Tumblers: Simply turn the drum a few times every few days. This is their big advantage!
You’ll know your compost is working well if it heats up in the center. This is a sign that the microorganisms are busy breaking down the materials.
Step 6: Harvesting Your Compost
Compost is ready when it looks and smells like dark, crumbly earth. You shouldn’t be able to identify the original materials. The time it takes can vary, from a few months to a year, depending on how often you turn it, the materials you use, and the weather.
How to Harvest:
- Stationary Bins: Many bins allow you to access finished compost from a door at the bottom. You can also remove the top layers to get to the finished material underneath.
- Tumblers: Simply empty the contents into a wheelbarrow or on a tarp.
If you used a tumbler or turned your stationary bin regularly, the compost at the bottom will likely be ready before the material at the top. You can separate finished compost from unfinished material.
Compost Troubleshooting: Common Issues and Solutions
Even with the best intentions, you might run into a snag. Don’t worry, these are usually easy to fix!
Problem: Bad Odor (Rotten Egg Smell)
Cause: Too many ‘greens’ or the pile is too wet and not getting enough air.
Solution: Add more carbon-rich ‘browns’ (shredded paper, cardboard, dry leaves) and turn the pile thoroughly to aerate it. Ensure good drainage.
Problem: Pile Isn’t Heating Up or Decomposing
Cause: The pile is too dry, not enough ‘greens’, or it’s too small.
Solution: Add water if it’s dry. Add more nitrogen-rich ‘greens’ (coffee grounds, grass clippings). Make sure your pile is large enough to generate heat (at least 3x3x3 feet is ideal for hot composting, but even smaller piles will break down slowly). Gently turn the pile if it’s compacted.
Problem: Pests (Flies, Rodents)
Cause: Exposed food scraps, wrong materials (meat/dairy), or an open bin.
Solution: Ensure you’re not adding meat, fish, or dairy. Bury food scraps deep within the pile or cover them immediately with a layer of browns. Use a secure, lidded bin or tumbler. Ensure your collection bin in the office also has a good lid.
Pro Tip: Regularly turning the compost pile is the best defense against most issues, as it keeps the material aerated and helps it heat up, which discourages pests.
Making it a Team Effort: Engaging Your Office
To make composting successful in an office, it needs to be a collective effort. Here are some ideas to get everyone involved:
- Education and Awareness: Hold a short session or send out an email explaining the program, why it’s important, and how to participate. Use clear visuals!
- Designated “Compost Champion(s)”: Have one or two people who are enthusiastic about the project and can help answer questions, monitor the bin, and do the regular checks.
- Clear Signage: Make sure the collection bin in the break room and the outdoor bin are clearly labeled with what goes in and what stays out.
- Regular Updates: Share progress! Let the office know when the first batch of compost is ready, or share stats on how much waste has been diverted.
- Incentives or Recognition: Consider small incentives, like a shared garden plot where the compost is used, or simply public recognition for departments that are great at composting.
- Involve Facilities/Maintenance: If you have a facilities team, ensure they are part of the planning and understand their role (if any).
A simple office waste reduction guide from the EPA can also provide broader context and convince leadership of the initiative’s value.
Compost Uses for Your Rural Office
Once your composting efforts bear fruit, you’ll have a valuable resource right at your doorstep. So, what can you do with this nutrient-rich material?
- Landscaping: Mix compost into the soil around trees, shrubs, and flowerbeds on your office property. It improves soil structure, increases water retention, and provides essential nutrients.
- Gardening: If your office has a green space or even just a few planters, compost is excellent for growing herbs, vegetables, or flowers.
- Lawn Care: Top-dress your lawn with a thin layer of compost in the spring or fall to improve soil health and grass vigor.
- Donation: Partner with a local community garden or agricultural program. They would likely be thrilled to receive donations of high-quality compost.
- Employee Perk: Offer small bags of compost to employees to take home for their own gardens.
Using your compost locally closes the sustainability loop beautifully, transforming office waste into a resource that enhances your immediate environment or supports nearby green initiatives.
Composting Bin Comparison Table
Here’s a quick look at some popular bin types to help you decide:
| Bin Type | Pros | Cons | Best For Office Rural |
|---|---|---|---|
| Stationary Bin (Enclosed) | Good containment, relatively inexpensive, durable. | Requires manual turning with a pitchfork, can be slow if not managed. | Excellent due to containment and ability to handle volume. |
| Tumbler Bin | Fast composting, excellent pest and odor control, easy to turn. | Higher initial cost, smaller capacity per unit, can be heavy when full. | Very good for ease of use and speed, especially if odor control is a top priority. |
| Open Pile | Cheapest option, no restrictions on size. | Requires space, poor odor and pest control, can look messy, needs more management. |
.lwrp.link-whisper-related-posts{ margin-top: 40px; }.lwrp .lwrp-description{ } max-width: 150px; }@media screen and (max-width: 480px) { } }.lwrp .lwrp-description{ } max-width: initial; }; Related Posts
|

I am passionate about home engineering. I specialize in designing, installing, and maintaining heating, ventilation, and air conditioning systems. My goal is to help people stay comfortable in their homes all year long.