Ever feel like you’re throwing away perfectly good stuff from your kitchen and yard? It’s a common feeling, and honestly, it can be a bit frustrating to see those scraps end up in the trash. But what if I told you there’s a simple, effective way to turn that “waste” into something amazing for your garden? That’s where composting comes in. This guide will walk you through everything you need to start, no complicated manuals needed. Get ready to transform your kitchen scraps and yard trimmings into black gold!
What is a Composting PDF and Why You Need One
When we talk about a “composting PDF,” we’re essentially referring to a digital guide or document that breaks down the composting process. Think of it as your go-to reference material, like a friend handing you a handy cheat sheet. Why is this so important, especially for beginners? Because composting can seem a little daunting at first. You hear terms like “carbon-to-nitrogen ratio” and “aeration,” and it’s easy to feel overwhelmed. A well-structured composting PDF cuts through the confusion.
It offers clear, actionable steps that make composting accessible. It’s often designed to be easily downloadable and printable, so you can keep it handy by your compost bin or on your kitchen counter while you’re learning. This means you don’t have to constantly refer back to a website or book. It’s your independent guide, always there when you need it.
The benefits of composting are huge. You reduce landfill waste, which is great for the environment. You create nutrient-rich soil for your plants, meaning healthier gardens and less reliance on chemical fertilizers. Plus, it’s a surprisingly satisfying way to connect with nature and see the transformation of everyday discards into something valuable.
Your Essential Composting Toolkit
You don’t need fancy gadgets to start composting. In fact, you probably already have most of what you need. The goal is to keep it simple and effective. Here’s a breakdown of the essentials:
The Bin: Where the Magic Happens
Your compost bin is the central hub for your composting efforts. There are several types, and the best one for you depends on your space and needs.
- Open Piles: The simplest method. Just a designated heap in your yard. Great if you have plenty of space and are composting a lot of yard waste.
- Wire Bins: Made from wire mesh, these offer good aeration. They’re relatively inexpensive and easy to set up.
- Plastic Bins: These can be purchased or even DIY-ed. Many have lids to deter pests and retain moisture. Tumblers are a popular variation that makes turning the compost much easier.
- Enclosed Bins (Terra Cotta or Ceramic): Often aesthetically pleasing and good for smaller spaces or urban environments. They can sometimes be slower to compost than open methods.
For beginners, a simple enclosed plastic bin with a lid or a wire bin is often a great starting point. They help contain the materials and look tidy. If you’re a renter and can’t build a permanent structure, a well-chosen portable bin is your best bet.
The Tools: Making the Process Easier
You’ll need a few basic tools to manage your compost pile:
- Pitchfork or Garden Fork: Essential for turning and aerating your compost. This helps speed up decomposition and prevents unpleasant smells.
- Shovel: Useful for moving finished compost and adding new materials.
- Kitchen Compost Pail: A small, lidded container for collecting kitchen scraps before you take them out to the main bin. Keeps odors contained indoors.
- Gloves: To keep your hands clean and protected.
- Watering Can or Hose: For keeping your compost moist.
The Ingredients: What to Compost
This is where the fun begins! Your compost pile needs a mix of “greens” and “browns.” Think of it like a balanced diet for your compost.
- ‘Greens’ (Nitrogen-Rich): These are usually moist materials that provide nitrogen, which helps heat up the pile and break down materials.
- Fruit and vegetable scraps
- Coffee grounds and tea bags
- Grass clippings (in thin layers)
- Plant trimmings
- Manure (from herbivores like cows, horses, rabbits – avoid pet waste!)
- ‘Browns’ (Carbon-Rich): These are dry, woody materials that provide carbon. They add bulk and allow air to circulate.
- Dry leaves
- Shredded newspaper or cardboard (avoid glossy paper)
- Straw or hay
- Twigs and small branches
- Sawdust (from untreated wood)
- Eggshells (crushed)
The Nitty-Gritty: How to Compost Step-by-Step
Ready to get started? Follow these simple steps, and you’ll be a composting pro in no time. Remember, composting is a process, so don’t expect perfection on day one. It’s okay to learn as you go!
Step 1: Choose and Set Up Your Bin
Decide where your compost bin will live. It should be in a location that’s convenient to access from both your kitchen and garden. Partial sun is ideal – too much sun can dry it out, and too much shade might keep it too wet.
If you’re using a store-bought bin, simply place it on level ground. If you’re building a simple wire bin, fashion a cylinder from wire mesh and secure the ends. For an open pile, just designate a corner of your yard.
Step 2: Start Layering Your Materials
The secret to a healthy compost pile is balance. Aim for roughly a 50/50 mix of greens and browns by volume. Some experts recommend a 30-to-1 ratio of carbon (browns) to nitrogen (greens) by weight for faster decomposition, but for beginners, a volume-based approach is simpler and works well.
Begin by adding a layer of bulky brown material (like twigs) at the bottom. This helps with drainage and aeration. Then, start adding your kitchen scraps (greens) and yard waste (browns) in alternating layers. A common recommendation is to add a layer of browns on top of fresh greens to help control odors and pests.
Pro Tip: Chop larger items into smaller pieces. This increases the surface area, allowing microbes to break them down faster. Your kitchen scraps should go into your compost pail daily, and then you can empty that pail onto your compost pile every few days.
Step 3: Add Water – Keep it Moist
Your compost pile needs to be moist, but not soaking wet. Think of a wrung-out sponge. If it’s too dry, the decomposition process will slow down significantly. If it’s too wet, it can become anaerobic (lack of oxygen) and start to smell bad.
As you add materials, especially dry browns, lightly moisten them with water. You can use a watering can or a hose with a spray nozzle. Check the moisture level regularly, especially during dry spells. If you can squeeze a few drops of water out when you grab a handful, it’s just right.
Step 4: Aerate Your Pile – Turn it Regularly
This is crucial for speeding up decomposition and preventing odors. Turning your compost pile introduces oxygen, which the beneficial microbes need to thrive. It also helps mix the materials together, ensuring everything breaks down evenly.
Aim to turn your compost pile at least once a month, or more often if you’re actively adding a lot of new material. Use your pitchfork to lift material from the outside and place it in the center, and vice versa. This turning action is why tumblers are so neat – just a few spins and you’re done!
Step 5: Let Nature Do Its Work (and Be Patient!)
Composting is a natural process, and it takes time. Depending on the materials you use, the temperature, how often you turn it, and the type of bin, it can take anywhere from a few months to a year to produce finished compost. You’ll know it’s ready when it looks dark and crumbly, smells earthy, and you can no longer identify the original materials.
Don’t get discouraged if it seems slow at first. Each turn, each layer, is contributing. You’re creating a whole ecosystem in that bin!
What NOT to Compost
Just as important as knowing what to add is knowing what to leave out. These items can attract pests, spread diseases, or simply won’t break down properly in a typical home compost system.
- Meat, fish, and bones: These attract pests and can create strong odors.
- Dairy products: Similar to meat, these attract pests and can spoil.
- Oily or greasy foods: Can slow down decomposition and attract pests.
- Diseased plants: You don’t want to spread plant diseases to your garden.
- Weeds that have gone to seed: The seeds may survive the composting process and sprout in your garden.
- Pet waste (dogs and cats): Can contain harmful pathogens.
- Chemically treated wood or yard waste: The chemicals can harm your plants and soil.
- Coal or charcoal ash: Can be harmful to plants.
For more detailed information on what to compost, the Environmental Protection Agency (EPA) offers comprehensive resources on their Composting at Home page, which explains the science and benefits in detail.
Troubleshooting Common Composting Problems
Even with the best intentions, you might encounter a hurdle or two. Here are some common issues and how to fix them:
Problem: My compost pile smells bad (like rotten eggs or ammonia).
Cause: Too much nitrogen (greens) or not enough air (anaerobic conditions). It’s probably too wet or packed too tightly.
Solution:
- Turn the pile thoroughly to introduce air.
- Add more brown materials (dry leaves, shredded paper) to balance the nitrogen and absorb excess moisture.
- If it’s too wet, try to cover it loosely to prevent excess rain from saturating it.
Problem: My compost pile isn’t heating up and decomposition is slow.
Cause: Not enough moisture, not enough nitrogen (greens), or the pile is too small.
Solution:
- Add water to make it as moist as a wrung-out sponge.
- Add more green materials (kitchen scraps, fresh grass clippings) to boost nitrogen.
- If your pile is very small, try adding more material or combining it with another pile if possible. A minimum size of about 3x3x3 feet is often recommended for efficient heating.
Problem: I see flies or other pests.
Cause: Exposed food scraps or materials that shouldn’t be in a compost pile (like meat or dairy).
Solution:
- Always bury fresh kitchen scraps under a layer of brown material.
- Ensure you are not adding prohibited items like meat, fish, dairy, or oily foods.
- Consider a bin with a secure lid.
- Turning the pile regularly can discourage pests.
Benefits of Using Finished Compost
Once your compost is ready, you’ll have a rich, dark, earthy-smelling material that’s like a superfood for your garden. The benefits are incredible:
- Improved Soil Structure: Compost adds organic matter, which helps clay soils drain better and sandy soils retain moisture.
- Nutrient Rich: It provides essential nutrients for plant growth, acting as a slow-release fertilizer.
- Healthier Plants: Plants grown in compost-amended soil are often more vigorous and disease-resistant.
- Water Retention: Compost helps soil hold water, meaning you’ll need to water less often, saving water and effort.
- Reduced Need for Chemicals: By improving soil health naturally, you’ll rely less on synthetic fertilizers and pesticides.
- Environmental Impact: You divert waste from landfills, reducing methane gas production.
You can use finished compost in so many ways:
- Mix it into garden beds before planting.
- Top-dress your lawn by spreading a thin layer over the grass.
- Use it as mulch around trees and shrubs.
- Add it to potting mixes for containers.
Composting Methods Beyond the Basics
While basic backyard composting is fantastic, there are other methods to consider:
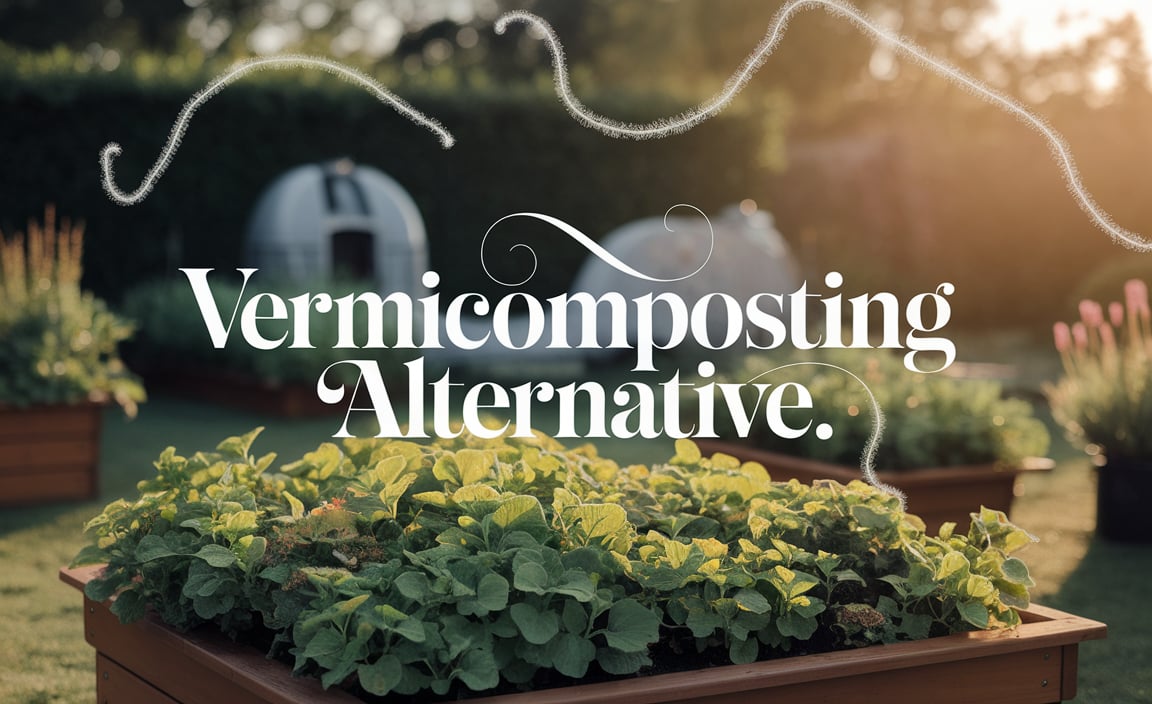
Vermicomposting (Worm Composting)
This method uses red wiggler worms to break down food scraps. It’s ideal for small spaces, apartments, or even indoors. Worm bins are relatively inexpensive and easy to manage. The worms produce incredibly nutrient-rich compost called “worm castings.” For more on setting up a worm bin, reputable guides like those from Oregon State University Extension can be very helpful.
Bokashi Composting
Bokashi is an anaerobic (oxygen-free) fermentation process that uses a special inoculant (bran coated with beneficial microbes) to pickle your food scraps. It can handle meat, dairy, and oils, which are typically avoided in traditional composting. The pickled material then needs to be buried in soil or added to a traditional compost pile to finish decomposing. It’s a quick way to pre-process kitchen waste.
Trench Composting
This is a simple, low-effort method where you dig a trench in your garden, bury your kitchen scraps and yard waste, and then cover them with soil. It’s great for improving soil directly where you plan to plant. It takes longer for the material to decompose fully compared to a hot compost pile, but requires minimal effort.
Composting as Part of a Sustainable Lifestyle
Embarking on your composting journey is a significant step towards a more sustainable lifestyle. It’s a direct way to reduce your household’s environmental footprint. By diverting organic waste from landfills, you’re not just creating valuable soil amendments; you’re actively participating in a circular economy. This reduces the need for energy-intensive manufacturing of fertilizers and decreases methane emissions from decomposing waste in landfills, which is a potent greenhouse gas.
Think about the resources saved. Less waste going to landfills means less money spent on waste management and potentially less need for new landfill space. The compost you produce enriches your soil, improving its ability to capture and store carbon. It also enhances water retention, which is becoming increasingly important in many regions facing water scarcity.
Here’s a simple way to see the impact:
| Action | Environmental Benefit | Your Garden Benefit |
|---|---|---|
| Composting Kitchen Scraps | Reduces landfill waste and methane emissions. | Creates nutrient-rich soil amendment. |
| Composting Yard Waste | Reduces hauling and landfill waste. | Provides carbon-rich material for healthy soil. |
| Using Finished Compost | Decreases reliance on chemical fertilizers (which have their own environmental costs). | Improves soil structure, water retention, and plant health. |
Embracing composting is about more than just managing waste; it’s about fostering a deeper connection to the natural cycles of renewal. It’s a practical, empowering, and rewarding activity that benefits your home, your garden, and the planet.
Frequently Asked Questions (FAQ)
What is the best compost bin for beginners?
For beginners, a simple enclosed plastic composting bin with a lid is often the easiest to manage. They help contain materials, deter pests, and retain moisture. Tumbler bins are also popular as they make turning the compost very convenient.
How long does it take to make compost?
The time varies greatly, from 2-3 months for a hot, actively managed pile to 6-12 months or more for a cooler, less managed pile. Factors like the materials used, temperature, moisture, and how often you turn it all play a role.
Can I compost everything from my kitchen?
No. While many kitchen scraps are great for compost (fruits, vegetables, coffee grounds, tea bags), you should avoid meat, fish, dairy products, oily foods, and bones, as these can attract pests and create odors, and don’t break down well in home systems.
How do I know if my compost is ready to use?
Finished compost is dark brown and crumbly, smells earthy (like a forest floor), and you should

I am passionate about home engineering. I specialize in designing, installing, and maintaining heating, ventilation, and air conditioning systems. My goal is to help people stay comfortable in their homes all year long.