Tired of seeing food scraps pile up and head straight for the landfill? You’re not alone! Many restaurant owners toss perfectly good organic material without thinking. But what if there was a way to turn that waste into a valuable resource? Composting might sound complicated, but it’s simpler than you think. This guide will walk you through turning your restaurant’s food waste into compost, step by step. Let’s get started!
Composting for Restaurants: A Step-by-Step Essential Guide
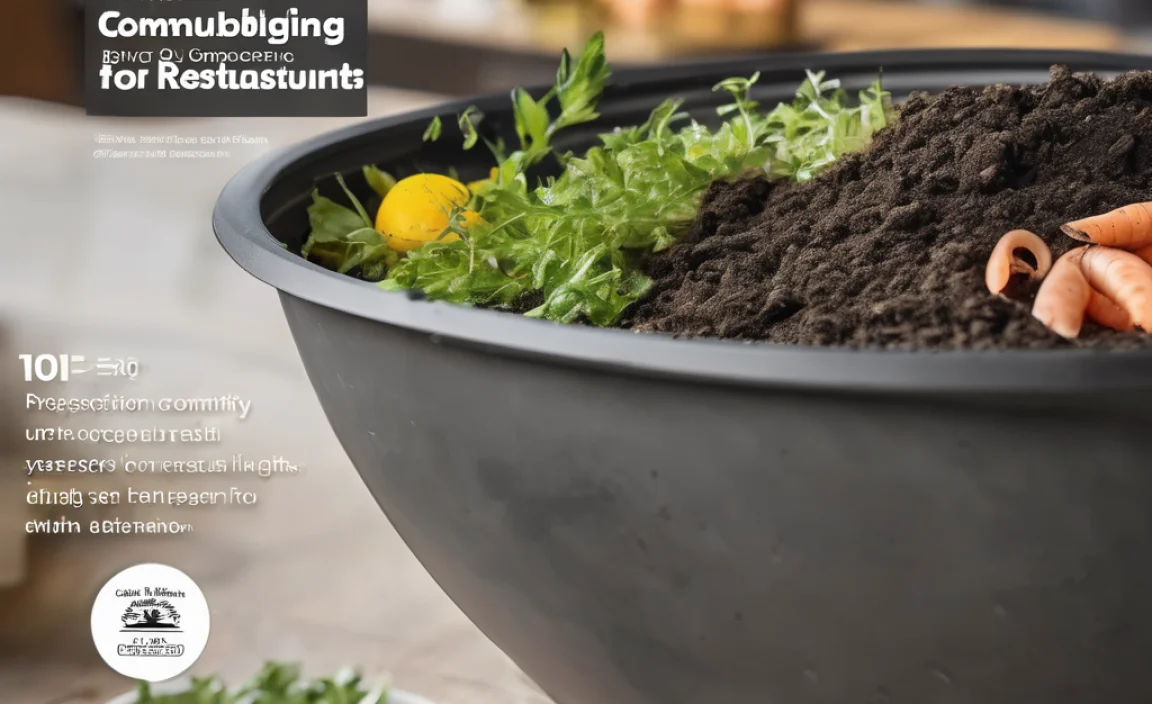
Hey there! Troy D Harn here from TopChooser. You know, I’ve always believed that tackling big projects, whether it’s in your garden or in your kitchen, becomes much easier when you break it down. And when it comes to composting food waste at your restaurant, it’s no different. It helps the planet, can potentially save you money on waste disposal, and can even create a valuable product for sale or use. So, let’s dive into exactly how you can make composting a reality for your establishment, one simple step at a time.
Why Restaurant Composting Matters
When you run a restaurant, you generate a lot of food scraps. We’re talking about vegetable peelings, leftover food, coffee grounds, and more. Traditionally, all of this ends up in the trash, which then goes to a landfill. This is a big problem for a few reasons:
- Environmental Impact: Organic waste in landfills breaks down without oxygen (anaerobically). This process releases methane, a potent greenhouse gas that contributes to climate change.
- Wasted Resources: Food scraps are rich in nutrients. Throwing them away means losing the chance to enrich soil, which is vital for growing more food.
- Cost: Hauling trash to the landfill costs money. Reducing the volume of your waste can lead to savings on garbage collection fees.
Composting offers a fantastic solution to these issues. It’s a natural process that breaks down organic materials into a nutrient-rich soil amendment. Think of it as ‘black gold’ for gardens and farms!
Getting Started: The Planning Phase
Before you start piling up food scraps, a little planning goes a long way. This is the foundation for a successful composting program at your restaurant.
Step 1: Assess Your Waste Stream
The first step is to understand what kind of organic waste your restaurant produces and how much. You don’t need to be a science whiz; just take a few days to observe.
- Identify sources: Where does the organic waste come from? Kitchen prep (peels, trim), plate scrapings, spoiled ingredients, coffee grounds, tea bags, maybe even paper napkins in some systems.
- Estimate volume: Roughly how much waste are you dealing with each day or week? This helps determine the size of the composting system you’ll need.
Knowing this will help you choose the right composting method and ensure you have enough “green” materials (like food scraps) and “brown” materials (like cardboard or leaves) to keep the compost pile healthy.
Step 2: Choose Your Composting Method
There isn’t a one-size-fits-all approach to restaurant composting. The best method for you will depend on your space, volume of waste, local regulations, and budget. Here are a few common options:
| Method | Pros | Cons | Best For |
|---|---|---|---|
| On-Site Composting (Aerobic Pile/Bin) | Direct control, potential cost savings on waste hauling, creates valuable compost on-site. | Requires space, labor for turning/managing, potential for odor/pests if not managed well, needs careful balancing of materials. | Restaurants with outdoor space, moderate waste volume, and dedicated staff time. |
| On-Site Composting (Encapsulated/Controlled Systems) | Faster decomposition, less odor and pest issues, can be more compact. | Higher upfront cost for equipment, requires electricity, still needs some material management. | Restaurants with limited space but a desire for faster, more contained composting. |
| Vermicomposting (Worm Composting) | Efficient for certain waste types (vegetables, fruits, coffee grounds), produces high-quality compost (worm castings), can be done indoors. | Cannot handle large volumes of food waste, restricted on what can be composted (no meat, dairy, oily foods), requires specific temperature and moisture control. | Smaller establishments or for specific waste streams, requires specialized knowledge. |
| Off-Site Composting Service | Zero labor/space commitment on your part, professional handling of waste, diverts waste from landfill. | Ongoing service fee, no compost produced on-site, less direct environmental control. | Restaurants with no space, limited staff, or those wanting the simplest diversion method. |
For many restaurants looking to compost on-site, a well-managed aerobic pile or bin system is a great starting point. If you have limited space, an enclosed tumbler or a specialized composter might be better. Don’t forget to check local regulations; some areas have specific rules about composting and waste management.
Step 3: Understand the “Greens” and “Browns”
Successful composting relies on a good balance of “greens” (nitrogen-rich materials) and “browns” (carbon-rich materials). Think of it like a recipe for healthy compost.
- Greens (Nitrogen): These are typically moist materials that provide nitrogen. For a restaurant, this includes:
- Fruit and vegetable scraps
- Coffee grounds and tea bags
- Plate scrapings (food waste, but avoid large amounts of grease/oil)
- Fresh grass clippings (if you have landscaping)
- Browns (Carbon): These materials are drier and provide carbon, which helps with aeration and structure. For a restaurant, this can be a bit trickier to source internally, so you might need to plan for this:
- Shredded newspaper (use non-glossy, black and white)
- Cardboard (unwaxed, shredded, like from packaging)
- Paper napkins and towels (unsoiled preferred, though soiled can work in some systems)
- Dry leaves (if you have access)
- Wood chips or sawdust (from untreated wood)
A common ratio is about 2-3 parts browns to 1 part greens by volume. This might sound complicated, but it just means if you have a big bucket of vegetable peels, you’ll want to add a larger amount of shredded cardboard or newspaper.
Setting Up Your Composting System
Once you’ve chosen your method and understood the materials, it’s time to set up your system. This phase is all about practical application.
Step 4: Designate Collection Areas
Make it easy for your staff to separate organic waste. You’ll need clearly marked bins. For example:
- Kitchen Prep Stations: Small, accessible bins specifically for fruit and vegetable scraps.
- Dishwashing/Scraping Area: A larger bin for plate scrapings and other food waste.
- Coffee/Tea Station: A dedicated bin for grounds and bags.
- General Waste Bins: Make sure these are clearly labeled for non-compostable items to avoid contamination initially.
Train your staff on what goes into the compost bins and what doesn’t. Clear signage is key! You can find helpful guides on waste separation from organizations like the U.S. Environmental Protection Agency (EPA), which offers general composting principles that can be adapted.
Step 5: Choose and Set Up Your Composter
This depends on the method you chose. Here are a few scenarios:
- Outdoor Pile/Bin:
- Location: Pick a spot that’s accessible but not too close to dining areas. Partial shade is good to prevent drying out too quickly. Ensure good drainage.
- Containment: You can build a simple bin from wood pallets or wire mesh. Alternatively, purchase a large commercial composting bin. The bin helps keep things tidy and retain heat.
- Size: Aim for a pile at least 3 feet by 3 feet by 3 feet (a cubic meter) to generate and retain enough heat for effective composting.
- Compost Tumbler:
- Assembly: Follow the manufacturer’s instructions. These usually involve assembling a drum on a stand.
- Placement: Place it on a level surface, accessible for turning and adding materials.
- Indoor Systems (like Vermicomposting):
- Bedding: Set up bins with appropriate bedding (shredded paper, coco coir).
- Worms: Introduce red wiggler worms (Eisenia fetida).
- Location: Keep them in a stable temperature environment, away from direct sunlight.
Remember to consider local health codes and regulations. Some areas might have specific requirements for where and how you can compost food waste.
The Composting Process: Turning Waste into Gold
Now for the active part! This is where the magic happens.
Step 6: Start Layering and Mixing
Begin adding your collected “greens” and “browns” to your composter. It’s best to layer them. Start with a layer of browns (like shredded cardboard) at the bottom for aeration. Then add a layer of greens (food scraps). Alternate layers, always trying to finish with a layer of browns on top to deter pests and odors.
If you’re using a tumbler, add materials and then give it a few turns. For an open pile, you might just add materials as they come in. The goal is to mix them eventually.
Step 7: Maintain Moisture and Aeration
Compost needs the right moisture and oxygen to break down efficiently. This stage is about observation and a little bit of work.
- Moisture: The compost pile should be about as damp as a wrung-out sponge. If it’s too dry, decomposition slows down significantly. If it’s too wet, it can become compacted and anaerobic, leading to bad smells.
- If it’s too dry, add water.
- If it’s too wet, add more “brown” materials (shredded cardboard, dry leaves) and turn the pile to help it dry out.
- Aeration (Oxygen): Microorganisms that break down organic matter need oxygen.
- For Piles/Bins: Turn the compost regularly, at least once a week, using a pitchfork or compost aerator. This mixes the materials, redistributes moisture, and introduces oxygen. It also helps the pile heat up, which speeds decomposition and kills pathogens.
- For Tumblers: Simply turn the tumbler every few days.
The temperature of the compost pile is also a good indicator. A hot compost pile (130-160°F or 55-70°C) breaks down waste rapidly and kills weed seeds and pathogens. You can use a compost thermometer to monitor this. For more on hot composting, check out resources from university extensions, like those offered by University of California Agriculture and Natural Resources.
Step 8: What NOT to Compost
This is crucial for a clean and effective composting process, especially in a commercial setting. To avoid attracting pests, creating odors, or spreading disease, steer clear of:
- Meat, fish, and bones: These are very slow to decompose and attract pests.
- Dairy products (milk, cheese, yogurt): Similar to meat, they attract pests and can smell bad.
- Oils, fats, and grease: These can slow down decomposition, create odors, and attract pests. Small amounts of vegetable oil might be acceptable in large, hot composting systems managed by professionals.
- Diseased plants: To avoid spreading plant diseases.
- Weeds that have gone to seed: To prevent them from sprouting in your finished compost.
- Pet waste (dog, cat): Can contain pathogens harmful to humans.
- Chemically treated wood or materials: Can leach harmful substances.
- Glossy or coated paper/cardboard: These don’t break down well and can introduce non-biodegradable materials.
Stick to the basics: fruits, vegetables, coffee grounds, tea bags, grains, and appropriate “browns” like shredded paper and cardboard.
Harvesting and Using Your Compost
The final stage is the most rewarding – using the compost you’ve created!
Step 9: Know When Your Compost is Ready
Compost is “finished” when it’s dark, crumbly, and smells earthy – like good soil. You shouldn’t be able to recognize the original food scraps. The time it takes can vary widely, from a few months to over a year, depending on your method, management, and climate.
- Visual Cues: All original materials are unrecognizable.
- Texture: It should be loose and crumbly, not slimy or matted.
- Smell: A pleasant, earthy aroma. If it smells sour or like ammonia, it needs more time and possibly turning.
Step 10: Harvest and Screen (Optional)
Once ready, you can harvest your compost. If you’re using a bin, you can often access the finished material from the bottom. For piles, fork off the finished material from the top. You might want to lightly screen the compost through a sieve or chicken wire to remove any larger, unfinished pieces. These can be returned to the active compost pile.
Step 11: Using Your Restaurant Compost
Congratulations, you’ve made compost! Now, what can you do with it?
- On-site Landscaping/Gardens: If your restaurant has outdoor planters, herb gardens, or decorative gardens, your compost is a fantastic, free fertilizer. Mix it into the soil to improve its structure, water retention, and nutrient content.
- Sell to Customers: Offer small bags of your “restaurant-made compost” for sale. This can be a unique selling point and an additional revenue stream.
- Donate to Local Community Gardens: Many community gardens would welcome a donation of high-quality compost.
- Use in Partnership with Local Farms: If you source ingredients locally, consider providing compost back to those farms.
Using your compost closes the loop, turning waste back into a resource that supports growth.
Maintaining Your Composting Program
Composting isn’t a one-time setup; it’s an ongoing practice. Regularly review your process:
- Staff Training: Keep staff informed and motivated. Regular reminders and positive reinforcement can make a big difference.
- Monitor Your Piles: Check moisture levels, temperature, and aeration weekly.
- Troubleshoot: If you notice odors or pests, address them immediately by adjusting your green/brown ratio, moisture, or turning frequency.
- Record Keeping: Track waste diversion amounts and costs saved on waste hauling. This data can be powerful for showing impact.
Don’t be discouraged if there are initial challenges. Composting is a learning process, and every restaurant’s situation is unique. The key is to keep at it and refine your approach.
Frequently Asked Questions About Restaurant Composting
Here are some common questions restaurant owners have when they’re getting started with composting:
What are the essential tools I need for restaurant composting?
For basic outdoor composting, you’ll primarily need well-labeled collection bins for staff to separate waste, a pitchfork or compost aerator for turning, and a location to set up your compost pile or bin. For tumblers, the tumbler itself is the main tool. Ensure good gloves for handling materials!
How much space do I realistically need for on-site composting?
For a small to medium-sized restaurant, a compost bin that’s about 3x3x3 feet can be sufficient. If you plan to manage a larger pile, you’ll need more space. Tumblers are more compact and can fit in smaller areas. If space is extremely limited, an off-site service might be best.
.lwrp.link-whisper-related-posts{
margin-top: 40px;
margin-bottom: 30px;
}
.lwrp .lwrp-title{
}.lwrp .lwrp-description{
}
.lwrp .lwrp-list-container{
}
.lwrp .lwrp-list-multi-container{
display: flex;
}
.lwrp .lwrp-list-double{
width: 48%;
}
.lwrp .lwrp-list-triple{
width: 32%;
}
.lwrp .lwrp-list-row-container{
display: flex;
justify-content: space-between;
}
.lwrp .lwrp-list-row-container .lwrp-list-item{
width: calc(25% – 20px);
}
.lwrp .lwrp-list-item:not(.lwrp-no-posts-message-item){
max-width: 150px;
}
.lwrp .lwrp-list-item img{
max-width: 100%;
height: auto;
object-fit: cover;
aspect-ratio: 1 / 1;
}
.lwrp .lwrp-list-item.lwrp-empty-list-item{
background: initial !important;
}
.lwrp .lwrp-list-item .lwrp-list-link .lwrp-list-link-title-text,
.lwrp .lwrp-list-item .lwrp-list-no-posts-message{
}@media screen and (max-width: 480px) {
.lwrp.link-whisper-related-posts{
}
.lwrp .lwrp-title{
}.lwrp .lwrp-description{
}
.lwrp .lwrp-list-multi-container{
flex-direction: column;
}
.lwrp .lwrp-list-multi-container ul.lwrp-list{
margin-top: 0px;
margin-bottom: 0px;
padding-top: 0px;
padding-bottom: 0px;
}
.lwrp .lwrp-list-double,
.lwrp .lwrp-list-triple{
width: 100%;
}
.lwrp .lwrp-list-row-container{
justify-content: initial;
flex-direction: column;
}
.lwrp .lwrp-list-row-container .lwrp-list-item{
width: 100%;
}
.lwrp .lwrp-list-item:not(.lwrp-no-posts-message-item){
max-width: initial;
}
.lwrp .lwrp-list-item .lwrp-list-link .lwrp-list-link-title-text,
.lwrp .lwrp-list-item .lwrp-list-no-posts-message{
};
}
Related Posts


I am passionate about home engineering. I specialize in designing, installing, and maintaining heating, ventilation, and air conditioning systems. My goal is to help people stay comfortable in their homes all year long.