Ever feel like your restaurant is throwing away a goldmine with all the food scraps? It’s a common frustration, but what if I told you there’s a simple way to turn that waste into something valuable? Composting can seem a little daunting at first, but it’s totally doable, even in a busy kitchen. I’m here to walk you through it, step-by-step, making it easy and stress-free. Let’s get your restaurant on the path to greener practices and maybe even save you some money!
Composting For Restaurants Tips: Your Essential Guide to Turning Waste into Wins
Hey there! Troy D Harn here, your go-to neighbor for making tricky stuff super simple. Today, we’re diving into something that might sound a bit “out there” for a restaurant, but trust me, it’s a game-changer: composting. Think of all those vegetable peels, coffee grounds, and leftover ingredients. Instead of sending them off to the landfill, we can transform them into rich, healthy compost. It’s good for the planet, can boost your restaurant’s reputation, and might even cut down on waste disposal costs. Let’s break down how you can make composting work for your restaurant, no matter the size.
Why Should Your Restaurant Compost? The Big Picture Benefits
Composting isn’t just a trend; it’s a smart move for businesses. For restaurants, the benefits are pretty significant and can add up quickly.
- Reduces Landfill Waste: Food waste makes up a huge chunk of what goes into landfills. Composting diverts this, which is great for the environment. Less landfill waste often means lower hauling fees, too.
- Creates Nutrient-Rich Soil: Compost is like black gold for soil. It’s packed with nutrients that plants love, making it perfect for gardens, landscaping, or even donating to local farms.
- Enhances Your Brand Image: Customers are increasingly eco-conscious. Showing you’re committed to sustainability can attract more patrons and build customer loyalty. It’s a fantastic story to tell!
- Cost Savings: While there might be an initial investment, reducing the volume of waste you send to the landfill can lead to lower disposal bills over time.
- Regulatory Compliance: Some areas are starting to mandate food waste diversion. Getting ahead of the curve means you’re prepared and compliant.
Getting Started: What You Need to Know Before You Compost
Before you start piling up those scraps, it’s wise to have a plan. Think of this as prepping your kitchen before a big service. A little organization goes a long way.
1. Assess Your Waste Stream
First, figure out what kind of food waste your restaurant generates. This helps you understand what can and can’t be composted and how much you’ll be dealing with.
- Pre-consumer waste: This is waste from the kitchen – vegetable trimmings, fruit peels, eggshells, coffee grounds, tea bags, and even meat and dairy scraps (depending on your composting method).
- Post-consumer waste: This is waste from diners – uneaten food left on plates. This can be trickier to compost due to potential contaminants like plastics and grease. Not all composting systems are equipped to handle this.
2. Understand What Can and Cannot Be Composted
Not everything belongs in the compost bin. Knowing the difference is key to successful composting and avoiding unpleasant smells or pests.
| Compostable Materials (Greens & Browns – We’ll cover this more!) | Non-Compostable Materials (Avoid These!) |
|---|---|
| Fruit and Vegetable Scraps | Plastics (including compostable plastics unless verified by your provider) |
| Coffee Grounds and Filters | Metal (cans, foil) |
| Tea Bags (remove staples) | Glass |
| Eggshells (crushed) | Oils and Greases (in large quantities, can create anaerobic conditions and smell) |
| Bread, Grains, Pasta (in moderation) | Dairy Products (large amounts can attract pests and create odors, best avoided in open systems) |
| Paper Napkins and Towels (unsoiled or lightly soiled with food) | Treated Wood |
| Yard Waste (leaves, grass clippings – if you have on-site groundskeeping) | Meat and Bones (large amounts can attract pests and odors, use caution or specific methods) |
| Newspaper (shredded) | Diseased Plants |
3. Choose Your Composting Method: On-Site vs. Off-Site Pickup
This is a big decision. Do you want to manage the compost yourself, or would you prefer a service to handle it?
a) On-Site Composting: Taking Control
This means you’re managing the composting process right at your restaurant or a nearby facility. It offers the most control and potential cost savings but requires space, labor, and knowledge. There are a few popular on-site methods:
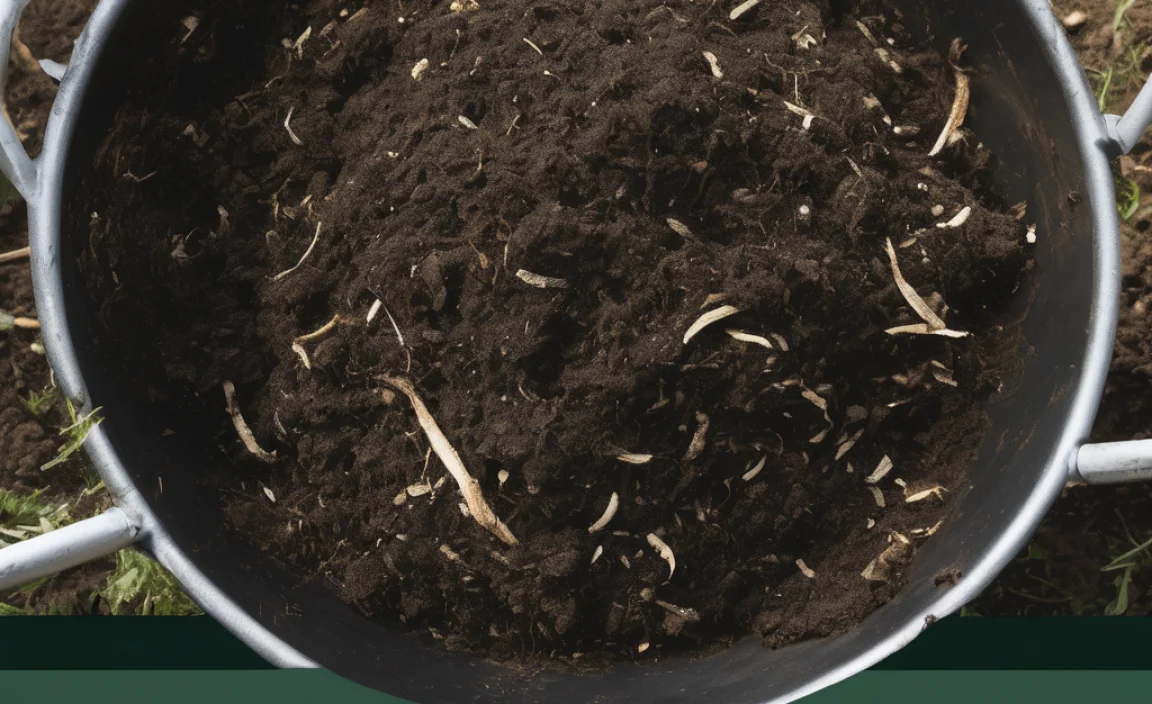
- Aerobic Composting (Hot Composting): This is the fastest method. It involves managing a pile of organic matter with the right mix of “greens” (nitrogen-rich, like food scraps) and “browns” (carbon-rich, like cardboard and dry leaves) and ensuring it gets plenty of oxygen and moisture. It can reach high temperatures, killing pathogens and weed seeds. This is often done in contained bins or piles.
- Vermicomposting (Worm Composting): This uses earthworms to break down food scraps quickly. It’s great for smaller volumes of food waste and can be done indoors or outdoors in specialized bins. Red wiggler worms are the stars of this show!
- Bokashi Composting: This is a type of fermentation rather than traditional composting. It uses a special bran inoculated with microbes to pickle food waste in an airtight container. It can handle meat and dairy and produces a nutrient-rich liquid and fermented solids that then need to be buried or added to a traditional compost pile to finish breaking down.
- Electric Digesters/Composters: These are countertop or commercial-grade appliances that dehydrate and grind food waste into a soil amendment in a matter of hours. They are very efficient but have a higher upfront cost and use electricity.
b) Off-Site Composting: The Service Route
This is often the easiest and most practical option for many restaurants, especially those with limited space or staff. You partner with a commercial composting service.
- How it works: The service provides you with specialized bins. Your staff collects designated food scraps and places them in these bins. The service picks up the full bins on a regular schedule and takes the waste to their facility for composting.
- Pros: Minimal effort for your staff, no need for space or specialized knowledge on your end, handles all types of food waste (check with your provider), often more reliable for larger volumes.
- Cons: Ongoing cost for the service, less direct control over the process.
Tip: Search for local commercial composting services in your area. Many cities have programs or private companies that cater to businesses. The U.S. Environmental Protection Agency (EPA) offers resources on reducing food waste, which often include information on composting services.
4. Location, Location, Location (For On-Site Composting)
If you’re going the on-site route, where will your compost system live? You need a spot that:
- Is easily accessible for kitchen staff.
- Is out of the way of customer traffic.
- Has good ventilation if it’s an enclosed system.
- Is away from windows and doors to avoid any potential odors reaching dining areas.
- Has access to water for maintaining moisture levels.
- Is secure to prevent pests.
Setting Up Your Composting Station: Practical Tips for the Kitchen
The key to successful kitchen composting is making it easy and intuitive for your staff. If it’s complicated, it won’t happen consistently.
1. Designate Bins
Have clearly labeled bins for compostable waste. Use different colors or clear signage to avoid contamination.
- Countertop Bins: Small, lidded bins for immediate collection of prepped scraps. Look for ones designed to minimize odor.
- Larger Collection Bins: Bigger bins located strategically in prep areas for ongoing collection throughout the day.
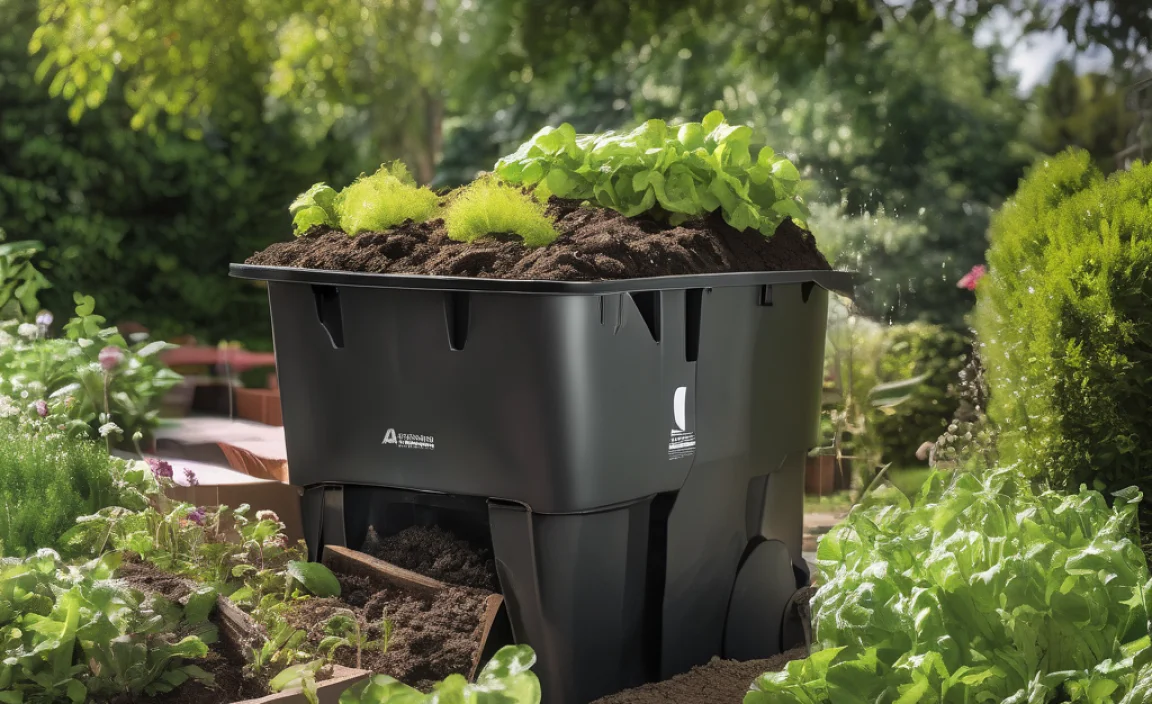
- Outdoor Bins (if applicable): For larger-scale on-site composting, you’ll need sturdy, pest-resistant bins or tumblers.
2. Train Your Staff
This is CRUCIAL. Your team needs to know exactly what goes where. Hold a brief training session:
- Explain why you’re composting and the benefits.
- Show them the designated bins and what goes into each.
- Demonstrate proper separation of materials.
- Explain how to empty bins and keep them clean.
- Designate a point person for questions or issues.
Make it part of the routine, like washing hands or wearing gloves. Regular reminders and positive reinforcement go a long way.
3. Prepare Materials
Making it easier for your compost system means preparing materials:
- Chop or Shred: Break down larger food scraps (like large vegetable peels or bread crusts) into smaller pieces. This speeds up decomposition.
- Empty Liquids: Try to drain excess liquids from scraps before adding them to minimize sogginess and odors.
- Separate Contaminants: Ensure no plastic wrap, twist ties, or other trash ends up in the compost bins.
Composting Basics: The Magic Formula of Greens and Browns (For On-Site Systems)
If you’re doing on-site composting, understanding the “greens” and “browns” is fundamental. Think of it as balancing your pantry.
Greens: These are nitrogen-rich materials. They provide moisture and protein that microbes need to thrive. They tend to be moist and break down quickly.
- Fruit and vegetable scraps
- Coffee grounds and filters
- Tea bags
- Grass clippings
- Eggshells
Browns: These are carbon-rich materials. They provide bulk and airflow, preventing the compost from becoming a dense, soggy mess. They decompose more slowly.
- Shredded newspaper/cardboard
- Dryer lint (from natural fibers)
- Straw and hay
- Wood chips or sawdust (untreated)
- Paper towels and napkins (unsoiled or lightly soiled)
The Ideal Ratio: A good starting point is about 2 parts browns to 1 part greens by volume. This can vary, so observe your compost pile. Is it too wet and smelly? Add more browns. Is it not breaking down? Add more greens and moisture.
Managing Your On-Site Compost Pile: Troubleshooting and Best Practices
Composting is a living process. It needs attention to thrive. Here’s what to keep an eye on:
1. Moisture Level
Your compost pile should be as damp as a wrung-out sponge. If it’s too dry, decomposition slows down. If it’s too wet, it can become anaerobic, leading to foul odors.
- Too Dry: Add water. Stir to distribute moisture.
- Too Wet: Add more “browns” – shredded cardboard or dry leaves work well. Turn the pile to introduce air and absorb excess moisture.
2. Aeration (Oxygen)
Microbes need oxygen to work efficiently. Turning your compost pile regularly introduces fresh air and mixes the materials.
- How often: Aim to turn larger piles at least once a week, or more frequently if possible. Smaller tumblers might only need a spin every few days.
- Why it matters: Without enough air, the pile can become smelly and anaerobic.
3. Temperature
A well-managed “hot” compost pile will heat up significantly (130-160°F or 54-71°C). This heat is great because it kills weed seeds and harmful pathogens.
- You can use a compost thermometer to check.
- Don’t worry if your pile doesn’t get super hot; it will still break down, just more slowly (this is “cold” composting).
4. Troubleshooting Odors
Smelly compost usually means something is out of balance:
- Ammonia smell (like strong urine): Too much nitrogen (“greens”). Add more “browns” and turn the pile.
- Rotten egg or sewage smell: Too much moisture and lack of oxygen (anaerobic). Add dry “browns” and turn the pile thoroughly to aerate it.
For restaurants, avoiding strong odors is paramount. This is where careful management of greens/browns ratios and aeration is key. Using well-designed bins can also help contain smells. For advice on specific composting technologies and best practices, the Composting Council is a great resource.
Integrating Composting into Restaurant Operations: A Seamless Flow
The success of any restaurant program hinges on how well it integrates into daily operations. Here’s how to make composting a smooth part of your kitchen workflow:
1. Standard Operating Procedures (SOPs)
Document your composting process as part of your restaurant’s SOPs. This ensures consistency, especially with staff turnover.
- Clearly outline what waste is compostable and what is not.
- Specify where compost bins are located and how they should be used.
- Detail the process for emptying and cleaning bins.
- Assign roles and responsibilities for compost management.
2. Kitchen Workflow Integration
Think about where compostable materials are generated and place bins nearby.
- Prep Stations: Small bins for vegetable trimmings, fruit scraps, etc.
- Dishwashing Area: Scrape plates into a designated compost bin before washing (if your system allows for post-consumer waste).
- Coffee/Beverage Station: Bins for coffee grounds, tea bags, and filters.
3. Visual Aids and Reminders
Use clear posters or signs above bins with pictures of acceptable items. This helps staff quickly identify what goes where.
4. Regular Audits
Periodically check your compost bins for contamination. If you see issues, address them during a brief staff huddle. This reinforces training and helps catch mistakes early.
Composting Different Restaurant Waste Streams
Let’s get specific about common restaurant waste items:
- Vegetable and Fruit Scraps: The easiest! Peelings, cores, wilted produce – all good. Chop them up to speed decomposition.
- Coffee Grounds and Filters: Excellent “green” material. The paper filters are also compostable.
- Eggshells: A good source of calcium (“green”). Crush them well before adding to help them break down faster.
- Bread, Grains, Pasta (Cooked): Can be composted in moderation. In large amounts, they can become dense and attract pests. Ensure they are not overly greasy.
- Meat, Bones, Dairy (Use Caution!): These are often avoided in simple home compost systems or small-scale restaurant operations due to attracting pests and potential for odors and pathogens. However, they CAN be composted using specialized methods like:
- Hot Composting: If you can maintain high temperatures consistently, these materials will break down safely. Requires diligent management.
- Bokashi: Ferments these materials anaerobically, making them safe for burial or addition to a hot compost pile afterwards.
- Commercial Services: Most commercial composting services are equipped to handle meat and dairy. This is often the best option if you want to compost these items without the complexities.
- Paper Products: Unsoiled or lightly soiled paper napkins, towels, and paper filters are great “browns.” Heavily soiled items with grease might be better avoided unless your composting system can handle it. 100% recycled paper products are ideal. Check with your commercial hauler about their specific rules.
Measuring Success: Beyond Just “Less Trash”
How do you know if your composting efforts are paying off?
- Reduced Waste Hauling Costs: Track your waste disposal bills before and after implementing composting.
- Volume of

I am passionate about home engineering. I specialize in designing, installing, and maintaining heating, ventilation, and air conditioning systems. My goal is to help people stay comfortable in their homes all year long.


