Hey there, neighbor! Ever look at your kitchen scraps and yard waste and think, “There’s got to be a better way than just tossing this?” You’re not alone! Composting might sound like a big, messy job, but it’s actually a super simple way to turn that “waste” into gardening gold. Especially out here in the country, where you’ve got a bit more space, composting is a game-changer for your garden and the environment. This guide is here to walk you through everything, step-by-step, so you can start composting like a pro without any fuss.
Your Essential Composting for Rural Areas Training Guide
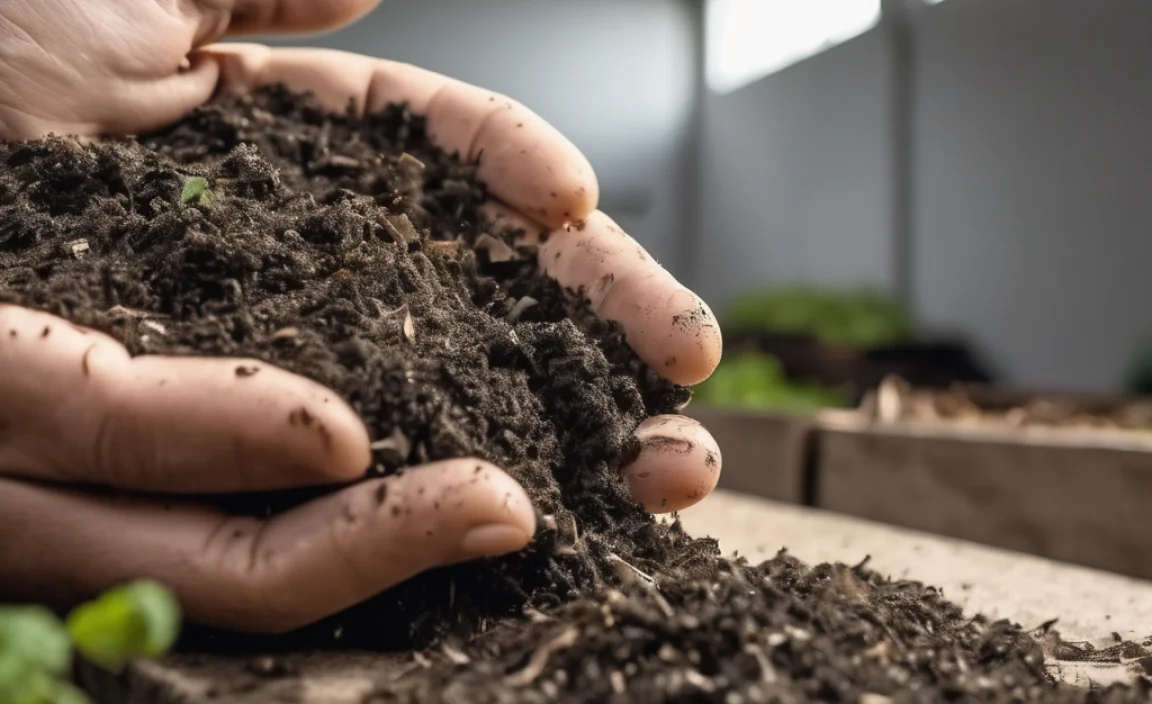
Composting is like magic for your garden. It’s the process of breaking down organic materials – stuff like food scraps, leaves, and grass clippings – into a nutrient-rich soil amendment called compost. Think of it as nature’s recycling program! For folks living in rural areas, this process is even more rewarding because you often have the space and the types of organic materials readily available to create a truly impressive compost system.
Why Go Rural with Composting?
Rural living often comes with advantages for the composting enthusiast:
- More Space: You’re less likely to be limited by small yards or noisy neighbors. This means you can opt for larger bins or even open piles.
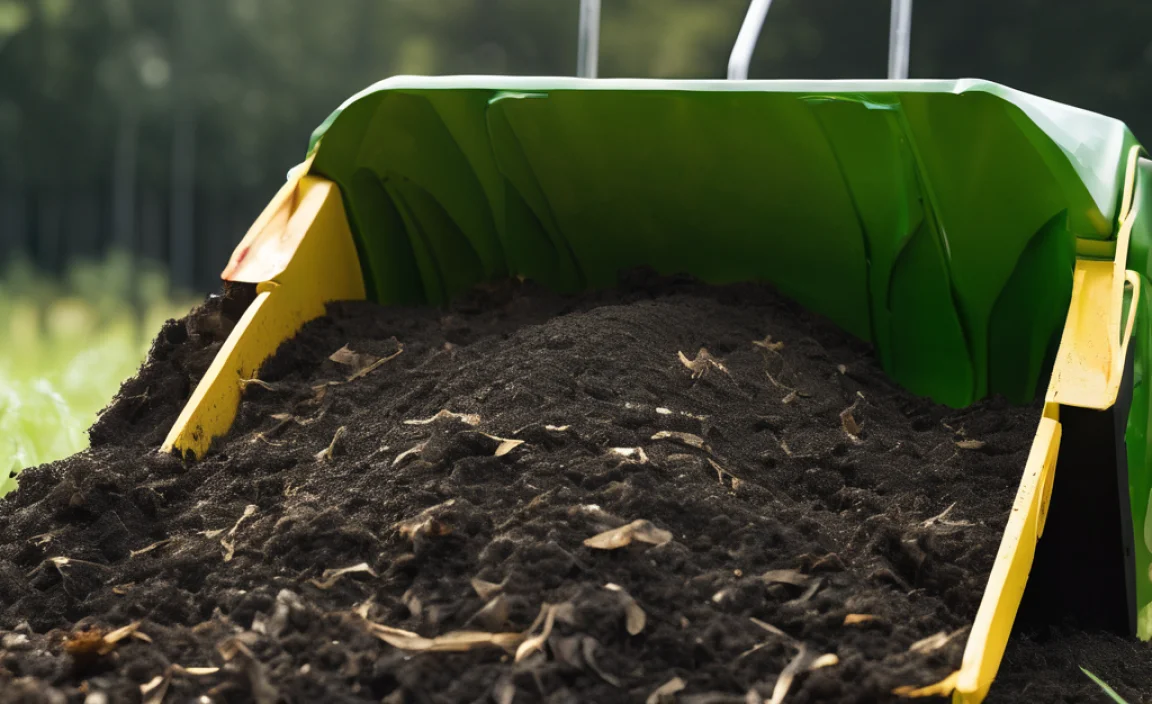
- Abundant Materials: Access to yard waste like fallen leaves, grass clippings, and even animal manures (from chickens, horses, or cows) can significantly boost your compost’s nutrient content.
- Reduced Waste: Fewer trips to the landfill means less hassle and a smaller environmental footprint.
- Garden Enrichment: Homemade compost is fantastic for improving soil structure, adding vital nutrients, and helping your plants thrive without relying on chemical fertilizers.
What You’ll Need: The Composting Toolkit
You don’t need fancy gadgets to get started. Here are some basics:
- A Bin or Pile Area: This can be a store-bought tumbler, a wooden bin you build yourself, or simply a designated spot for your pile.
- Tools for Turning: A pitchfork or a sturdy garden fork is essential for aerating your compost.
- Water Source: A hose or watering can to keep your compost moist.
- A Source of Organic Materials: Everything from your kitchen scraps to yard debris.
Step-by-Step: Building Your Rural Compost System
Getting started is easier than you think. Let’s break it down:
Step 1: Choose Your Composting Method
Rural areas offer flexibility. Here are a couple of popular options:
- Open Pile Composting: This is the simplest. You just create a mound of organic materials in a corner of your yard. It’s great for larger volumes but can take a bit longer and might look a little less tidy.
- Compost Bin Composting: Bins help contain the materials and can speed up the process. They come in various forms:
- DIY Wooden Bin: Easy to build with pallets or scrap wood. Provides good aeration.
- Purchased Stationary Bin: Durable plastic or metal bins that are often enclosed. Good for keeping things neat.
- Compost Tumbler: These are enclosed drums you can rotate. They make turning super easy and speed up composting significantly, but they have a smaller capacity.
For rural settings, especially if you have a good amount of yard waste, a large DIY bin or a well-managed open pile is often the most practical and cost-effective. If you’re starting with less material or space is a concern, a tumbler is a great option for faster results.
Step 2: Select a Composting Location
The right spot is key. Aim for:
- Convenience: Easy to access from your kitchen and garden.
- Sunlight: Partial shade is ideal. Too much sun can dry it out too quickly, while deep shade might keep it too damp and slow decomposition.
- Drainage: Ensure the area doesn’t get waterlogged.
- Space: Allow enough room for the bin or pile, plus space to work around it.
Step 3: Gather Your Composting Ingredients
Composting works best with a good mix of “greens” and “browns.” Think of it like a balanced diet for your compost pile!
Greens (Nitrogen-rich materials): These add moisture and nitrogen, which help the little microorganisms do their work.
- Fruit and vegetable scraps
- Coffee grounds and tea bags
- Grass clippings (in thin layers to avoid matting)
- Plant trimmings (non-woody)
- Manure from herbivores (chicken, cow, horse, rabbit – avoid pet waste from carnivores)
Browns (Carbon-rich materials): These provide the energy source for microorganisms and add bulk, allowing air to circulate.
- Dry leaves
- Straw or hay
- Shredded newspaper or cardboard (avoid glossy paper)
- Small twigs and wood chips
- Sawdust (from untreated wood)
- Eggshells (crushed)
What to Avoid:
- Meat, fish, and dairy products (can attract pests and cause odors)
- Oily or greasy foods
- Diseased plants
- Weeds that have gone to seed
- Pet waste (dog or cat feces)
- Chemically treated wood or yard waste
Step 4: Layering Your Compost Pile (The “Lasagna” Method)
Start building your compost like you’re making a delicious lasagna:
- Base Layer: Begin with a layer of coarse brown materials, like small twigs or straw. This helps with drainage and aeration at the bottom.
- Alternate Layers: Add alternating layers of greens and browns. A good ratio is roughly 2 parts browns to 1 part greens. So, if you add a bucket of kitchen scraps (greens), add two buckets of dry leaves or shredded cardboard (browns).
- Moisten: Lightly water each layer as you add it. The pile should be as moist as a wrung-out sponge – not soggy, not dry.
- Chop it Up: Smaller pieces break down faster. Chop up large scraps and shred newspaper.
Step 5: Aeration and Moisture Management
This is where the magic happens! Microorganisms need air and moisture to thrive and decompose the organic matter.
- Turning: Aim to turn your compost pile every week or two. Use your pitchfork to mix the materials from the outside into the center and vice-versa. This introduces oxygen, which speeds up decomposition and prevents “hot spots” that can lead to foul odors. If you’re using a tumbler, simply give it a few spins every few days.
- Monitoring Moisture: Stick your hand into the pile (carefully!). If it feels dry, add water. If it’s too wet and smells ammonia-like, add more brown materials to absorb the excess moisture and improve airflow.
Step 6: Knowing When Your Compost is Ready
Patience is a virtue! Compost that’s ready to use is dark, crumbly, and smells earthy – like rich soil. You shouldn’t be able to recognize the original ingredients. This can take anywhere from a few months to a year, depending on how actively you manage the pile, the materials used, and the weather.
To check for readiness, dig into the pile. If you still see recognizable food scraps or leaves, it needs more time.
Compost Bin Types for Rural Settings: A Closer Look
Choosing the right bin can make a big difference. Here’s a comparison:
| Bin Type | Pros | Cons | Ideal for Rural Areas |
|---|---|---|---|
| Open Pile | Simple, no cost, can handle large volumes, excellent aeration potential. | Can look messy, may take longer, requires more space. | Excellent. Best for managing large amounts of yard waste. |
| DIY Wooden Bin (e.g., Pallet Bin) | Affordable to build, good aeration, customizable size, can look tidier than an open pile. | Requires some basic woodworking skills, may degrade over time. | Very Good. A great balance of cost, function, and appearance. |
| Stationary Plastic/Metal Bin | Neat appearance, durable, can help retain heat and moisture. | Limited capacity, can be more expensive, some have poor aeration. | Good. Suitable for smaller yards within a rural property. |
| Compost Tumbler | Fastest decomposition, easy to turn, contained, pest-resistant. | Smaller capacity, higher initial cost, can sometimes get too wet if not managed. | Good. Excellent for quick compost, especially for smaller households or specific needs. |
Mastering the “Greens” and “Browns” Ratio
Getting the mix right is crucial for efficient composting. The ideal ratio is about 25-30 parts carbon (browns) to 1 part nitrogen (greens) by weight. In simpler terms, for every one shovel of green material, add about two to three shovels of brown material. This might sound like a lot of browns, but don’t worry too much about exact measurements. Just aim for a healthy balance.
- Too much green: The pile can become slimy, compacted, and smell like ammonia. You’ll need to add more brown materials and turn it.
- Too much brown: The pile will dry out and decompose very slowly. You’ll need to add more green materials and moisten it thoroughly.
Think of it as a constant adjustment. Observe your pile, and you’ll learn to read its signs.
Dealing with Common Composting Challenges in Rural Areas
Even in the country, you might run into a few common composting hurdles. Here’s how to tackle them:
Pests
Squirrels, raccoons, or flies can sometimes be attracted to compost piles, especially if they contain meat or dairy (which you should avoid anyway). If pests become an issue:
- Bury Food Scraps: Always bury fresh kitchen scraps into the center of the pile, away from the edges.
- Cover Your Pile: Use a layer of browns to cover any disturbed areas.
- Use a Bin with a Lid: Tumblers and enclosed bins are generally better at keeping pests out.
- Avoid Attractants: Strictly avoid meat, fish, bones, and dairy products.
Odors
A healthy compost pile should smell earthy. If it smells foul (like ammonia or rotten eggs), it usually means something is out of balance:
- Ammonia Smell: Too much green material. Add more brown, carbon-rich materials like dry leaves, straw, or shredded cardboard. Turn the pile to aerate.
- Rotten Egg Smell: Lack of oxygen. The pile is too wet and dense, creating anaerobic conditions. Turn the pile thoroughly to introduce air. You might need to add dried materials like wood chips or straw to improve aeration.
Slow Decomposition
If your pile isn’t breaking down as quickly as you’d hoped:
- Check Moisture: Is it too dry? Add water. Is it too wet? Add browns and turn.
- Check Aeration: Turn the pile more frequently.
- Check Material Size: Larger items take longer. Chop or shred materials where possible.
- Temperature: The center of an actively composting pile can get quite hot (130-160°F or 55-70°C), which speeds up decomposition. If it’s not heating up, ensure you have a good green-to-brown ratio and adequate moisture. Adding a shovel-full of finished compost or garden soil can also introduce beneficial microorganisms.
Compost Uses and Benefits
Once your compost is ready, it’s like black gold for your garden!
- Soil Amendment: Mix compost into your garden beds before planting. It improves soil structure, making clay soils drain better and sandy soils retain more moisture.
- Mulch: Spread a layer of compost around plants to suppress weeds, conserve moisture, and regulate soil temperature.
- Potting Mix: Use it as part of a homemade potting mix for containers and seedlings.
- Top Dressing: Sprinkle compost around established plants to provide a slow release of nutrients.
Using compost is a fantastic way to reduce your reliance on synthetic fertilizers, which can be costly and potentially harmful to the environment. It’s a sustainable practice that feeds your soil and your plants.
Composting for Rural Properties: Larger Scale Considerations
If you have a substantial amount of land and organic waste from gardens, pastures, or even small farming operations, you might consider more advanced composting techniques:
- Windrows: Long, narrow piles that are ideal for large volumes. They are turned regularly with specialized equipment or tractors.
- Aerated Static Piles: These involve forcing air through the pile using pipes, often used for treating larger volumes like manure or food waste quickly and efficiently.
- In-Vessel Composting Systems: Larger, industrial-scale versions of tumblers or enclosed bins.
These methods require more planning and potentially specialized equipment, but they are highly effective for managing significant organic material. For most rural homeowners, however, the methods described earlier (open piles or bins) are perfectly sufficient and highly effective.
Learning More: Resources for Composting
To deepen your understanding, check out these reputable sources:
- EPA’s Composting Basics (Environmental Protection Agency): A fantastic starting point for understanding the principles of composting and its environmental benefits. Learn more from the EPA.
- Local Extension Office: Your county’s agricultural extension office is an invaluable resource. They often offer workshops, fact sheets, and expert advice tailored to your local climate and conditions. Look up “[Your County] Extension Office” online.
- University Agricultural Departments: Many university agricultural extension programs have extensive resources on composting, especially regarding manure management and large-scale operations. Search for “[University Name] Extension Composting.”
Frequently Asked Questions (FAQ) about Rural Composting
Q1: How much space do I really need for a compost pile in the country?
You can start small! Even a corner of your yard can be sufficient for a bin. For larger operations or if you have a lot of yard waste, a 3x3x3 foot (1 cubic meter) area is often recommended as a good minimum for efficient heating and decomposition. More space allows for larger piles, which can be easier to manage in bulk.
Q2: Can I compost animal manure from my farm animals?
Yes! Manure from herbivores like chickens, cows, horses, and rabbits is excellent for composting. It’s rich in nitrogen. However, it’s crucial to compost it properly to kill potential pathogens. Mixing it with plenty of brown materials and ensuring the pile heats up sufficiently (around 130-160°F or 55-70°C) is key. Avoid manure from carnivorous pets.
Q3: How often should I turn my rural compost pile?
For faster compost, turn it every 1-2 weeks. If you’re in less of a hurry, turning every 4-6 weeks will still result in great compost, just over a longer period. The goal is to ensure good aeration and mix materials.
Q4: Will my compost pile attract snakes or other wildlife?
While compost piles can provide shelter, they are unlikely to attract problematic wildlife if managed correctly, especially if you avoid meat, dairy, and oily foods. Regularly turning the pile also deters animals who prefer undisturbed homes. Snakes might be attracted to the warmth or the insects that live in it, but they are generally beneficial predators in a garden ecosystem.
Q5: What if I have too many leaves and not enough kitchen scraps?
This is a common scenario in rural areas! Leaves are fantastic brown materials. If you have a surplus of leaves, you can create a separate leaf mold pile or simply add them generously to your main compost. You might need to add a bit more nitrogen-rich green material (like grass clippings, if available, or even a small amount of finished compost to kickstart it) to balance them out for faster breakdown.
Q6: How do I know if my compost is “finished” and safe to use?
Finished compost will be dark, crumbly, and smell

I am passionate about home engineering. I specialize in designing, installing, and maintaining heating, ventilation, and air conditioning systems. My goal is to help people stay comfortable in their homes all year long.