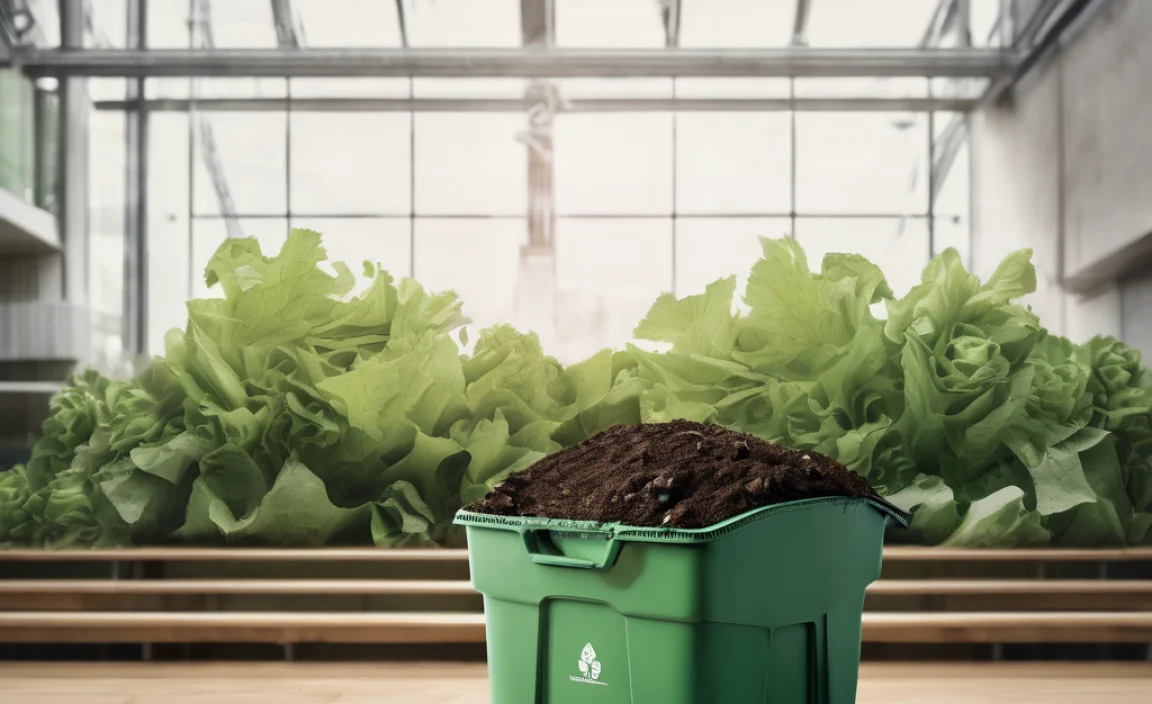
Hey there! Thinking about composting at your school? It might sound complicated, but it’s actually a fantastic way to help out our planet and teach kids valuable lessons. We’ll break it down step-by-step, making it super easy to get started. Let’s turn those lunch scraps into garden gold!
Composting for Schools Benefits: Your Essential Guide to Greener Learning
Hey neighbors! Troy D Harn here, from TopChooser. You know, sometimes the simplest ideas can make the biggest difference. That’s exactly what composting in schools is all about. It’s not just dirt and scraps; it’s a powerful tool for education, sustainability, and even saving money. If you’re wondering how to bring this beneficial practice to your local school, you’ve come to the right place. We’ll cover why it’s so great and how to actually make it happen, step-by-step. Let’s dig in!
Why Bother with Composting in Schools? The Amazing Benefits
Composting at school might seem like just another chore, but the rewards are huge for everyone involved – students, teachers, the school, AND the environment. It’s like a win-win-win-win situation!
Environmental Wins
- Reduces Landfill Waste: Think about all the food scraps, paper towels, and yard waste a school produces. A lot of this ends up in landfills, taking up space and releasing harmful greenhouse gases like methane. Composting diverts this waste.
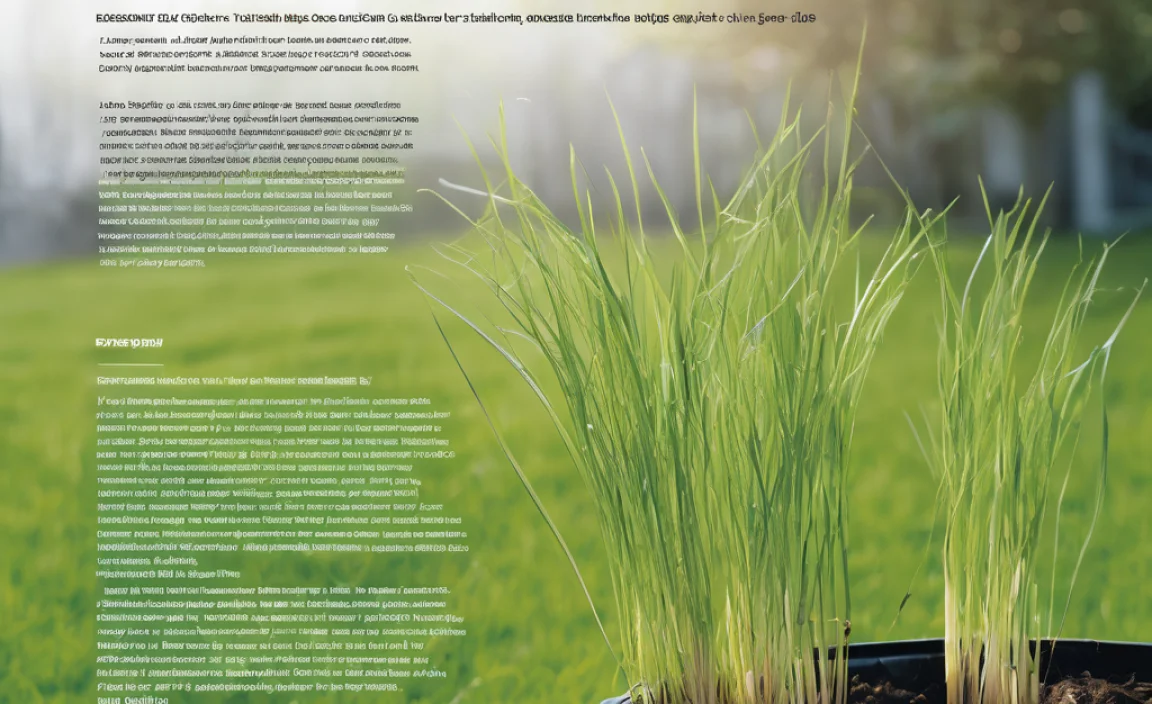
- Creates Nutrient-Rich Soil: Compost is often called “black gold” for a reason! It’s packed with nutrients that plants love. This finished compost can be used to fertilize school gardens, reducing the need for chemical fertilizers.
- Conserves Water: Compost improves soil structure, which means it holds water better. This can lead to less watering needed for school gardens and landscapes.
- Combats Climate Change: By reducing methane emissions from landfills and helping plants grow healthier, composting plays a small but important part in fighting climate change.
Educational Goldmines
- Hands-On Science: What better way to learn about decomposition, ecosystems, and the life cycle than by doing it? Students can see science come alive!
- Environmental Stewardship: Kids learn the importance of caring for the planet and understand their role in making a difference. It fosters a sense of responsibility.
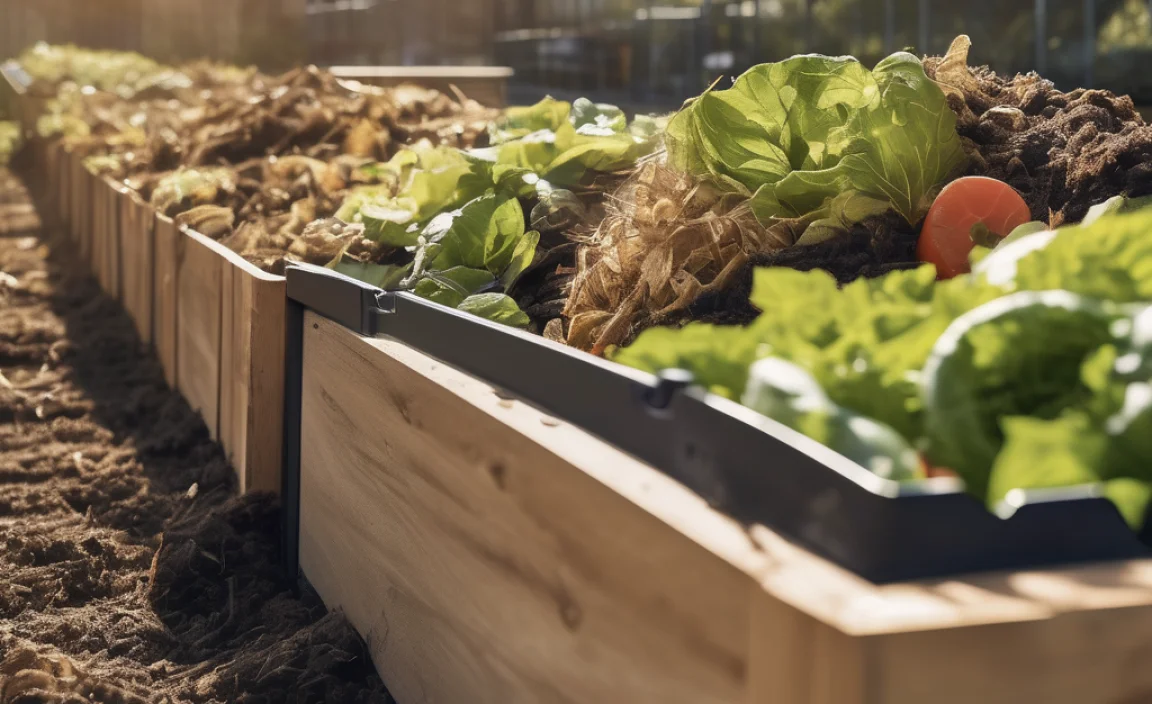
- Health and Nutrition: If the school has a garden, students can grow their own food, providing fresh, healthy produce and understanding where food comes from.
- Math and Data Skills: Students can measure compost bins, track waste, calculate ratios of “greens” and “browns,” and analyze the composting process.
- Teamwork and Responsibility: Composting often requires teamwork. Students can learn to share tasks, communicate, and take ownership of a project.
School and Community Advantages
- Cost Savings: Reducing the amount of trash hauled away can lower waste disposal fees for the school. Plus, using compost in gardens means buying less soil and fertilizer.
- Beautifies the Campus: A thriving school garden, nourished by homemade compost, can make the school grounds more attractive and inviting.
- Community Engagement: School composting projects can involve parent volunteers, local gardening clubs, or community organizations, strengthening school ties.
- Positive School Image: Demonstrating a commitment to sustainability makes the school look good to parents, students, and the wider community.
Getting Started: Planning Your School Composting Program

Okay, so we know it’s a great idea. Now, how do we actually do it? Starting a composting program at school takes a little planning, but it’s totally doable. Here’s how to break it down.
Step 1: Form a Green Team
You can’t do this alone! Gather a group of interested people. This could include:
- Students (from various grades if possible)
- Teachers (especially science or environmental club advisors)
- Custodial staff (they know the waste streams!)
- Administrators (for approval and support)
- Parent volunteers
This team will be the driving force behind the program.
Step 2: Get Approval and Support
Before anything else, you’ll need the green light from school administrators. Present your plan, highlighting the benefits we’ve talked about. It also helps to talk to the custodial staff early on. They manage waste and can offer insights into what’s feasible and how to integrate composting into their routine. You might also want to check with your local municipality or waste management company; sometimes they offer resources or guidance for school programs. For example, the U.S. Environmental Protection Agency (EPA) has a lot of great information on waste reduction that can support your proposal.
Step 3: Assess Your School’s Waste
What kind of waste does your school produce that can be composted? Walk around and observe. This usually includes:
- Food Scraps: From the cafeteria, classroom snacks, food preparation areas.
- Paper Products: Napkins, paper towels (check if they are compostable, avoid heavily inked ones), plain paper.
- Yard Waste: Leaves, grass clippings, small twigs from school groundskeeping.
It’s important to know what not to compost, too. Usually, this includes meat, dairy, oily foods, diseased plants, and pet waste. Your Green Team should create a clear list for students and staff.
Step 4: Choose Your Composting Method
There are several ways to compost, and the best method depends on your school’s space, resources, and the amount of waste you generate. Here are a few popular options:
Option A: Simple Bin Composting
This is great for smaller schools or programs starting out. You can buy or build sturdy bins.
- What You Need: One or more large compost bins (tumblers are great for ease of turning, but stationary bins work too).
- Best For: Yard waste, smaller amounts of food scraps.
- Pros: Relatively low cost, manageable size.
- Cons: Can be slower; requires manual turning.
Option B: Three-Bin System
This is a classic and efficient method, often built out of wood pallets. It allows for different stages of composting.
- What You Need: Three large bins arranged side-by-side.
- Best For: Larger volumes of yard waste and food scraps.
- Pros: Continuous composting cycle; allows for better aeration and decomposition.
- Cons: Requires more space; needs to be built or purchased.
Option C: Vermicomposting (Worm Composting)
This uses red wiggler worms to break down food scraps. It’s fascinating for kids!
- What You Need: Specialized worm bins, red wiggler worms, bedding material (like shredded newspaper or coconut coir).
- Best For: Cafeteria food scraps, classroom food waste.
- Pros: Can be done indoors or in a smaller space; produces nutrient-rich compost (worm castings) and “worm tea” liquid fertilizer; very engaging for students.
- Cons: Requires specific care for the worms; can’t handle large volumes of yard waste; might be intimidating for some.
A good resource for building your own bins is your local cooperative extension service, often affiliated with state universities. They provide research-based advice on gardening and composting. You can often find them by searching for “[Your State] Cooperative Extension Composting”.
Option D: In-Vessel or Commercial Systems
For larger schools with significant waste, you might consider commercial composting systems. These can be very efficient but also more costly.
- What You Need: Purchased commercial composter unit.
- Best For: High volumes of food and yard waste.
- Pros: Fast decomposition, often odor-controlled, can handle large volumes, less manual labor.
- Cons: High upfront cost, requires space, and may need professional maintenance.
Step 5: Designate Collection Points
Where will the scraps and compostable materials be collected? Set up clearly labeled bins in key locations:
- Cafeteria: Separate bins for “Compostable Food Scraps,” “Recyclables,” and “Trash.” Train students and staff on what goes where!
- Classrooms: Small bins for paper scraps, art projects (if they use compostable materials).
- Kitchen/Staff Areas: For food preparation waste.
- Outdoor Areas: For yard waste collection.
Consider having the “Green Team” students help manage these collection points during lunch or activities. Clear signage is crucial!
Step 6: Set Up Your Composting Site
Choose a location for your main compost bin(s). It should be:
- Accessible: Easy for students and staff to bring materials to, and for the Green Team to work with.
- Well-Drained: Avoid areas that get waterlogged.
- Partial Shade: This helps keep the compost pile from drying out too quickly.
- Away from Buildings: To prevent any potential odor issues from affecting classrooms or offices.
- Secure: If using an open pile, consider fencing to keep animals out.
Step 7: Educate Everyone!
This is perhaps the MOST important step. Everyone in the school needs to know about the program and how to participate. Regular education sessions, posters, announcements, and even fun contests can help!
- For Students: Keep it simple and visual. Use pictures of what to compost and what not to compost on the collection bins. Run assemblies or classroom lessons about the composting process.
- For Staff (Teachers & Custodians): Provide clear guidelines and training. Explain their crucial role in waste collection and composting management.
- For Parents: Send out newsletters or hold information sessions. Encourage them to support composting at home too.
You can find many great educational resources for schools online. For instance, EPA’s website for schools often has materials on environmental education and waste management. The EPA also provides guidance on building compost piles, which can be adapted for school use.
The “Nitty-Gritty”: What Goes In, What Stays Out
Getting the mix right is key to successful composting. Think of it like baking – you need the right ingredients in the right proportions!
The “Greens” (Nitrogen-Rich Materials)
These materials add moisture and nitrogen, which helps the microbes that do the composting work. They tend to be wet and break down quickly.
- Fruit and vegetable scraps
- Coffee grounds and tea bags
- Grass clippings
- Plant trimmings (non-diseased)
- Eggshells
The “Browns” (Carbon-Rich Materials)
These materials add carbon and provide bulk, helping the pile to aerate and preventing it from becoming a soggy mess. They break down more slowly.
- Dry leaves
- Straw or hay
- Shredded newspaper or brown paper bags
- Cardboard (torn into small pieces, avoid glossy or plastic-coated)
- Wood chips or sawdust (in moderation)
- Pine needles
What to AVOID (Generally)
Putting the wrong things in your compost can cause problems like bad odors, attract pests, or introduce diseases.
- Meat, fish, and bones
- Dairy products (cheese, yogurt, milk)
- Oils, fats, and grease
- Diseased plants or weeds that have gone to seed
- Pet waste (dog, cat feces)
- Treated wood or sawdust
- Glossy paper or magazines
- Synthetic materials (plastics, Styrofoam)
The Magic Ratio: Greens to Browns
A good starting point for a balanced compost pile is roughly 2 parts Browns to 1 part Greens by volume. This ratio isn’t an exact science, and you’ll learn to adjust based on how your pile looks and smells. If it smells like ammonia, you have too many greens. If it’s dry and not breaking down, you need more greens (or moisture).
Maintaining Your School Compost Pile
Once you’ve started, your compost pile needs a little attention to stay happy and healthy.
1. Aeration (Turning)
Composting is an aerobic process, meaning it needs oxygen. Turning the pile regularly introduces air. For bin composters, this might mean turning a tumbler, or for a pile/three-bin system, it means using a pitchfork or compost aerator to mix it up. How often? Aim for once a week or every other week, especially for active composting. If you have a large volume of materials to process quickly, more frequent turning is better.
Think of it like this: The microbes doing the work need to breathe! Turning also helps distribute moisture and heat evenly throughout the pile.
2. Moisture Level
Your compost pile should be about as damp as a wrung-out sponge – moist, but not soggy. If it’s too dry, decomposition slows down. If it’s too wet, it can become anaerobic (without air) and start to smell bad. You can add water if it’s dry, and add more Browns (like shredded paper or leaves) if it’s too wet.
A simple test: Squeeze a handful of material from the pile. If a few drops of water come out, it’s probably about right. If water streams out, it’s too wet. If it crumbles apart and feels dry, it needs water.
3. Temperature
An actively composting pile will heat up, often reaching temperatures between 130-160°F (55-70°C). This heat is great because it kills weed seeds and pathogens. You can monitor the temperature with a compost thermometer. If the pile isn’t heating up, it might need more Greens, more moisture, or more turning.
4. Patience!
Composting takes time. Depending on the method, materials, and how well you manage the pile, it can take anywhere from a few weeks to several months for compost to be ready. Smaller materials and more frequent turning generally speed up the process.
Troubleshooting Common Composting Problems
Even with the best intentions, you might run into a few hiccups. Don’t worry, most problems are easily fixed!
| Problem | Possible Cause | Solution |
|---|---|---|
| Bad Odor (Rotten Eggs/Ammonia) | Too many Greens; pile is too wet; not enough air. | Add more Browns (leaves, shredded paper); turn the pile to aerate; ensure good drainage if it’s too wet. |
| Pile Not Heating Up | Not enough Greens; too dry; pile too small; not enough air. | Add more Greens (food scraps, grass clippings); add water; mix in small twigs or bulkier Browns for aeration; ensure pile is at least 3x3x3 feet. |
| Attracting Pests (Rodents, Flies) | Exposed food scraps; meat or dairy in the pile; bins not secure. | Bury food scraps deep within the pile; avoid prohibited items (meat, dairy); use a secure bin with a lid; ensure doors/lids close tightly. Vermicomposting bins should be managed to avoid overfeeding. |
| Compost is Too Dry | Not enough moisture; too much sun/wind; too many Browns. | Add water while turning the pile; cover the pile with a tarp to retain moisture; add more Greens. |
| Materials Not Breaking Down | Too many Browns; pieces too large; not enough moisture; pile too cold. | Add more Greens; chop or shred larger items; add water; turn more frequently to aerate and increase temperature; consider a different composting method if volume is an issue. |
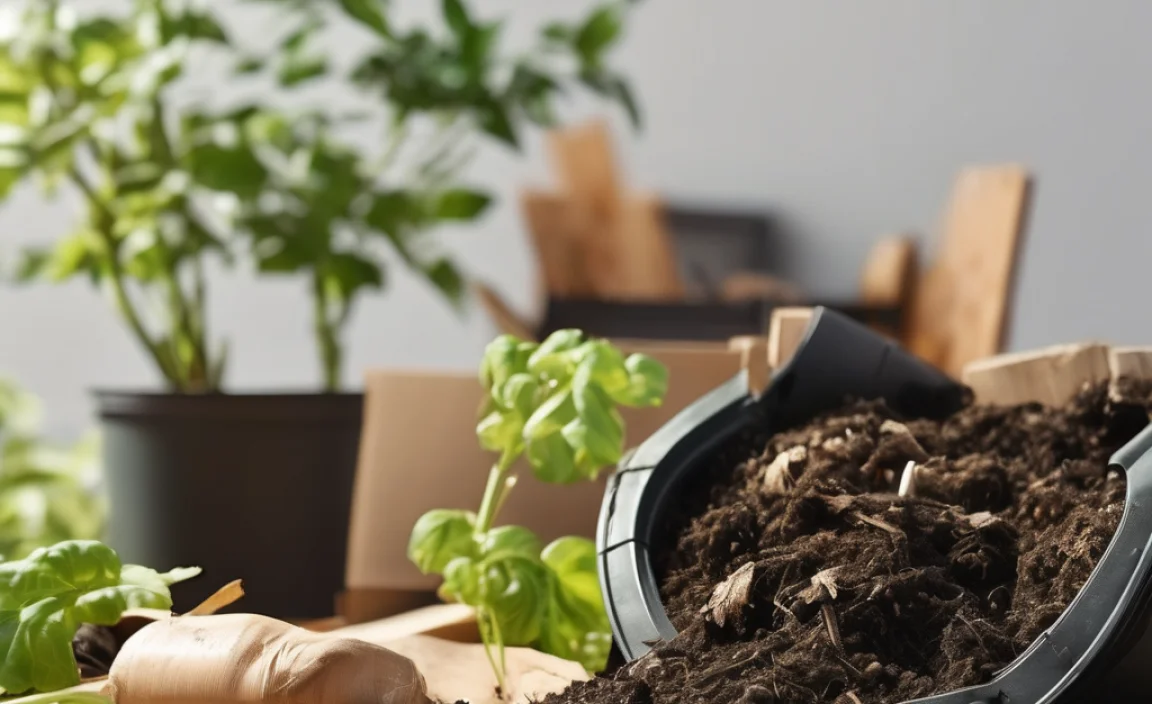
Using Your Finished “Black Gold”
You’ll know your compost is ready when it looks like dark, crumbly soil, smells earthy and pleasant, and you can no
Related Posts
- Does Tirzepatide Show Up on Urine Test? Powerful Facts
- Best Air Compressor For ATV: Essential Guide
Grass Clippings Composting Guide: Essential Tips- Compost Enzymes Pets: Your Essential Guide


I am passionate about home engineering. I specialize in designing, installing, and maintaining heating, ventilation, and air conditioning systems. My goal is to help people stay comfortable in their homes all year long.