Got a pile of cafeteria scraps or garden trimmings that seem like a shame to just toss? Turns out, those leftovers can be gold! Turning kitchen and yard waste into rich soil is totally doable, even for schools. It might sound like a big project, but it’s simpler than you think. We’ll walk through how to get a composting program rolling at your school, step-by-step. Get ready to turn waste into wonder!
Why Composting for Schools Rocks!
Composting is like a magic trick nature performs, and schools can absolutely be a part of it. It’s not just about getting rid of trash; it’s about creating something valuable. Think of all the food scraps from lunch, the leaves in the fall, or the grass clippings from mowing. Instead of hauling all that to a landfill, we can turn it into nutrient-rich compost. This compost is fantastic for school gardens, landscaping, or even donated to community projects. It’s a hands-on way for students and staff to learn about sustainability and environmental responsibility.
Plus, starting a school composting program offers some awesome perks:
- Reduces Waste: Less stuff going to the landfill means lower hauling costs and a smaller environmental footprint.
- Creates Valuable Soil: This compost can be used to enrich school gardens, making them healthier and more productive.
- Educational Tool: It’s a living laboratory for science lessons, teaching about decomposition, ecosystems, and environmental stewardship.
- Fosters Teamwork: Students, teachers, and volunteers can work together, building a sense of community and shared responsibility.
- Promotes Healthy Eating: If you have a school garden, the compost helps grow fresh produce for cafeterias or farmer’s markets.
Getting a composting system going might seem a little daunting at first, but with a little planning and these easy steps, you’ll be transforming waste into black gold in no time. We’ve got a plan that’s practical, affordable, and super rewarding.
Getting Started: The Composting Committee
Before you grab a shovel, the first step is to form a team. A dedicated group is key to a successful composting program. This team will be your composting champions, taking ownership and making sure things run smoothly. Think of it as building your school’s “Composting Crew” or “Green Team.”
Who should be on this team? A good mix is best:
- Students: They’re often the most enthusiastic and can help with the daily tasks.
- Teachers: Science teachers, environmental club advisors, or even enthusiastic individuals from other departments.
- Custodial Staff: They know the school grounds and waste flow better than anyone. Their insights are invaluable!
- Administrators: Getting their buy-in is crucial for support, resources, and approvals.
- Parent Volunteers: Parents can offer extra hands and expertise.
This committee’s first job is to make a plan. What kind of composting system makes sense for your school? Where will it be located? What materials can be composted? Having these discussions early will save a lot of headaches later.
Choosing Your Composting System: What Works for Schools?

There are a few ways to compost, and the best choice for your school depends on its size, available space, and the amount of organic waste you generate. We’ll look at the most practical options for a school setting.
Option 1: The Three-Bin System
This is a classic and very effective method. It involves three connected bins, often made of wood or wire mesh. It works on a system of “cooking” your compost, with each bin representing a different stage of decomposition.
- Bin 1 (Active): This is where fresh materials are added.
- Bin 2 (Cooking): Materials from Bin 1 are moved here to heat up and break down further.
- Bin 3 (Curing): Compost from Bin 2 goes here to finish decomposing and become usable soil.
Pros:
- Efficient for larger volumes of waste.
- Allows for continuous composting.
- Produces high-quality compost.
Cons:
- Requires more space than other methods.
- Can be a bit more labor-intensive to turn and move materials.
- Higher initial setup cost if buying materials.
DIY Tip: You can build a three-bin system using salvaged wood pallets! This is a great way to save money and be resourceful. Check out resources for pallet projects for inspiration.
Option 2: Tumbler Composter
A compost tumbler is a barrel that you can rotate. This makes turning the compost really easy and can speed up the decomposition process. Tumblers are great for schools with limited space or for smaller composting projects.
Pros:
- Easy to turn and mix materials.
- Keeps pests out effectively.
- Can compost faster than stationary bins.
- Neater appearance.
Cons:
- Limited capacity; not ideal for very large volumes.
- Can be more expensive to purchase than building a bin.
- Requires some physical effort to turn, especially when full.
Option 3: Static Pile Composting
This is the simplest method. You just create a large pile of organic materials in a designated spot. It requires less construction but takes longer to break down and needs regular turning.
Pros:
- Very low setup cost and minimal construction.
- Can handle large volumes of yard waste.
- Easy to manage once established.
Cons:
- Takes longer to produce finished compost.
- Can be attractive to pests if not managed properly.
- Can look messy if not contained.
- Requires frequent turning to aerate and speed up decomposition.
Recommendation for Schools: For most schools, a well-built three-bin system offers the best balance of volume, efficiency, and educational potential. If space is very limited or you’re starting small, a sturdy tumbler is a good alternative. Static piles are best for schools with vast amounts of yard waste and minimal aesthetic concerns.
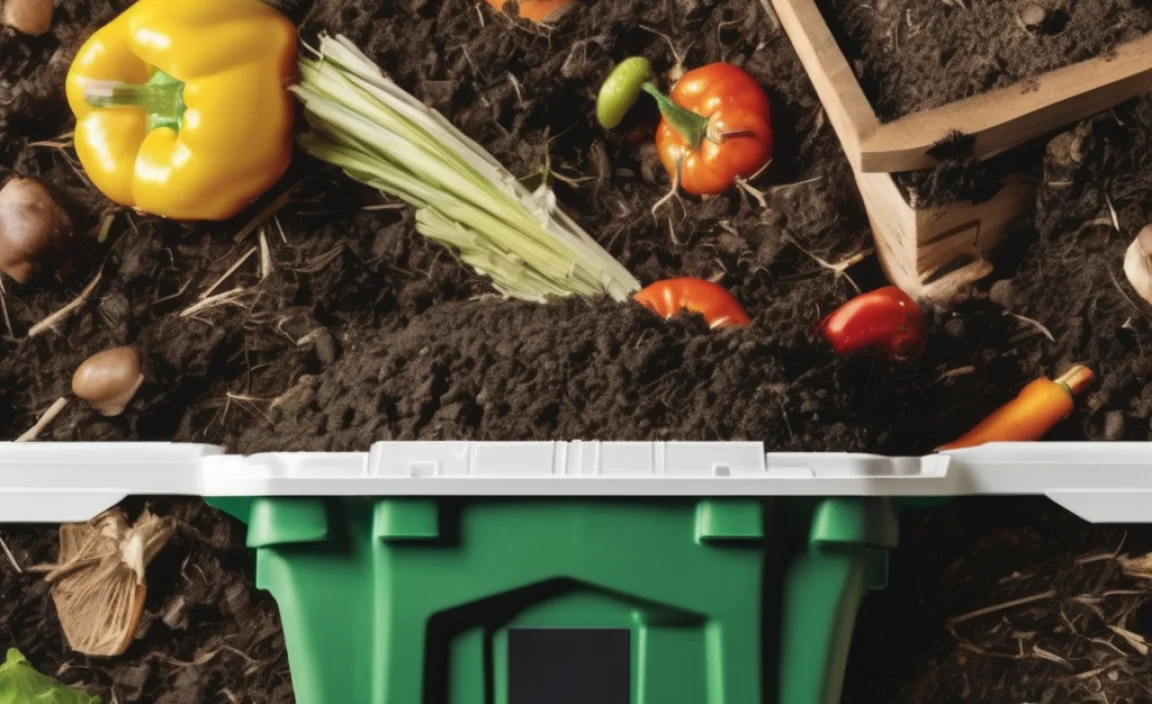
What Can You Compost? The “Greens” and “Browns”
Composting works best when you have a good balance of nitrogen-rich “greens” and carbon-rich “browns.” This balance is the secret sauce to happy decomposition! Aim for a ratio of about 2 parts browns to 1 part greens by volume.
Here’s a breakdown of what works:
“Greens” (Nitrogen-Rich Materials)
These materials add nitrogen, which helps the microbes that break down the waste multiply. They tend to be moist.
- Food Scraps: Fruit and vegetable peels, coffee grounds, tea bags (remove any staples), eggshells.
- Grass Clippings: Fresh grass clippings are great, but try to add them in thin layers to avoid matting.
- Plant Trimmings: Fresh, non-diseased plant cuttings from gardens or landscaping.
- Manure: From herbivores like horses, cows, or chickens (if available and without bedding). Avoid pet waste from carnivores.
Things to Avoid (or compost with caution):
- Meat, fish, and dairy products: These can attract pests and create odors.
- Oily or greasy foods: Similar to meat/fish, they attract pests and slow down decomposition.
- Diseased plants: To prevent spreading diseases back into your garden.
- Weeds that have gone to seed: You don’t want those seeds back in your compost!
“Browns” (Carbon-Rich Materials)
These materials add carbon, which provides energy for the microbes and helps keep the pile fluffy and aerated. They tend to be dry.
- Dry Leaves: A fantastic, readily available resource in the fall.
- Shredded Cardboard/Paper: Uncoated, unbleached paper and cardboard (like toilet paper rolls, egg cartons, plain newspaper). Avoid glossy paper or anything with a lot of ink.
- Straw or Hay: If available from local farms or stables.
- Wood Chips or Sawdust: Aged sawdust or small wood chips are best.
- Dried Grass Clippings: If you let grass clippings dry out before adding.
Things to Avoid:
- Treated lumber or wood products.
- Coal ash.
- Glossy or coated papers.
The Ideal Mix: Getting the ratio right is key. Too many greens can make the pile wet and smelly. Too many browns can make it dry and slow to decompose. Think of it as a cozy blanket for your compost critters – not too wet, not too dry, and plenty of air!
Setting Up Your Composting Station
Location, location, location! Where you put your composting system matters. You want it to be accessible but also out of the way, and somewhere that’s good for the composting process itself.
Ideal Location Factors:
- Accessibility: Easy for students, staff, and volunteers to bring scraps. Near the cafeteria or garden is ideal.
- Partial Shade: Too much direct sun can dry out the pile. Too much shade can keep it too cool and wet. A spot that gets morning sun and afternoon shade is often perfect.
- Water Source: You’ll need to moisten the pile occasionally. Being near a hose or water spigot is super helpful.
- Drainage: The area should drain well so the pile doesn’t become waterlogged.
- Airflow: Good circulation around the bins helps the process.
- Buffer Zone: If your school is in a residential area, consider placing the compost bins a reasonable distance from neighboring homes to avoid any potential odor complaints (though a well-managed pile shouldn’t smell bad!).
Building Your System (DIY Focus)
Let’s say you’re going with the three-bin system. Here’s a basic idea of what you might need and how to build it.
Materials for a Three-Bin System (using pallets):
You can often get free wooden pallets from local businesses. Make sure they haven’t been treated with harmful chemicals (look for an “HT” stamp for heat-treated, which is safe).
- Approx. 10-12 sturdy wooden pallets (size and condition may vary).
- Heavy-duty wire or zip ties, or bolts and nuts for joining.
- Hinges for an optional front gate/door on Bin 1.
- Wire mesh or hardware cloth (optional, for lining sides to improve airflow or deter rodents).
- Tools: Saw (if you need to cut pallets), drill, screwdriver, hammer, level, measuring tape, work gloves, safety glasses.
Basic Construction Steps:
- Prepare the Site: Clear and level your chosen location.
- Assemble the Back Wall: Stand three pallets side-by-side and secure them together vertically using wire, zip ties, or bolts.
- Create the Side Walls: Attach two pallets to each end of the back wall to form the outer sides of the wing bins.
- Install Internal Dividers: Attach pallets to the back wall to create the divisions between the three bins. This forms the shared back wall for bins 2 and 3.
- Add Front Walls: For Bin 1 (active bin), you might want a front that’s easy to remove or swings open. You can attach a pallet with hinges or use removable planks. For Bins 2 and 3, you can leave the front open or add some planks at the bottom for containment.
- Reinforce: Ensure all connections are strong and the structure is stable.
- Line (Optional): If you want extra rodent protection or better airflow management, you can staple wire mesh to the inside of the pallets.
Safety First: Always wear gloves and safety glasses when working with tools and pallets. Ensure the structure is stable before you start adding materials.
Managing Your Compost Pile: The Pro’s Secrets
Once your system is set up, the real fun begins – feeding your compost pile and watching it work its magic!
Layering is Key
When adding new materials, especially to an active bin or a tumbler, try to mix greens and browns. If you dump a big load of only vegetable scraps (greens), try to cover them with a layer of dry leaves or shredded cardboard (browns). This helps control odors and maintain that all-important balance.
Moisture Check
Your compost pile should feel like a wrung-out sponge – damp but not soaking wet. If it’s too dry, decomposition slows down. If it’s too wet, it can become anaerobic (without air) and smelly. You can test by grabbing a handful: if water drips out freely, it’s too wet. If it crumbles too easily, it’s too dry. Add water if dry, and add more browns if wet. A watering can or hose is your friend here.
Aeration (Turning the Pile)
Composting relies on oxygen. You need to turn the pile regularly to introduce air. This helps the microbes work efficiently and prevents that unpleasant smell.
- Three-Bin System: Use a pitchfork to move material from Bin 1 to Bin 2, and from Bin 2 to Bin 3. Turn the material as you move it. Aim to do this every week or two for the active bins.
- Tumblers: Simply turn the drum every few days.
- Static Pile: Turn the entire pile with a pitchfork every couple of weeks.
A Little Help from Friends: Red wiggler worms are excellent composters, especially for food scraps. If you can source some, they can really speed up the breakdown of kitchen waste in a dedicated worm bin or within your school compost system if temperatures are suitable.
Temperature Matters
An active, healthy compost pile will generate heat. This is a good sign! The heat is generated by the microbes breaking down the organic matter. Piles that get hot (reaching 130-160°F or 54-71°C) are more effective at killing weed seeds and pathogens. This is why turning and mixing are so important – they help maintain the aerobic conditions needed for this heating process.
When is Compost Ready?
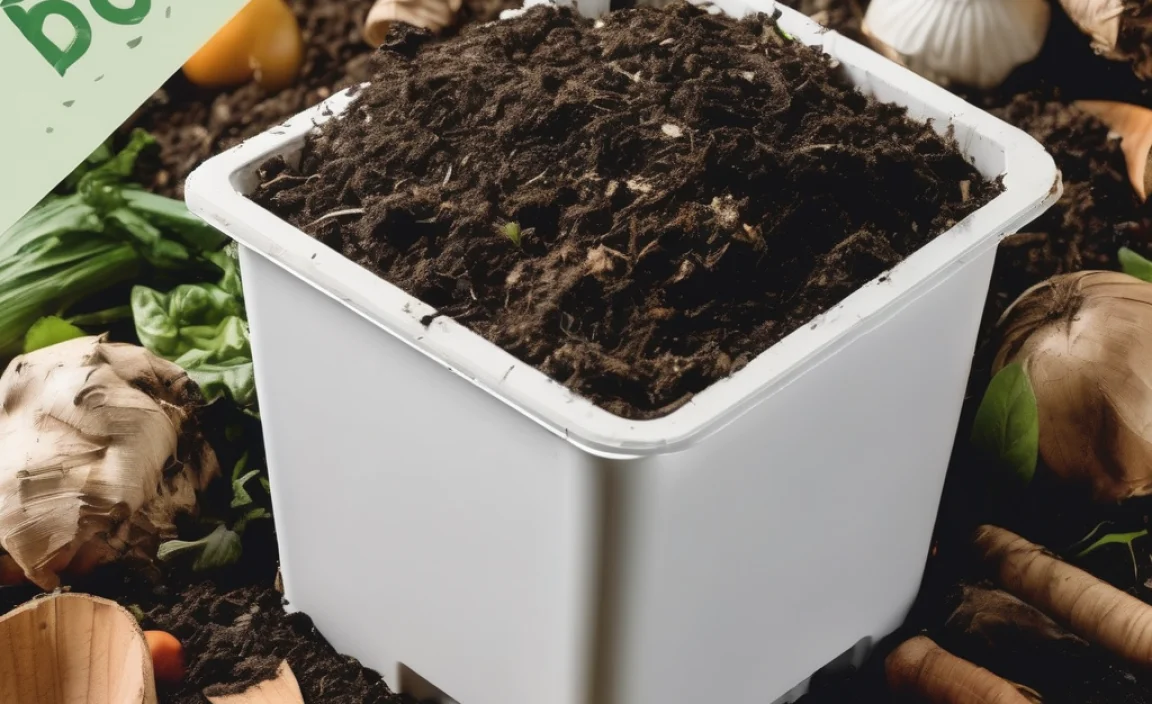
Patience is a virtue when composting! Finished compost should be dark, crumbly, and smell earthy, like a forest floor. You shouldn’t be able to recognize the original materials.
The time it takes varies greatly depending on:
- The materials used.
- The size of the materials (smaller pieces break down faster).
- The balance of greens and browns.
- How often it’s turned and aerated.
- Moisture levels and temperature.
Generally, a well-managed compost system can produce usable compost in 2-4 months. Less managed systems, like static piles, might take 6-12 months or even longer.
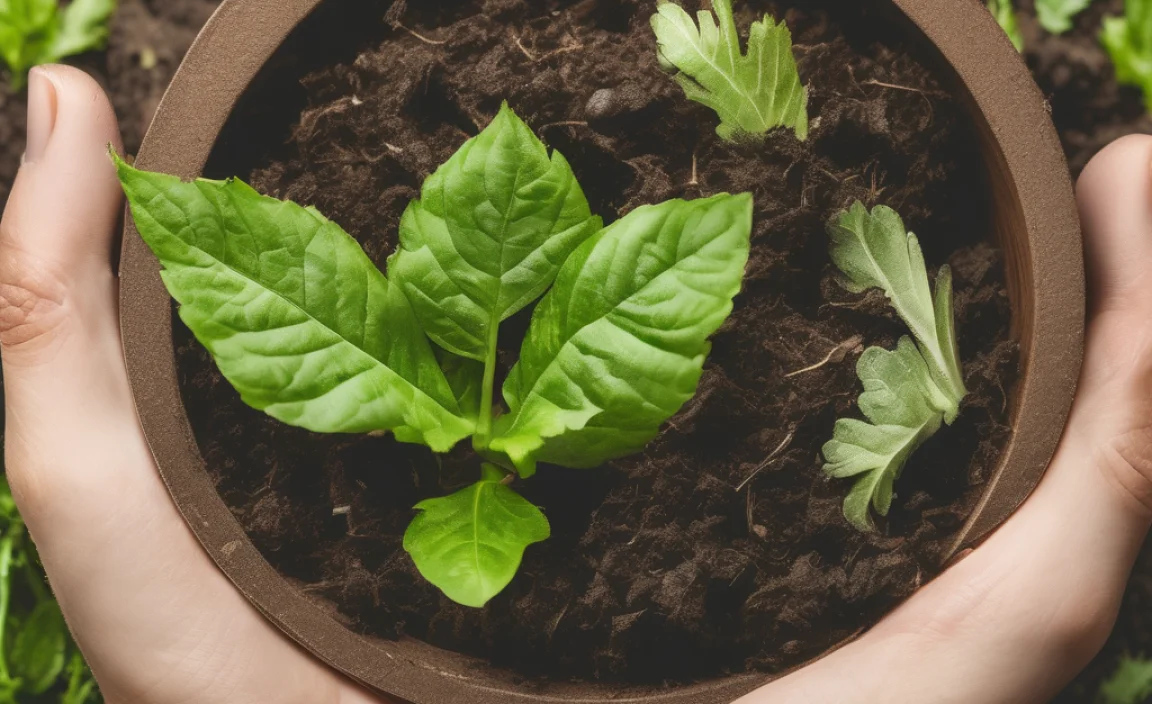
Using Your Finished Compost
Once it’s ready, your compost is a fantastic garden amendment! You can:
- Mix it into the soil of school gardens before planting.
- Use it as a top dressing around trees and shrubs.
- Incorporate it into potting mixes for container plants.
- Offer it to students, staff, or community members.
Compost improves soil structure, helps retain moisture, and provides essential nutrients for plants, leading to healthier growth.
Troubleshooting Common Composting Problems
Even the best composters run into a few snags now and then. Here are some common issues and how to fix them:
| Problem | Cause | Solution |
|---|---|---|
| Bad Odor (Ammonia/Rotten Eggs) | Too many “greens” (nitrogen-rich), too wet, or not enough air. | Add more “browns” (carbon-rich materials like dry leaves, shredded cardboard). Turn the pile to aerate it. Ensure good drainage. |
| Pile is Dry and Not Heating Up | Not enough “greens” (moisture), too many “browns,” or insufficient moisture. | Add more “greens.” Moisten the pile with water – aim for damp, not soggy. Turn to distribute moisture. |
| Pile is Not Decomposing | Too dry, too cold, not enough
.lwrp.link-whisper-related-posts{ margin-top: 40px; }.lwrp .lwrp-description{ } max-width: 150px; }@media screen and (max-width: 480px) { } }.lwrp .lwrp-description{ } max-width: initial; }; |

I am passionate about home engineering. I specialize in designing, installing, and maintaining heating, ventilation, and air conditioning systems. My goal is to help people stay comfortable in their homes all year long.