Hey there, home improvers and garden enthusiasts! Troy D Harn here. Ever feel like your food scraps and yard waste are just… waste? It’s a common puzzle, but what if I told you there’s a super-simple way to turn that “trash” into garden gold? We’re talking about composting! And today, we’re focusing on something really special: making composting work for schools. It’s a fantastic way for students to learn about nature, reduce waste, and even grow their own food. Don’t worry, it’s easier than you might think. We’ll walk through the best ways to get a school composting program rolling, step-by-step. Get ready to become a composting hero!
Composting For Schools Methods: Genius Eco-Action
Schools generate a lot of organic waste. Think lunch scraps, garden trimmings, and paper towels. Instead of sending all that to the landfill, imagine turning it into rich soil that can be used in school gardens or donated to the community. Composting for schools is a brilliant way to teach kids about sustainability, environmental responsibility, and natural cycles. It’s a hands-on learning experience that goes beyond textbooks. Plus, it helps reduce a school’s environmental footprint. Let’s explore some smart and simple composting methods that can make a big difference in any school setting.
Why Compost at School? The Big Benefits
Getting composting programs started in schools is more than just a trendy eco-project; it’s a vital step towards building a more sustainable future. The impact is felt on multiple levels, from the environment to the students themselves. Let’s break down why this is such a genius eco-action:
- Environmental Stewardship: Reduces landfill waste, which cuts down on harmful methane gas emissions. It also creates nutrient-rich soil, saving money on fertilizers and improving local soil health.
- Educational Opportunities: Provides a living laboratory for science lessons! Students can learn about decomposition, ecosystems, plant growth, and the importance of reducing waste. It’s practical, hands-on learning that sticks.
- Cost Savings: Less waste sent to the landfill can mean lower waste disposal fees for the school. The compost produced can be used in school gardens, reducing the need to buy soil and mulch.
- Community Engagement: School composting projects can partner with local community gardens or farms, fostering a sense of shared responsibility and community pride.
- Healthier Food: If a school has a garden that uses compost, students can enjoy healthier, fresh produce they helped grow.
Choosing the Right Composting Method for Your School
Not all composting methods are created equal, especially when you’re dealing with the volume and variety of organic waste a school might produce. The best choice depends on the school’s size, available space, budget, and the level of involvement you expect from students and staff. Here are a few popular and effective methods:
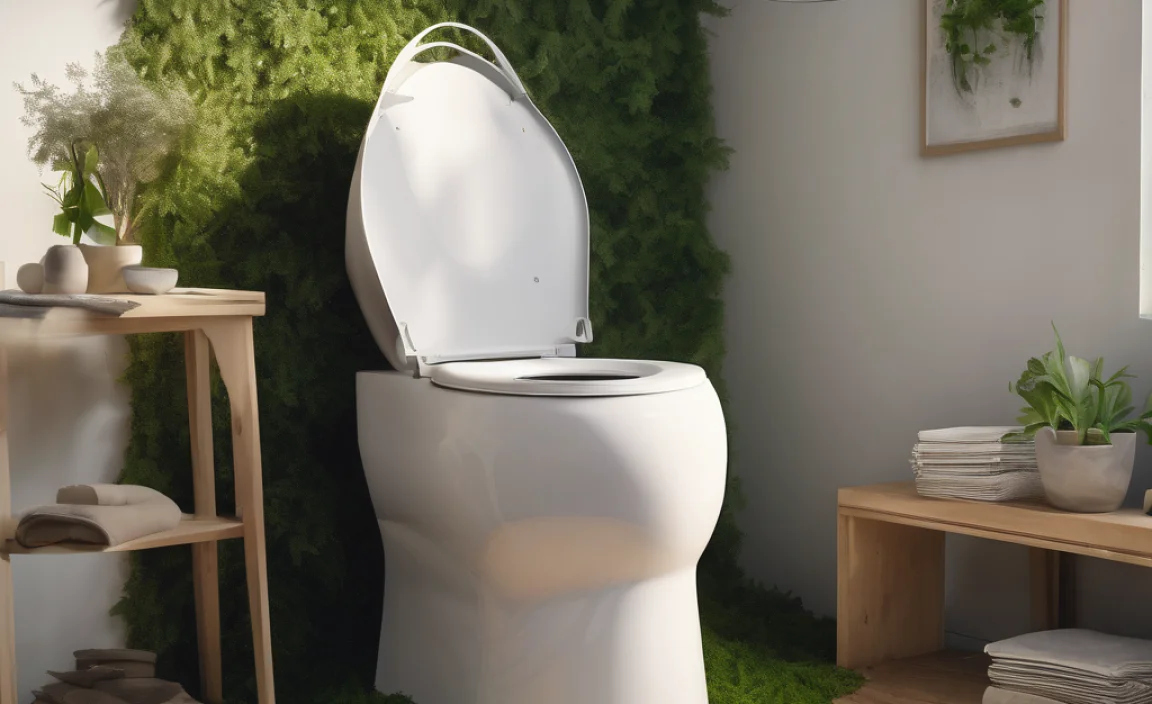
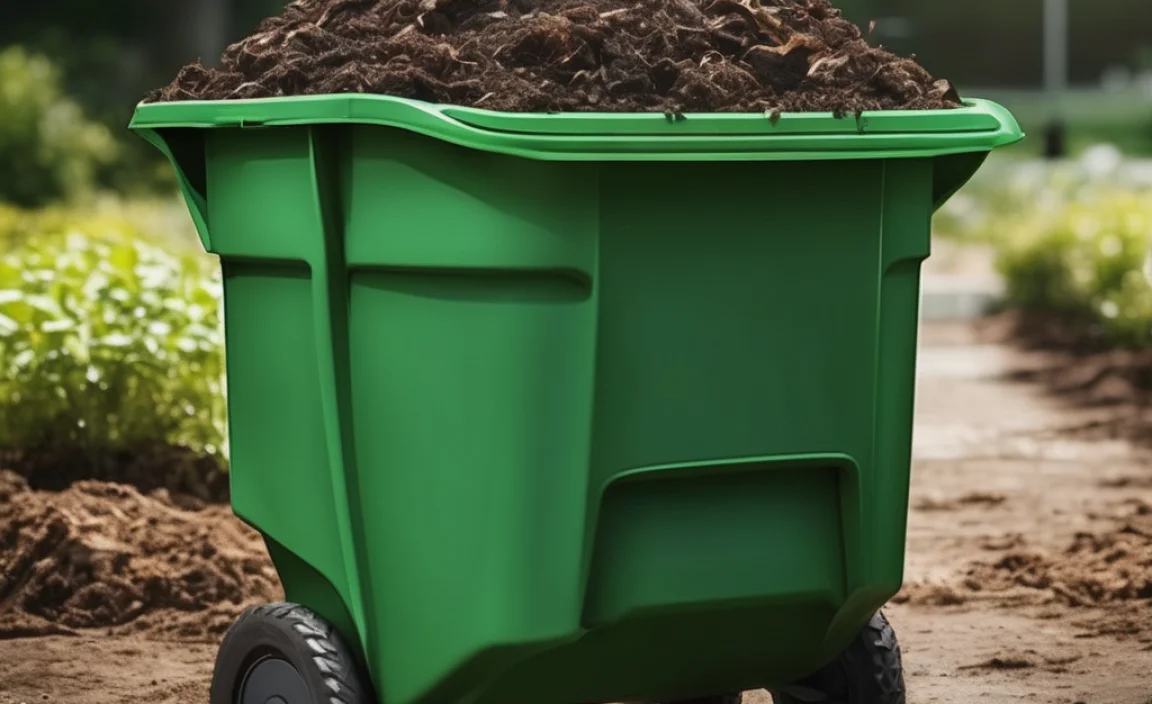
1. The Simple Bin or Tumbler System
This is a great starting point for many schools, especially those with limited space or a smaller student population. A compost bin or a compost tumbler is a contained system that makes managing the compost pile easier and tidier.
- How it Works: Organic materials are placed inside a bin or tumbler. For tumblers, you simply turn a crank to mix the contents. For stationary bins, manual turning with a pitchfork or compost aerator is needed periodically.
- Pros:
- Relatively inexpensive to set up.
- Keeps pests out better than open piles.
- Contained and tidier, good for visible areas.
- Tumblers are faster and more efficient for mixing.
- Cons:
- Can have limited capacity for large schools.
- Stationary bins require more physical effort to turn.
- Tumblers can be more expensive upfront.
- Best For: Elementary schools, smaller middle schools, or schools with limited space for a dedicated composting area.
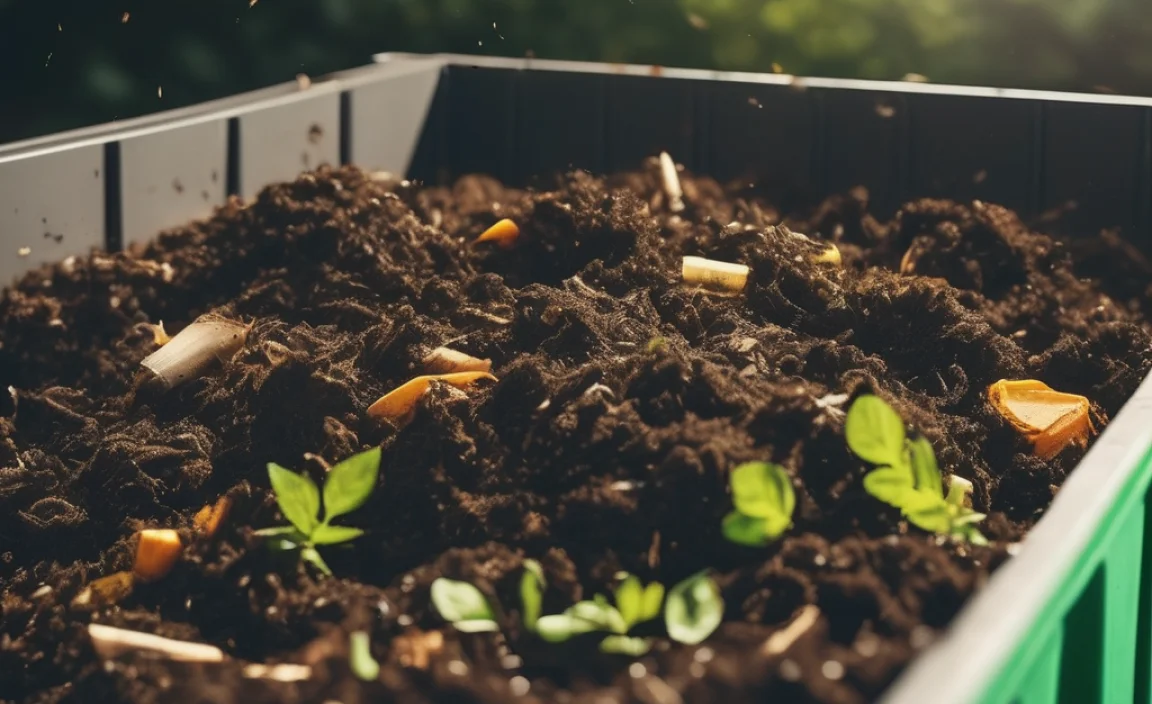
2. The Three-Bin System (Hot Composting)
This method is more robust and can handle larger volumes of organic material relatively quickly. It’s ideal for schools that have a consistent supply of food scraps and yard waste, and a bit more space.
- How it Works: Three bins are set up side-by-side. The first bin is for adding fresh materials. Once it’s full, the contents are turned into the second bin, where decomposition really heats up. After a week or two, it’s moved to the third bin to finish curing. This continuous process allows for efficient composting. A well-managed hot compost pile can reach temperatures of 130–160°F (54–71°C), which kills weed seeds and pathogens.
- Pros:
- Handles large volumes of material efficiently.
- Composts faster than passive methods.
- Produces high-quality compost.
- Can kill weed seeds and pathogens due to high temperatures.
- Cons:
- Requires more space and planning to set up.
- Needs regular turning and monitoring (temperature, moisture).
- Requires a good balance of “greens” (food scraps, grass clippings) and “browns” (leaves, shredded cardboard).
- Best For: Middle schools, high schools, or schools with active gardening programs and a dedicated groundskeeping or environmental club.
3. Vermicomposting (Worm Composting)
This is a fantastic, engaging method that’s perfect for indoor spaces and can be a huge hit with younger students. It uses specific types of worms (like red wigglers) to break down food scraps.
You can learn more about the science behind vermicomposting from resources like the EPA’s guide to vermicomposting.
- How it Works: Red wigglers are placed in a bin with bedding (like shredded newspaper or coco coir). Food scraps are added, and the worms eat them, producing nutrient-rich worm castings (vermicompost).
- Pros:
- Excellent for indoor use (classrooms, cafeterias).
- Produces very high-quality compost (worm castings).
- Highly engaging for students; worms are fascinating!
- Can process a wide range of food scraps, including fruits and vegetables.
- Cons:
- Limited capacity compared to other methods.
- Requires managing a live ecosystem (worms).
- Cannot handle large volumes of yard waste.
- Takes longer to produce compost than hot composting.
- What to Compost (Worms Love!):
- Fruit and vegetable scraps
- Coffee grounds and tea bags
- Crushed eggshells
- Shredded newspaper and cardboard (in moderation)
- What to Avoid: Meat, dairy, oily foods, citrus in large quantities, pet waste.
- Best For: Individual classrooms, science labs, or as a supplement to a larger school composting system.
4. In-Vessel Composting (Commercial Systems)
For larger schools willing to invest a bit more, in-vessel systems are efficient, contained, and can handle significant amounts of waste. These are often specialized machines.
- How it Works: Organic materials are loaded into a sealed container or drum. These systems often have automated features for aeration and temperature control, speeding up the composting process. They’re designed to minimize odors and pests.
- Pros:
- High capacity and fast processing.
- Excellent odor and pest control.
- Can be largely automated, requiring less manual labor.
- Compost quality is usually excellent.
- Cons:
- Significant upfront cost compared to DIY methods.
- Requires regular maintenance and understanding of the equipment.
- May need electricity to run.
- Best For: Large school districts, schools with a strong commitment to waste reduction, or those looking for a professional, low-maintenance solution.
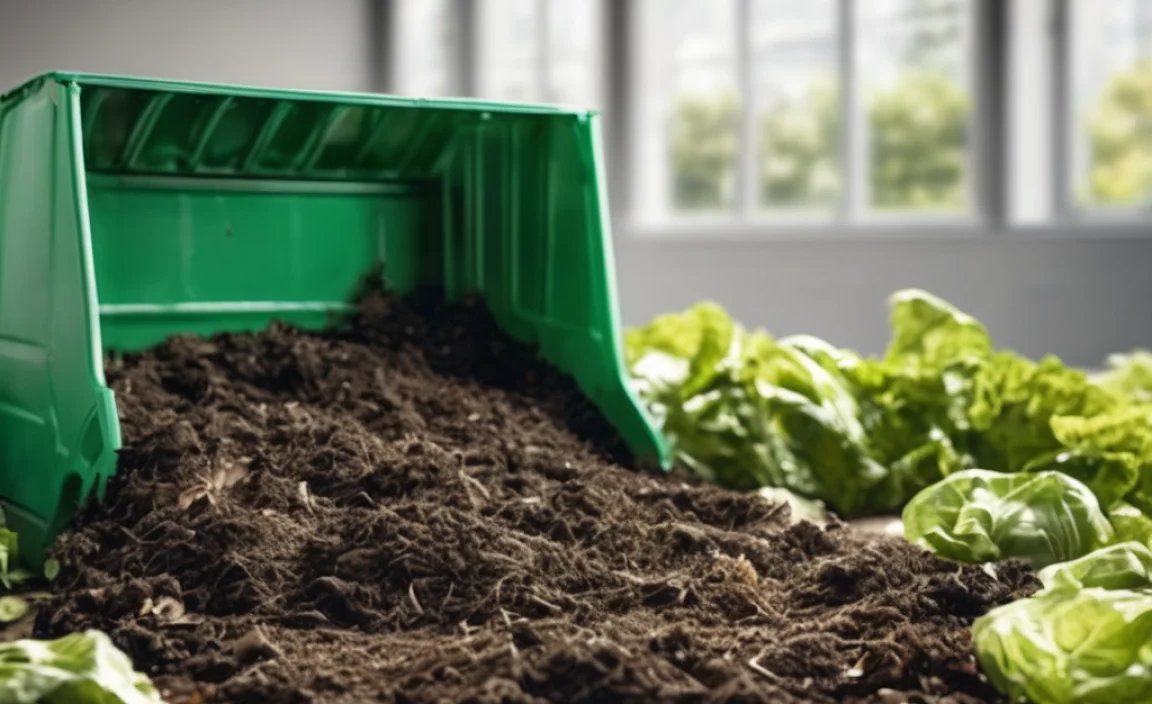
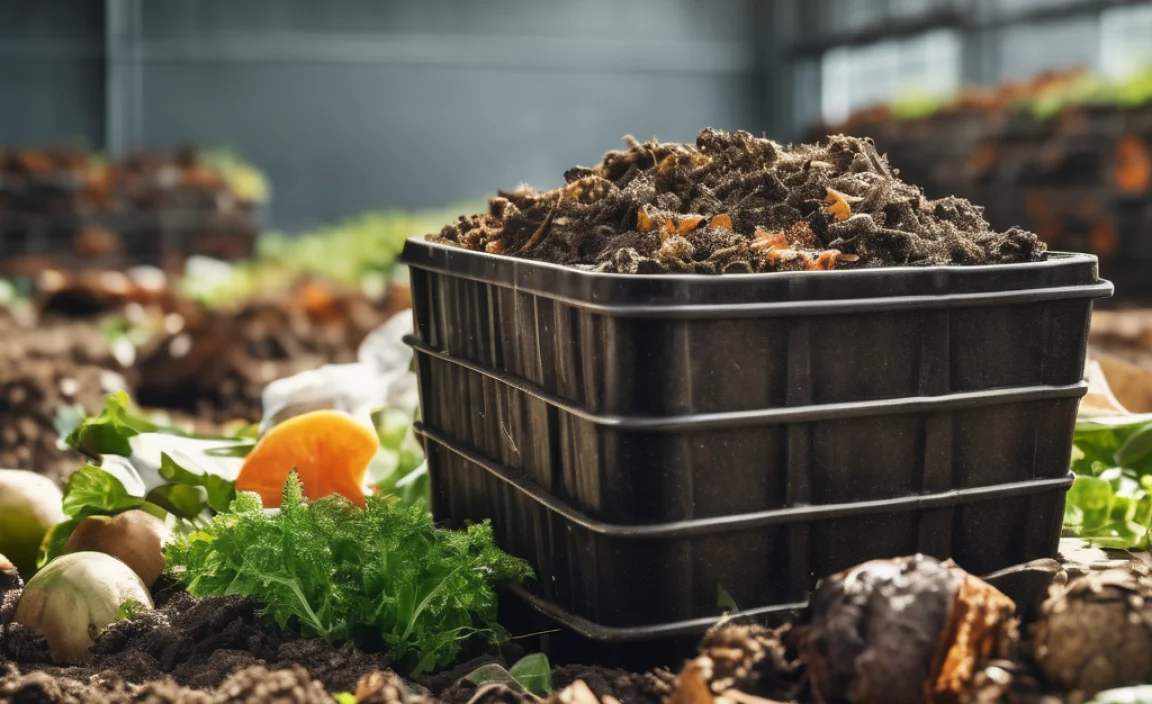
What Can Schools Compost? (And What to Keep Out!)
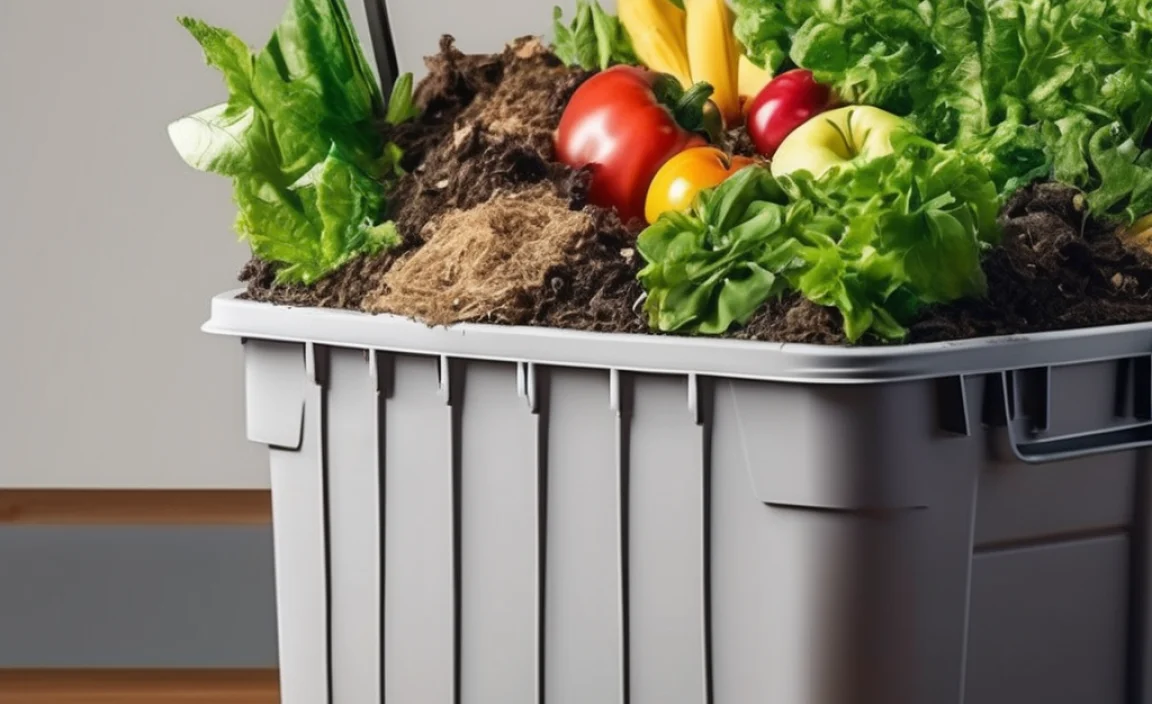
Getting the right mix of materials is key to successful composting. It’s often described as balancing “greens” and “browns.”
Greens (Nitrogen-rich): These are typically wet materials that provide nitrogen for the compost pile. They help it heat up and break down faster.
- Fruit and vegetable scraps (from cafeterias and classrooms)
- Grass clippings
- Coffee grounds and tea bags
- Eggshells (crushed)
- Plant trimmings (from school gardens or landscaping)
Browns (Carbon-rich): These are drier materials that provide carbon. They add bulk to the pile, help with aeration, and prevent the compost from becoming a slimy mess.
- Dry leaves
- Shredded newspaper (black and white ink is fine)
- Shredded cardboard (uncoated)
- Straw or hay
- Wood chips or sawdust (in moderation)
What to Keep Out:
- Meat, fish, and bones: Attract pests and can create odors.
- Dairy products: Also attract pests and create odors.
- Oils, grease, and fats: Slow down decomposition and attract pests.
- Diseased plants: Can spread disease back into the garden.
- Weeds that have gone to seed: May survive the composting process and sprout in your garden.
- Inorganic materials: Plastic, metal, glass, Styrofoam – these don’t break down and contaminate the compost.
- Pet waste (dog/cat feces): Can contain harmful pathogens.
Setting Up Your School Composting Program: A Step-by-Step Guide
Ready to get composting? Here’s a general roadmap to help you launch a successful program at your school. Remember to involve students, teachers, and administrative staff – it’s a community effort!
Step 1: Form a Green Team
Assemble a dedicated team. This could be an environmental club, a group of passionate teachers, parents, or even student volunteers. This team will be the driving force behind the program.
Step 2: Choose Your Method(s)
Based on the school’s size, budget, space, and waste volume, select the composting method that best fits. You might even use a combination of methods (e.g., vermicomposting in classrooms and a three-bin system for yard waste).
Step 3: Secure a Location
Find a suitable spot for your compost system. It should be:
- Accessible for collecting scraps.
- Away from main building entrances to minimize any potential odors.
- Have decent sunlight (to help heat the pile) but not be completely exposed to harsh weather.
- Have a water source nearby for moisture management.
- Safe and secure.
Step 4: Gather Your Supplies
Depending on your chosen method, you’ll need:
- Compost Bin/Tumbler/In-Vessel System: Purchase or build one. Building your own can be a great DIY project with students!
- Collection Bins: Small bins for classrooms, cafeterias, and offices to collect food scraps. Lidded bins are good to manage moisture and odors.
- Tools: Pitchfork or compost aerator for turning (for bin systems), shovel, wheelbarrow, watering can or hose.
- “Brown” Materials: Plan where you’ll source dry leaves or shredded paper.
- Signage: Clear signs explaining what can and cannot be composted are essential.
Step 5: Develop a Collection System
Plan how organic waste will be collected daily. This involves:
- Setting up collection bins in the cafeteria, staff rooms, and potentially classrooms.
- Establishing a schedule for collecting these bins and transporting the contents to the main compost system.
- Educating students and staff on proper sorting.
Step 6: Start Composting!
Begin adding your collected organic materials to the compost system. Remember to:
- Layer: Start with a layer of “browns” at the bottom for aeration. Then alternate layers of “greens” and “browns.” A good rule of thumb is about 2-3 parts browns to 1 part greens.
- Chop if needed: Smaller pieces break down faster.
- Maintain Moisture: The compost should feel like a damp sponge. Add water if it’s too dry, and more browns if it’s too wet.
- Aerate: Turn the compost pile regularly (every week or two for hot composting) to provide oxygen for the microbes.
Step 7: Educate and Engage
This is crucial for long-term success. Hold assemblies, create posters, integrate composting into lesson plans, and involve students in managing the compost. The more they understand and participate, the more successful the program will be.
Step 8: Monitor and Troubleshoot
Keep an eye on your compost. Is it too wet? Too dry? Smelly? Pests? These are common issues with simple fixes (add browns for smell/wetness, add water for dryness, ensure bins are secure for pests).
For more detailed guidance on compost ratios and troubleshooting, resources like the EPA’s composting at home page offer excellent fundamental principles that apply to school settings.
Composting Materials Comparison Table
To make it super clear what goes where and why, here’s a handy comparison of common composting materials:
| Material Type | “Green” or “Brown”? | Why It’s Good for Compost | Potential Issues/Notes |
|---|---|---|---|
| Fruit & Vegetable Scraps | Green | Provides nitrogen, breaks down quickly. | Can become wet and smelly if too much is added without enough browns. |
| Grass Clippings | Green | Rich in nitrogen. | Can compact and become a slimy, smelly mat if added in large amounts at once. Mix well with browns. |
| Dry Leaves | Brown | Adds carbon, creates air pockets. | Can be bulky; shredding makes them decompose faster. Best if collected in fall. |
| Shredded Newspaper/Cardboard | Brown | Adds carbon and absorbs moisture. | Use non-glossy, black-and-white print. Shredding is essential. |
| Coffee Grounds & Tea Bags | Green | Adds nitrogen and valuable micronutrients. | Generally compost well. Remove staples from tea bags if possible. |
| Crushed Eggshells | Green (slightly) | Adds calcium, helps balance pH. | Must be crushed well to break down. |
| Meat & Dairy Products | Avoid | Attract pests, cause foul odors, decompose slowly. | Not suitable for most school composting setups. |
| Oily Foods | Avoid | Slows decomposition, attracts pests, can make compost anaerobic. | Best to exclude from any compost system for schools. |
Tips for Success with School Composting
Launching a composting program is fantastic, but keeping it running smoothly requires a few smart strategies. Here are some tried-and-true tips to ensure your school’s eco-action is a resounding success:
- Start Small and Scale Up: Don’t try to compost everything at once. Begin with a pilot program in one or two areas (like the cafeteria) and expand as you gain experience and build momentum.
- Clear Communication is Key: Ensure everyone – students, teachers, cafeteria staff, custodians, and administrators – knows the plan, understands their role, and what goes into the compost. Use clear, visual signage.
- Make it Fun! Inject enthusiasm into the program. Host compost-building events, create contests for the best compost collection bin, or have students track the progress of the compost pile.
- Integrate into Curriculum: Work with teachers to tie composting into science lessons, math (measuring and tracking volume), or even art projects (making compost bins or signs).
.lwrp.link-whisper-related-posts{
margin-top: 40px;
margin-bottom: 30px;
}
.lwrp .lwrp-title{
}.lwrp .lwrp-description{
}
.lwrp .lwrp-list-container{
}
.lwrp .lwrp-list-multi-container{
display: flex;
}
.lwrp .lwrp-list-double{
width: 48%;
}
.lwrp .lwrp-list-triple{
width: 32%;
}
.lwrp .lwrp-list-row-container{
display: flex;
justify-content: space-between;
}
.lwrp .lwrp-list-row-container .lwrp-list-item{
width: calc(25% – 20px);
}
.lwrp .lwrp-list-item:not(.lwrp-no-posts-message-item){
max-width: 150px;
}
.lwrp .lwrp-list-item img{
max-width: 100%;
height: auto;
object-fit: cover;
aspect-ratio: 1 / 1;
}
.lwrp .lwrp-list-item.lwrp-empty-list-item{
background: initial !important;
}
.lwrp .lwrp-list-item .lwrp-list-link .lwrp-list-link-title-text,
.lwrp .lwrp-list-item .lwrp-list-no-posts-message{
}@media screen and (max-width: 480px) {
.lwrp.link-whisper-related-posts{
}
.lwrp .lwrp-title{
}.lwrp .lwrp-description{
}
.lwrp .lwrp-list-multi-container{
flex-direction: column;
}
.lwrp .lwrp-list-multi-container ul.lwrp-list{
margin-top: 0px;
margin-bottom: 0px;
padding-top: 0px;
padding-bottom: 0px;
}
.lwrp .lwrp-list-double,
.lwrp .lwrp-list-triple{
width: 100%;
}
.lwrp .lwrp-list-row-container{
justify-content: initial;
flex-direction: column;
}
.lwrp .lwrp-list-row-container .lwrp-list-item{
width: 100%;
}
.lwrp .lwrp-list-item:not(.lwrp-no-posts-message-item){
max-width: initial;
}
.lwrp .lwrp-list-item .lwrp-list-link .lwrp-list-link-title-text,
.lwrp .lwrp-list-item .lwrp-list-no-posts-message{
};
}

I am passionate about home engineering. I specialize in designing, installing, and maintaining heating, ventilation, and air conditioning systems. My goal is to help people stay comfortable in their homes all year long.