Ever wondered how to turn school scraps into rich soil? It seems like a big task, right? Many schools want to compost but aren’t sure where to start. It feels complicated, with lots of steps and things to remember. But what if I told you it’s totally doable, even for a school with a busy schedule? We’ll break down the composting for schools process step-by-step, making it easy for everyone. Get ready to learn how your school can become a composting pro!
Composting For Schools Process: Your Genius, Easy-Peasy Guide
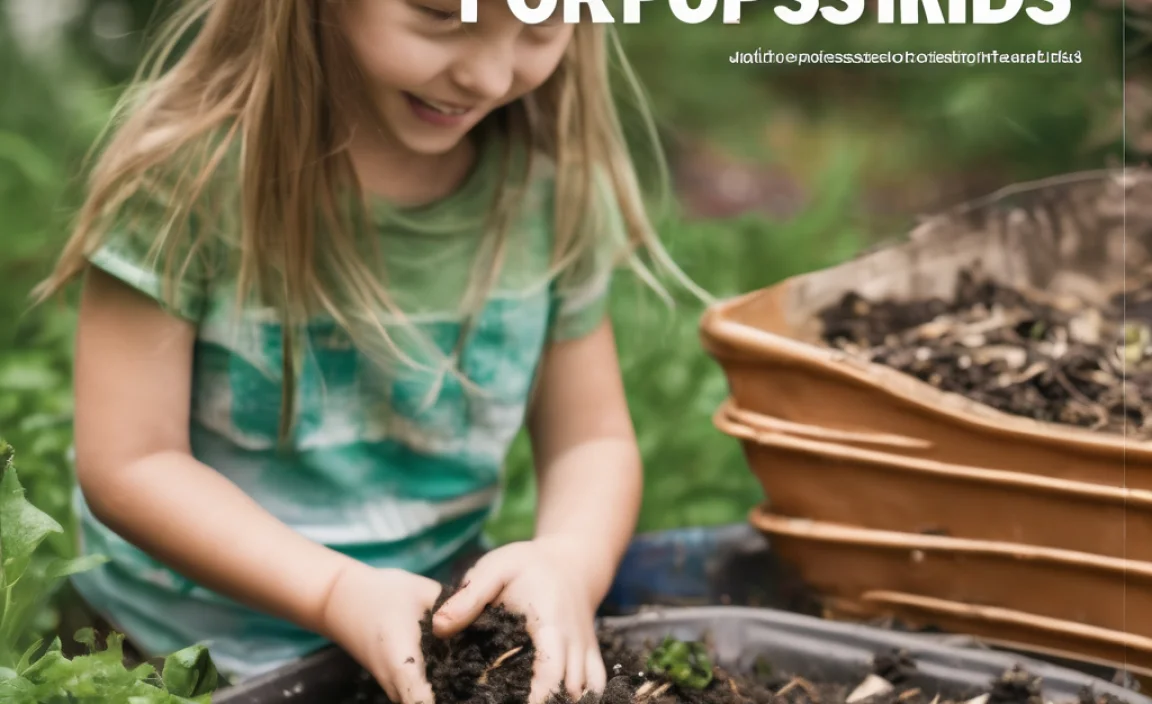
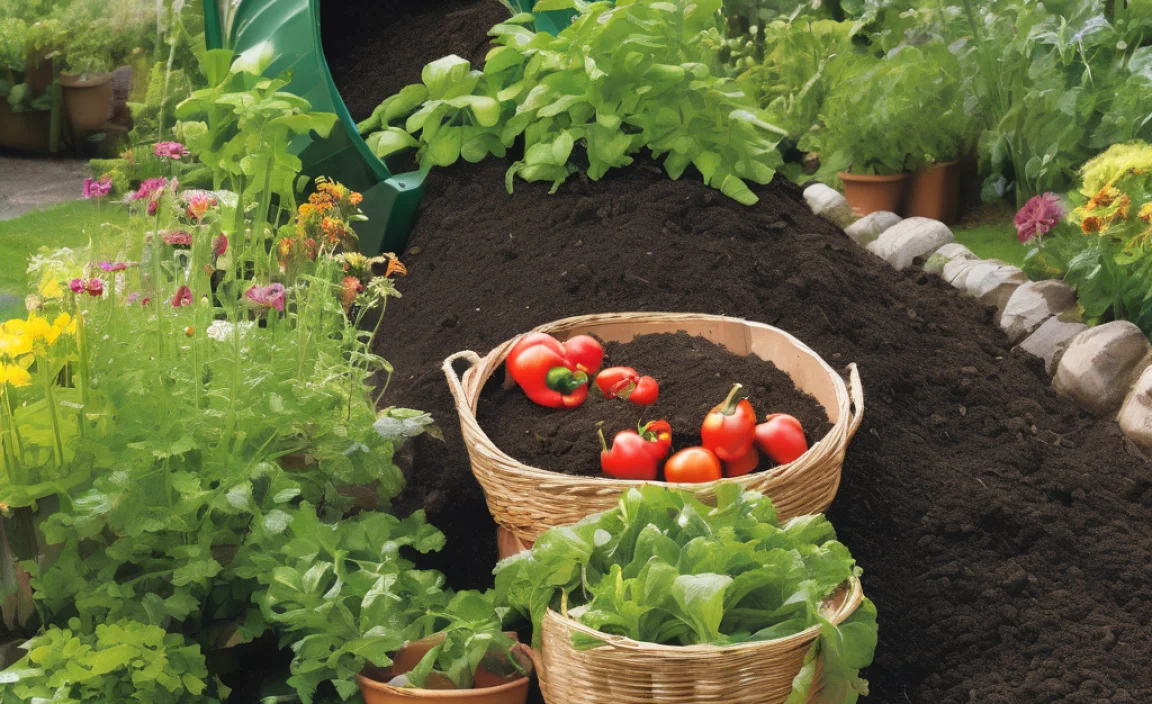
Hey everyone, Troy D Harn here! I love making tricky home and garden stuff simple for you. Today, we’re talking about something super cool: composting for schools. Imagine all the leftover food from lunch, the leaves from the playground, and those paper scraps from art class. Instead of sending all that to the landfill, we can turn it into amazing food for gardens. This guide is all about making the composting for schools process smooth and successful. We’ll cover everything from what you need to know to how to get everyone involved. Let’s turn those waste bins into treasure chests!
Why Should Schools Compost? The Big Benefits!
So, why bother with composting in schools? It’s more than just a neat idea; it’s packed with awesome advantages for students, the environment, and even the school budget. Let’s break down the ‘whys’:
- Environmental Powerhouse: Landfills are overflowing, and food waste is a major contributor. Composting diverts waste, reduces harmful greenhouse gases like methane, and helps build healthier soil. It’s a direct way students can help the planet!
- Educational Goldmine: Composting is a living science lesson. Students learn about decomposition, nutrient cycles, ecosystems, and where their food comes from. It connects classroom learning to real-world impact.
- Cost Savings: Reducing the amount of trash sent to landfills can lower waste disposal fees for the school. Plus, the compost created can be used in school gardens or landscaping, saving money on soil and fertilizer.
- Fostering Responsibility: Getting students involved teaches them about sustainability, resource management, and teamwork. It builds a sense of pride and ownership in their school community.
- Healthier School Grounds: Rich compost improves soil health, leading to more vibrant plants and gardens. This can create more appealing outdoor learning spaces and even provide fresh produce for school cafeterias.
Understanding the Basics: What is Composting?

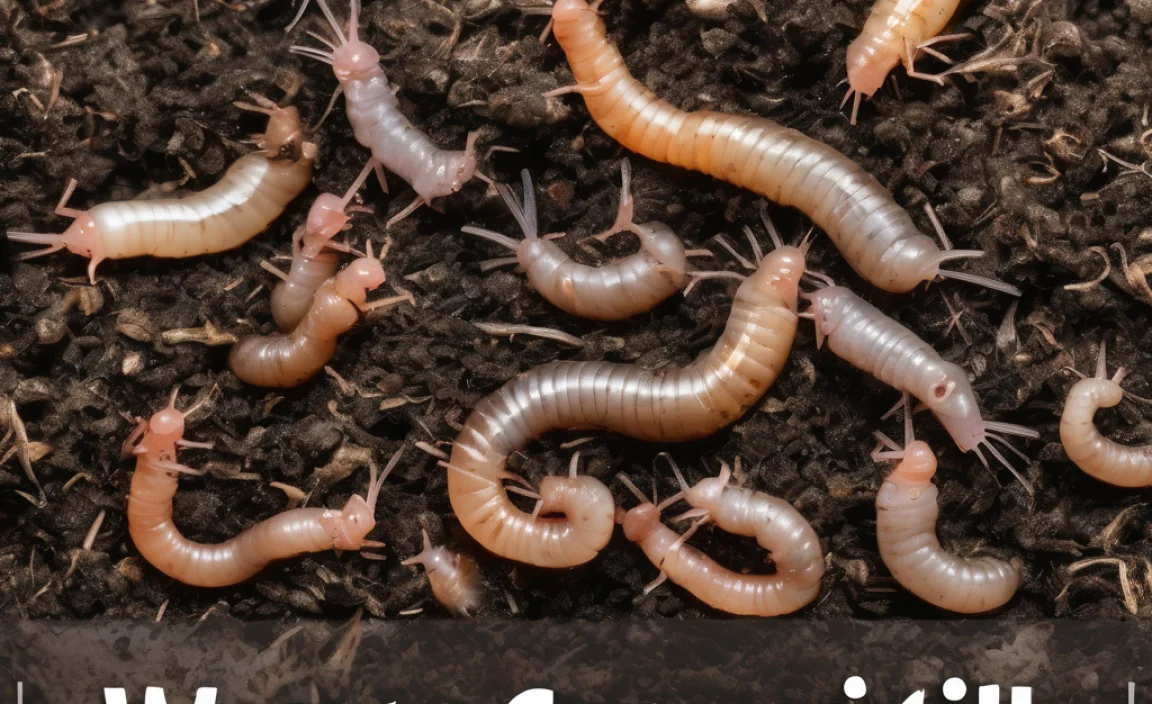
At its heart, composting is nature’s way of recycling. It’s a natural process where organic matter (like food scraps and yard waste) breaks down into a rich, soil-like material called compost. Think of it as a big, organized party for tiny organisms like bacteria, fungi, and worms. They munch away on the organic stuff, turning it into something incredibly valuable for plants.
For composting to work well, you need a few key ingredients:
- Greens (Nitrogen-Rich): These are typically wet materials that provide nitrogen. Think fruit and vegetable scraps, coffee grounds, tea bags, and grass clippings.
- Browns (Carbon-Rich): These are drier materials that provide carbon. Examples include dry leaves, shredded paper and cardboard, twigs, and straw.
- Water: Compost needs to be moist, like a wrung-out sponge. Too dry, and decomposition slows down. Too wet, and it can turn smelly.
- Air: Microbes need oxygen to do their work. Turning or aerating the compost pile helps provide this.
Getting the right balance of greens and browns is super important for successful composting. Too much green can make it slimy and smelly, while too much brown can make it dry and slow to decompose.
The Composting For Schools Process: Step-by-Step
Ready to dive into the actual process for a school? Here’s how we can make it happen, broken down into manageable steps:
Step 1: Form Your Green Team & Plan!
You can’t do this alone! Gather a dedicated team. This could include:
- Teachers (science, environmental clubs)
- Custodial staff (crucial for logistics)
- Students (enthusiastic volunteers!)
- School administrators (for support and approvals)
- Parent volunteers
Discuss with your team:
- What materials will you collect? (Start small!)
- Where will you collect them from? (Cafeteria, classrooms, staff rooms?)
- Where will the compost bins be located? (Needs to be accessible but not disruptive)
- What type of bin will you use? (More on this below!)
- Who will manage the bins and turning?
- How will you educate students and staff?
Step 2: Choose Your Composting Method & Bins
There are several ways to compost, and the best choice depends on your school’s space, resources, and the volume of waste you aim to handle. Here are a few popular options:
Option A: Tumbler Bins
These are enclosed, rotating bins. They’re great for keeping pests out and can speed up decomposition because they’re easy to mix. They are a good choice for smaller schools or if you have limited space and want a tidy look.
- Pros: Pest-resistant, faster composting times, contained.
- Cons: Can be expensive, might have capacity limits.
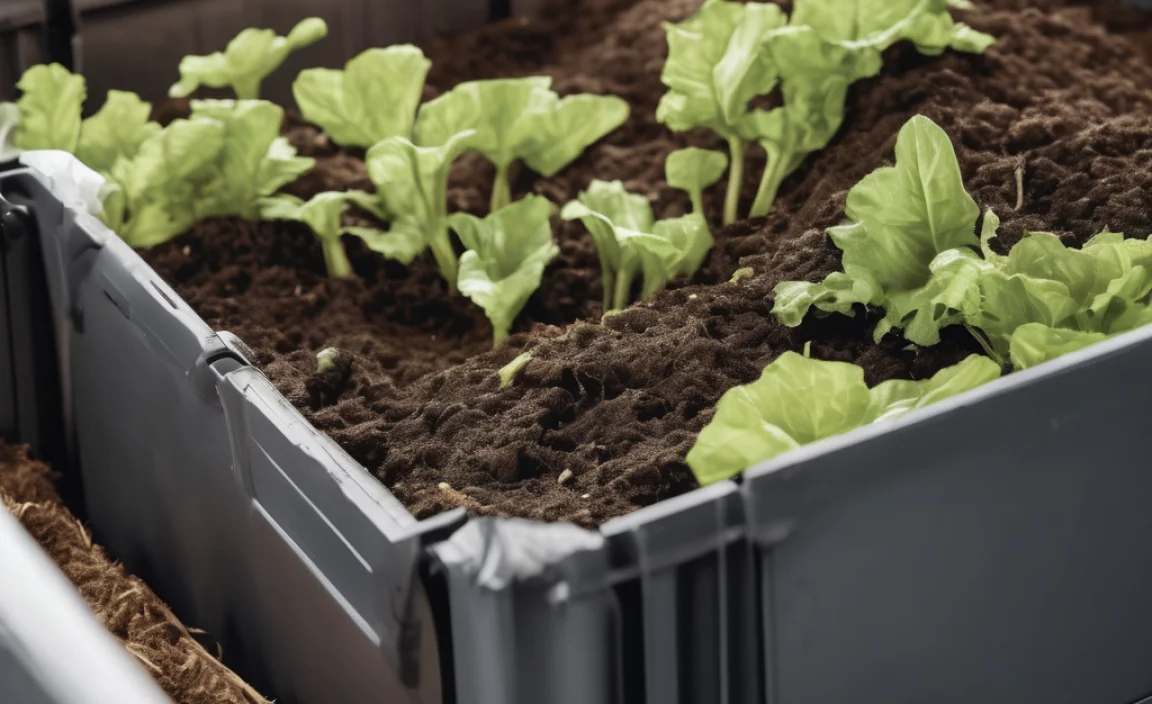
Option B: Piled Composting (Open Bins)
This involves creating compost piles, often contained within wooden or wire bins. It’s a more traditional method and good for larger volumes of material. You’ll need a bit more space for this.
- Pros: Can handle large volumes, generally less expensive to set up, easier to access for turning.
- Cons: Might attract pests if not managed well, requires more space, can be messier.
Option C: Worm Composting (Vermicomposting)
This uses red wiggler worms to break down food scraps. It’s fantastic for smaller amounts of food waste and can be done indoors or outdoors. It’s a highly engaging method for younger students.
- Pros: Very efficient for food scraps, produces nutrient-rich worm castings, engaging for kids.
- Cons: Specific temperature needs, can’t handle large volumes of garden waste, requires managing live critters.
For many schools, a combination of methods might work best. For example, a tumbler for cafeteria waste and a larger pile for yard debris.
Step 3: Set Up Collection Stations
This is where the magic starts! You need easy ways for people to contribute.
- Cafeteria: Place clearly labeled bins for food scraps (no meat, dairy, or oily foods initially for simplicity). Use signs to show what goes where.
- Classrooms: Small countertop bins for paper scraps, non-food items.
- Staff Lounge: Similar to classroom collection.
- Outdoors: A designated spot for yard waste collection (leaves, grass clippings).
Tip: Keep collection bins in high-traffic areas but make sure they are emptied regularly to prevent odors or pests.
Step 4: Educate & Engage!
Sustained success relies on everyone knowing what to do. Make education a priority:
- Assemblies: Kick off the program with fun presentations.
- Posters & Signage: Clear, visual guides on what can and cannot be composted.
- Classroom Activities: Integrate composting into science lessons.
- Student Champions: Train student volunteers to help monitor collection bins and spread the word.
- Staff Training: Ensure all staff know the protocols.
A great resource for educational materials on composting can be found from organizations like the U.S. Environmental Protection Agency (EPA), which offers guides specifically for school composting initiatives.
Step 5: Manage Your Compost Pile/Bin
This is the core of the composting for schools process. You’ll need to manage the “ingredients” and their environment:
Adding Materials:
- Layering: Try to add greens and browns in roughly equal layers. A good starting ratio is about 2 parts browns to 1 part greens.
- Chopping: Smaller pieces break down faster. Grind up or chop larger scraps.
- Location: Place food scraps and other “greens” into the bin, then cover them immediately with a layer of “browns” (like leaves or shredded paper). This is key to preventing smells and pests.
Moisture Check:
- The compost should feel like a damp sponge. If it’s too dry, add some water. If it’s too wet, add more browns and turn it.
Aeration (Turning):
- This is crucial for providing air to the microbes.
- Tumblers: Turn the handle for a few minutes every few days.
- Piles: Use a pitchfork or compost aerator to turn and mix the pile. Aim to turn it at least once a week, or every few days if possible, especially for faster results.
What NOT to Compost (Especially in Schools):
For simplicity and to avoid attracting pests or causing odors, it’s often best for schools to avoid:
- Meat, fish, and bones
- Dairy products
- Oily or greasy foods
- Diseased plants
- Pet waste (from dogs, cats)
- Weeds that have gone to seed
- Treated wood or coal ash
Focus on fruit and vegetable scraps, coffee grounds, tea bags, eggshells, and yard waste.
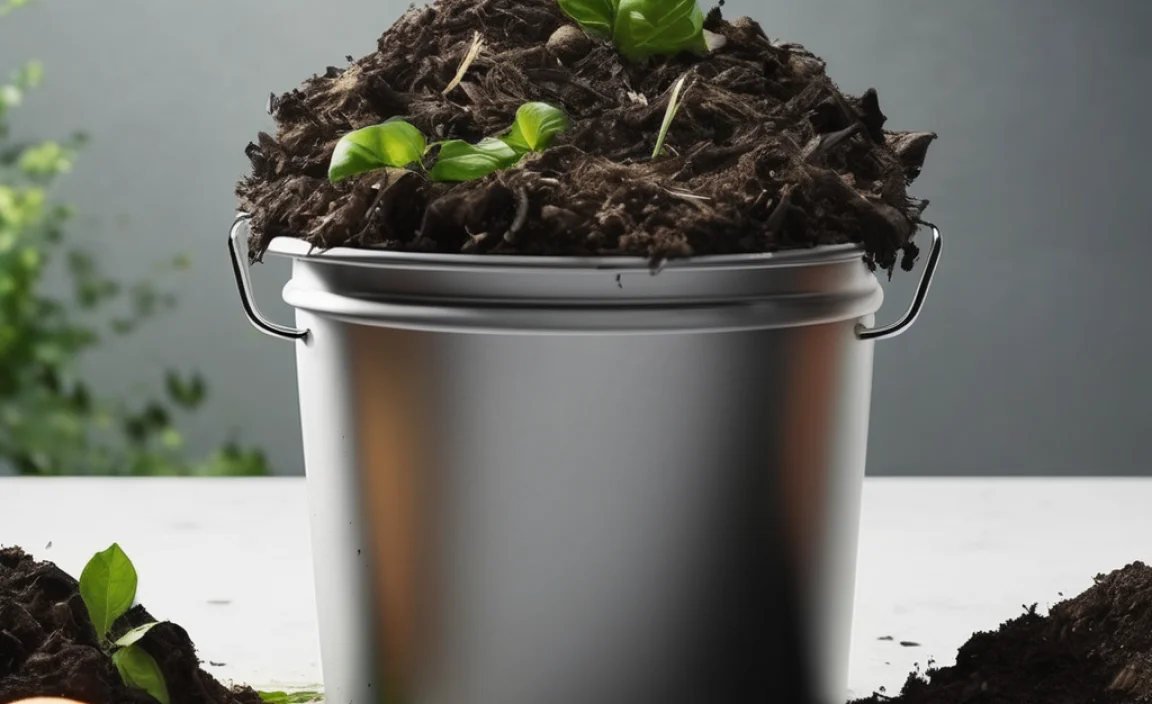
Step 6: Harvesting Your Compost
Ready to see the fruits of your labor? Compost is ready when it looks, smells, and feels like dark, crumbly soil. You shouldn’t be able to recognize the original materials. This can take anywhere from a few weeks (with active management) to several months.
- For Tumblers: Empty the contents when ready.
- For Piles: Stop adding new material to one pile and let it finish while you start a new one. Then, you can harvest from the finished pile. You might need to screen it to remove any larger, unfinished pieces, which can go back into the active pile.
Step 7: Use Your Compost!
Now for the reward! Use your school-made compost in:
- School garden beds
- Landscaping around the school
- Container plants
- For science experiments
- Donate to community gardens
What Can Be Composted? A Handy Chart

To make it super clear, here’s a rundown of common school-friendly compostable items:
| “Green” Materials (Nitrogen-Rich) | “Brown” Materials (Carbon-Rich) | What to Avoid (For Simplicity & Safety) |
|---|---|---|
| Fruit scraps | Dry leaves | Meat, poultry, fish |
| Vegetable scraps | Shredded newspaper (non-glossy) | Dairy products (milk, cheese, yogurt) |
| Coffee grounds and filters | Shredded cardboard (uncoated) | Oils, grease, fats |
| Tea bags (staples removed) | Twigs and small branches | Diseased plants or weeds with seeds |
| Grass clippings (thin layers) | Sawdust (from untreated wood) | Pet waste (dog, cat) |
| Eggshells (rinsed) | Paper towels and napkins (if only food/water soiled) | Treated wood or coal ash |
| Plant trimmings | Straw or hay | Synthetic materials |
Troubleshooting Common Composting Problems
Even with the best plans, you might run into a snag. Don’t worry, these are common, and fixable!
Problem: It smells bad (rotten, sulfurous).
Cause: Too wet, not enough air, or too many “greens.”
Fix: Add more “browns” (leaves, shredded paper) to absorb moisture. Turn the pile thoroughly to aerate it. Ensure food scraps are well-covered with browns.
Problem: It’s not breaking down, or it’s too dry.
Cause: Not enough moisture, too many “browns,” or not enough “greens.”
Fix: Add water while turning the pile until it feels like a damp sponge. If it seems really dry and woody, try adding more “greens” like fresh grass clippings or fruit/veg scraps.
Problem: Pests (flies, rodents) are attracted.
Cause: Exposed food scraps, open bins not properly managed.
Fix: Always bury food scraps deep within the pile and cover them with a thick layer of browns. Use a pest-resistant bin like a tumbler. Ensure the pile is not too wet. Check for any forbidden items (meat, dairy) that might have accidentally gotten in.
Problem: The pile is too hot or smells like ammonia.
Cause: Too much nitrogen (“greens”), often from large amounts of grass clippings.
Fix: Add plenty of carbon-rich “browns” and turn the pile to help dissipate the excess nitrogen and heat.
Getting Support: Who Can Help?
You’re not on your own! Many resources are available:
- Local Master Gardeners: Many university extension programs (like Cornell Cooperative Extension) have Master Gardener programs that offer free advice on gardening and composting.
- Environmental Organizations: Local or national groups focused on sustainability often have resources and can offer guidance.
- Waste Management Companies: Some offer educational programs or advice on waste diversion.
- School Districts: Your district may have sustainability coordinators or existing composting programs you can learn from.
Frequently Asked Questions (FAQs) About School Composting
Q1: What’s the easiest way for a school to start composting?
A: Start small! Focus only on fruit and vegetable scraps from the cafeteria and yard waste. Use a well-managed tumbler bin or a simple fenced pile covered with Browns. Educate everyone on what goes in.
Q2: How much time does school composting really take?
A: It varies. Collection takes a few minutes daily. Managing/turning bins might take 15-30 minutes a few times a week, depending on the method and team size. Educating takes ongoing effort.
Q3: Can we compost meat and dairy in a school program?
A: It’s generally not recommended for beginner school programs. Meat, dairy, and oils can attract pests, cause bad odors, and require more advanced composting techniques to break down safely. Stick to plant-based materials and yard waste.
Q4: What are the best composting bins for schools?
A: Tumbler bins are great for pest control and faster results. Large-capacity, sturdy bins like those made from pallets or wire mesh are good for larger volumes if you have the space. Worm bins are excellent for food scraps but have lower capacity.
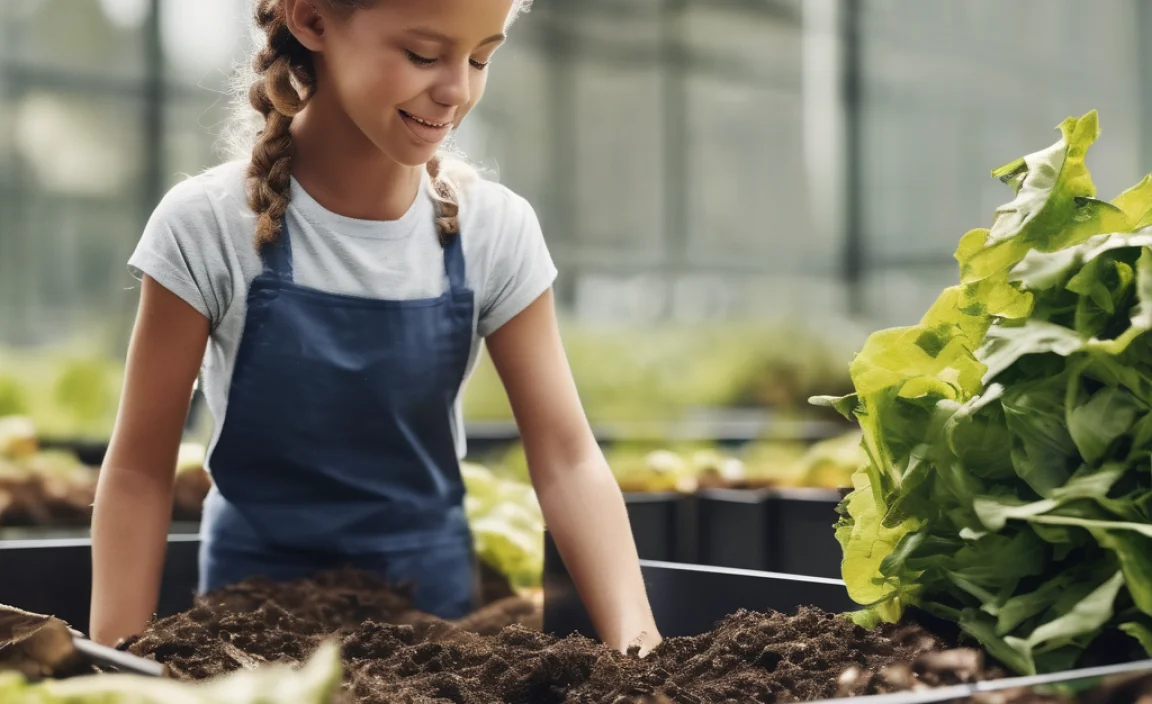
Q5: How do we get students excited about composting?
A: Make it hands-on! Involve them in collecting, sorting, and turning. Connect it to science lessons. Create compost-themed contests or projects. Let them see the results in a school garden.
Q6: What if our school has limited space for composting?
A: Consider worm composting (vermicomposting) which can be done in relatively small containers. Alternatively, a well-contained tumbler bin takes up much less space than an open pile and can be placed on paved surfaces.
Q7: How do we know when compost is ready?
A: Finished compost will be dark brown, crumbly, and smell earthy, like a forest floor. You shouldn’t be able to identify the original food scraps or yard waste.
Related Posts


I am passionate about home engineering. I specialize in designing, installing, and maintaining heating, ventilation, and air conditioning systems. My goal is to help people stay comfortable in their homes all year long.