Ever wondered if your school’s compost pile is actually working? Don’t worry, you’re not alone! Keeping tabs on the temperature is super important for happy, healthy composting. Too cold, and nothing happens. Too hot, and you might lose some good stuff. But don’t sweat it! We’re going to break down exactly what you need to know about compost temperatures in schools, making it simple to understand and manage. Get ready to turn that food waste into garden gold, the easy way!
Why Compost Temperatures Matter for Schools
Think of your school’s compost pile like a giant, busy kitchen for tiny microbes. These little helpers are the stars of the composting show! They munch on all the food scraps and yard waste we give them, breaking it down into that rich, dark compost we all love. But just like us, these microbes have their ideal working conditions, and the most crucial one is temperature.
When the temperature is just right, these microbes get busy, multiplying rapidly and speeding up the decomposition process significantly. This is where the magic happens, transforming waste into valuable soil amendment much faster. It’s also the phase where the pile gets hot enough to kill off weed seeds and harmful pathogens, making the finished compost safe and beneficial for school gardens and landscapes. Getting this temperature balance right is essentially giving your compost squad the perfect environment to do their best work.
The Science Behind the Heat
So, where does all this heat come from? It’s a natural byproduct of microbial activity! When microorganisms break down organic matter, they release energy in the form of heat. It’s similar to how your body generates heat as it processes food. The more a diverse and active community of microbes is present, and the more readily available their “food” is, the hotter the compost pile will become. This is why “hot composting” is a thing – it’s all about creating conditions that encourage massive microbial action for rapid decomposition.
Different types of microbes thrive at different temperatures. Some prefer cooler environments (mesophilic), while others really get going in the heat (thermophilic). A good compost pile goes through stages, starting with mesophilic microbes, which generate enough heat to kickstart the thermophilic phase. Once the thermophilic microbes have done their job and the readily available food sources are depleted, the temperature drops again, and the mesophilic microbes (and even fungi and larger organisms like worms, if they are present) come back to finish the job, curing the compost.
Understanding Compost Temperature Zones
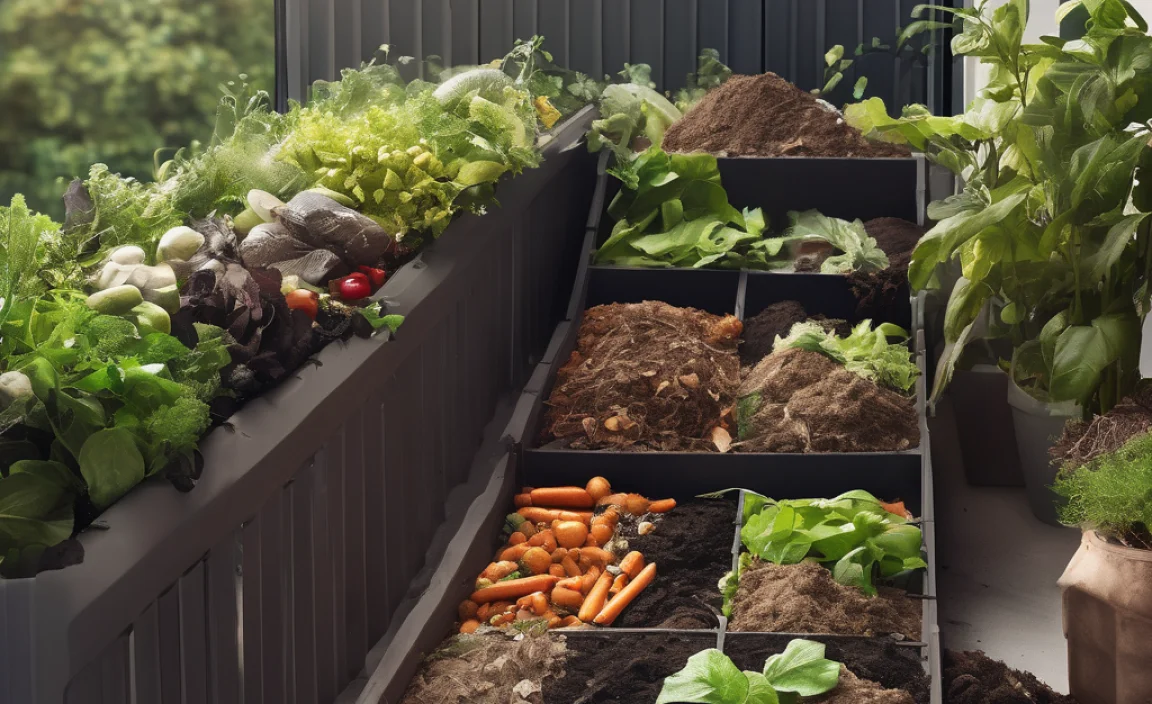
Composting is often divided into different temperature zones, each indicating what’s happening inside the pile and what stage of decomposition it’s in. For school composting, understanding these zones helps you know if things are progressing as they should and if you’re getting the most benefit from your efforts. It’s not about hitting an exact number all the time, but rather understanding the range and what it signifies.
The “Cool” Zone (Below 100°F / 38°C)
At this cooler temperature, you’ll primarily find mesophilic microorganisms at work. These are the initial decomposers. While they are essential for starting the process, they work relatively slowly. If your compost pile consistently stays in this range, especially during the initial filling phase, it’s usually normal. However, if it stays cool for too long, it might indicate an imbalance. This could be due to a lack of nitrogen-rich “green” materials, too much moisture, poor aeration, or the pile simply being too small to generate and retain heat. For a school setting, this might mean slower decomposition and a higher chance of weed seeds or pathogens surviving.
The “Active” or “Thermophilic” Zone (131°F – 160°F / 55°C – 71°C)
This is the sweet spot! When your compost pile reaches the thermophilic temperatures, it means your microbial party is in full swing. This hot phase is critical for several reasons:
- Rapid Decomposition: Microbes work incredibly fast, breaking down organic matter much quicker than in cooler temperatures.
- Pathogen and Weed Seed Destruction: These high temperatures are hot enough to kill off harmful bacteria, viruses, and weed seeds. This is especially important for school gardens where children might be working with the compost. According to the Environmental Protection Agency (EPA), composting at temperatures between 131°F and 160°F for at least 15 days, with proper turning, can produce compost that is safe from pathogens and weed seeds.
- Volume Reduction: Significant reduction in the volume of waste occurs in this phase.
Maintaining this temperature range for a sustained period is the hallmark of an efficient composting system. It requires a good balance of “greens” (nitrogen-rich materials like food scraps) and “browns” (carbon-rich materials like dried leaves), sufficient moisture, and adequate aeration.
The “Curing” or “Cooling Down” Zone (Below 131°F / 55°C, but still active)
As the easily digestible organic matter is consumed by the thermophilic microbes, the pile naturally begins to cool down. This transition marks the start of the curing phase. While the heat subsides, the decomposition process continues, albeit at a slower pace. During curing, the remaining organic compounds further stabilize, and beneficial fungi and other organisms start to play a more significant role. This phase is crucial for developing the rich, earthy smell and texture of mature compost. Even though the intense heat is gone, the pile is still biologically active, and this stage can last for weeks or months, depending on the materials and management.
The “Inactive” or “Finished” Zone (Ambient Temperature)
Once the compost pile has cooled down to ambient temperatures and has a dark, crumbly texture with an earthy smell, it’s considered finished and ready to use. At this point, the active decomposition has largely ceased. The materials have stabilized, and the compost is rich in humus and beneficial microbial life. It won’t heat up significantly on its own anymore. This is the stage where you can safely incorporate it into school garden beds, use it as a mulch, or even sell it if you’re feeling ambitious!
How to Measure Your School Compost Pile’s Temperature
Getting a handle on your compost pile’s temperature is actually quite straightforward, even for beginners. You don’t need fancy equipment; a good compost thermometer is your best friend here. These are designed to be long enough to reach the core of the pile, which is where the hottest temperatures will be.
Essential Tool: The Compost Thermometer
A compost thermometer is specifically designed for this purpose. They typically have a long, sturdy metal probe and a dial or digital display that shows the temperature. Look for one that:
- Has a long probe: At least 15-20 inches (38-50 cm) is ideal for reaching the center of most school compost piles.
- Is durable: It should be able to withstand outdoor conditions and being inserted into various compostable materials. Stainless steel probes are usually a good choice.
- Has a clear display: Whether it’s a dial or digital, make sure the temperature is easy to read.
- Provides a wide temperature range: It should be able to measure from just above freezing up to at least 160°F (71°C) or higher.
You can find these at most garden supply stores, hardware stores, or online retailers. Websites like Amazon or specialized gardening sites are good places to start your search.
Step-by-Step Temperature Taking
- Locate the Center: Identify the warmest, most active part of your compost pile. This is usually the core, especially after you’ve added fresh materials and had some decomposition occur.
- Insert the Thermometer: Carefully push the probe of the compost thermometer straight down into the center of the pile. If the pile is very large, aim for the deepest accessible point.
- Wait and Read: Let the thermometer sit in the pile for at least 2-5 minutes, or as recommended by the manufacturer. This allows the probe to reach thermal equilibrium with the compost.
- Record the Temperature: Read the temperature displayed on the dial or screen.
- Analyze and Adjust: Compare the temperature to the ideal zones.
- Remove and Clean: Carefully pull the thermometer out. It’s a good idea to clean the probe after each use to prevent the spread of any potential pathogens and to keep it in good working order. A brush and some water usually suffice.
Taking temperatures regularly, perhaps once or twice a week, will give you a great picture of your compost pile’s health and progress. It’s a simple action that provides invaluable information.
Factors Affecting Compost Temperature in Schools

Several factors can influence how hot your school’s compost pile gets and how long it stays hot. Understanding these elements will help you troubleshoot and optimize your composting efforts. It’s like adjusting the settings on an oven to get perfect results!
The Green-to-Brown Ratio (C:N Ratio)
This is perhaps the most critical factor. Compost needs a balanced mix of nitrogen-rich “greens” and carbon-rich “browns” to fuel the microbial activity. Greens provide the nitrogen that microbes need for protein and reproduction, while browns provide the energy (carbon) they need to live and grow. Too much of one and not enough of the other can stall the process.
- Greens (Nitrogen-rich): Fruit and vegetable scraps, grass clippings, coffee grounds, tea bags, plant trimmings. These tend to be moist and decompose quickly.
- Browns (Carbon-rich): Dry leaves, straw, shredded cardboard, shredded newspaper, twigs, wood chips. These provide structure and aeration and break down more slowly.
A common target ratio is around 25:1 to 30:1 (carbon to nitrogen by dry weight). In simpler terms, for every one part of greens, you generally want two to three parts of browns. For a school, this might mean collecting a good amount of fallen leaves in the autumn to balance out the kitchen scraps from the cafeteria throughout the year.
Moisture Content
Microorganisms need water to live and work. Your compost pile should be about as moist as a wrung-out sponge. Too dry, and the microbes slow down or become inactive, leading to a cooler pile. Too wet, and the pile can become waterlogged, leading to anaerobic conditions (lack of oxygen) and potentially unpleasant odors, while also hindering the thermophilic microbes.
- Too Dry: Add water while turning the pile.
- Too Wet: Add more dry, carbon-rich “brown” materials and turn the pile to introduce air.
Aeration (Oxygen)
Composting is an aerobic process, meaning it requires oxygen. Microbes need air to breathe and thrive. If a compost pile becomes compacted or waterlogged, air pockets are lost, and the microbes switch to anaerobic decomposition, which is slower, less efficient, and produces foul odors. Turning the compost pile regularly introduces fresh oxygen.
- Turning Frequency: Aim to turn the pile at least once a week, especially when it’s in the active, hot phase. This also helps distribute heat and moisture evenly.
- Pile Structure: Incorporating bulky materials like small twigs or wood chips can help maintain air pockets.
Particle Size
The smaller the pieces of organic material, the more surface area is exposed to microbes, and the faster they can break it down. Chopping up large food scraps or shredding cardboard can significantly speed up the composting process and help the pile heat up more effectively.
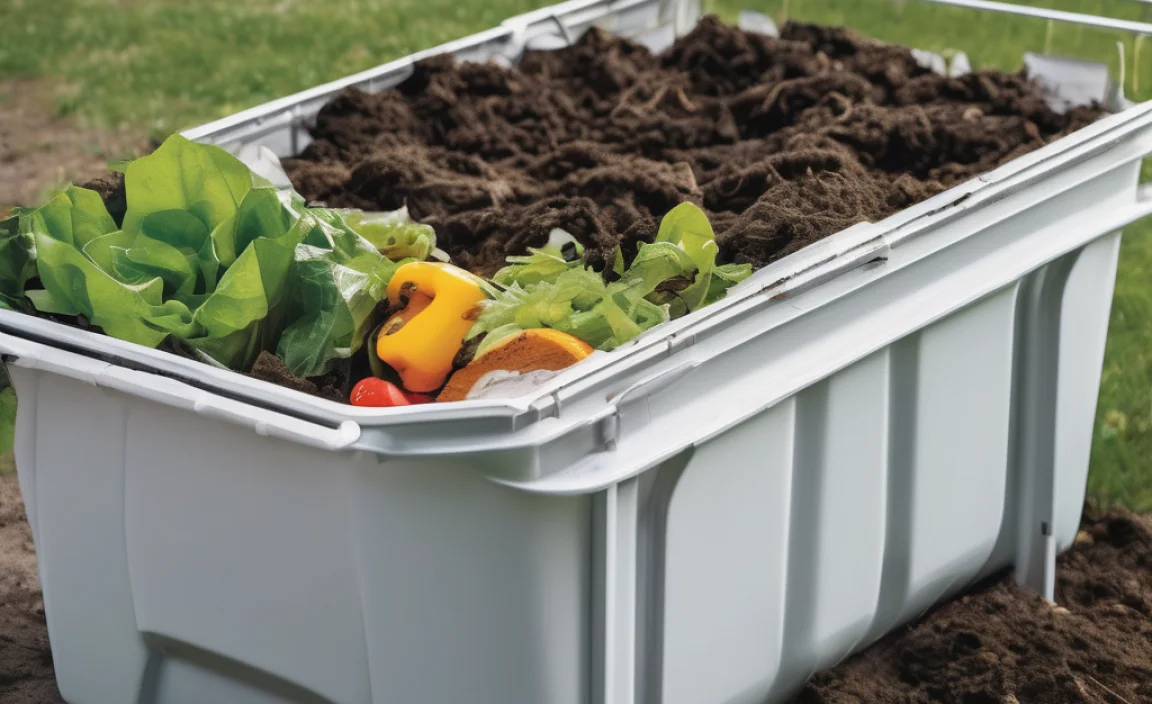
Pile Size
For hot composting to occur, a compost pile needs to be of a certain minimum size – typically at least 3 feet x 3 feet x 3 feet (1 cubic yard or about 1 cubic meter). This size is large enough to insulate itself, allowing the microbial activity to generate enough heat and retain it long enough for the thermophilic phase to take hold. Smaller piles might still compost, but they will likely remain “cooler” and take much longer.
Troubleshooting Common Temperature Issues
Even with the best intentions, your school compost pile might not always hit those ideal hot temperatures. Don’t get discouraged! Most temperature issues are easily fixable by understanding basic composting principles. Let’s look at some common problems and how to solve them:
Problem: My Compost Pile Isn’t Heating Up (Stays Cool)
This is a very common beginner issue. If your pile is below 100°F (38°C) and has been for a while, here’s what to check:
- Insufficient Greens (Nitrogen): Your pile might be too brown-heavy. Add more nitrogen-rich materials like fruit and vegetable scraps, fresh grass clippings (in thin layers to avoid matting), or coffee grounds.
- Too Dry: The microbes need moisture to work. Add water to the pile until it’s uniformly damp like a wrung-out sponge.
- Pile Too Small: If your pile is less than 3x3x3 feet, it will struggle to generate and retain heat. Try to build it up with more material. If you are limited by space, consider a different composting method or expect slower, cooler composting.
- Lack of Aeration: If the pile is compacted, turn it thoroughly to introduce air.
- Large Particle Size: Chop or shred larger materials to increase surface area for microbial action.
Problem: My Compost Pile Heats Up, But Cools Down Too Quickly
This indicates that your pile got hot, but the fuel (easily digestible materials) ran out quickly, or the decomposition process was too rapid for the pile’s size to maintain heat.
- Materials Decomposed Too Fast: This can happen if you added a very large amount of fine, nitrogen-rich material all at once. Try to mix in more carbon-rich browns and turn the pile to redistribute the remaining heat and moisture.
- Pile Too Small: A small pile loses heat more quickly. Add more material to increase its mass.
- Too Much Turning: While turning is good, over-turning, especially too frequently when the pile is very hot, can release too much heat. Allow the pile to heat up naturally for a few days after turning.
- Excessive Moisture: A waterlogged pile can lose heat. Add dry browns and turn to aerate.
Problem: My Compost Pile Smells Bad (Ammonia or Rotten Eggs)
Foul odors are usually a sign of anaerobic conditions or an imbalanced C:N ratio.
- Ammonia Smell: This usually means too much nitrogen (“greens”). Add a generous amount of carbon-rich “browns” like dry leaves, shredded cardboard, or sawdust, and turn the pile to mix them in and introduce air.
- Rotten Egg Smell (Sulfur): This indicates a lack of oxygen (anaerobic conditions). Turn the pile thoroughly to aerate it. Check for waterlogging and add dry browns if necessary.
Problem: My Compost Pile is Too Wet and Slimy
This happens when there’s too much moisture and not enough aeration, leading to anaerobic conditions and a slimy texture.
- Add Dry Browns: Incorporate plenty of shredded cardboard, dry leaves, straw, or sawdust.
- Turn the Pile: Thoroughly mix the browns into the wet material and expose the center to air.
- Improve Drainage: Ensure your compost bin or area allows for good drainage and isn’t sitting in a puddle.
Problem: My Compost Pile is Too Dry and Dusty
This suggests a lack of moisture, which halts microbial activity.
- Add Water: Gradually add water to the pile while turning it to ensure even distribution. Aim for the “wrung-out sponge” consistency.
- Cover the Pile: If you’re in a dry climate or experiencing a drought, consider covering the pile with a tarp to help retain moisture, but ensure there’s still some airflow.
| Problem | Likely Cause | Solution |
|---|---|---|
| Pile not heating up | Not enough greens (N), too dry, pile too small, poor aeration. | Add greens, add water, add more material, turn pile. |
| Heats up, then cools quickly | Fuel ran out, pile too small, over-turning. | Add browns, increase pile size, turn less frequently. |
| Smells like ammonia | Too much nitrogen. | Add browns (leaves, cardboard), turn to aerate. |
| Smells like rotten eggs | Anaerobic conditions (lack of oxygen). | Turn pile thoroughly, add browns if wet. |
| Pile is too wet/slimy | Too much moisture, poor aeration. | Add dry browns
.lwrp.link-whisper-related-posts{ margin-top: 40px; }.lwrp .lwrp-description{ } max-width: 150px; }@media screen and (max-width: 480px) { } }.lwrp .lwrp-description{ } max-width: initial; }; |


I am passionate about home engineering. I specialize in designing, installing, and maintaining heating, ventilation, and air conditioning systems. My goal is to help people stay comfortable in their homes all year long.