Living in a small apartment doesn’t mean you have to give up on composting. It’s a fantastic way to reduce waste and create nutrient-rich soil for your plants. You might think composting is only for big backyards, but I’m here to show you it’s totally doable, even in tiny spaces! You can make a real difference without needing a lot of room. Let’s get started and turn your kitchen scraps into garden gold.
Why Compost in an Apartment? The Big Benefits You Can’t Ignore
Composting in an apartment might sound a little… messy, or maybe just too difficult. But honestly, the rewards are huge, and it’s much simpler than you think. You’re not just helping yourself; you’re helping the planet too.
Reducing Landfill Waste
Did you know that food scraps and yard waste make up a significant portion of what we throw away? When these things end up in landfills, they create harmful greenhouse gases. By composting, you divert this waste, cutting down on pollution and making a positive impact on the environment. It’s a powerful way to contribute, right from your kitchen.
Creating Nutrient-Rich Soil (Black Gold!)
Compost, often called “black gold,” is amazing for plants. It’s packed with nutrients that make soil healthier and help plants grow stronger. If you have houseplants or even a small balcony garden, this homemade fertilizer is pure gold. It can revitalize tired potting soil and give your green friends a serious boost.
Saving Money
Buying fertilizers and soil amendments can add up. Composting means you’re making your own, which saves you money in the long run. Plus, by reducing your trash output, some waste services might even offer lower fees, though this varies by location.
Connecting with Nature
For many apartment dwellers, connecting with nature can be challenging. Composting offers a hands-on way to engage with natural cycles. You’re actively participating in decomposition and regeneration, which can be incredibly rewarding and grounding.
Choosing the Right Composting Method for Your Apartment
The good news is there are several apartment-friendly composting methods. Each has its pros and cons, so let’s break them down to find the best fit for your space and lifestyle.
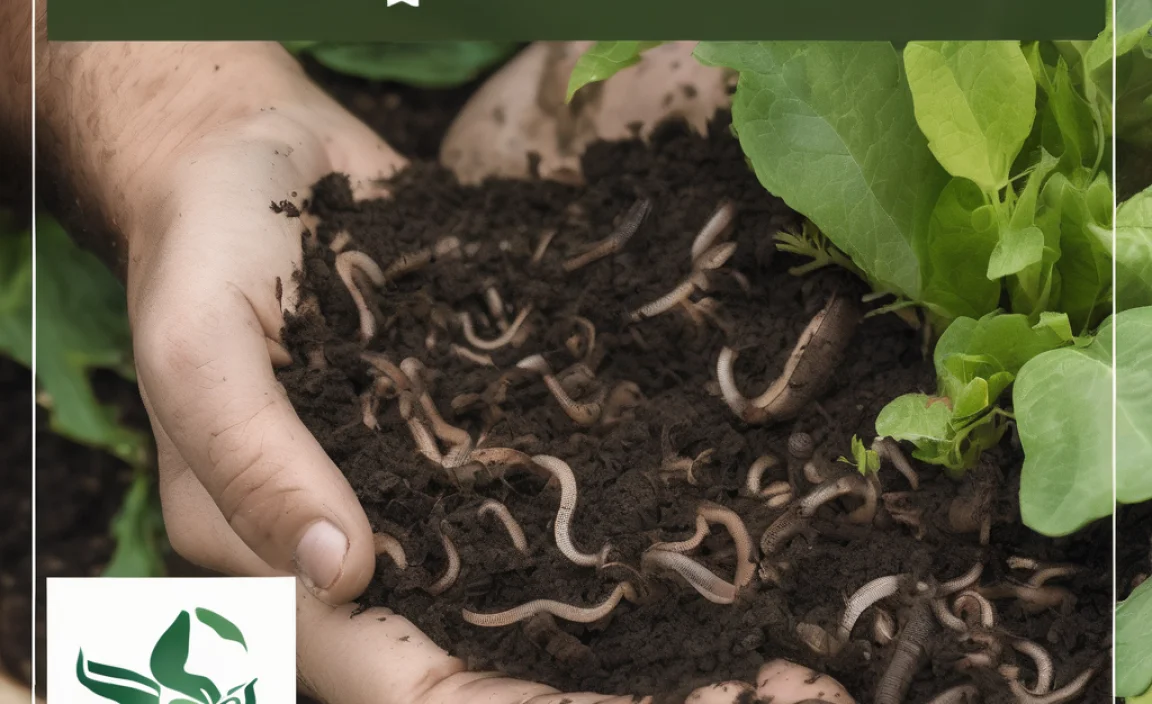
1. Worm Composting (Vermicomposting)
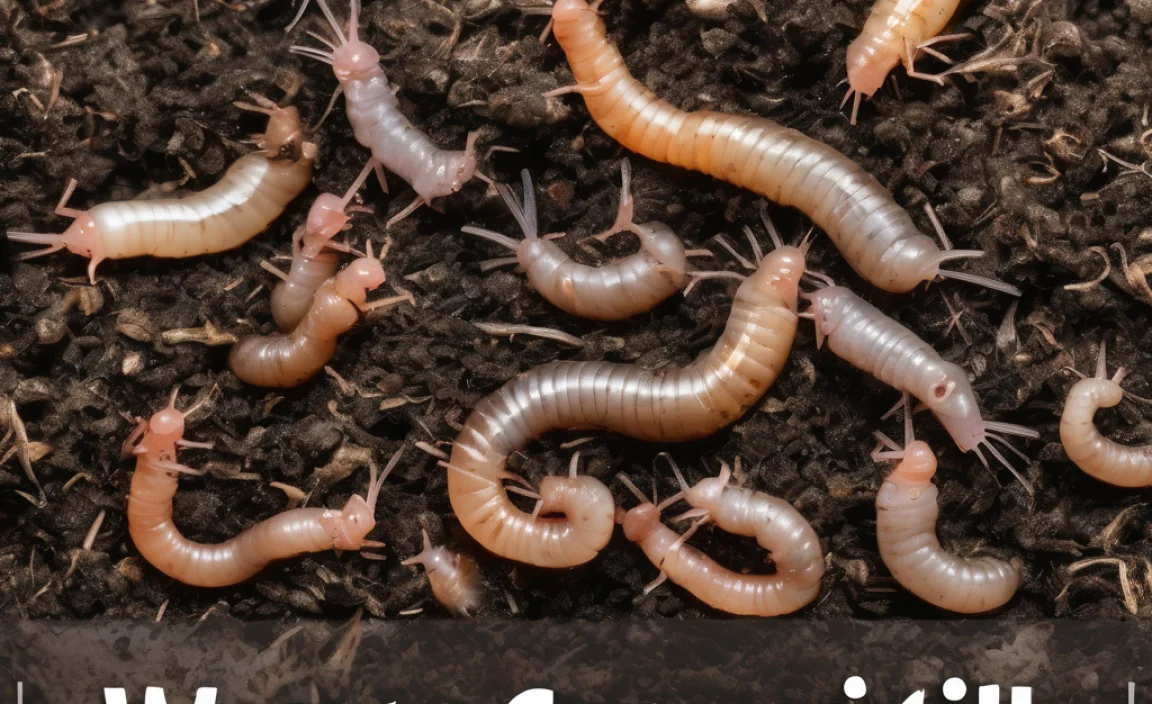
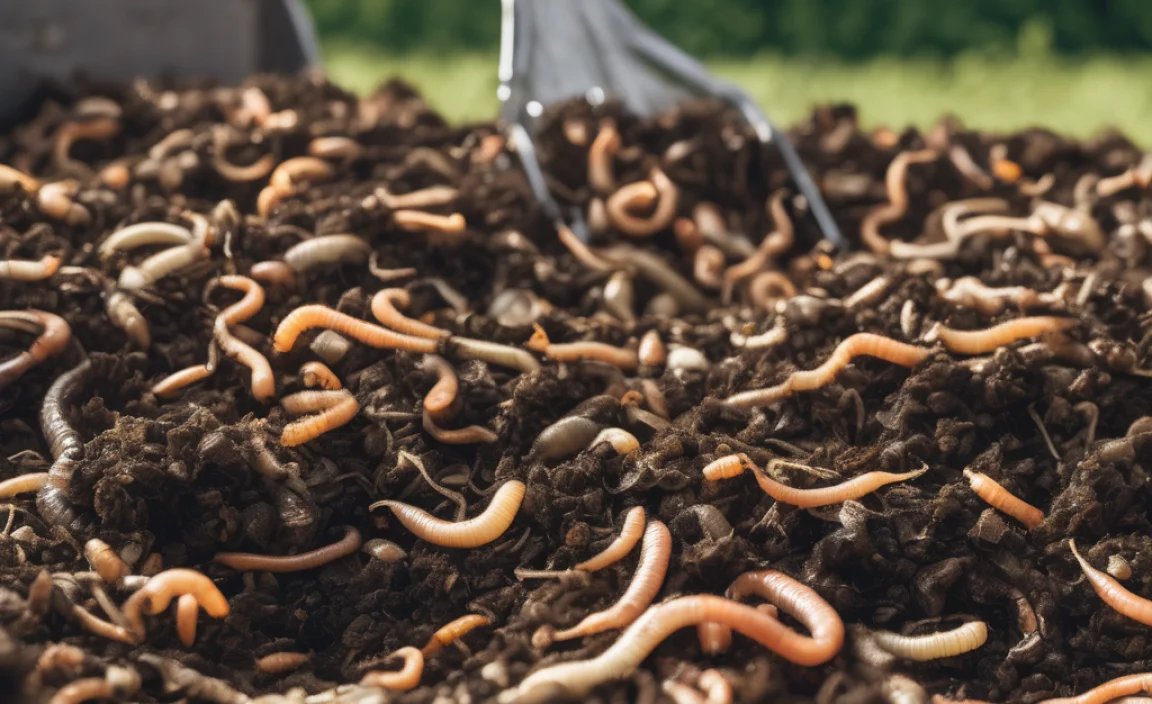
This is probably the most popular method for small spaces. Worm composting uses specific types of composting worms (like red wigglers) to break down food scraps. These worms live in a bin, munching away on your organic waste.
- How it works: You layer bedding (like shredded newspaper or coco coir) and food scraps in a bin. The worms are introduced, and they process the waste, leaving behind nutrient-rich worm castings (basically, worm fertilizer!) and a liquid called ‘leachate’ that can be diluted and used as plant food.
- Space needed: A small bin, often about the size of a storage tote, is all you need. It can easily fit under a sink or in a closet.
- Smell: When done correctly, it has a pleasant, earthy smell or no smell at all. Bad odors usually mean something is off, like too much food or not enough air.
- Pros: Fast process, produces high-quality compost and liquid fertilizer, minimal space needed, relatively odorless if managed well.
- Cons: Requires live creatures (worms!), can be a learning curve to get the balance right, cannot process large amounts of material quickly, some people are squeamish about worms.
2. Bokashi Composting
Bokashi is a bit different. It’s an anaerobic (oxygen-free) fermentation process that uses a special blend of microbes to pickle your food scraps. It’s not traditional composting, but a pre-composting method.
- How it works: You put food scraps into an airtight bucket along with a Bokashi bran inoculant. The microbes ferment the waste. After a couple of weeks, the material is buried in soil (if you have access to a garden, community garden, or even a large planter) or added to a traditional compost pile to finish breaking down.
- Space needed: Requires two airtight buckets. One for collecting waste, and the second for the fermented material to sit while the first one is being filled.
- Smell: It can produce a slight, pleasant, fermented pickle-like smell during the fermentation process. It’s not a rotting smell.
- Pros: Can handle meat, dairy, and oily foods, which are usually off-limits for other methods. Kills pathogens and weed seeds. Produces a nutrient-rich liquid (Bokashi tea) that can be used as fertilizer. Quick to get started.
- Cons: The fermented product still needs to be buried or composted further, which can be a challenge in an apartment. Requires purchasing Bokashi bran. The “tea” needs dilution and can be strong.
3. Electric Composters (Food Cyclers)
These are countertop appliances that use heat and aeration to break down food scraps quickly, often in a matter of hours. They reduce the volume of food waste significantly.
- How it works: You toss your food scraps in, close the lid, and push a button. The machine grinds and dries the waste, turning it into a nutrient-rich, soil-like amendment. Some models also capture odors.
- Space needed: Similar to a bread maker or large coffee maker. Fits easily on a countertop.
- Smell: Most modern units are designed to be odor-free during operation.
- Pros: Extremely fast. Can handle a wide variety of food scraps. Very easy to use. Reduces waste volume dramatically. No mess or smell.
- Cons: High upfront cost. Uses electricity. The end product is more like dehydrated food scraps than truly decomposed compost, and its nutrient profile might not be as rich as traditional compost.
4. Apartment-Sized Tumblers or Bins
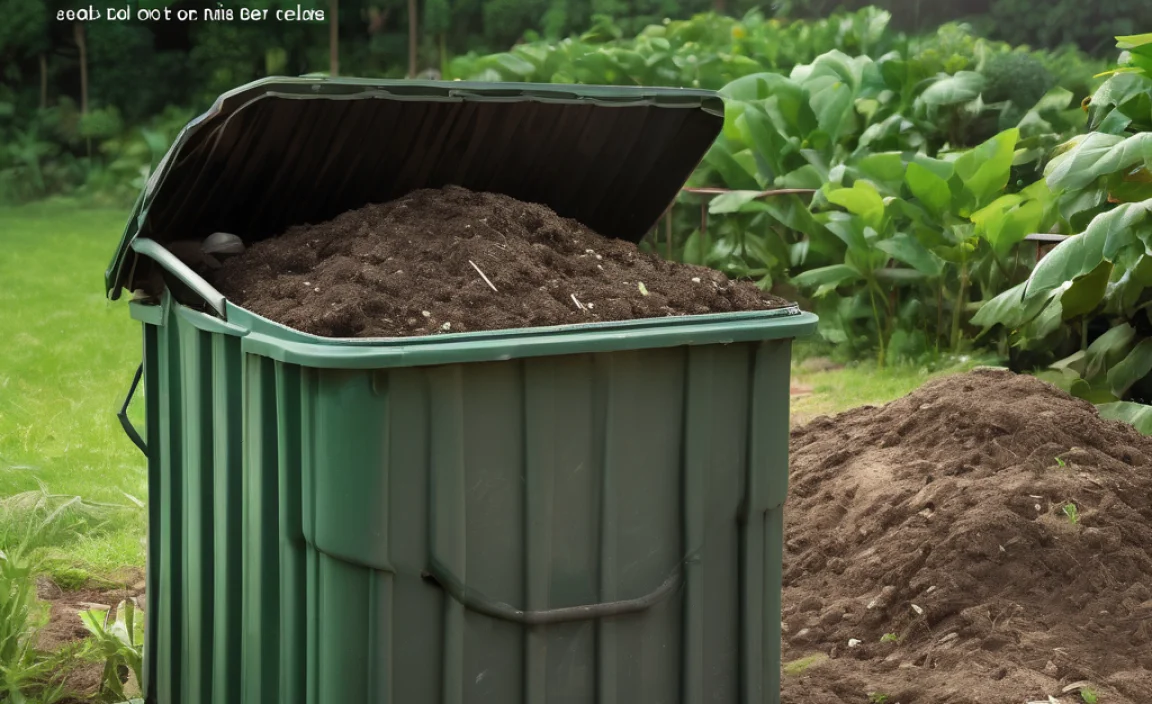
If you have a bit more balcony space, you might consider a small, sealed composting tumbler or bin. These are designed to be more contained and less prone to odors than large outdoor bins.
- How it works: Similar to a traditional bin but smaller and often enclosed with a lid. You add greens and browns, mix it periodically (tumblers make this easy by rotating).
- Space needed: Requires some outdoor space, like a patio or balcony. Can vary in size, but apartment versions are more compact.
- Smell: With good management and a sealed bin, odors are usually minimal, especially for smaller batches.
- Pros: Can handle larger volumes than worm bins. Tumblers make turning and aerating easy. More traditional composting process.
- Cons: Requires outdoor space. Can be slower than other methods. Still requires balancing green and brown materials carefully to avoid odors.
5. Municipal Composting Programs
Don’t underestimate your local city or town’s resources! Many municipalities offer food scrap drop-off locations or curbside collection programs for compost. This is a great option if dedicating space and effort to an in-home system feels overwhelming.
- How it works: You collect your food scraps in a designated bin or bag and either take them to a drop-off point or leave them at the curb on collection day. The city handles the composting process.
- Space needed: Only requires a small container in your kitchen to collect scraps before taking them to a drop-off or putting them out for collection.
- Smell: Manageable with a good kitchen caddy and regular emptying.
- Pros: Easiest option with the least effort. No need for a bin or worms. Large-scale, efficient composting happens elsewhere. Supports local environmental initiatives.
- Cons: Not available in all areas. You don’t get finished compost back. Requires remembering collection days or drop-off locations.
Getting Started with Apartment Composting: A Beginner’s Walkthrough
Let’s focus on the most popular and accessible methods for apartment dwellers: worm composting and Bokashi. These are fantastic starting points. I’ll guide you through setting them up step-by-step.
Your Apartment Worm Composting Guide
This is a classic for a reason. It’s efficient and rewarding. Worms are amazing little composters! For a beginner, a simple bin system is best.
What You’ll Need:
- A Worm Bin: You can buy a multi-tier worm bin system, or you can DIY one using a opaque plastic storage tote (around 10-20 gallons) with a lid. If you DIY, you’ll need to drill small holes for ventilation and drainage.
- Bedding: Shredded newspaper, cardboard, coco coir (from a pet store or garden center), or aged leaves work well. This is what the worms live in and eat if they run out of food.
- Composting Worms: Red wigglers (Eisenia fetida) are the go-to. Avoid regular earthworms. You can usually purchase them online or from local garden supply stores.
- Food Scraps: Your “greens” – vegetable peels, fruit scraps, coffee grounds, tea bags (staples removed).
- Burying Material (Optional but Recommended): A small amount of carbon-rich material like shredded brown paper bags or dry leaves can help balance moisture and absorb odors.
- A Spray Bottle: To keep the bedding moist.
- A Small Kitchen Caddy: To collect scraps before adding them to the bin.
Step-by-Step Worm Composting Setup:
- Prepare the Bin: If you’re using a DIY bin, make sure it has a lid and drainage holes. A few small holes in the sides and lid for air circulation are also a good idea. If you bought a commercial bin, follow its setup instructions.
- Add Bedding: Moisten your bedding material until it feels like a wrung-out sponge. You don’t want it dripping wet. Fill the bin about halfway with this damp bedding.
- Introduce the Worms: Gently place your composting worms on top of the bedding. Leave the lid off for about an hour; they will burrow down into the bedding, seeking darkness. This helps them acclimate.
- Add First Food Scraps: After the worms have settled (usually a day or two), bury a small amount of food scraps, like vegetable peelings, into one corner of the bin. Loosen the bedding slightly where you’re burying it. Don’t overfeed them at first.
- Maintain Moisture and Aeration: Lightly spray the surface with water if it looks dry. Avoid excessive moisture, which can lead to foul odors and anaerobic conditions. The worms need air! Gently loosen the top layer of bedding every so often if it gets compacted.
- Feeding Schedule: Start by burying food scraps under the bedding every few days, moving to a new spot each time. Once the worms are active and eating well, you can increase the amount and frequency. A general rule is about half a pound of food per pound of worms per week. Chop scraps into smaller pieces to speed up decomposition.
- Harvesting the Compost: After a few months, you’ll see dark, crumbly compost. The simplest way to harvest is to stop adding food to one side of the bin. Once that side is finished, you can scoop out the compost and start “feeding” the worms on the other side. Alternatively, dump the bin onto a tarp, create a “starvation zone” by piling the compost and placing food in the center. Worms will migrate to the food, leaving the finished compost behind.
- Collecting Leachate: If your bin has a spigot, collect the liquid that drains out. This is “worm tea” and is very potent. Dilute it with water (about 1 part tea to 10 parts water) before using it to water your plants. You can pour excess leachate from the bottom of a DIY bin carefully.
Dealing with Worms (What to Feed and What to Avoid)
It’s crucial to feed your worms the right things. Think of them as having sensitive stomachs!
| Feed These (Greens & Browns) | Avoid These |
|---|---|
| Fruit and vegetable scraps (peels, cores, ends) | Meat, bones, or dairy products (attract pests, smell bad, hard to break down) |
| Coffee grounds and paper filters | Oily or greasy foods (can coat worm gills, inhibit air flow) |
| Tea bags (remove staples) | Citrus in large quantities (can make bin too acidic, best to add sparingly or avoid for beginners) |
| Crushed eggshells (good source of calcium, rinse and crush well) | Spicy foods (peppers, onions in large amounts) |
| Pasta, rice, bread (in moderation, small amounts only, can get mushy and attract pests) | Diseased plant matter |
| Shredded newspaper, cardboard (browns – essential for balance) | Dog or cat feces |
| Dry leaves (if you can get them, browns) | Anything chemically treated (e.g., dyed paper, treated wood chips) |
Remember chopped food breaks down faster! And introducing “browns” (like shredded cardboard or newspaper) is key to a healthy compost environment for your worms, balancing out the “greens” from food scraps. Aim for roughly a 50/50 ratio of greens to browns overall.
Your Apartment Bokashi Composting Guide
Bokashi is a fermenting process that’s very different but also very effective for apartments. It pickles your food waste!
What You’ll Need:
- Bokashi Bin(s): Airtight buckets with a spigot at the bottom. You’ll need at least one, but two are handy so you can be filling one while the other ferments.
- Bokashi Bran: This is a special additive containing beneficial microorganisms (EMs – Effective Microorganisms). You can buy it online or at some garden centers.
- Food Scraps: This is where Bokashi shines – it can handle meat, dairy, oils, and cooked foods!
- A Container for Final Disposal: This could be a large planter box, a community garden plot, or even a friend’s backyard compost pile. You can also add it to certain municipal composting pick-ups if they accept it.
Step-by-Step Bokashi Setup:
- Start the First Layer: Sprinkle a tablespoon or two of Bokashi bran onto the bottom of your clean Bokashi bin.
- Add Food Scraps: Place your food scraps in the bin. Try to chop larger items into smaller pieces. Ensure there are no large air pockets.
- Sprinkle Bran: Sprinkle another tablespoon or two of Bokashi bran over the food scraps. The goal is to completely cover the food scraps to create an anaerobic environment.
- Seal the Bin: Close the lid tightly. This is crucial for the anaerobic fermentation to occur and prevent odors. The bin should be as airtight as possible.
- Repeat: Continue adding food scraps and bran daily until the bin is full. Make sure to sprinkle bran over the last layer and press down to remove air.
- Ferment: Once the bin is full, leave it to ferment for about two weeks. Do not open the lid during this time, except to drain the liquid if your bin has a spigot.
- Drain the “Bokashi Tea”: While fermenting, liquid will accumulate. Drain this liquid from the spigot every couple of days. This “Bokashi tea” is a potent fertilizer; dilute it with water (1:100 ratio is a good starting point) and use it for your plants.
- Bury or Compost Further: After two weeks, the fermented material is ready for the next stage. You need to bury it in soil (in a large planter, garden, or community garden) where it can decompose fully for another 2-4 weeks. You can also add it to a traditional compost pile if you have access to one. It’s not finished compost yet, but it’s well on its way and won’t smell bad.
What Can You Put In Your Bokashi Bin?
Bokashi is very forgiving! Here’s a quick rundown:
- All fruit and vegetable scraps
- Meat scraps, bones, and shells
- Dairy products (cheese, yogurt, milk)
- Cooked foods and leftovers
- Coffee grounds and tea bags
- Small amounts of soiled paper products (like napkins or paper towels)
Bokashi Foods to Be Cautious With:
- Large, solid bones (might not break down easily in the subsequent burying stage)
- Liquids like milk or oil (especially in large quantities, can make the bran less effective)
- Excessively oily or fatty foods (use sparingly)
Troubleshooting Common Apartment Composting Issues
Even with the best intentions, composting can sometimes hit a snag. Don’t worry, most issues are easily fixed!
Issue: My compost bin smells bad.
- Cause: Too much moisture, too many “greens” (food scraps), not enough “browns” (carbon material), or poor aeration.
- Solution (Worms): Add more dry bedding (shredded newspaper/cardboard). Bury food scraps deeper or stop feeding for a few days to let them catch up. Ensure there are air holes and don’t overfeed. If it’s too wet, add more dry bedding and gently stir.
- Solution (Bokashi): A proper fermented smell (like pickles) is normal. A rotten smell usually means the bin isn’t airtight, or you haven’t used enough bran. Check your lid seal and ensure you’re covering food scraps well with bran. Drain the liquid more frequently.
Issue: There are fruit flies or other tiny pests.
- Cause: Exposed food scraps, too sweet or mushy waste accumulating.
- Solution (Worms): Make sure all food scraps are buried under the bedding. Chop food into smaller pieces. If you have Bokashi, you can try adding some of the fermented material to the worm bin, as the microbes can outcompete pests.
- Solution (Bokashi): Ensure the bin is sealed tightly. Flies are less of an issue here as the process is anaerobic and the material is buried later. If any appear, it might mean the seal on the bin isn’t perfect.
Issue: My worms are trying to escape.
- Cause: Bin conditions are unfavorable – too wet, too dry, too acidic (too much citrus/tomato), too hot, or not enough air.
- Solution: Check moisture levels (should be like a wrung-out sponge). Add dry bedding if too wet, water if too dry. Remove any large amounts of citrus. Ensure good ventilation. If the bin is in a very hot spot, move it to a cooler location. Avoid overfeeding.
Issue: My Bokashi tea smells foul or is slimy.
- Cause: The bin is not airtight, or has been opened too frequently. The fermentation process hasn’t occurred properly.
- Solution: Ensure the lid is sealed tightly. Drain the liquid regularly. If it’s consistently smelling bad, you might need to go back to the basics of the Bokashi process and ensure adequate bran coverage and airtight sealing. Check the spigot for clogs.
Where to Find Help and Resources
Never feel like you’re on your own! There are fantastic communities and resources out there.
- Local Community Gardens: Often have compost experts or workshops. They might also be a place where you can “finish” your Bokashi compost.
- Online Forums and Social Media Groups: Search for “apartment composting,” “vermicomposting,” or “Bokashi” groups. You’ll find a wealth of shared knowledge and troubleshooting tips.
- University Extension Offices: Many land-grant universities have excellent, science-based gardening and composting information available for free online. For example, Colorado State University Extension offers comprehensive guides on various composting methods, including those adaptable for urban settings.
- Composting Supply Websites: Companies that sell worm bins, Bokashi bran, or composting worms often have extensive FAQ sections and troubleshooting guides on their sites.
Conclusion: Your Greener Apartment Life Awaits!
See? Composting for small apartments is totally within reach! Whether you choose the busy work of red wigglers, the pickling power of Bokashi, the speedy convenience of an electric composter, or even a municipal program, you’re taking a fantastic step towards a more sustainable lifestyle.
You’ll be reducing waste, creating valuable soil for your plants, and feeling great about your positive impact on the environment. Don’t let a small living space stop you. Start simple, learn as you go, and enjoy the journey of turning your kitchen scraps into something truly valuable. Happy composting!
Frequently Asked Questions About Apartment Composting
Q1: Will my apartment smell if I compost?
No, not if done correctly! Worm composting should smell earthy or like soil. Bokashi has a mild, fermented, pickle-like smell. Proper ventilation, balanced ingredients, and sealed bins are key to odor-free apartment composting.
Q2: How much food waste can I process in an apartment?
It depends on the method. Worm bins are best for vegetable and fruit scraps. A typical bin can handle about 0.5 to 1 pound of food scraps per week. Bokashi can handle more volume and variety, including meats and dairy. Electric composters can process the most volume but require electricity.
Q3: Do I really need to buy worms? What kind?
Yes, you’ll need specialized composting worms like red wigglers (Eisenia fetida) or European nightcrawlers. Regular garden earthworms are not efficient for bin composting. You can buy them online or from garden centers. They are surprisingly robust!
Q4: What’s the difference between compost and Bokashi?
Composting (like in a worm bin) is decomposition assisted by aerobic microbes and worms. Bokashi is anaerobic fermentation using specific microbes to pickle waste, which then needs to be composted further by burying or adding to a traditional pile.
Q5: Can I compost during winter in my apartment?
Yes! Indoor composting methods like worm composting, Bokashi, and electric composters are perfect for year-round use regardless of outdoor weather. If using a balcony bin, you may need to insulate it in very cold climates, or simply bring it inside or switch to an indoor method.
Q6: How do I know when my compost is ready?
Finished worm compost looks and feels like dark, crumbly soil. It will smell earthy and pleasant. You shouldn’t be able to recognize the original food scraps. For Bokashi, the fermented material is ready after two weeks but needs further decomposition in soil or a compost pile before it’s usable as a soil amendment.

I am passionate about home engineering. I specialize in designing, installing, and maintaining heating, ventilation, and air conditioning systems. My goal is to help people stay comfortable in their homes all year long.