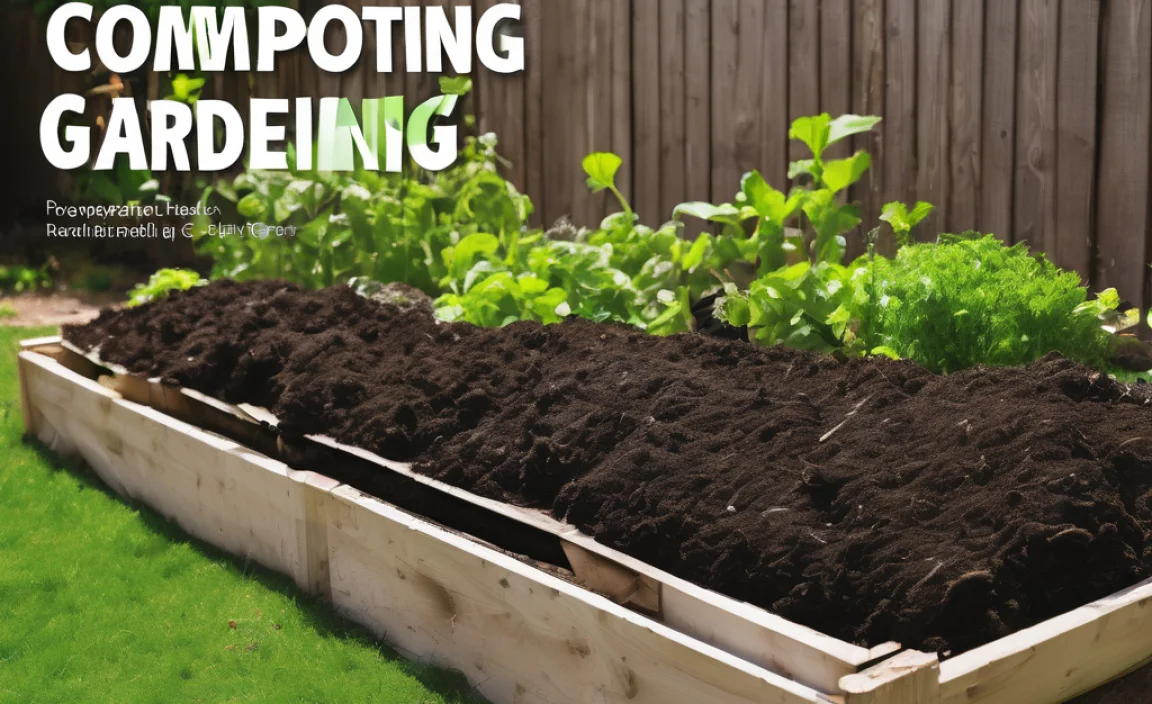
Thinking about composting but live in a small apartment? You might be worried about the mess, the smell, or especially the cost. Many folks assume composting is a backyard-only hobby, but that’s not true! You can absolutely compost in your apartment without breaking the bank. We’ll walk through everything you need to know, making it super simple.
Composting for Small Apartments: What’s the Real Cost?
Hey there, Troy D Harn here from TopChooser! I get it. You’re living the apartment life, maybe dreaming of a greener kitchen and less waste, but the idea of composting seems complicated and expensive. You might picture dusty bins, bug infestations, or funky smells wafting down the hall. But what if I told you that composting in a small space can be surprisingly affordable and totally manageable? That’s exactly what we’re diving into today. We’ll break down the true cost, explore budget-friendly options, and show you how to get started without a big investment. Let’s get this compost party started!
Why Compost in an Apartment Anyway?
Before we talk numbers, let’s quickly touch on why apartment composting is a fantastic idea. It’s not just about being eco-friendly (though that’s a huge plus!). Composting diverts food scraps from landfills, which reduces methane gas, a potent greenhouse gas. Plus, the “black gold” you create can be used for houseplants, balcony gardens, or even donated to community gardens. It’s a win-win for you and the planet!
The “Cost” of Composting: More Than Just Money
When we talk about the “cost” of composting, it’s not just about the dollars you spend upfront. It’s also about the time you invest and the little bit of effort it takes to learn the ropes. But with the right, simple methods, these costs can be minimal. Our goal is to show you how to keep both your wallet and your apartment happy.
Budget-Friendly Composting Methods for Apartment Dwellers
The good news is that you don’t need fancy equipment to start composting in your apartment. There are several easy and inexpensive ways to do it:
1. The Simple “Bokashi” Bin Method
Bokashi is a unique form of fermentation that pickles your food waste rather than decomposing it aerobically (like traditional composting). It’s super effective for apartment living because it’s relatively odorless and quick. You typically buy a Bokashi kit, which includes two airtight bins and a special Bokashi bran (inoculated with beneficial microbes). While the initial kit might seem like an expense, the bran replenishes relatively affordably.
How much does Bokashi typically cost?
- Bokashi Bin Kit: $40 – $70
- Bokashi Bran (replenishment): $10 – $20 for a bag (lasts several months)
The beauty of Bokashi is that the fermented material can then be buried in soil (community garden, friend’s yard, or even a large outdoor planter) or added to a traditional compost bin to finish decomposing. It significantly reduces the volume and smell of your kitchen scraps.
2. The Worm Composting (Vermi-composting) Approach
Worm composting uses special types of worms (red wigglers are popular) to break down food scraps. You can buy a pre-made worm bin, or even build a simple one yourself using plastic storage containers. This is a very popular method for apartments because it’s compact, efficient, and the worms are surprisingly low-maintenance.
Typical Costs for Worm Composting:
| Item | Estimated Cost | Notes |
|---|---|---|
| Worm Bin (DIY) | $10 – $30 | Using repurposed plastic totes. |
| Worm Bin (Purchased) | $50 – $150 | Many good options available online. |
| Red Wiggler Worms | $25 – $40 | A pound is usually plenty to start. |
| Bedding Material (Shredded paper, coco coir) | $5 – $15 | Often items you can find for free or cheap. |
While the initial setup for vermicomposting can seem a bit higher if you buy a kit, the ongoing costs are very low. You won’t need to buy special “compost food” for them; they eat your food scraps! Plus, the worms multiply over time, so you might only need to buy them once.
Ready to build your own worm bin? Check out this great guide from the U.S. Environmental Protection Agency (EPA) for detailed instructions on setting one up.
3. The “Poor Man’s Compost” – Kitchen Scraps & Outdoor Bin
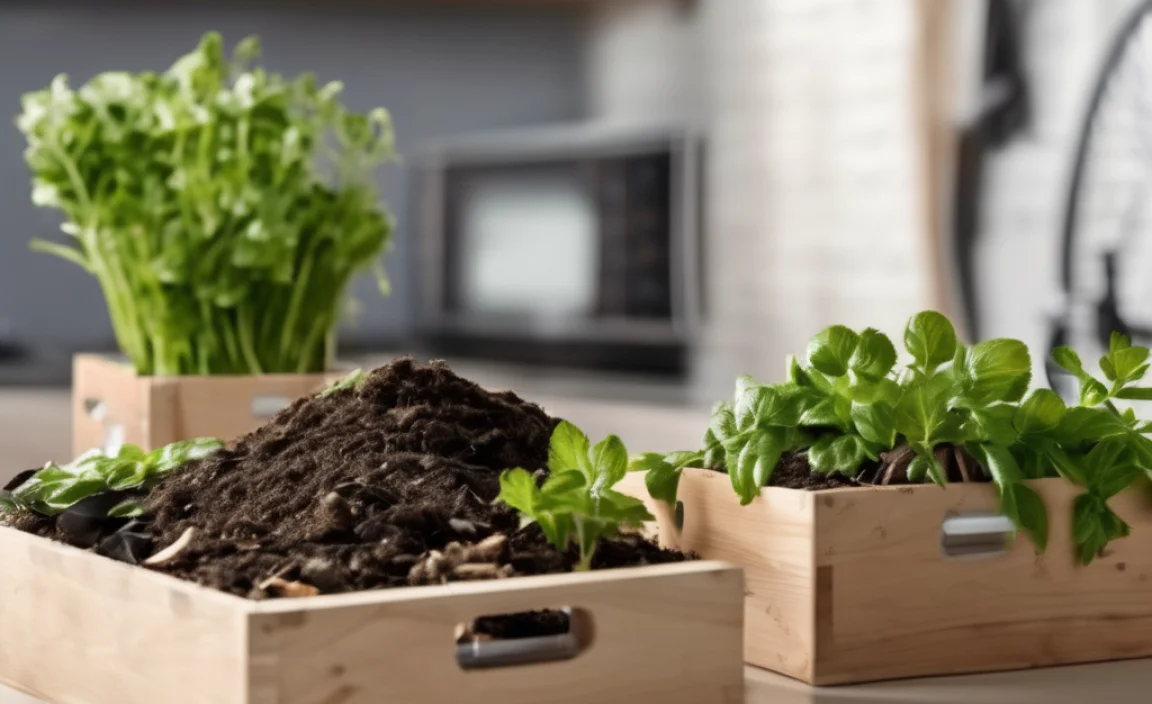
If you have a balcony, a small patio, or even just access to a shared community garden space, you might be able to use a more traditional but compact compost bin. The key here is choosing a bin designed for smaller spaces.
Cost Breakdown for a Small Outdoor Bin:
- Small Tumbling Composter: $70 – $150
- Stationary Apartment Composter Bin: $40 – $80
- DIY Bin (Wood/Wire Mesh): $20 – $50
The “cost” here is mostly the bin itself. You’ll also need to balance your “greens” (food scraps) and “browns” (dry leaves, shredded paper). If you don’t have easy access to “browns,” you might need to purchase some biodegradable materials, but often, shredded cardboard or newspaper works perfectly and is free!
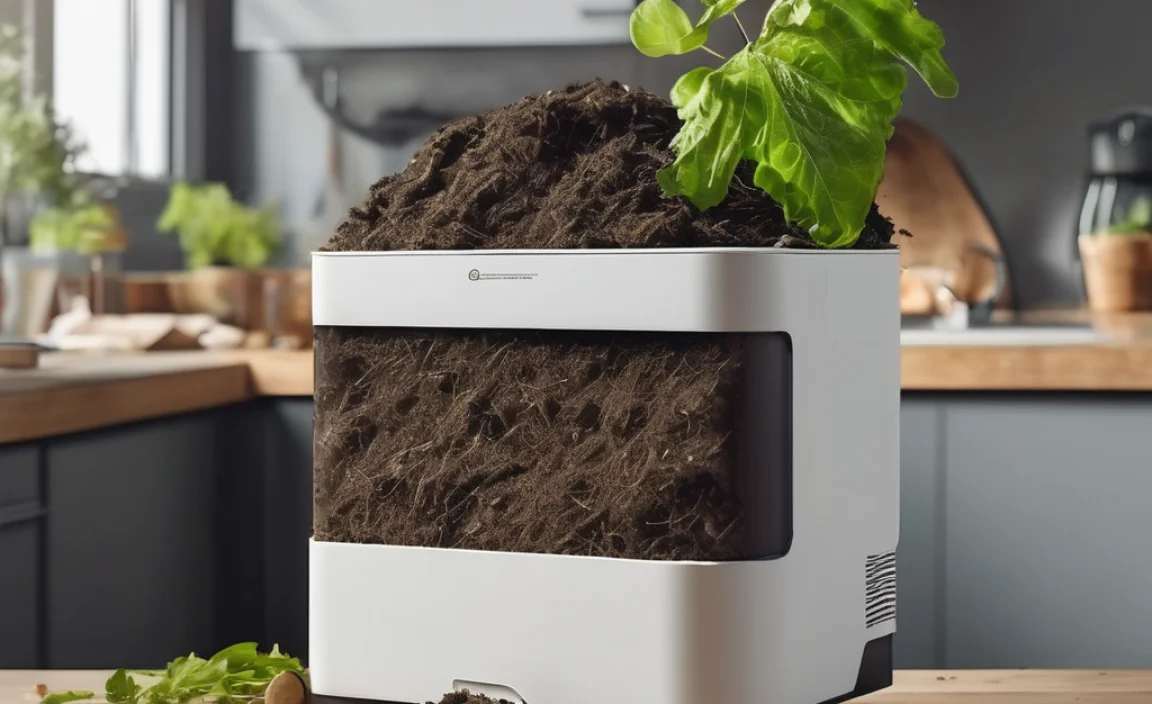
4. Electric Composter: The High-Tech, High-Cost Option
For the ultimate in convenience and speed, electric composters exist. These countertop appliances use heat and aeration to break down food scraps into a soil amendment in a matter of hours. However, as you might expect, they come with a significant price tag.
Electric Composter Costs:
- Appliance Cost: $300 – $700+
- Electricity Usage: A small ongoing cost, depending on usage.
While incredibly convenient and odorless, these are generally the least budget-friendly option for apartment dwellers starting out. They are a luxury item rather than a necessity for apartment composting.
Essential “Free” or Very Low-Cost Items to Get Started
Beyond a bin, you’ll need a few other things. The good news? Most can be had for free or are things you likely already own:
For Any Method:
- A Small Kitchen Countertop Caddy: This is just a small lidded container to collect your daily scraps before taking them to your main composting system. An old yogurt container, a repurposed ice cream tub, or a small stylish kitchen bin works perfectly. Cost: $0 – $15.
- Something to Chop/Break Down Scraps: A knife and cutting board are usually all you need. Smaller pieces break down faster. Cost: $0 (if you have them).
For Worm Composting (Vermi-composting):
- Bedding Material: Shredded newspaper (black and white ink only), cardboard, or coconut coir (often sold for plant pots) make excellent bedding. You can often get shredded paper for free from recycling bins or buy a bale of coco coir for a few dollars. Cost: $0 – $10.
For Bokashi:
- Airtight Containers: While you can buy Bokashi bins, you can also adapt two airtight 5-gallon buckets with lids. You’ll need to drill holes in the bottom of the inner bucket for drainage. Cost: $10 – $20 for buckets if you don’t have them.
- Bokashi Bran: This is the specialized inoculant. You generally have to buy this. Cost: $10 – $20 per bag, which lasts a good while.
For Outdoor/Traditional Bins:
- “Browns”: Dry leaves, shredded cardboard, newspaper, straw. Often available for free from parks, neighbors, or your own recycling. Cost: $0 – $5 if you need to buy a small bag of straw.
Understanding “Greens” and “Browns” for Apartment Composting
No matter which method you choose (except maybe electric), understanding the balance of “greens” and “browns” is key. Think of it like a recipe for healthy compost:
- Greens (Nitrogen-rich): These are your fresh, moist materials. They provide nitrogen and moisture.
- Fruit and vegetable scraps
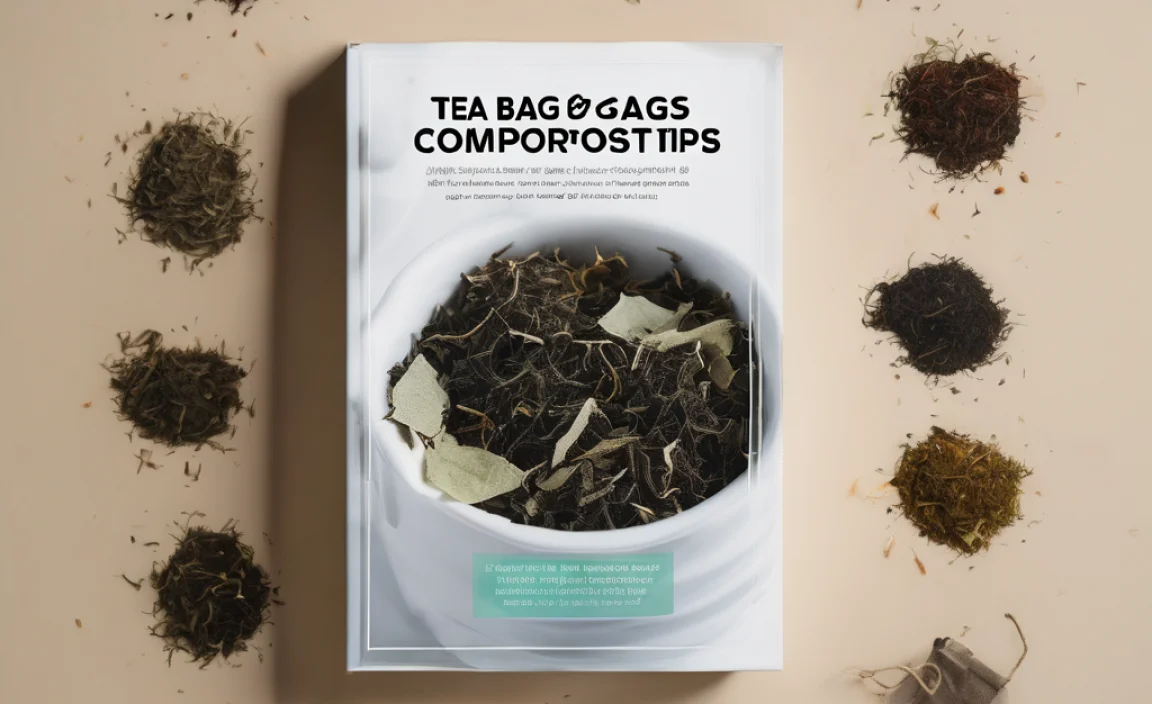
- Coffee grounds and tea bags (check if bags are compostable)
- Grass clippings (in small amounts for outdoor bins)
- Browns (Carbon-rich): These are your dry, woody materials. They provide carbon and help with aeration, preventing your compost from getting too wet and smelly.
- Shredded newspaper (black and white ink)
- Shredded cardboard (uncoated)
- Dry leaves
- Sawdust (from untreated wood)
- Paper egg cartons
For Worms & Bokashi: While the green/brown concept is less strict, feeding too much of one thing can still cause issues. Worms prefer a good mix, and the Bokashi process ferments whatever you throw at it, but a balanced diet offers the best results.
For Outdoor Bins: Aim for roughly a 1:2 or 1:3 ratio of greens to browns by volume. Too many greens can make it slimy and smelly; too many browns means it breaks down very slowly.
What NOT to Compost (Especially in an Apartment!)
Just like in a backyard garden, there are certain things that don’t belong in your apartment composter. This is crucial for preventing smells, pests, and ensuring a healthy end product.
- Meat, Fish, and Dairy Products: These can attract pests and create foul odors, especially in a small, indoor space.
- Oily or Greasy Foods: Similar to meat and dairy, these can go rancid and attract unwanted visitors.
- Diseased Plants: You don’t want to spread plant diseases.
- Weeds with Seeds: Unless you’re very confident in your composting temperatures (which is unlikely in small apartment systems), you risk spreading weeds.
- Pet Waste (Dog/Cat): Contains pathogens that aren’t usually killed in small-scale composting.
- Processed Foods with Lots of Salt or Sugar.
- Chemically Treated Yard Waste: If you get scraps from an outdoor space.
Always check your specific composting method’s guidelines, as some (like Bokashi) can accept a broader range of materials than others, but the general rule for apartments is to keep it simple and stick to fruits, vegetables, coffee grounds, and paper products.
Choosing Your Apartment Composting Method: A Cost vs. Effort Comparison
Let’s revisit the costs and effort involved to help you decide:
| Method | Initial Cost Range | Ongoing Cost | Effort Level | Odor Potential | Space Needed |
|---|---|---|---|---|---|
| Bokashi | $40 – $70 (kit) or $10-$30 (DIY buckets) | $10-$20 (bran, every few months) | Low to Medium | Very Low (slightly vinegary/pickled smell) | Small footprint (under sink/cabinet) |
| Worm Composting | $50 – $150 (kit) or $10-$30 (DIY bin) + $25-$40 (worms) | Very Low (bedding costs, minimal) | Medium | Very Low (earthy smell when managed well) | Small to Medium (can sit on a balcony or indoors) |
| Small Outdoor Bin | $40 – $150 (purchased) or $20-$50 (DIY) | Very Low (occasional purchase of browns if needed) | Medium to High | Medium (can smell if not balanced) | Medium to Large (balcony, patio required) |
| Electric Composter | $300 – $700+ | Low (electricity) | Very Low | None | Countertop size |
As you can see, the upfront cost largely depends on whether you DIY or buy a kit. For the absolute lowest initial investment, a DIY worm bin or DIY Bokashi with repurposed buckets is the way to go. Ongoing costs are minimal for all but the electric option.
Step-by-Step: Getting Your Apartment Composting Started (Worm Bin Example)
Let’s pretend we’re going with the super popular worm bin method. This is a great choice because it creates nutrient-rich compost and is very manageable.
Step 1: Gather Your Materials (Budget-Friendly Edition)
- Two opaque plastic storage totes with lids (around 10-15 gallons each): One will be the worm bin, the other will catch leachate (worm tea). Look for sales or use ones you already have!
- Drill with assorted bits.
- Red Wiggler worms: Order online from a reputable supplier.
- Bedding: Shredded newspaper (black and white ink only) or coco coir.
- Food scraps: Start collecting your fruit and veggie peels, coffee grounds, etc.
- A small kitchen caddy.
Step 2: Prepare Your Worm Bin
Take one of the plastic totes. Drill a dozen or so small drainage holes (about 1/8 inch) in the bottom. Then, drill about 20-30 slightly larger holes (about 1/4 inch) in the lid for airflow. You can also drill a few air holes around the top sides of the bin.
Step 3: Prepare the Second Tote (Leachate Collector)
This tote just needs to be a solid container to catch any liquid that drains from the worm bin. It won’t have any holes.
Step 4: Assemble the Bin
Place the prepared worm bin tote inside the second, solid tote. This creates a system where the worm bin sits above the leachate collector.
Step 5: Add Bedding
Shred your newspaper or prepare your coco coir. Moisten the bedding until it feels like a wrung-out sponge – not dripping wet, but definitely not dry. Fill the worm bin about halfway to two-thirds full with this moist bedding.
Step 6: Introduce the Worms
Gently place your red wigglers on top of the bedding. They will start to burrow down. This is a good sign they’re settling in!
Step 7: Start Feeding
Wait a day or two for the worms to adjust. Then, bury small amounts of food scraps (chopped up is best) in different spots under the bedding. Avoid overfeeding. A general rule is that worms can eat about half their weight in food per day, but start slower.
Step 8: Maintain Moisture and Aeration
Check the bedding moisture regularly. If it’s too dry, mist it lightly with water. If it seems too wet, add more dry bedding. Fluff the bedding gently every week or two with a small garden fork or your fingers to ensure air circulation.
Step 9: Harvest Your Compost!
After a few months, you’ll start to see dark, crumbly material – this is your compost! Harvest it by either moving all the material to one side and feeding only on the other, or by carefully sorting out the worms. You can now use this amazing compost for your houseplants or share it!
Troubleshooting Common Apartment Composting Issues (Keep it Simple!)
Even with the best intentions, small issues can pop up. Here’s how to fix them without stress:
- Smell: This is the biggest fear! If your bin smells bad (like rotten eggs or ammonia), it’s usually too wet or has too many greens.
- Fix: Add more dry “browns” (shredded paper/cardboard), aerate the bin by gently fluffing, and reduce
Related Posts
- Boost Your Garden: Best Compost Options in the UK
- Compost Pile Best: Effortless Success
- Sheet Composting Best: Proven Eco-Gardening
- Composting For Beginners Rural: Essential Guide
Tea Bags Composting Guide: Essential Effortless Tips- Do You Urinate More When Sick? Powerful Secrets!
- Worm Composting Rural: Essential Guide Revealed
- Best Single-Stage 21 Gallon Air Compressor: Essential Guide
- Fix: Add more dry “browns” (shredded paper/cardboard), aerate the bin by gently fluffing, and reduce

I am passionate about home engineering. I specialize in designing, installing, and maintaining heating, ventilation, and air conditioning systems. My goal is to help people stay comfortable in their homes all year long.