Hey there, apartment dwellers and eco-warriors! Ever feel like you’re missing out on the composting party because you don’t have acres of land? Or maybe you’ve tried before and ended up with more questions than compost? You’re not alone! Many of us living in cozy apartments think composting is off-limits. But I’m here to tell you it’s totally doable, and even rewarding. We’ll walk through how to get started, keeping it simple and stink-free. Let’s turn those kitchen scraps into something useful, right in your small space!
Unlock Your Inner Gardener: Composting for Small Apartments Made Easy
Living in a city apartment doesn’t mean you can’t embrace the green thumb and reduce waste. Composting is a fantastic way to do both! It takes your everyday kitchen scraps and food waste and transforms them into nutrient-rich soil that’s amazing for plants. Think of it as a natural recycling system for your home. And the best part? You can absolutely do it without a big yard, or even a balcony. We’re talking about solutions that fit right into your kitchen or a cozy corner.
Many apartment dwellers think composting is too messy, smells bad, or simply requires too much space. It’s a common frustration. But with the right methods and simple tools, you can compost successfully. We’re going to break down the best options for small spaces, troubleshoot common issues, and show you exactly how to get started. By the end of this guide, you’ll be well on your way to creating your own ‘black gold’ right at home.
Why Compost in an Apartment? More Than Just Soil!
Before we dive into the ‘how,’ let’s chat about the ‘why.’ Composting isn’t just for folks with sprawling gardens. For those of us in apartments, it’s a way to:
- Reduce Landfill Waste: Food scraps make up a significant portion of what we throw away. Composting diverts this waste, which is great for the environment. Less waste in landfills means less methane gas produced, a potent greenhouse gas.
- Create Amazing Plant Food: If you have houseplants, a small herb garden on your windowsill, or even just a dream of container gardening, compost is pure gold. It’s packed with nutrients that help plants grow strong and healthy.
- Save Money: Buying potting soil and fertilizer can add up. Making your own compost is a cost-effective way to keep your plants thriving.
- Learn and Connect with Nature: It’s a hands-on way to understand natural cycles and feel more connected to where our food comes from, even in an urban setting.
- Feel Good! Knowing you’re making a positive impact on the planet, one kitchen scrap at a time, is incredibly rewarding.
Choosing Your Apartment Composting Method: Fitting Green Living into Small Spaces
The key to successful apartment composting is picking the right method for your lifestyle and space. Here are the most popular and effective options:
1. The Worm Bin (Vermicomposting)
This is perhaps the most popular and efficient method for apartment dwellers. It uses red wiggler worms to break down food scraps. It’s contained, relatively odorless when done correctly, and produces fantastic compost (called worm castings).
How it Works:
Red wiggler worms (not your typical garden earthworms!) eat your food scraps and bedding material (like shredded newspaper or coconut coir). They digest it and excrete nutrient-rich castings. The bin usually has multiple layers or a collection tray for the liquid (worm tea), which is a super-fertilizer for plants.
Pros:
- Compact: Worm bins are designed to be relatively small and can fit under a sink, in a closet, or on a shelf.
- Fast Decomposition: Worms are efficient workers and can process waste quickly.
- High-Quality Compost: Worm castings are a premium fertilizer.
- Low Odor: When managed properly, it smells earthy, not rotten.
Cons:
- Requires specific worms: You can’t just grab any worms from your backyard.
- Temperature Sensitive: Worms prefer moderate temperatures (55-77°F or 13-25°C).
- Not for ALL food scraps: You generally avoid meat, dairy, oily foods, and citrus in large quantities.
Getting Started with Worm Composting:
- Choose a Bin: You can buy a pre-made worm bin or make your own using plastic totes. Look for bins with airflow and a way to collect liquid. Many ready-made bins come with instructions.
- Add Bedding: Moisten shredded newspaper, cardboard, or coconut coir. Fluff it up and fill about half your bin. This is what the worms will live in.
- Get Your Worms: Order red wiggler worms online. They usually arrive in a breathable bag. Gently add them to your moist bedding.
- Feed Your Worms: Start by adding small amounts of chopped-up fruit and vegetable scraps. Bury the food under the bedding to prevent odors and pests.
- Harvest When Ready: After a few months, you’ll start seeing compost. There are various methods to separate worms from finished compost, like migrating them to one side of the bin or emptying the bin and sifting.
2. The Bokashi Bin
Bokashi is a Japanese method of fermentation. It uses anaerobic (oxygen-free) fermentation with a special bran inoculated with effective microorganisms (EM). This method can handle almost all food scraps, including meat and dairy.
How it Works:
You layer your food scraps with Bokashi bran in an airtight bin. The microbes in the bran ferment the waste, pickling it rather than decomposing it. It doesn’t smell bad because it’s anaerobic. After a few weeks of fermentation, the pickled waste needs to be buried (if possible) or composted further. The liquid produced is a potent fertilizer.
Pros:
- Handles ALL Food Scraps: Meat, dairy, oils, bones – Bokashi can take it all.
- Compact & Airtight: Minimal odor and pest issues.
- Produces Nutrient-Rich Liquid: This “Bokashi tea” is a great plant tonic.
- Relatively Quick: The fermentation process is faster than traditional composting.
Cons:
- Requires Buying Bokashi Bran: The starter material needs to be repurchased.
- Fermented, Not Finished: The end product is pickled food waste. It needs to be buried in soil, added to a traditional compost pile, or composted further in a continuous bin to fully break down into usable compost. This might require access to a community garden or a friend with a yard.
- Initial Investment: You’ll need the special airtight bin and the bran.
Getting Started with Bokashi:
- Get a Bokashi System: Purchase an airtight bucket with a spigot for draining liquid and Bokashi bran.
- Layer Your Scraps: Add food scraps to the bin, chopping them into smaller pieces. Sprinkle a tablespoon or two of Bokashi bran over the scraps.
- Compact and Seal: Press down the scraps to remove air, then seal the lid tightly.
- Drain the Liquid: Regularly drain the fermented liquid (“Bokashi tea”) from the spigot. Dilute it with water (1:100 ratio) for a potent plant fertilizer.
- Ferment: Continue adding scraps and bran for about two weeks, or until the bin is full.
- Pickle and Bury/Compost: Once the bin is full, let it sit for another two weeks to fully ferment. Then, the pickled material can be added to a traditional compost bin, buried in a garden bed (if you have access), or even added to large potted plants (bury it deep to avoid attracting pests).
3. Electric Composters (Food Cyclers)
These countertop appliances use heat, aeration, and grinding to break down food scraps into a dry, nutrient-rich soil amendment in a matter of hours. They are super convenient and reduce food waste volume dramatically.
How it Works:
You toss in your food scraps, close the lid, and press a button. The machine heats, dries, and grinds the waste, significantly reducing its volume and transforming it into something resembling coarse, dry soil. Many claim it can handle most food types, including meat and bones.
Pros:
- Extremely Fast: Turns waste into amendment in just a few hours.
- Odorless: Most models have carbon filters to eliminate smells.
- Handles Most Foods: Generally can take meat, dairy, and small bones.
- Compact: Designed to sit on your kitchen counter.
- Reduces Volume: Dramatically shrinks the amount of food waste.
Cons:
- Cost: These can be quite expensive upfront.
- Energy Consumption: They use electricity to operate.
- Not True Compost: The end product is a dried, ground amendment, not fully decomposed compost. It’s still beneficial for soil but hasn’t undergone the microbial processes of traditional composting. Some gardeners prefer to mix it with actual compost.
- Noise: Some models can be a bit noisy during operation.
Getting Started with Electric Composters:
- Purchase a Unit: Research different brands and models to find one that fits your budget and needs.
- Add Food Scraps: Follow the manufacturer’s instructions for filling the bucket, usually not overfilling it.
- Start the Cycle: Close the lid and press the start button.
- Empty and Use: Once the cycle is complete, empty the dried amendment. You can add it to houseplants, outdoor pots, or donate it to community gardens.
4. Continuous Compost Bins / Countertop Bins (with careful management)
These are often small, lidded containers used to collect food scraps before you take them out to a larger compost system (like a community compost pickup, a friend’s yard, or a shared building compost). For small apartments, some people use these as a primary composting method if they are very diligent about the “greens vs. browns” balance and aeration.
How it Works:
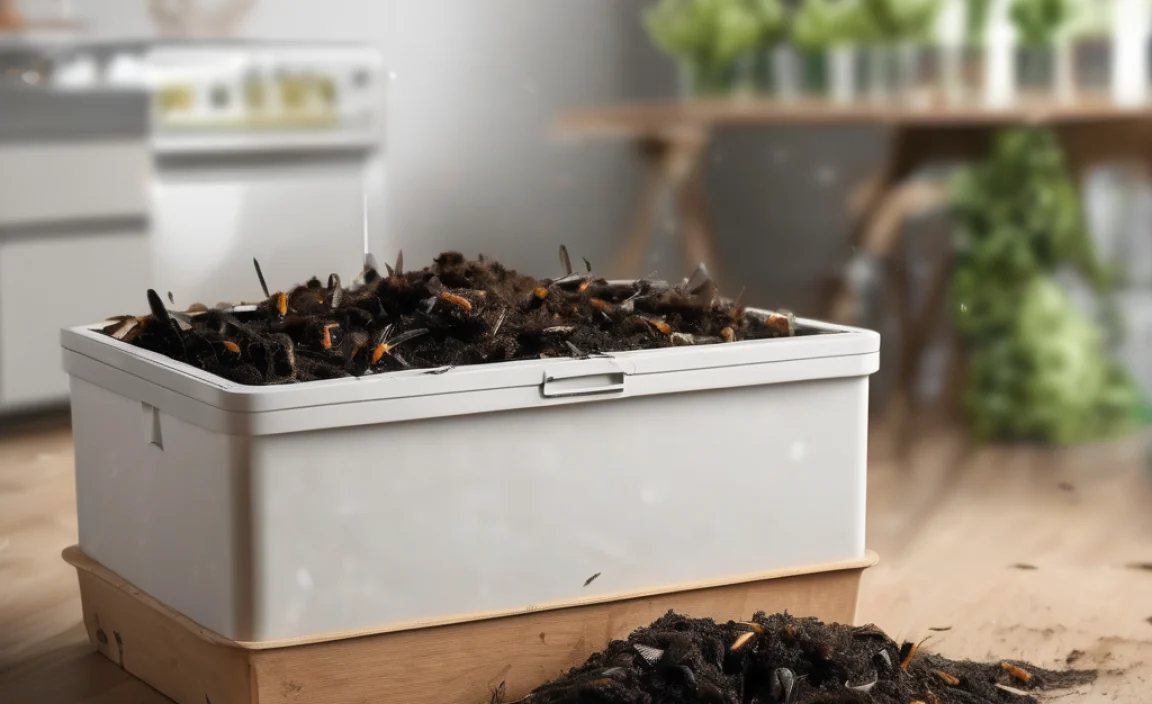
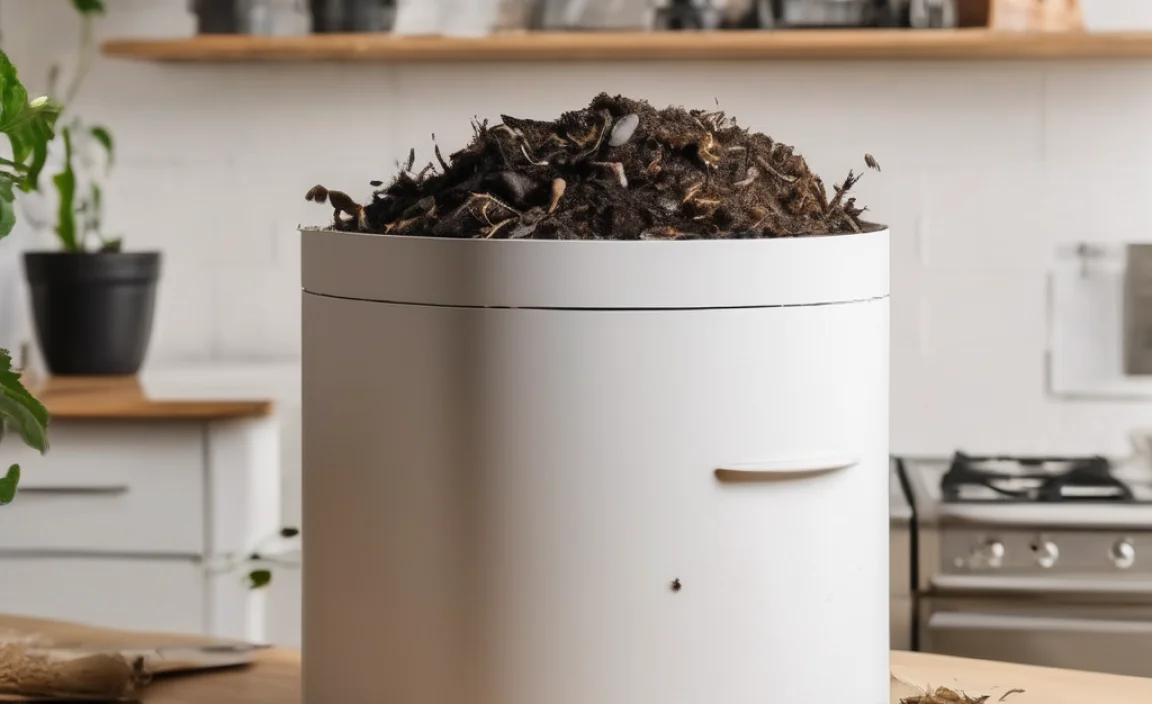
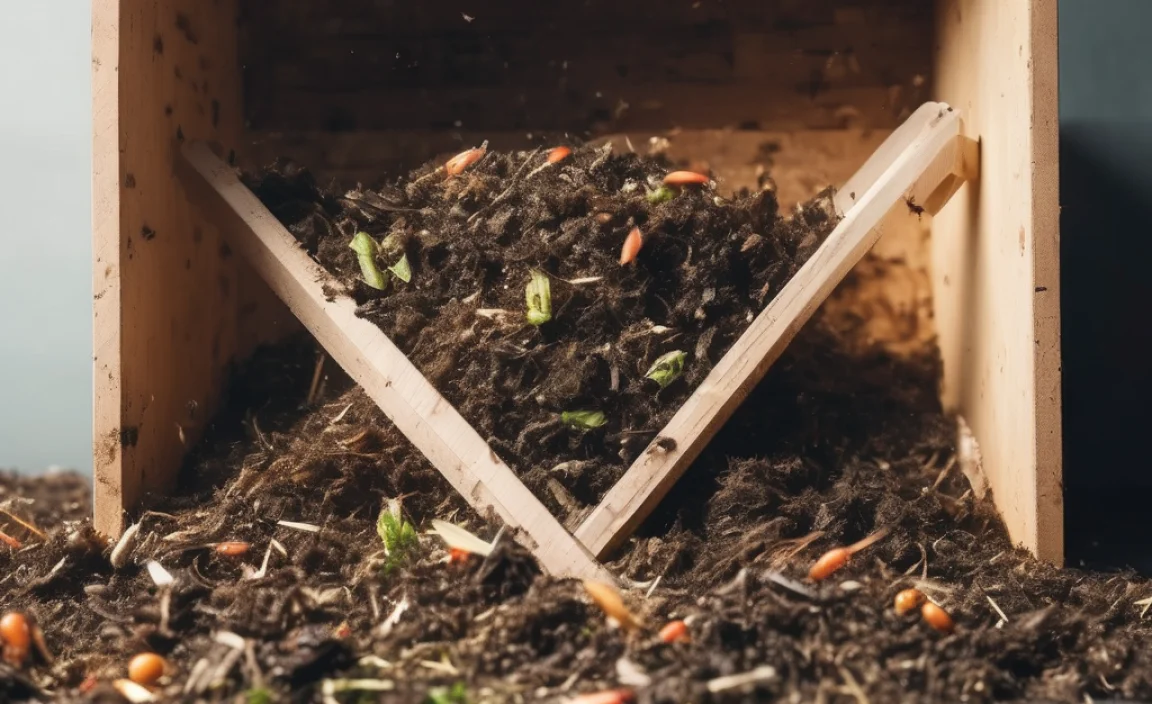
These bins hold your kitchen scraps. If used for primary composting, you’ll need to carefully layer “greens” (food scraps) with “browns” (shredded paper, dry leaves) and ensure some airflow. This is trickier in a small, contained space and is more prone to odors and fruit flies if not managed meticulously.
Pros:
- Simple Collection: Great for gathering scraps before disposal.
- Relatively Inexpensive: Can often find or make these easily.
- Good for Small Volumes: Perfect for 1-2 people.
Cons:
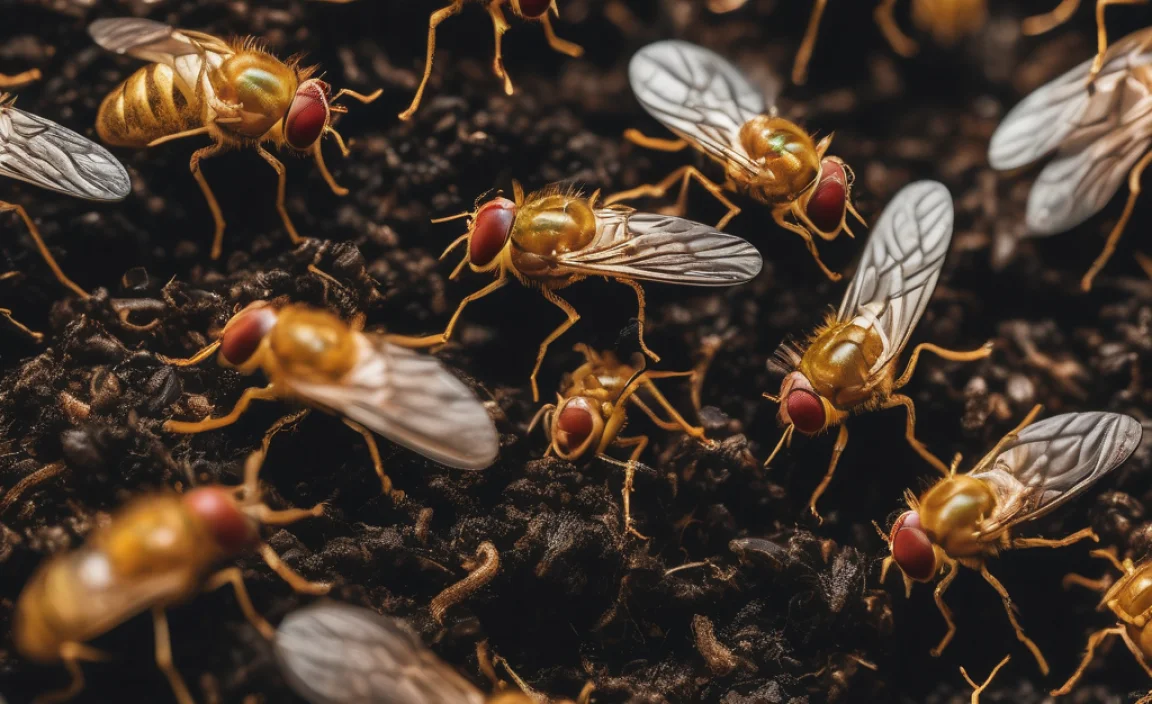
- High Risk of Odor/Pests: Without proper aeration and balance, these can smell and attract fruit flies.
- Requires Frequent Attention: Needs constant balancing of green/brown materials if used for active composting.
- Limited Capacity: Not suitable for larger households or significant food waste.
Note: For most apartment dwellers considering this as a primary method, we highly recommend pairing it with a service that picks up compostable waste, or a nearby community garden. If you’re looking for true composting on-site within an apartment, worm bins or Bokashi are generally more successful and less prone to issues.
What Can You Compost? The “Greens” and “Browns” Explained

Understanding the balance of materials is crucial for any composting method, especially for methods that aim for decomposition rather than just fermentation or drying.
Compostable materials generally fall into two categories:
“Greens” (Nitrogen-Rich Materials)
These are typically wet, fresh materials that provide nitrogen. Examples include:
- Fruit and vegetable scraps
- Coffee grounds and tea bags
- Grass clippings (use sparingly in small bins to avoid matting)
- Eggshells (crushed)
“Browns” (Carbon-Rich Materials)
These are dry, woody materials that provide carbon and bulk, helping with airflow and preventing sliminess. Examples include:
- Shredded newspaper (avoid glossy inserts)
- Shredded cardboard
- Dry leaves
- Paper towels and napkins (unsoiled by grease)
- Sawdust (from untreated wood)
- Coconut coir (used as bedding for worms)
Materials to Generally AVOID in Apartment Setups (Especially Worm Bins):
These can cause odors, attract pests, or harm your composting system:
- Meat and fish scraps
- Dairy products (cheese, milk, yogurt)
- Oily or fatty foods
- Diseased plants
- Pet waste (dog and cat feces)
- Chemically treated wood or paper
- Citrus peels and onions in large quantities (can be acidic or harm worms)
Bokashi and electric composters have different rules; always check your specific system’s capabilities!
Essential Tools for Your Apartment Composting Journey
You don’t need a lot of fancy gear to get started. Here’s a basic rundown:
- Composting Container: Your chosen bin (worm bin, Bokashi bin, electric composter, or countertop collection bin).
- Kitchen Compost Pail: A small, lidded pail for collecting scraps as you cook. Look for one with a filter or choose a simple, easy-to-clean container.
- Shredder (Optional but helpful): For breaking down cardboard and newspaper for bedding or brown material.
- Gloves: To keep your hands clean when handling materials.
- Small Shovel or Trowel: For turning materials or burying scraps in a larger bin (less needed for worm bins).
- Watering Can or Spray Bottle: For moistening bedding (worm bins) or for diluting “Bokashi tea.”
- Compost Thermometer (Optional for worm bins): To monitor temperatures, especially if you’re concerned about worm health.
For worm composting, your primary investment will be the bin and the worms. For Bokashi, it’s the bin and the bran. Electric composters are a significant appliance purchase. Countertop collection pails are the most budget-friendly starting point if you plan to use a communal system or donate your scraps.
Step-by-Step: Setting Up Your Worm Bin (A Favorite for Apartments!)
Let’s get hands-on with setting up a worm bin. It’s simpler than you think!
Step 1: Gather Your Materials
- A worm bin (buy one or make your own 2-3 tote bin system)
- Bedding: Shredded newspaper, cardboard, coconut coir, or a mix. Ensure it’s unbleached and without glossy inks.
- Red Wiggler Worms (order online – they’re special composters!)
- Food scraps (fruit and veggie peels, coffee grounds)
Step 2: Prepare the Bedding
Tease apart your shredded paper or cardboard. Moisten it thoroughly with water so it’s damp like a wrung-out sponge. It should not be dripping wet. Place this damp bedding into your worm bin, filling it about halfway to two-thirds full.
Step 3: Introduce the Worms
Gently place your new red wigglers on top of the moist bedding. Leave the lid off for about 30 minutes to an hour. The worms will burrow down away from the light, indicating they are happy with their new home.
Step 4: First Feeding
Wait about 24-48 hours before feeding your worms. This gives them time to acclimate. Chop your food scraps into small pieces. Dig a small hole in one corner of the bin, add the scraps, and cover them completely with bedding. This helps prevent odors and pests.
Step 5: Establish a Routine
Feed your worms every few days, burying the food in different spots of the bin each time. As you feed, add more dry bedding material if things seem too wet. The goal is to keep the bedding consistently moist but not waterlogged.
Step 6: Aeration and Maintenance
Gently fluff the bedding every week or so with a garden fork or your hands to ensure good airflow. This is crucial for healthy worms!
Step 7: Harvesting Your Worm Castings
After about 3-6 months, you’ll start seeing dark, crumbly material – your worm castings! To harvest, stop feeding one side of the bin for a week or two. The worms will migrate to the other side where the food is.
.lwrp.link-whisper-related-posts{
margin-top: 40px;
margin-bottom: 30px;
}
.lwrp .lwrp-title{
}.lwrp .lwrp-description{
}
.lwrp .lwrp-list-container{
}
.lwrp .lwrp-list-multi-container{
display: flex;
}
.lwrp .lwrp-list-double{
width: 48%;
}
.lwrp .lwrp-list-triple{
width: 32%;
}
.lwrp .lwrp-list-row-container{
display: flex;
justify-content: space-between;
}
.lwrp .lwrp-list-row-container .lwrp-list-item{
width: calc(25% – 20px);
}
.lwrp .lwrp-list-item:not(.lwrp-no-posts-message-item){
max-width: 150px;
}
.lwrp .lwrp-list-item img{
max-width: 100%;
height: auto;
object-fit: cover;
aspect-ratio: 1 / 1;
}
.lwrp .lwrp-list-item.lwrp-empty-list-item{
background: initial !important;
}
.lwrp .lwrp-list-item .lwrp-list-link .lwrp-list-link-title-text,
.lwrp .lwrp-list-item .lwrp-list-no-posts-message{
}@media screen and (max-width: 480px) {
.lwrp.link-whisper-related-posts{
}
.lwrp .lwrp-title{
}.lwrp .lwrp-description{
}
.lwrp .lwrp-list-multi-container{
flex-direction: column;
}
.lwrp .lwrp-list-multi-container ul.lwrp-list{
margin-top: 0px;
margin-bottom: 0px;
padding-top: 0px;
padding-bottom: 0px;
}
.lwrp .lwrp-list-double,
.lwrp .lwrp-list-triple{
width: 100%;
}
.lwrp .lwrp-list-row-container{
justify-content: initial;
flex-direction: column;
}
.lwrp .lwrp-list-row-container .lwrp-list-item{
width: 100%;
}
.lwrp .lwrp-list-item:not(.lwrp-no-posts-message-item){
max-width: initial;
}
.lwrp .lwrp-list-item .lwrp-list-link .lwrp-list-link-title-text,
.lwrp .lwrp-list-item .lwrp-list-no-posts-message{
};
}
Related Posts


I am passionate about home engineering. I specialize in designing, installing, and maintaining heating, ventilation, and air conditioning systems. My goal is to help people stay comfortable in their homes all year long.