Have you ever wondered how long composting actually takes? It can seem like a mystery, and getting it wrong means waiting ages or ending up with a stinky mess. Don’t worry, you’re not alone! Many folks find composting a bit confusing. But here’s the good news: with a few simple tricks, you can speed things up and get that rich, dark compost in no time. We’ll break it all down, step-by-step, so you can start turning your kitchen scraps into garden gold effortlessly. Ready to make composting easy?
Composting Time: Effortless Results
Composting is a fantastic way to reduce waste and create a nutrient-rich soil amendment for your garden. But let’s be honest, the biggest question on most beginners’ minds is: “How long does composting actually take?” The answer, like many things in life, is: it depends. However, by understanding the factors involved and employing a few simple strategies, you can significantly cut down your composting time and achieve those coveted “effortless results.” At TopChooser, we believe in making complex tasks simple, and composting is no exception!
Patience is a virtue, especially when it comes to compost. However, you don’t need to wait an eternity. We’re going to explore how to balance the waiting game with smart composting techniques. This guide will help you understand the science behind it in simple terms, what affects the speed, and how to manage your compost pile for faster decomposition. You’ll learn what to put in, what to look out for, and how to know when your compost is ready to use. Let’s jump in and turn that pile of scraps into garden gold faster than you thought possible!
Understanding the Basics: What Makes Compost Happen?
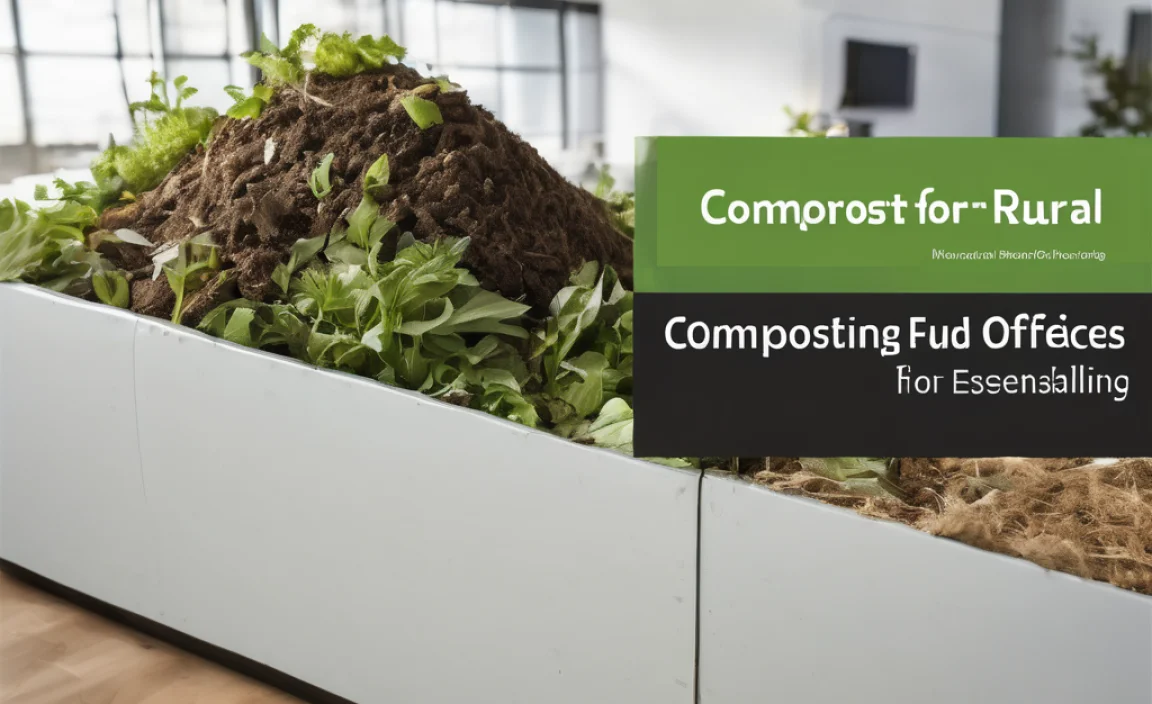
At its heart, composting is a natural process. It’s all about breaking down organic materials – your kitchen scraps, yard waste, and more – into a stable, nutrient-rich substance. This transformation is carried out by tiny organisms like bacteria and fungi, along with larger helpers like worms and insects. They work tirelessly, feasting on your compostable materials and turning them into that beautiful, dark, crumbly stuff we call humus, or compost.
Think of it as a microscopic buffet. These organisms need a few key ingredients to thrive and do their work efficiently:
- Food: This comes from the organic materials you add to your compost bin or pile.
- Water: Just like us, these little helpers need moisture to survive and multiply.
- Air: They need oxygen to breathe and break down materials efficiently.
- The right temperature: Warmth is crucial for speeding up the decomposition process.
When these elements are in balance, the composting process accelerates. If one is missing or out of whack, things can slow down considerably. Understanding these basic needs is the first step to mastering composting time.
Factors That Influence Composting Time
So, what dictates how long your compost takes to mature? It’s a combination of how you manage your compost pile and the materials you use. Let’s break down the most important players:
Material Mix: The “Greens” and “Browns”
This is perhaps the most critical factor in controlling your composting speed. Compostable materials are broadly divided into two categories: “greens” and “browns.” Getting the right balance is key.
- Greens (Nitrogen-rich): These are fresh, moist materials. They provide nitrogen, which is like the protein for your compost microbes. Examples include:
- Fruit and vegetable scraps
- Coffee grounds and tea bags
- Grass clippings (in moderation)
- Plant trimmings
- Browns (Carbon-rich): These are dry, woody materials. They provide carbon, which is the energy source for microbes, and also add bulk, allowing air to circulate. Examples include:
- Dry leaves
- Shredded newspaper and cardboard (avoid glossy paper)
- Straw and hay
- Wood chips or sawdust (small amounts)
A good rule of thumb is to aim for a ratio of roughly 2 parts browns to 1 part greens by volume. Too many greens can lead to a slimy, smelly pile. Too many browns, and the microbes won’t have enough nitrogen to multiply, slowing decomposition. You want a nice, airy mix.
Particle Size: Smaller is Faster!
Think about it: it’s easier for microbes to break down a tiny piece of apple than a whole one. Chopping or shredding your materials before adding them to the compost pile significantly increases the surface area available for microbes to work on. This is a simple but highly effective way to speed up composting time.
Consider taking a few extra moments to break down larger items. For instance:
- Tear cardboard into smaller pieces.
- Chop up large fruit and vegetable scraps.
- Shred leaves or grass clippings if they tend to mat down.
This little bit of extra effort at the beginning pays off in reduced waiting time later.
Aeration: Giving Your Compost a Breath of Fresh Air
Compost microbes are aerobic, meaning they need oxygen to survive and thrive. If your compost pile becomes compacted, air can’t get in, and the decomposition process can slow down dramatically, even turning anaerobic (without oxygen), which leads to unpleasant odors. Regularly turning or “fluffing” your compost pile introduces oxygen and helps mix the materials.
How often you turn depends on your compost method:
- Passive Piles: These aren’t turned often, if at all. They take longer but require less effort.
- Active Piles: These are turned regularly (e.g., once a week or every few weeks). This is the fastest method.
A pitchfork or a compost aerator tool can make turning much easier. Aim to turn your pile until it’s well-mixed and airy. For busy gardeners, even turning it once a month can make a noticeable difference.
Moisture Content: The Perfect Dampness
Your compost pile should be as moist as a wrung-out sponge. Too dry, and the microbes will become inactive. Too wet, and the pile can become waterlogged, leading to anaerobic conditions and foul smells. You want it consistently moist, but not soggy.
You can check the moisture by grabbing a handful of compost. If you can squeeze out a few drops of water, it’s just right. If water streams out, it’s too wet. If it feels dry and crumbly, it’s too dry.
Adjusting Moisture:
- Too Dry: Add water gradually while turning the pile. Lightly sprinkle water over the dry materials.
- Too Wet: Add more dry brown materials (like shredded cardboard or dry leaves) and turn the pile to help it dry out and improve air circulation.
A lid or tarp can help regulate moisture, especially in areas with extreme rainfall or very dry climates.
Pile Size and Temperature
For the fastest composting, particularly through hot composting methods, you need a pile that’s large enough to generate and retain heat. A minimum of 3 feet by 3 feet by 3 feet (1 cubic yard) is generally recommended. This size allows the microorganisms to work efficiently and build up heat, which kills weed seeds and pathogens.
A hot compost pile will reach temperatures between 130°F and 160°F (54°C to 71°C). This heat is a sign that your microbes are working hard. You can monitor the temperature with a compost thermometer, which are readily available from gardening supply stores.
Check out this guide from the North Carolina State University Extension for more in-depth information on composting principles and heat management.
Composting Methods and Their Times
The type of composting system you choose will also impact how quickly you get finished compost. Here are a few popular options:
Hot Composting (The Fast Track)
This is the method focused on achieving high temperatures by carefully balancing greens and browns, keeping the pile properly aerated and moist, and turning it regularly. When done correctly, hot composting can produce finished compost in as little as 4 to 8 weeks.
Pros:
- Fastest method
- Kills weed seeds and pathogens
- Reduces material volume significantly
Cons:
- Requires more effort and attention (turning, monitoring moisture/temperature)
- Needs a larger pile size (at least 3’x3’x3′)
Cold Composting (The Patient Approach)
Also known as passive composting, this method involves simply piling materials and letting nature take its course. You might add new materials as you go without much turning or temperature monitoring. It’s the easiest method but takes the longest.
Pros:
- Minimal effort
- No need to turn the pile
- Can be done with any size container or pile
Cons:
- Slow – can take 6 months to 2 years
- May not kill weed seeds or pathogens
- Can sometimes become compacted and less efficient
Vermicomposting (The Worm Way)
This method uses specific types of worms (like red wigglers) to break down food scraps. Worm bins are ideal for small spaces like apartments or balconies. While it takes time for the worms to process the material, the finished product (worm castings) is incredibly nutrient-rich.
Pros:
- Excellent for small spaces
- Produces very high-quality compost (worm castings)
- Relatively quick processing time within the bin (weeks to months for processed material)
Cons:
- Requires purchasing specific worms and a bin
- Can’t handle large volumes of yard waste
- Needs careful temperature and moisture management to keep worms happy
For a detailed look at different composting setups, the U.S. Environmental Protection Agency (EPA) offers excellent resources on various home composting techniques.
What You CAN and CAN’T Compost
To ensure speedy and safe composting, knowing what to include is crucial. Here’s a quick rundown:
What to Compost (The Good Stuff!):
- Fruits and Vegetables: All kinds, including peels and cores.
- Coffee Grounds & Filters: Yes, and they’re a great source of nitrogen!
- Tea Bags: Remove any staples or plastic tags.
- Eggshells: Rinse and crush them to speed up decomposition.
- Yard Waste: Grass clippings (in thin layers to avoid matting), leaves, small twigs, plant trimmings.
- Shredded Newspaper & Cardboard: Avoid glossy or colored inks.
- Hay & Straw: Excellent carbon sources.
- Sawdust & Wood Shavings: Use in small amounts and mix well with greens.
What NOT to Compost (Avoid These!):
- Meat, Fish, and Dairy Products: These can attract pests and create foul odors.
- Oily Foods: Similar to meat and dairy, they attract pests and slow decomposition.
- Diseased Plants: To avoid spreading diseases to your garden.
- Weeds with Seeds or Invasive Roots: Unless you’re hot composting, these can survive and spread.
- Pet Waste (Dog/Cat Feces): Can contain pathogens harmful to humans.
- Chemically Treated Yard Waste: Pesticides or herbicides can harm beneficial microbes or end up in your compost.
- Coal or Charcoal Ash: Can be toxic to plants.
Sticking to these guidelines will promote a healthy, efficient composting process and ensure your finished compost is safe for your garden.
Tools to Speed Up Composting Time
While you can compost with just a pile and a pitchfork, a few tools can make the process easier, more efficient, and dare we say, quicker!
Essential Tools:
- Compost Bin or Tumbler: Helps contain the pile and can retain heat and moisture better. Tumblers make turning very easy.
- Pitchfork or Shovel: For turning and aerating the pile.
- Garden Hose with Sprayer: For adding water.
Helpful (but not essential) Tools:
- Compost Aerator Tool: Designed to easily inject air into the center of a compost pile.
- Compost Thermometer: To monitor the internal temperature, crucial for hot composting.
- Shredder or Chipper: For breaking down larger yard waste quickly.
- Kitchen Compost Caddy: A small bin for collecting scraps indoors before taking them to the main compost bin.
Investing in a good compost bin or tumbler can make a world of difference in both ease of use and the speed at which you get results. Tumblers, in particular, allow for easy turning every few days, significantly accelerating decomposition.
When is Compost Ready?
This is the million-dollar question! Identifying finished compost is key to knowing when your effort has paid off. Ready compost will have several distinct characteristics:
- Appearance: It will be dark brown or black and crumbly, resembling rich soil. You shouldn’t be able to recognize the original materials (like banana peels or leaves).
- Texture: It will be uniform and loose, not clumpy or slimy.
- Smell: It should smell earthy and fresh, like a forest floor after rain. If it smells sour, ammonia-like, or rotten, it’s not ready and may need more air or a better balance of greens/browns.
- Temperature: A finished compost pile will have cooled down to ambient temperature.
If you can still identify recognizable pieces of food or garden waste, the microorganisms haven’t finished their work yet. Be patient! Sifting your compost with a screen can help separate any larger, unfinished pieces from the fine, ready-to-use compost. These unfinished bits can simply be returned to the compost bin to continue decomposing.
The USDA Natural Resources Conservation Service provides valuable resources on compost quality and uses.
Troubleshooting Common Composting Issues
Even with the best intentions, you might run into a few snags. Here are common problems and how to fix them:
Problem: Smelly Pile (Rotten Egg or Ammonia Smell)
- Cause: Too wet, too many greens (nitrogen), or lack of air.
- Solution: Turn the pile to introduce air. Add more brown materials (shredded leaves, cardboard) to balance the nitrogen and absorb moisture. Ensure good drainage.
Problem: Pile Isn’t Heating Up
- Cause: Too small, too dry, not enough greens (nitrogen), or needs turning.
- Solution: Add more green materials. Moisten the pile if it’s dry. Turn the pile to aerate and mix materials. If the pile is too small, add more bulk to reach at least 3’x3’x3′.
Problem: Pile is Too Dry
- Cause: Not enough moisture, too many browns, or hot/dry weather.
- Solution: Incorporate water gradually while turning the pile. Add moist green materials. Consider covering the pile to retain moisture.
Problem: Pests (Rodents, Flies)
- Cause: Attracted by meat, dairy, oily foods, or improper bin management.
- Solution: Remove any prohibited items (meat, dairy, oils) immediately. Bury food scraps deep within the pile. Use a compost bin with a secure lid. Ensure the pile is managed properly for high temperatures, which deters many pests.
By addressing these common issues proactively, you can ensure your composting journey remains smooth and efficient.
Quick Summary Table: Composting Time Factors
Here’s a handy table to quickly see how different factors impact your composting time. Remember, aiming for the “Fast” or “Moderate” columns will get you those effortless results quicker!