Thinking about composting but feel like it’s a big, messy job? You’re not alone! Many folks get a little intimidated by the idea of turning kitchen scraps into garden gold. But what if I told you it can be super simple and surprisingly clean? I’m Troy D Harn from TopChooser, and I’m here to show you how to make composting easy-peasy. We’ll break it down step-by-step so you can get started without any fuss. Get ready to transform your waste into something amazing for your garden!
Unlock the Magic: Why Composting is a Game-Changer
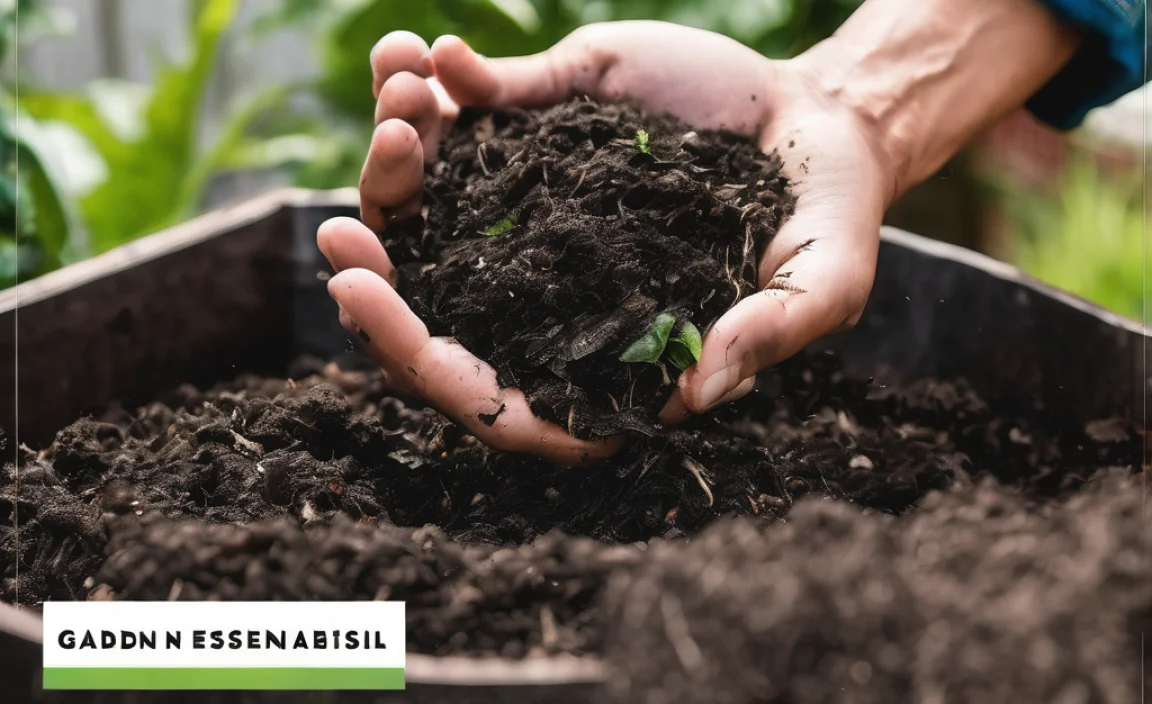
Composting might sound like a fancy gardening term, but it’s really just nature’s way of recycling. You’re helping to break down organic stuff, like food scraps and yard waste, into a rich, dark material called compost. This “black gold” is packed with nutrients that your plants will absolutely love. It’s like giving your garden a superfood shake! Plus, it’s a fantastic way to reduce the amount of trash you send to the landfill. Think about all those vegetable peels, coffee grounds, and grass clippings – instead of them going to waste, they become food for your soil. It’s a win-win for your garden and the planet.
The benefits are pretty amazing:
- Healthier Plants: Compost improves soil structure, making it easier for plant roots to grow and access water and nutrients. This means lusher leaves, brighter flowers, and tastier veggies.
- Water Conservation: Compost acts like a sponge, helping soil retain moisture. This can reduce how often you need to water your garden, saving you time and water.
- Reduced Waste: A significant portion of household waste is organic material that can be composted. This diverts waste from landfills, which helps reduce methane gas production.
- Fewer Chemicals: With nutrient-rich compost, you’ll likely need fewer synthetic fertilizers, which can be good for your health and the environment.
- Cost Savings: You’ll save money on fertilizers, soil amendments, and even garbage disposal fees.
Composting 101: What Exactly Goes In?
One of the biggest questions beginners have is: “What can I actually compost?” It’s simpler than you might think! Your compost pile needs a good mix of “greens” and “browns.”
The “Greens” (Nitrogen-Rich Materials)
These are typically moist materials that provide nitrogen, which helps the microorganisms break things down. Think of them as the fuel for your compost fire.
- Fruit and vegetable scraps (peels, cores, rinds)
- Coffee grounds and paper filters
- Tea bags (remove any plastic staples)
- Grass clippings (in thin layers to avoid matting)
- Fresh plant trimmings
- Eggshells (crushed for faster breakdown)
The “Browns” (Carbon-Rich Materials)
These are drier materials that provide carbon, which is essential for the microorganisms and helps create air pockets in your compost pile. They balance out the “greens.”
- Dried leaves
- Shredded newspaper and cardboard (avoid glossy paper)
- Straw and hay
- Wood chips and sawdust (from untreated wood)
- Pine needles
- Dryer lint (from natural fibers like cotton)
What to Keep Out (The No-Nos)
Not everything belongs in your compost bin! Some items can attract pests, overwhelm your compost, or spread diseases.
- Meat, fish, and bones (attract pests and can smell)
- Dairy products (attract pests and can smell)
- Oily or greasy foods
- Diseased plants or weeds that have gone to seed
- Pet waste (dog or cat feces can contain pathogens)
- Chemically treated wood or yard waste
- Inorganic materials (plastics, metals, glass)
Choosing Your Composting Method: Effortless Options for Everyone
You don’t need a huge backyard or a complicated setup to start composting. There are several methods, and the best one for you depends on your space and how much effort you want to put in.
1. The Simple Tumbler: Easy Peasy, Fast & Clean
Compost tumblers are like big barrels or bins that you can spin. They’re a great choice if you want compost relatively quickly and prefer to keep things neat and tidy. Because you can easily mix and aerate the contents by turning them, they speed up the decomposition process and help prevent odors.
- Pros: Fast composting, contained, keeps pests out, easy to turn.
- Cons: Can be a bit of an initial investment, capacity might be limited.
Many people find tumblers to be the most “effortless” way to compost. You just add your materials, give it a spin every few days, and let nature do its work. Check out EPA’s guide on home composting for more on different methods and what they involve.
2. The Bin System: Classic and Versatile
This is the most common method. You can buy a ready-made compost bin or build one yourself from wood, wire mesh, or even old pallets. Bins keep your compost pile contained and help it retain heat and moisture. The key here is layering your greens and browns and giving it an occasional turn with a pitchfork or compost aerator.
- Pros: Can handle larger volumes, good for larger yards, can be very affordable if you DIY.
- Cons: Takes longer than tumblers, requires more manual turning, might be more prone to pests if not managed well.
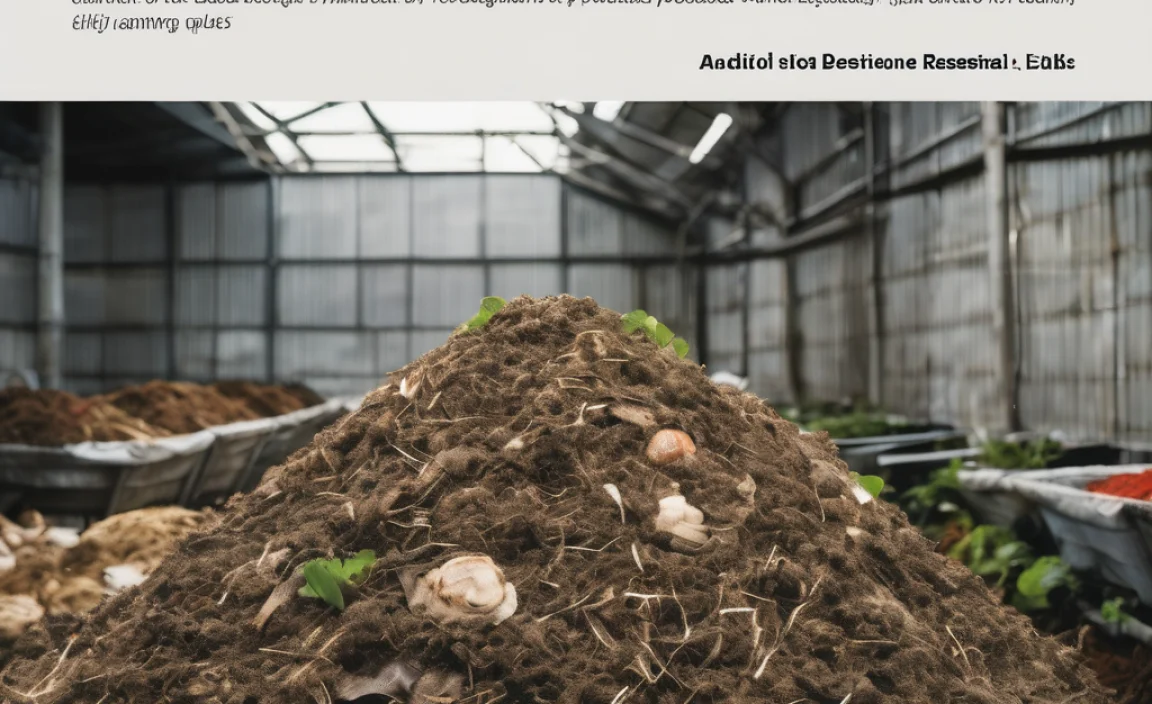
3. The Pile Method: No Bin Needed!
If you have plenty of space and aren’t too worried about aesthetics, you can simply create a compost pile directly on the ground in a quiet corner of your yard. This is the most basic approach. You just layer your materials in a heap. While it’s the least expensive, it can take the longest and might look a bit messy. It also needs careful management to avoid attracting pests or getting swamped with rain.
- Pros: No cost for a bin, can handle massive amounts of material.
- Cons: Takes the longest, less contained, can be unsightly, more prone to pests and weather issues.
4. Worm Composting (Vermicomposting): For the Apartment Dweller
Don’t have a yard? No problem! Worm composting, or vermicomposting, is perfect for small spaces like apartments or balconies. You use special composting worms (like red wigglers) in a compact bin to break down kitchen scraps. It’s surprisingly odorless and produces incredibly nutrient-rich compost (called vermicast or worm castings).
- Pros: Ideal for small spaces, quick breakdown of kitchen scraps, produces high-quality compost, odorless when managed correctly.
- Cons: Requires specific types of worms, can’t handle large volumes, needs specific temperature range.
For more on starting vermicomposting, the Clemson University Extension has excellent resources.
Genius Tips for Effortless Composting Success
Now that you know what to compost and how to do it, let’s dive into some smart strategies to make the process smooth and stink-free.
Tip 1: Get the Greens and Browns Ratio Right
This is probably the most crucial tip for successful composting. A good rule of thumb is to aim for about a 2:1 or 3:1 ratio of browns to greens by volume. Too many greens can make your pile wet and smelly. Too many browns can slow down decomposition. Don’t stress too much about exact measurements initially; just try to get a good mix.
Think of it like building a salad: you want a good balance of leafy greens and other hearty ingredients. If you notice your pile is too wet and slimy, add more brown materials like dry leaves or shredded cardboard. If it seems too dry and slow, add more green materials like kitchen scraps.
Tip 2: Chop It Up!
The smaller the pieces, the faster they will break down. Before tossing your kitchen scraps and yard waste into the bin, give them a quick chop. Large avocado pits or watermelon rinds will take ages to decompose on their own. Shredding newspaper and breaking up cardboard also helps.
Tip 3: Keep It Moist, Not Soggy
Your compost pile should be as damp as a wrung-out sponge. If it’s too dry, the microorganisms will slow down. If it’s too wet, it can become a stinky, anaerobic (oxygen-starved) mess. You can check the moisture by grabbing a handful – a little moisture should come out when you squeeze it. If not, add some water. If it’s dripping wet, add more brown materials.
Tip 4: Aerate, Aerate, Aerate!
Composting is an aerobic process, meaning it needs oxygen. The microorganisms that break down your waste need air to do their job efficiently. Turning your compost pile regularly (every week or two) with a pitchfork or compost aerator is key. If you have a tumbler, just give it a spin!
Even if you can’t turn it often, try to layer your materials so there are air pockets. Avoid compacting the pile too much. If you have a bin, you can also use a special tool called a compost aerator, which is designed to poke holes and fluff up the pile without having to turn it completely.
Tip 5: Location, Location, Location
Where you place your compost bin or pile matters. Ideally, choose a spot that:
- Is easily accessible so you can add materials and turn it without a trek.
- Gets some sun but isn’t baking in direct sun all day, as extreme heat can dry it out too quickly. A little shade is often best.
- Is on bare earth if possible, so beneficial microbes and worms from the soil can migrate into your pile. If on a patio or deck, place it on a piece of hardware cloth to allow drainage and some airflow.
- Is not too close to your house or your neighbors’ property to avoid any potential (though rare, if managed well) odors.
Tip 6: Be Patient
Composting is a natural process, and it takes time. Depending on your method, the materials you use, and how well you manage it, compost can take anywhere from a few months to a year to be ready. You’ll know it’s ready when it’s dark, crumbly, and smells earthy, like a forest floor. The original materials should no longer be recognizable.
Tip 7: Use the Right Tools
You don’t need a lot of fancy gear, but a few simple tools can make a world of difference:
| Tool | Why You Need It | Approximate Cost (USD) |
|---|---|---|
| Compost Bin (Tumbler or Stationary) | Contains materials, retains heat/moisture. Tumblers make turning easy. | $50 – $300+ (depending on type and size) |
| Pitchfork or Compost Aerator | For turning and aerating the pile. | $20 – $40 |
| Garden Gloves | Keep your hands clean and protected. | $10 – $25 |
| Shovel | For moving finished compost or turning larger piles. | $20 – $50 |
| Kitchen Compost Collector | A small container to hold scraps until you take them to the bin. | $10 – $30 |
Starting without a dedicated bin is also an option, especially if you’re using the pile method. You can often get by with just a pitchfork for turning. For those just starting with kitchen scraps, a simple countertop bin is a great way to collect them before heading outside.
Troubleshooting Common Composting Hiccups
Even with the best tips, you might run into a snag or two. Don’t worry; most composting problems are easy to fix!
My Compost Smells Bad!
The Cause: Usually, a bad smell (like rotten eggs or ammonia) means your pile is too wet and lacks oxygen – it’s gone anaerobic. It can also be caused by too many “green” nitrogen-rich materials or by adding things like meat or dairy.
The Fix:
- Add plenty of “brown” carbon-rich materials (dry leaves, shredded cardboard) to absorb excess moisture and balance the nitrogen.
- Turn your pile thoroughly to introduce air.
- Avoid adding meat, dairy, and oily foods.
- If the smell persists, you might need to dig into the pile and manually break up any matted, soggy sections.
My Compost Isn’t Breaking Down
The Cause: Your pile is likely too dry, or it doesn’t have enough “greens” (nitrogen) for the microorganisms to work with. It might also be too cold, or the pieces are too large.
The Fix:
- Add water until it feels like a wrung-out sponge.
- Add more “green” materials like fresh kitchen scraps or grass clippings.
- Turn the pile to mix everything and introduce air.
- If it’s very cold outside, decomposition naturally slows down. You can try adding finished compost or manure to “seed” the pile with active microbes and insulate it better.
- Chop larger items into smaller pieces.
I See Pests (Flies, Rodents)
The Cause: Usually, pests are attracted by exposed food scraps, especially meat, dairy, or greasy foods. A pile that is too wet or not hot enough can also be an issue.
The Fix:
- Never add meat, dairy, fats, or oils to your compost.
- Always bury fresh kitchen scraps in the center of the pile and cover them with a layer of brown material.
- Maintain the proper green-to-brown ratio and keep the pile moist.
- If rodents are a persistent problem, consider a rodent-proof compost bin with a sturdy lid and fine mesh at the bottom and sides. Ensure your bin is securely closed.
- If flies are an issue, it’s usually a sign of a wet, unbalanced pile. Add browns and turn it well.
For more detailed pest management, resources like the Utah State University Extension offer practical advice.
My Compost is Too Hot!
The Cause: A compost pile should get hot in the center (130-160°F or 54-71°C) to kill weed seeds and pathogens, but if it gets too hot, it can kill the beneficial microbes.
The Fix:
- Turn the pile more frequently to cool it down and distribute heat.
- Add more brown materials to absorb excess heat and carbon.
- Ensure the pile isn’t too large, which can sometimes lead to overheating.
Conclusion: Your Effortless Journey to Garden Gold
See? Composting doesn’t have to be complicated or messy. By understanding the basics of greens and browns, choosing a method that fits your lifestyle, and applying a few simple, genius tips, you’re well on your way to creating your own nutrient-rich compost. You’ll be amazed at how much healthier your plants will look and how much less waste you’ll be sending to the landfill.
Remember, the key is not to aim for perfection right away, but to start and learn as you go. Even a small amount of compost can make a big difference in your garden. So go ahead, grab your kitchen scraps, gather some dry leaves, and get your composting journey started. Your garden—and the planet—will thank you for it! Happy composting!
Frequently Asked Questions About Composting
What is the easiest way to start composting?
The easiest way to start is usually with a compost tumbler or a well-managed stationary bin. Adding kitchen scraps and yard waste, and ensuring a good mix of greens and browns, is key. A tumbler makes turning effortless.
How do I know when my compost is ready?
Finished compost will be dark brown or black, crumbly, and moist like a wrung-out sponge. It should smell earthy and pleasant, not sour or rotten. You shouldn’t be able to recognize the original materials you put in.
Can I compost in cold weather?
Yes, you can compost in cold weather, but the process will slow down considerably. Your compost pile might not heat up as much, and decomposition will take longer. It’s best to keep adding materials and keep the pile insulated, perhaps by adding a thick layer of leaves on top.
How often should I turn my compost pile?
For faster composting, turning every one to two weeks is ideal. If you’re not in a hurry, turning every month or so is still beneficial. Tumblers can be spun every few days. While turning isn’t strictly mandatory, it significantly speeds up the process and prevents issues like bad smells.
What are the basic materials needed for composting?
You need a mix of “greens” (nitrogen-rich, like fruit and vegetable scraps, grass clippings) and “browns” (carbon-rich, like dry leaves, shredded cardboard, newspaper). You also need a composting method container (bin, tumbler) or a space for a pile, and ideally a tool for turning.
Is it okay to compost diseased plants?
Generally, it’s best to avoid composting diseased plants or weeds that have gone to seed, especially in a home compost system that might not reach high enough temperatures to reliably kill off pathogens or seeds. If your compost pile gets very hot (130-160°F), it might neutralize some issues, but it’s safer to stick to healthy plant waste and kitchen scraps.

I am passionate about home engineering. I specialize in designing, installing, and maintaining heating, ventilation, and air conditioning systems. My goal is to help people stay comfortable in their homes all year long.