Ever wondered why your compost bin isn’t the magical dirt-making machine you hoped it would be? Maybe it smells funky, or perhaps nothing seems to be breaking down. Don’t worry, you’re not alone! Many of us jump into composting with good intentions, only to be a bit baffled by the process. The good news is, composting isn’t rocket science.
It’s a natural process, and with a little “composting training,” you can master it. This guide will walk you through everything you need to know, step-by-step, to turn your kitchen scraps and yard waste into amazing, nutrient-rich compost for your garden. Let’s get started and unleash your inner compost expert!
Why Bother With Composting Training?
Composting is one of the most rewarding and eco-friendly things you can do for your home and garden. It’s like giving your waste a second life! Instead of sending food scraps and yard trimmings to the landfill, where they can release harmful methane gas, you’re transforming them into “black gold” for your plants. This rich, dark material improves soil quality, helps conserve water, and reduces the need for chemical fertilizers.
Think of composting training as learning the simple ‘rules of the road’ for this amazing process. It helps you avoid common pitfalls that can lead to smelly bins or slow decomposition. By understanding the basics, you’ll be composting like a pro in no time, contributing to a healthier planet and a happier garden.
Understanding the Basics: What is Compost?
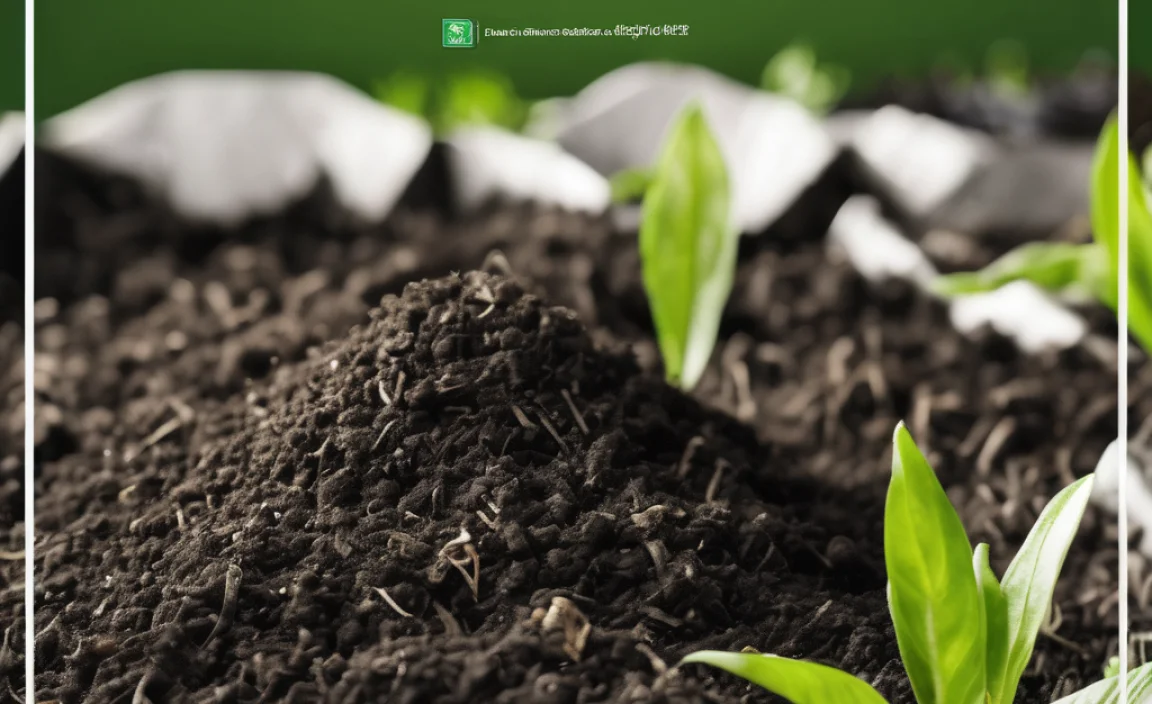
At its heart, compost is decomposed organic matter. It’s created by a team of tiny organisms – bacteria, fungi, worms, and other invertebrates – that break down materials like leaves, grass clippings, and food scraps. When these materials break down properly, they form a stable, nutrient-rich humus that’s fantastic for your soil.
This process is basically nature’s recycling program. It happens everywhere, from forest floors to our own backyards given the right conditions. Our job in composting training is to create those ideal conditions in a controlled way, speeding up the natural process.
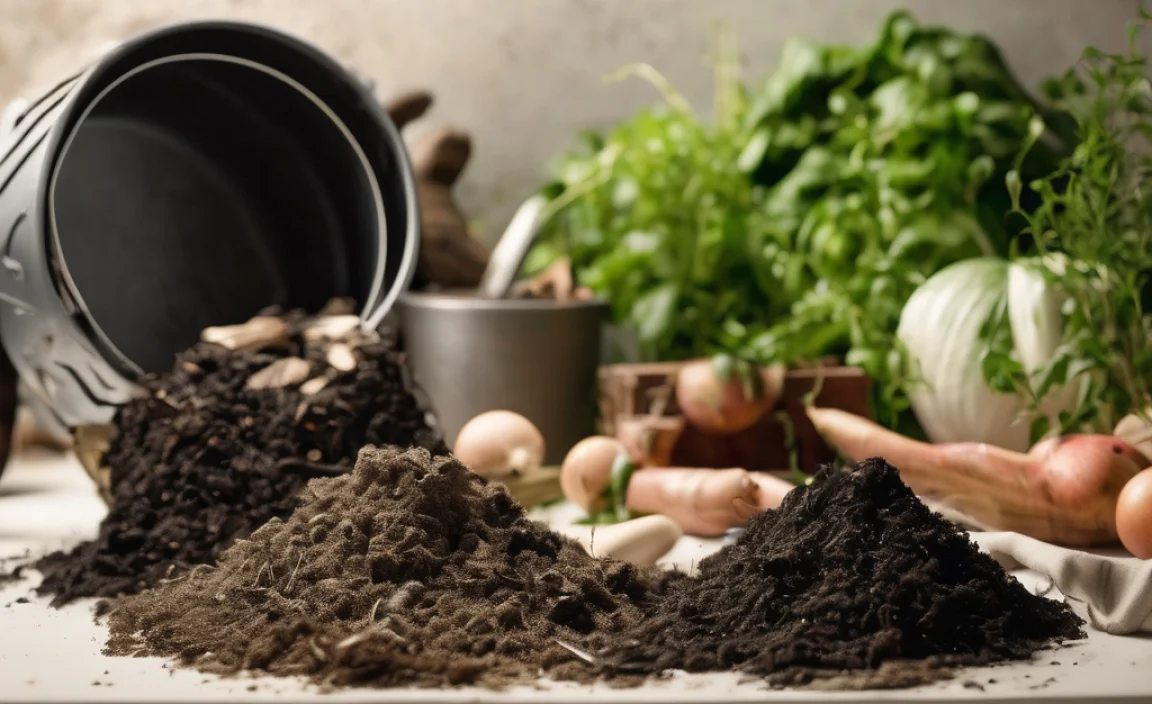
The Key Ingredients: Greens and Browns
To have successful composting, you need to balance two main types of materials: “Greens” and “Browns.” Think of them as the fuel and the structure for your compost pile.
What are “Greens”?
Greens are nitrogen-rich materials. They provide the protein for the microbes to feast on and help heat up the compost pile. They tend to be moist and break down quickly.
- Fruit and vegetable scraps (peels, cores, rinds – avoid oily or cooked food with meat/dairy for basic bins)
- Coffee grounds and tea bags
- Fresh grass clippings (in moderation, as they can compact)
- Plant trimmings (non-diseased)
- Eggshells (crushed)
What are “Browns”?
Browns are carbon-rich materials. They provide the energy source for the microbes and add bulk, helping your compost pile stay airy and preventing it from becoming a dense, soggy mess. They tend to be dry and break down more slowly.
- Dry leaves
- Shredded newspaper and cardboard (avoid glossy paper and colored inks)
- Straw and hay
- Wood chips and sawdust (use sparingly, especially from treated wood)
- Twigs and small branches (chopped or shredded)
- Paper towel and toilet paper rolls (shredded)
The magic happens when you get the ratio right. A good rule of thumb is to aim for roughly two to three parts Browns for every one part Greens by volume. This balance helps keep your compost from getting too wet and smelly (too many Greens) or too slow to break down (too many Browns).
Essential Composting Tools and Equipment
You don’t need a lot of fancy gear to start composting. In fact, you can often repurpose items you already have! But a few helpful tools can make the process smoother and more efficient.
Composting Bins: What Are Your Options?
Choosing the right bin is the first big decision. Here are some popular beginner-friendly options:
- Open Piles: This is the simplest and often cheapest method. You just designate an area in your yard and start piling. It’s best for larger yards and less concerned about aesthetics. You’ll need to turn it manually to mix.
- Enclosed Bins: These are great for keeping pests out and for tidier yards. They can be made of wood, plastic, or wire mesh. Some have lids, and some are designed to make turning easier.
- Tumblers: These are rotating bins that make turning your compost super easy. You just spin the drum every few days. They tend to compost faster because of the aeration and heat retention, but they also have a smaller capacity and can be more expensive.
- Worm Farms (Vermicomposting): While a bit different, worm farms use specific types of composting worms to break down food scraps. They’re fantastic for small spaces, like apartments, and produce a highly concentrated compost fertilizer (worm castings).
Other Handy Tools
Beyond the bin, these items will come in handy:
- Pitchfork or Compost Aerator: Used for turning and mixing your compost pile to introduce air. An aerator is often easier to work with for beginners than a heavy pitchfork.
- Garden Shovel: For moving materials and scooping finished compost.
- Kitchen Compost Pail: A small lidded container to collect food scraps at your sink before taking them to the main compost bin.
- Gardening Gloves: To keep your hands clean.
- Watering Can or Hose: To keep your compost pile moist.
- Shredder (Optional): For breaking down larger yard waste or cardboard into smaller pieces, which speeds up decomposition.
The Composting Process: A Step-by-Step Guide
Ready to get your hands dirty (but not too dirty!)? Here’s how to build and maintain your compost pile.
Step 1: Choose Your Location
Find a spot for your compost bin or pile that’s convenient to access from your kitchen and garden. If you have an open pile, it’s good to have it somewhat sheltered from strong winds. An enclosed bin or tumbler can often be placed closer to your house.
Step 2: Start Layering
Begin by laying down a base of coarse Browns. This could be twigs or small branches. This helps with drainage and aeration at the bottom. Then, start alternating layers of Greens and Browns. Think of building a lasagna!
- Start with a few inches of carbon material (Browns) like dry leaves or shredded cardboard.
- Add a layer of nitrogen material (Greens) like kitchen scraps or fresh grass clippings.
- Cover the Greens with another layer of Browns. This helps prevent odors and discourages pests.
- Continue alternating layers as you accumulate materials.
Step 3: Maintain Moisture
Your compost pile needs to be as damp as a wrung-out sponge. Too dry, and the microbes slow down. Too wet, and it can become anaerobic and smelly. If it feels dry, add water. If it’s too soggy, add more Browns and turn it to help it dry out.
Step 4: Aerate (Turn Your Compost)
This is crucial for speeding up the decomposition process and preventing anaerobic conditions (which cause bad smells). Aim to turn your pile at least once every 1-2 weeks. If you have an open pile or enclosed bin, use your pitchfork or aerator to mix the materials from the outside into the center and vice versa. Tumblers make this easy – just give them a good spin!
Step 5: Watch It Transform
As the microbes work their magic, your compost pile will heat up. This is a good sign! The materials will start to break down and shrink. Over time, you’ll notice the original materials becoming less recognizable. This can take anywhere from a few months to a year, depending on your materials, bin type, and how often you turn it.
Step 6: Harvest Your Compost
You’ll know your compost is ready when it’s dark, crumbly, and smells earthy – like a forest floor after rain. You shouldn’t be able to identify the original food scraps or yard waste. You can harvest it from the bottom of most enclosed bins or tumblers. For open piles, you can either turn the whole pile until it’s finished, or take the finished compost from the outside edges.
You can sift your compost through a screen (a piece of hardware cloth is perfect) to remove any larger, unfinished pieces. These can go right back into your compost bin to continue decomposing.
What NOT to Compost (Especially for Beginners)
While composting is forgiving, there are a few things you should keep out of your bin, especially when you’re just starting, to avoid pests, odors, or unwanted pathogens and weed seeds.
- Meat, fish, bones, and dairy products: These can attract pests and create foul odors.
- Oily or greasy foods: Similar to meat products, they can slow down decomposition and attract pests.
- Diseased plants: You don’t want to spread plant diseases to your garden.
- Weeds that have gone to seed: The composting process might not get hot enough to kill the seeds, leading to more weeds in your garden.
- Pet waste (dog and cat feces): These can contain pathogens that are harmful to humans.
- Chemically treated lawn clippings or yard waste: Avoid anything that has been treated with herbicides or pesticides.
- Glossy or coated papers: The coatings can contain plastics or chemicals that don’t break down well.
Troubleshooting Common Composting Problems
Even with the best intentions, composting can sometimes present challenges. Here’s how to fix some common issues:
Problem: My Compost Smells Bad (Ammonia or Rotten Eggs)
Cause: This usually means you have too many Greens (nitrogen) and not enough Browns (carbon), or the pile is too wet. It’s become anaerobic.
Solution:
- Add more Browns. Generously mix in dry leaves, shredded cardboard, or straw.
- Turn the pile thoroughly to aerate it.
- If it’s too wet, try to drain some moisture and add more Browns.
Problem: My Compost Isn’t Heating Up or Breaking Down
Cause: Likely a lack of Greens (nitrogen) or the pile is too dry. It might also need turning.
Solution:
- Add more Greens. Introduce fresh kitchen scraps, grass clippings, or coffee grounds.
- Check moisture levels and water if it’s dry.
- Turn the pile to mix everything together and introduce air.
Problem: My Compost Pile Has Pests (Rats, Flies, etc.)
Cause: Often caused by adding the wrong materials (meat, dairy, oils) or by leaving food scraps exposed on top.
Solution:
- Stop adding meat, dairy, and oily foods.
- Bury fresh kitchen scraps and Greens deeper within the pile, always covering them with a layer of Browns.
- Ensure your bin is secure, especially if using an enclosed bin or tumbler. For open piles, consider a wire mesh lining around the base.
- Turn the pile regularly to keep it active and discourage pests.
Problem: My Compost is Too Wet and Slimy
Cause: Too much Green material, excess rain, or poor drainage.
Solution:
- Add a large amount of Brown material. Shredded cardboard and dry leaves are excellent for absorbing excess moisture.
- Turn the pile to help it dry out and improve aeration.
- If your bin is in an exposed area, consider covering it during heavy rain.
When is Compost Ready? The Visual and Olfactory Test
Finished compost is a thing of beauty and a joy to smell! Here’s what to look for:
- Appearance: It should be dark brown and crumbly, resembling rich topsoil. You shouldn’t be able to distinguish the original items you put in (like banana peels or eggshells).
- Smell: It should have a pleasant, earthy aroma, like a forest after a rain shower. A foul or sour smell indicates it’s not ready or has issues.
- Texture: It should be loose and friable, not dense, slimy, or clumped together. Small twigs or larger un-decomposed pieces are okay if you plan to screen it.
A simple way to test if compost is ready is to put a small amount in a plastic bag, seal it, and leave it in a warm spot for a few days. If it smells earthy and pleasant afterward, it’s ready. If it turns sour or smells bad, it needs more time and aeration.
Composting for Different Situations
Whether you live in a sprawling house or a cozy apartment, there’s a composting method for you.
Backyard Composting
This is the most common method, utilizing outdoor bins, tumblers, or open piles. It’s ideal for homeowners with a yard who want to compost kitchen scraps and yard waste. The larger volume allows for more robust decomposition.
Apartment/Urban Composting
Living in an apartment doesn’t mean you can’t compost! Vermicomposting (using worms) is a fantastic option. Small, contained worm bins can be kept on a balcony, in a garage, or even under a sink. Many communities also offer municipal composting pickup services, where they provide bins for your food scraps to be collected and composted commercially. Check with your local waste management or municipality for options.
Another alternative is Bokashi composting. This is a fermentation process that pickles your food waste, making it safe to bury directly in garden beds or add to a traditional compost bin later. It’s odor-free and handles a wider range of food scraps, including meat and dairy.
Community Composting
If you don’t have space or the time, look for community composting initiatives. These are often run by local gardening clubs, environmental organizations, or municipalities. You can drop off your food scraps at designated locations, and they’ll be composted collectively.
The Benefits of Composting: More Than Just Dirt
Composting is a win-win for you and the planet. Here’s a quick look at the amazing benefits:
Environmental Benefits
- Reduces Landfill Waste: Food scraps and yard waste make up a significant portion of household trash. Composting diverts this waste, saving landfill space.
- Decreases Methane Emissions: When organic matter decomposes in landfills without oxygen, it produces methane, a potent greenhouse gas contributing to climate change. Composting is an aerobic process that avoids this.
- Improves Soil Health: Compost adds vital organic matter to the soil, which enhances its structure, water retention, and nutrient content.
- Reduces Need for Chemical Fertilizers: Compost is a natural fertilizer, providing essential nutrients for plant growth and reducing reliance on synthetic products.
- Conserves Water: Compost-rich soil holds moisture better, meaning you’ll need to water your plants less often.
- Supports Biodiversity: Healthy soil teeming with microorganisms and earthworms is crucial for a thriving ecosystem.
Gardening Benefits
- Nutrient-Rich Soil: Compost provides a slow release of essential nutrients plants need to thrive.
- Improved Soil Structure: It helps sandy soils retain water and nutrients, and loosens heavy clay soils, allowing better aeration and drainage.
- Disease Suppression: Healthy soil, enriched with compost, can help plants resist certain diseases and pests.
- pH Balance: Compost can help buffer soil pH, making it more neutral and hospitable for a wider range of plants.
Financial Benefits
- Reduces Fertilizer Costs: You’re making your own high-quality fertilizer for free!
- Reduces Waste Disposal Fees: In some areas, reducing your trash volume can lower waste collection bills.
- Boosts Garden Productivity: Healthier plants and better yields mean more produce from your efforts.
Composting Training Resources
While this guide is a great starting point, continuous learning can help you refine your composting skills. Here are some reliable resources:
- EPA’s Composting Website: The United States Environmental Protection Agency offers comprehensive information on composting, its benefits, and how to get started. Learn more from the EPA.
- University Extension Offices: Many universities have agricultural or horticultural extension programs that provide free, localized advice on composting, gardening, and soil health. Search for your

I am passionate about home engineering. I specialize in designing, installing, and maintaining heating, ventilation, and air conditioning systems. My goal is to help people stay comfortable in their homes all year long.