Have you ever looked up at your ceiling and thought it looked plain? Ceiling medallions can change that. They add beauty and charm to any room. But did you know you can create your own medallion? This makes it a fun and exciting do-it-yourself project!
Imagine standing in your living room, admiring a stunning design you made yourself. It’s not just about decoration; it’s about making your space feel like home. With a little creativity and effort, you can turn an empty ceiling into a work of art.
Many people think these projects are hard, but they’re not! You can find easy guides and materials at your local store. And the best part? You get to express your style. Ready to learn how to craft your unique ceiling medallion? Let’s get started!
Do It Yourself Ceiling Medallion: A Perfect Home Upgrade
Discovering DIY Ceiling Medallions
Elevate your space with a do it yourself ceiling medallion! These decorative pieces add charm and elegance to any room. Imagine transforming a plain ceiling into a stunning focal point. You can easily make your own using foam or plaster materials. Plus, it’s a fun project that boosts your creativity. Did you know that ceiling medallions have been used for centuries to enhance architecture? Get started today and impress your friends with your home improvement skills!
Understanding Ceiling Medallions

Definition and purpose of ceiling medallions. Historical significance and modern applications.
Ceiling medallions are like the little crowns for your ceilings. They add charm and style to any room. These decorative pieces were very popular in old houses and palaces. Their purpose was to enhance the beauty of lights and give rooms a fancy look. Today, folks love using them to add a touch of class without breaking the bank. Want some fun facts? Did you know they can also hide ugly wires? Now that’s a true ceiling superstar!
| Historical Significance | Modern Applications |
|---|---|
| Popular in 18th and 19th centuries | Used in homes, restaurants, and theaters |
| Symbol of wealth and style | Adds a creative touch to lighting fixtures |
Choosing the Right Ceiling Medallion
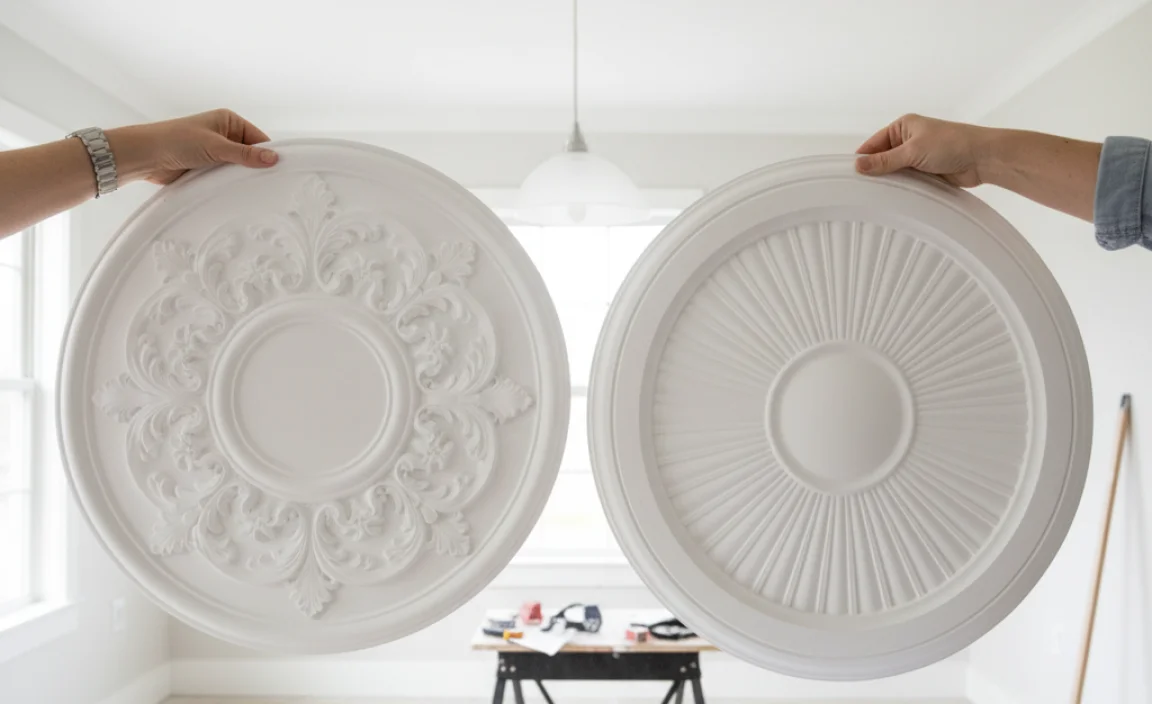
Sizes, shapes, and styles available on the market. Factors to consider: room size, height, and decor theme.
Choosing a ceiling medallion is fun! There are many sizes, shapes, and styles. Think about your room’s size and height. A big medallion looks great in a big room, while a small one fits better in a cozy space. Also, match the style to your decor theme. Here are some options:
- Shapes: Round, square, oval
- Sizes: Small (12 inches), Medium (24 inches), Large (36 inches)
- Styles: Classic, modern, vintage
Picking the right medallion makes your space shine!
What should I consider before choosing a medallion?
Consider the room size and height. Choose a medallion that complements your decor theme.
Key Factors to Remember:
- Room dimensions
- Ceiling height
- Decoration style
Materials Used for DIY Ceiling Medallions
Common materials: polyurethane, plaster, and wood. Pros and cons of each material type.
Choosing the right materials for your diy ceiling medallion is key to a great result. The three most common materials are polyurethane, plaster, and wood. Each has its own advantages and drawbacks like people at a party—some are fun, while others are a bit dull.
| Material | Pros | Cons |
|---|---|---|
| Polyurethane | Lightweight, easy to install | Can warp in heat |
| Plaster | Lends a classic look, very sturdy | Heavy, harder to work with |
| Wood | Natural beauty, can be stained | More expensive, prone to rot |
With this info, you can pick the best material for your masterpiece! Choosing wisely can keep your ceiling fancy and your wallet happy. Remember, every medallion needs some love, just like plants—water them, and they bloom!
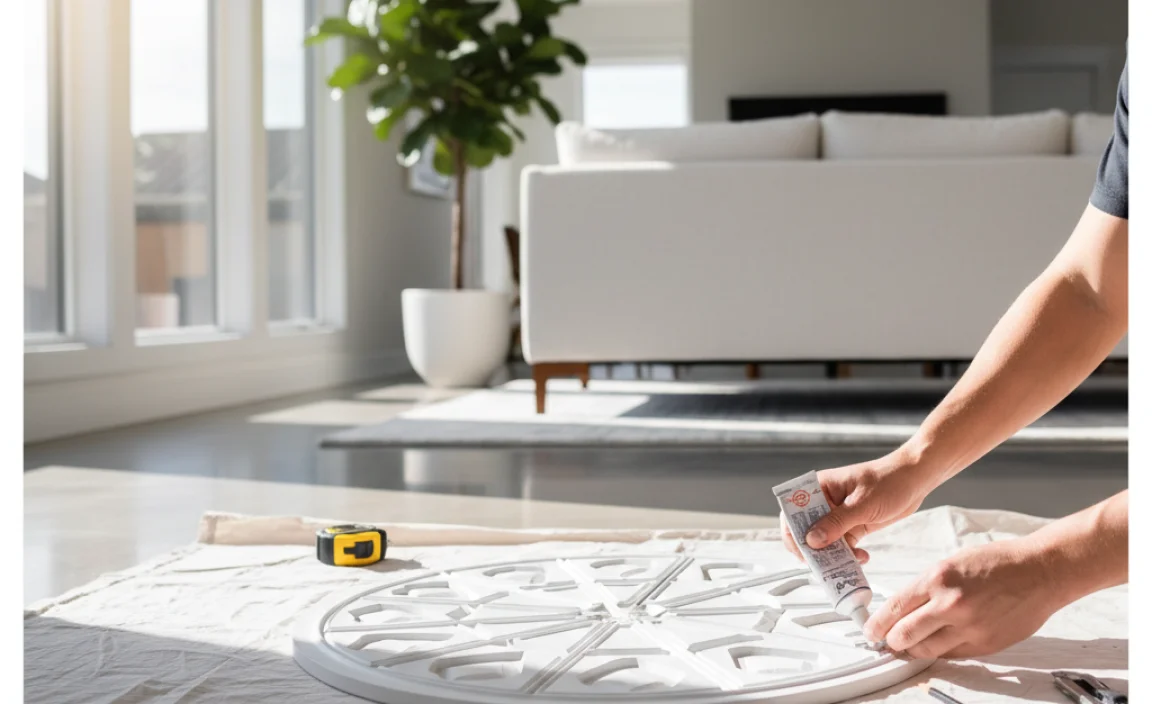
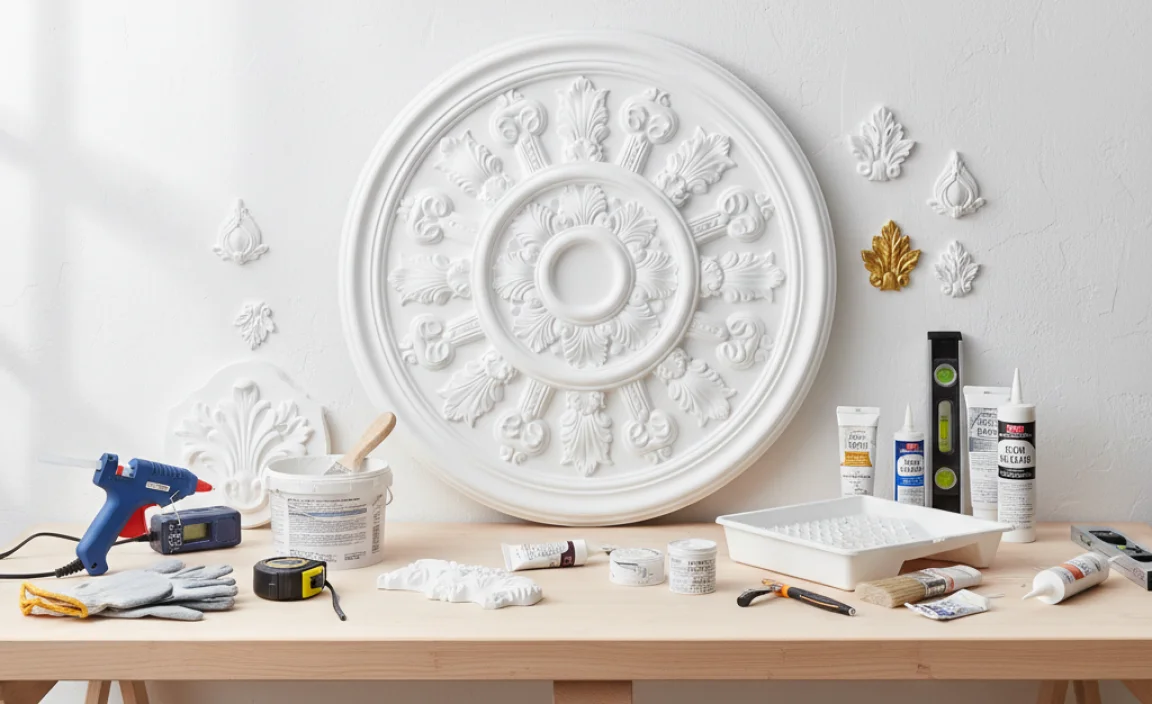
Tools and Supplies Needed for the Project
Essential tools for installation and finishing. Recommended brands and quality materials.
To create your do it yourself ceiling medallion, you’ll need a few essential tools and good materials. Here’s a helpful list:
- Measuring tape: Vital for accuracy
- Utility knife: Perfect for cutting the medallion
- Adhesive: Strong glue or construction adhesive recommended
- Paintbrushes: For a smooth finish
- Sandpaper: Helps to smooth rough edges
Choose quality brands like Gorilla for adhesive and Rust-Oleum for paint. Quality tools make the job easier and ensure a great-looking ceiling medallion.
What tools do I need for a ceiling medallion?
You need basic tools like a measuring tape, utility knife, and adhesive.High-quality brands can make a big difference in your project’s success.
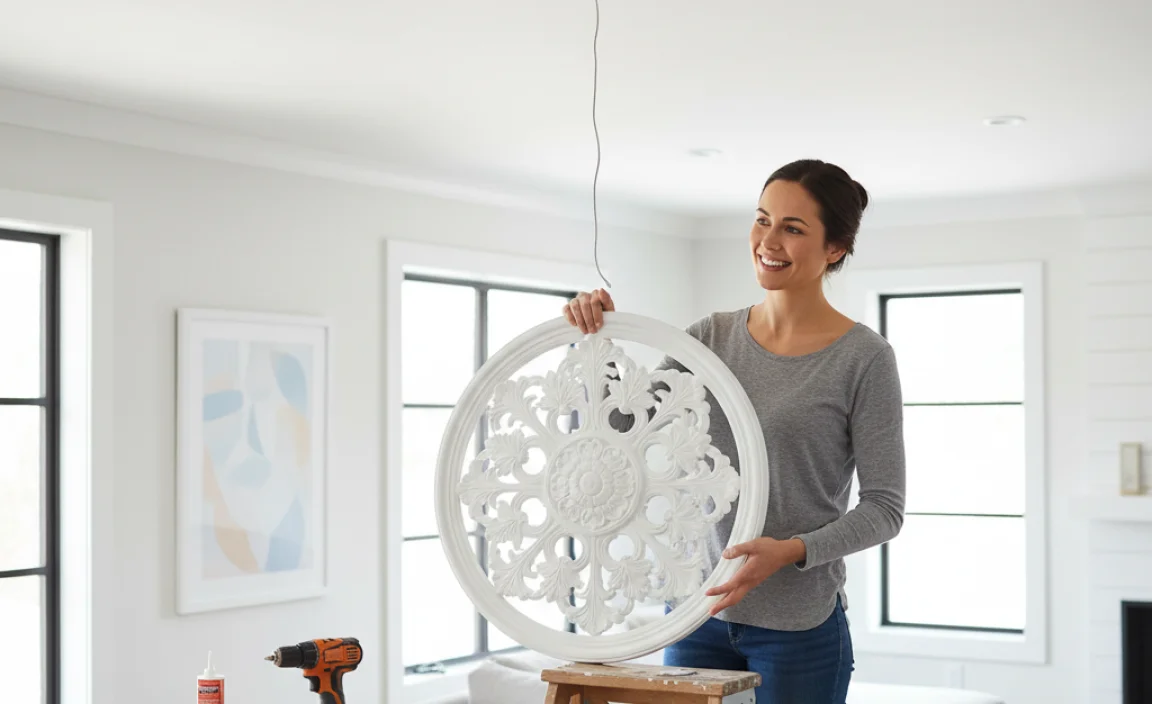
Step-by-Step Guide to Installing a Ceiling Medallion
Preparing the ceiling surface and area. Measuring and marking for accurate placement. Securing the medallion: adhesive vs. nails.
Start by preparing your ceiling. Clean it well and remove dust. Next, measure where the medallion will go. Use a pencil to mark the spot exactly. This makes it easier to place your medallion correctly. Now, let’s move on to securing it in place:
- Adhesive: Use strong glue for a clean look.
- Nails: Use nails for extra hold, especially for heavy medallions.
Choose your method based on the weight of the medallion and your preference. Enjoy making your ceiling look beautiful!
How do you know where to place the medallion?
Measure the light fixture’s center. Use a level to make sure the medallion sits straight. Mark this spot with a pencil. This way, your medallion will look perfect when you install it.
Finishing Touches for Your Ceiling Medallion
Painting and staining options. Techniques for achieving a professional look.
Choosing the right paint or stain helps your ceiling medallion shine. Bright colors make it stand out, while soft hues can blend in. For a special touch, consider metallic finishes that reflect light. To look professional, follow these tips:
- Use a clean brush for smooth edges.
- Apply thin coats for even color.
- Let each layer dry completely.
Finishing your medallion properly makes a big difference!
What paint works best for a ceiling medallion?
Acrylic paint is best. It dries quickly and is easy to clean up. Choose a semi-gloss to reflect light!
How do I prepare my ceiling medallion for painting?
Start by cleaning it. Dust or wipe it down, then use primer to help the paint stick better.
Creative Ideas to Personalize Your Ceiling Medallion
Adding lighting fixtures or chandeliers. Incorporating patterns and textures for unique designs.
Making a ceiling medallion unique can be a fun project! Think about adding a stylish lighting fixture or a glamorous chandelier. This can create a lovely focal point in your room. You can also personalize designs by using interesting patterns or textures. Here are some ideas:
- Try paint patterns for a colorful touch.
- Add textured materials like wood or fabric.
- Mix shapes for a cool, modern look.
Your ceiling medallion can truly stand out with these creative ideas!
How can I enhance my ceiling medallion?
To enhance your ceiling medallion, consider using statement lights and unique textures. Both of these elements make a big impact!
Common Mistakes to Avoid When Installing Ceiling Medallions
Installation errors and their impact on the final look. Tips for troubleshooting and correcting mistakes.
Many people make simple errors while installing ceiling medallions. These mistakes can ruin the final look. For example, uneven placement can make your room look messy. If the medallion isn’t centered, it can feel off-balance. To fix these issues, follow these tips:
- Measure carefully before placing the medallion.
- Use a level to ensure it’s straight.
- Apply enough adhesive but not too much.
If you notice any flaws, don’t panic! You can easily correct them by repositioning or adding extra adhesive. Taking your time will lead to a beautiful finish.
What are common mistakes during installation?
Common mistakes include misalignment, using the wrong adhesive, and faulty measurements. These can lead to uneven looks and uneven spacing around the edges.
Maintaining and Caring for Your Ceiling Medallion
Cleaning and upkeep advice. When and how to repaint or refinish.
To keep your ceiling medallion looking great, regular cleaning is key. Use a soft cloth to gently wipe dust away. Avoid harsh chemicals. Instead, mix soap with water for a safe clean.
If the finish looks dull, it might time to repaint or refinish. Follow these tips:
- Check your medallion at least once a year.
- Repaint with acrylic paint for best results.
- Use a brush or spray for smooth coverage.
With care, your ceiling medallion stays beautiful, adding flair to your home!
How often should you clean your ceiling medallion?
You should clean your ceiling medallion at least once every three months to keep it dust-free and bright.
What materials do you use to repaint?
Use moderate-quality paintbrushes and acrylic paint for easy touch-ups and a long-lasting look.
Conclusion
In conclusion, a do-it-yourself ceiling medallion can brighten up any room. It’s a fun project that adds elegance without breaking the bank. You can choose from various styles to match your home. So gather your supplies, find a tutorial, and start creating! For more ideas and tips, check out DIY blogs or videos online. Happy decorating!
FAQs
What Materials Are Best Suited For Creating A Diy Ceiling Medallion?
For a DIY ceiling medallion, you can use lightweight materials like foam, wood, or plaster. Foam is easy to cut and glue. Wood gives a nice, solid look but is heavier. Plaster looks beautiful, but it can be tricky to work with. Choose what feels best for your project!
How Can I Determine The Appropriate Size And Design For A Ceiling Medallion In My Room?
To pick the right size for a ceiling medallion, measure your room’s height and width. A good rule is to choose a medallion that is one-twelfth the width of your room. For design, think about your room’s style. If you have a simple room, go for a plain medallion. If your room has lots of details, pick one with more design.
What Tools Do I Need To Install A Ceiling Medallion Successfully?
To install a ceiling medallion, you need a few simple tools. First, grab a measuring tape to find the center of the ceiling. You’ll also need a pencil to mark where it goes. A utility knife helps cut the medallion if needed. Finally, have a strong adhesive or glue and a ladder to reach the ceiling.
Are There Any Specific Painting Or Finishing Techniques To Enhance The Appearance Of A Diy Ceiling Medallion?
Yes! You can use a few cool techniques to make your ceiling medallion look amazing. First, paint it with a bright color to help it stand out. Then, you can brush on a bit of metallic paint for a shiny effect. Let it dry, then add a glaze to give it a soft, fancy look. Finally, you can use a paint sponge to create texture and depth!
What Are Some Common Mistakes To Avoid When Making And Installing A Ceiling Medallion?
When making and installing a ceiling medallion, don’t forget to measure twice before cutting. This helps you avoid mistakes. Also, use the right type of glue to make sure it sticks well. Be careful with the power tools, and always follow instructions. Finally, check for levelness to make sure it looks great on your ceiling!