Yes, wood glue *can* dry in the cold, but it’s not ideal! Low temperatures slow down the curing process and can weaken the bond. For best results, aim for temperatures above 50°F (10°C). If you must work in colder conditions, consider using a specialized cold-weather wood glue and allow extra drying time. Proper preparation and a bit of patience will ensure a strong, lasting bond, even when it’s chilly!
Ever tried gluing wood together in your garage during winter, only to find it’s still sticky days later? It’s a common problem! Cold weather can really mess with how well wood glue works. You’re not alone if you’ve struggled with this. The good news is, you *can* get that woodworking project done, even when it’s cold.
This guide will walk you through everything you need to know about using wood glue in colder temperatures. We’ll cover why cold affects glue, how to choose the right glue, and steps you can take to ensure a strong bond. Let’s get started and make sure your projects stick, no matter the weather!
Understanding How Cold Affects Wood Glue
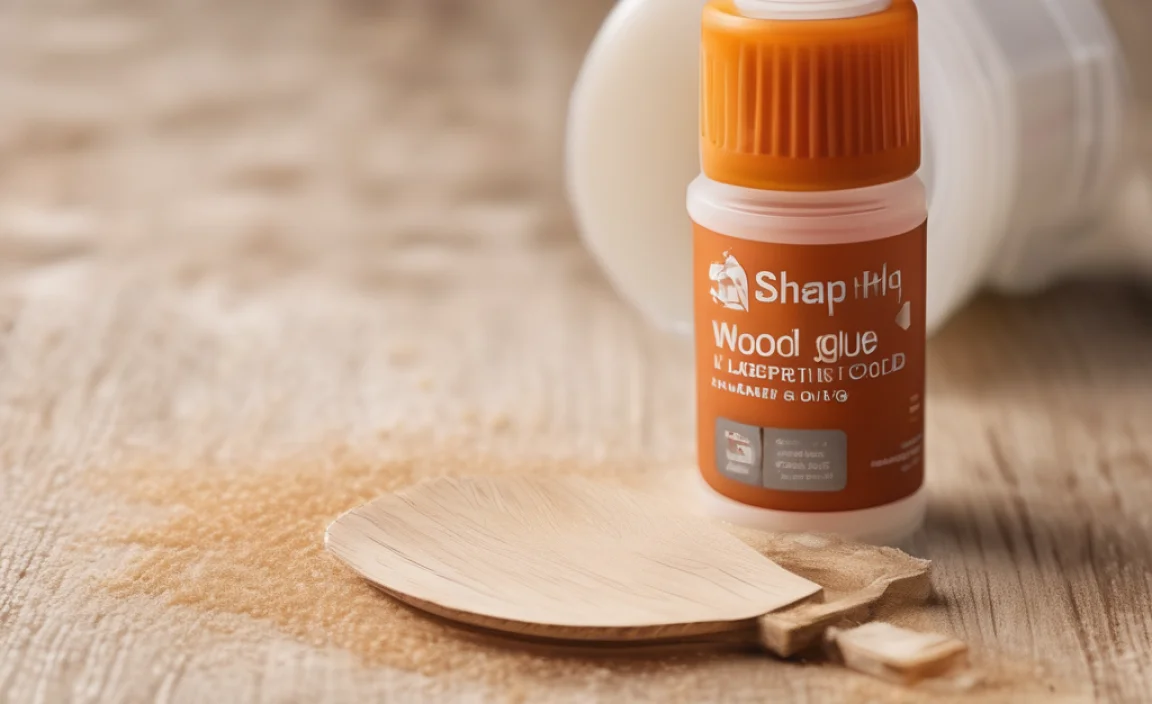
Wood glue works by creating a strong bond between wood fibers as it dries and cures. Several factors influence this process, and temperature is a big one. Let’s break down how cold weather can impact your woodworking projects.
The Science Behind Wood Glue and Temperature
Most wood glues are water-based, meaning they rely on water evaporating for the glue to set and harden. Cold temperatures slow down this evaporation process significantly. Think about it like this: wet clothes take much longer to dry on a cold, damp day than on a warm, sunny one. The same principle applies to wood glue.
Here’s what happens when the temperature drops:
- Slower Evaporation: Water evaporates much more slowly in cold air. This means the glue stays wet longer, delaying the curing process.
- Increased Viscosity: Cold temperatures can thicken the glue, making it harder to spread evenly and penetrate the wood fibers. This can lead to a weaker bond.
- Risk of Freezing: Some wood glues can freeze if exposed to very low temperatures. Freezing can damage the glue’s structure, making it unusable even after thawing.
Ideal Temperature Range for Wood Glue
Most wood glue manufacturers recommend using their products in temperatures above 50°F (10°C). This range allows the glue to dry and cure properly, resulting in a strong, reliable bond. The ideal temperature is usually between 65°F and 75°F (18°C and 24°C).
Here’s a quick reference table:
| Temperature Range | Effect on Wood Glue |
|---|---|
| Below 50°F (10°C) | Significantly slowed drying, weakened bond, risk of freezing. |
| 50°F – 65°F (10°C – 18°C) | Acceptable, but drying time will be longer. |
| 65°F – 75°F (18°C – 24°C) | Ideal temperature range for optimal drying and bonding. |
| Above 75°F (24°C) | Drying may be too rapid, potentially weakening the bond if not applied correctly. |
Choosing the Right Wood Glue for Cold Weather
Not all wood glues are created equal, especially when it comes to cold-weather performance. Selecting the right type of glue can make a big difference in the success of your project.
Types of Wood Glue and Their Cold-Weather Performance
Here’s a look at some common types of wood glue and how they perform in colder temperatures:
- Polyvinyl Acetate (PVA) Glue: This is your standard wood glue (like Elmer’s Wood Glue). It’s great for general woodworking but not the best choice for cold weather. It can become brittle and lose its strength if it dries at low temperatures.
- Polyurethane Glue: This type of glue is waterproof and works well on various materials, including wood, plastic, and metal. It’s more tolerant of colder temperatures than PVA glue, but it still performs best when it’s warmer.
- Epoxy: Epoxy is a two-part adhesive that creates a very strong and durable bond. It’s less affected by cold temperatures than PVA glue, making it a better option for outdoor or unheated spaces. Just be sure to follow the mixing instructions carefully.
- Cyanoacrylate (CA) Glue (Super Glue): CA glue is known for its fast setting time. While it’s not specifically designed for woodworking, it can be useful for quick fixes. Cold temperatures don’t affect its setting time as much as other glues, but it’s not as strong as other wood glues for structural applications.
- Specialized Cold Weather Wood Glue: Some manufacturers offer wood glues specifically formulated for colder temperatures. These glues often contain additives that help them cure properly even when it’s chilly.
Features to Look for in Cold-Weather Wood Glue
When choosing a wood glue for cold-weather projects, consider these features:
- Temperature Range: Check the manufacturer’s specifications to ensure the glue is suitable for the temperatures you’ll be working in.
- Water Resistance: If your project will be exposed to moisture, choose a water-resistant or waterproof glue.
- Open Time: Open time refers to how long the glue remains workable after application. In colder temperatures, you may want a glue with a longer open time to give you more flexibility.
- Clamping Time: Cold temperatures will increase the clamping time needed for the glue to set properly. Be sure to follow the manufacturer’s recommendations and add extra time if necessary.
Step-by-Step Guide: Gluing Wood in Cold Weather

Gluing wood in cold weather requires extra care and attention to detail. Follow these steps to ensure a strong, lasting bond.
Step 1: Prepare Your Work Area
The first step is to create a suitable working environment. Here’s how:
- Choose a Sheltered Area: Work in a garage, shed, or basement where you can control the temperature to some extent.
- Warm the Area: Use a space heater to raise the temperature of your work area to at least 50°F (10°C). Keep the heater a safe distance from flammable materials.
- Protect from Drafts: Close any windows or doors to prevent cold drafts from affecting the glue.
Step 2: Acclimate the Wood and Glue
Bring the wood and glue indoors at least 24 hours before starting your project. This allows them to warm up to room temperature, which will improve the glue’s adhesion.
Step 3: Prepare the Wood Surfaces
Proper surface preparation is crucial for a strong bond. Make sure the wood is clean, dry, and free of any dirt, dust, or oil.
- Clean the Wood: Use a clean cloth or brush to remove any debris from the wood surfaces.
- Sand the Wood: Lightly sand the wood with fine-grit sandpaper (around 220 grit) to create a slightly rough surface for the glue to grip onto.
- Wipe Away Dust: After sanding, wipe the wood with a tack cloth to remove any remaining dust.
Step 4: Apply the Glue
Apply a generous, even layer of glue to both surfaces of the wood. Use a brush, roller, or glue spreader to ensure consistent coverage.
- Apply Enough Glue: Don’t skimp on the glue. You want a thin, even layer that covers the entire surface.
- Work Quickly: Cold temperatures can cause the glue to thicken quickly, so work efficiently to apply the glue before it becomes too viscous.
Step 5: Clamp the Wood
Clamping is essential for creating a strong bond. Apply even pressure to the joint to ensure the glue makes full contact with the wood fibers.
- Use the Right Clamps: Choose clamps that are appropriate for the size and shape of your project. Bar clamps, pipe clamps, and hand clamps are all good options.
- Apply Even Pressure: Tighten the clamps until you see a small amount of glue squeeze out of the joint. This indicates that you’ve applied enough pressure.
- Protect the Wood: Place a piece of scrap wood between the clamps and the project to prevent the clamps from damaging the wood.
Step 6: Extend the Clamping Time
Cold temperatures significantly increase the amount of time you need to keep the wood clamped. As a general rule, double the recommended clamping time on the glue bottle. For example, if the bottle says to clamp for 1 hour, clamp for at least 2 hours in cold weather.
Step 7: Allow Extra Drying Time
Even after removing the clamps, the glue will continue to cure. Allow the project to dry for at least 24-48 hours in a warm, dry place before putting it under any stress. The colder it is, the longer it will take to fully cure.
Tips and Tricks for Success

Here are some extra tips to help you get the best results when gluing wood in cold weather:
- Warm the Glue: Place the glue bottle in a warm water bath for a few minutes before using it. This will make the glue more fluid and easier to apply.
- Use a Heat Gun: Carefully use a heat gun to warm the wood surfaces before applying the glue. Be careful not to overheat the wood, as this can cause it to warp or crack.
- Test the Bond: Before fully committing to your project, test the bond by gluing together two small pieces of scrap wood. Let them dry completely, then try to break them apart. This will give you an idea of how well the glue is performing.
- Consider a Heated Blanket: Wrap the clamped project in a heated blanket (like you might use for pets) to gently raise the temperature and speed up the drying process. Make sure the blanket is set to a low setting and monitor it carefully.
Troubleshooting Common Issues
Even with the best preparation, you might encounter some issues when gluing wood in cold weather. Here’s how to troubleshoot them:
| Issue | Possible Cause | Solution |
|---|---|---|
| Glue isn’t drying | Low temperature, insufficient glue, not enough clamping pressure. | Increase the temperature, apply more glue, ensure clamps are tight. |
| Weak bond | Incorrect glue, inadequate surface preparation, short clamping time. | Use a cold-weather glue, properly prepare the wood, extend clamping time. |
| Glue is too thick | Cold temperature, old glue. | Warm the glue, use fresh glue. |
| Glue is freezing | Extremely low temperatures. | Store glue in a warmer location, use a freeze-resistant glue. |
Safety Precautions
Working with wood glue involves some safety considerations. Always follow these precautions:
- Wear Gloves: Protect your hands from the glue by wearing disposable gloves.
- Work in a Well-Ventilated Area: Some wood glues can release fumes, so work in a well-ventilated area to avoid inhaling them.
- Avoid Skin and Eye Contact: If glue gets on your skin, wash it off immediately with soap and water. If it gets in your eyes, rinse them thoroughly with water and seek medical attention.
- Follow Manufacturer’s Instructions: Always read and follow the manufacturer’s instructions for the specific glue you are using.
- Keep Out of Reach of Children: Store wood glue in a safe place where children cannot access it.
FAQ: Wood Glue and Cold Weather
Does wood glue dry slower in the cold?
Yes, wood glue dries significantly slower in cold temperatures. The lower the temperature, the slower the evaporation of water from the glue, which is necessary for it to cure properly.
Can I use a hairdryer to speed up the drying process?
While it might seem like a good idea, using a hairdryer can cause the glue to dry too quickly on the surface, preventing it from properly bonding with the wood fibers. It’s better to use a space heater to warm the entire area evenly.
What’s the best way to store wood glue in the winter?
Store wood glue in a location where it won’t freeze. A heated garage or basement is ideal. If you suspect the glue has frozen, thaw it completely and check its consistency before using it. If it appears lumpy or separated, it’s best to discard it.
Is there a specific type of wood glue that works best in cold weather?
Yes, some manufacturers offer wood glues specifically formulated for colder temperatures. These glues often contain additives that help them cure properly even when it’s chilly. Look for labels that indicate “cold weather” or “low-temperature” use.
How long should I clamp wood when it’s cold?
As a general rule, double the recommended clamping time on the glue bottle when working in cold weather. For example, if the bottle says to clamp for 1 hour, clamp for at least 2 hours.
Can I use wood glue for outdoor projects in the winter?
Yes, you can use wood glue for outdoor projects in the winter, but it’s essential to choose a waterproof or water-resistant glue and follow the steps outlined in this guide to ensure a strong bond. Consider using epoxy for the most durable results in harsh conditions.
What temperature is too cold for wood glue?
Generally, temperatures below 50°F (10°C) are too cold for most standard wood glues. At these temperatures, the glue may not dry properly, and the bond can be significantly weakened. If you must work in colder temperatures, use a specialized cold-weather glue.
Conclusion
Gluing wood in cold weather can be a bit challenging, but it’s definitely achievable with the right knowledge and preparation. By understanding how cold temperatures affect wood glue, choosing the right type of glue, and following the step-by-step guide outlined in this article, you can ensure a strong, lasting bond for your woodworking projects, no matter the season.
Don’t let the cold weather put a stop to your creativity! With a little extra care and attention to detail, you can confidently tackle any woodworking project, even when the temperature drops. So, get out there, get gluing, and enjoy the satisfaction of creating something beautiful and durable, no matter the weather!

