Feeling overwhelmed by food scraps and yard waste? Wish there was a simpler, greener way to handle it all? You’re not alone! Many of us want to compost but find it seems complicated. It doesn’t have to be. We’ll explore some really smart, earth-friendly composting methods that are surprisingly easy to try, even if you’ve never composted before. Get ready to turn that waste into garden gold!
Turning Kitchen Scraps into Garden Gold: Eco-Friendly Composting Innovations
Hey there, fellow home improvers and garden enthusiasts! Troy D Harn here, your go-to friend for making all those DIY and home projects a breeze. Today, we’re diving into something that’s good for your garden and great for the planet: eco-friendly composting. You might think composting is just for folks with big backyards and endless time, but I’m here to show you some ingenious ways that make it super simple and accessible for everyone, whether you’re in a house with a sprawling garden or a cozy apartment.
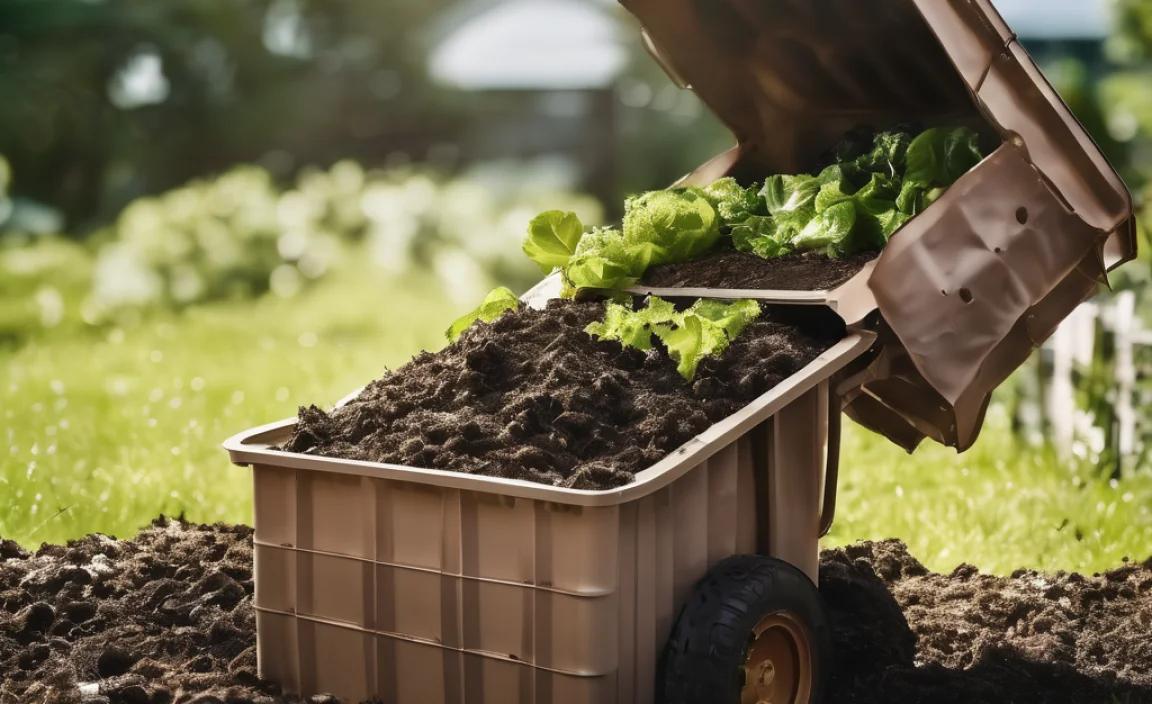
We all create waste – from apple cores to coffee grounds. Instead of sending all that to the landfill, we can give it a second life as nutrient-rich compost. This “black gold” is amazing for your plants, helping them grow stronger and healthier. Plus, reducing waste is a fantastic way to be kind to our environment. So, let’s explore some of the coolest, most innovative, and beginner-friendly composting methods out there!
Why Bother with Composting? The Big Picture Benefits
Before we get our hands (metaphorically, for now!) dirty with the “how-to,” let’s touch on why composting is such a big deal. It’s more than just a chore; it’s a positive action with ripple effects:
- Reduces Landfill Waste: Food scraps and yard waste make up a significant portion of what we throw away. Composting diverts this from landfills, where it can produce harmful greenhouse gases like methane.
- Enriches Soil: Compost is like a superfood for your soil. It improves soil structure, helps it retain moisture, and provides essential nutrients for plants, reducing the need for chemical fertilizers.
- Saves Money: By creating your own soil amendment, you can save money on buying expensive potting mixes and fertilizers.
- Fights Climate Change: Healthy soil, enriched with compost, can actually sequester carbon. Plus, by reducing methane emissions from landfills, composting plays a role in combating climate change.
- Promotes Healthy Plants: Plants grown in compost-amended soil are often more robust, disease-resistant, and produce better yields.
The Science of Compost: A Quick Peek
Composting is essentially a natural process where organic materials break down with the help of microorganisms (like bacteria and fungi) and larger organisms (like earthworms). It’s a biological decomposition. For this process to work smoothly, you need a good balance of:
- Greens: These are nitrogen-rich materials. Think fruit and vegetable scraps, coffee grounds, tea bags, and grass clippings.
- Browns: These are carbon-rich materials. Examples include dry leaves, shredded cardboard, newspaper, twigs, and sawdust.
- Water: The compost pile needs to be moist, like a wrung-out sponge.
- Air: Microbes need oxygen to do their work. Turning or aerating the pile is important.
The magic happens when these ingredients are combined in the right proportions. Too much green can make it slimy and smelly; too much brown can slow things down. Our innovative methods often find clever ways to manage this balance easily.
Genius Eco-Friendly Composting Methods for Everyone
Now for the exciting part – the innovative methods! We’ll cover a few popular and effective approaches, ranging from simple backyard bins to urban-friendly solutions.
1. The Classic: Backyard Compost Bins
This is what most people picture when they think of composting. It’s tried-and-true and highly effective for those with a bit of yard space.
Why it’s Genius:
It’s straightforward, can handle a good volume of waste, and keeps things tidy. Various bin types exist, from simple DIY structures to fancy tumblers.
What You’ll Need:
- A compost bin (purchased or DIY)
- A pitchfork or compost aerator
- A steady supply of kitchen scraps and yard waste
Getting Started:
- Choose Your Bin:
- Stationary Bins: These are enclosed structures, often made of plastic or wood. They’re good for containing heat and moisture.
- Open Piles: If you have plenty of space, a simple pile can work, but it might dry out faster and attract pests more easily.
- Compost Tumblers: These are sealed drums that rotate. They make turning easy and speed up the composting process significantly. They also offer excellent pest control.
- Wire Mesh Bins: Simple and affordable, these are essentially large cylinders made of wire mesh.
- Location, Location, Location: Place your bin in a spot that gets some sun (to help it heat up) but also some shade (to prevent drying out too quickly). Ensure it’s accessible for adding materials and turning.
- Layer Up: Start with a layer of coarse brown material (like twigs or straw) at the bottom for drainage and aeration. Then, begin layering your greens and browns. A good starting ratio is roughly 2-3 parts browns to 1 part greens by volume.
- Add Materials: Toss in your kitchen scraps (no meat, dairy, or oily foods for basic bins), yard waste, shredded paper, and cardboard. Always try to bury fresh kitchen scraps under a layer of browns to deter pests and odors.
- Moisture Check: Keep the compost pile as damp as a wrung-out sponge. Water it if it feels dry, and add more browns if it’s too wet.
- Aerate Regularly: Turn your compost pile every 1-2 weeks with a pitchfork or compost aerator. This introduces oxygen, which is crucial for the microbes doing the decomposition. Tumblers make this step super easy – just give them a few spins!
Pro-Tip:
For a faster compost, chop larger items into smaller pieces. This increases the surface area for microbes to work on.
2. The Speedy Solution: Compost Tumblers
These are a fantastic upgrade to the classic bin, especially if you’re looking for faster results and easier turning.
Why it’s Genius:
Tumblers contain the compost, retain heat and moisture efficiently, and their ability to be rotated makes aeration incredibly simple and quick. Many can produce finished compost in just a few weeks to a couple of months.
What You’ll Need:
- A compost tumbler
- Greens and browns
Getting Started:
- Assembly: Follow the manufacturer’s instructions to assemble your tumbler.
- Add Materials: Start adding your compostable materials. Aim for a good mix of greens and browns. Many tumblers have specific recommendations for filling them (e.g., fill it halfway, let it sit, then start adding new materials).
- Rotate: The key here is regular rotation. Aim to tumble or rotate the drum every 2-3 days. This mixes everything and introduces oxygen.
- Manage Moisture: Check the moisture level regularly. The sealed environment can sometimes get too wet or too dry. Adjust by adding more browns if too wet, or water if too dry.
Where to Find Them:
You can find compost tumblers at most garden centers, home improvement stores, and online retailers. A quick search for “compost tumbler” will give you plenty of options. Look for models that are easy to turn and have good ventilation.
3. The Urban Dweller’s Dream: Worm Composting (Vermicomposting)
Don’t have a yard? No problem! Worm composting, or vermicomposting, is a brilliant and efficient way to compost food scraps indoors or on a balcony. It uses special composting worms (like Red Wigglers, not earthworms you find in the garden) to break down organic matter.
Why it’s Genius:
It’s compact, odor-free when done correctly, and produces incredibly nutrient-rich compost (called worm castings) and potent liquid fertilizer (worm tea). Perfect for apartment dwellers!
What You’ll Need:
- A worm bin: This can be a purchased kit or a DIY setup using plastic bins.
- Composting worms: Red Wigglers (Eisenia fetida) are the most common. You’ll need about 1 lb of worms to start.
- Bedding: Shredded newspaper, cardboard, coconut coir, or peat moss.
- Food scraps: Fruit and vegetable peels, coffee grounds, tea bags (avoid meat, dairy, oily foods, and citrus in large amounts).
Getting Started:
- Set Up the Bin: If using a DIY bin, drill air holes and drainage holes in plastic storage containers. Stack them so the lower bin collects liquid.
- Prepare the Bedding: Moisten your bedding material until it’s damp like a wrung-out sponge. Fluff it up and place it in the worm bin.
- Introduce the Worms: Gently add your composting worms to the bedding. Let them acclimate for a day or two before feeding.
- Start Feeding: Begin by adding small amounts of chopped food scraps. Bury them under the bedding on one side of the bin. As the worms eat, you can gradually expand where you place the food.
- Harvesting: After a few months, you’ll have worm castings. To harvest, you can either migrate the worms to one side by only feeding there for a few weeks, or spread the finished compost on a tarp and let the worms escape towards the moisture in the unfinished parts.
- Liquid Gold: The liquid that collects in the bottom bin is worm tea. Dilute it with water (at least 10:1 ratio) before using it to water your plants.
Where to Find Worms:
You can usually find composting worms online from reputable dealers or sometimes at local garden centers. A great resource for information on vermicomposting is the Colorado State University Extension.
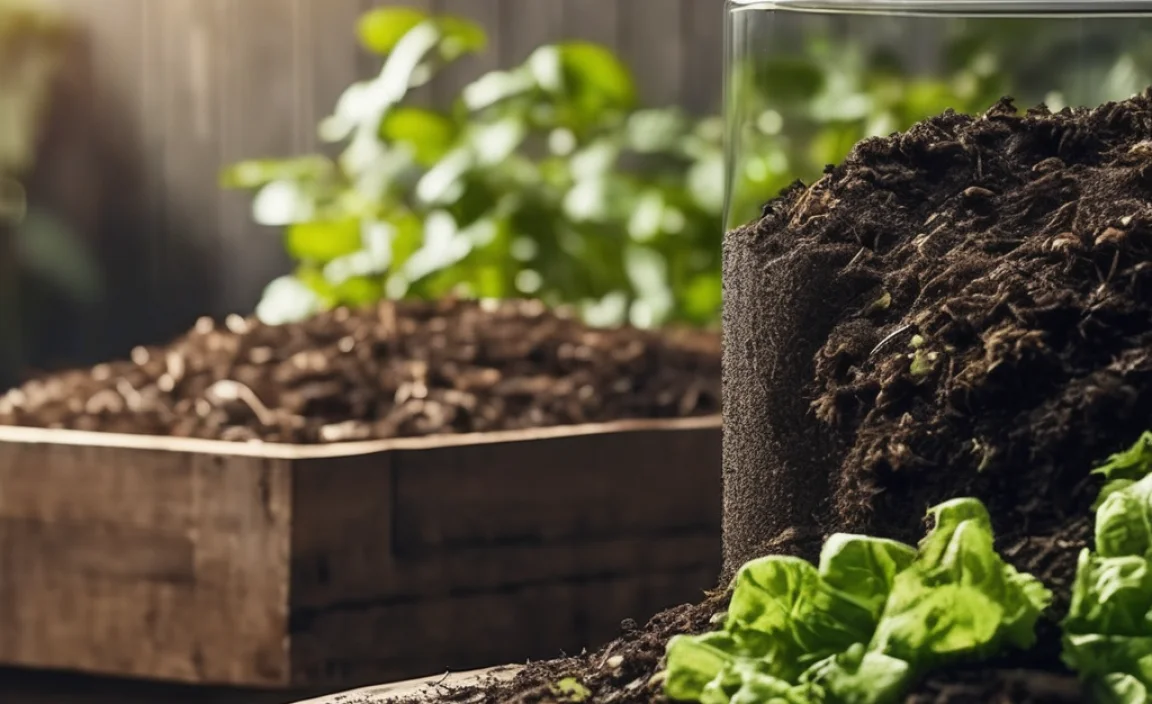
4. The No-Turn, Slow-Compost Method: Sheet Composting (Lasagna Gardening)
This method is fantastic for directly building garden beds or enriching existing soil without much effort. It’s like creating a compost pile right where you want your plants to grow.
Why it’s Genius:
It requires minimal effort (no turning!), builds healthy soil directly in place, suppresses weeds, and is excellent for transforming lawn areas into garden beds over time.
What You’ll Need:
- Layers of organic materials: Greens (grass clippings, kitchen scraps) and Browns (cardboard, newspaper, leaves, straw).
- Cardboard or heavy newspaper to start (to smother grass/weeds).
- Optional: Compost starter or finished compost to inoculate.
Getting Started:
- Choose Your Spot: This can be directly on your lawn, a new garden bed location, or even a large container.
- Lay the Foundation: If starting on a lawn, lay down a thick layer of plain cardboard (remove all tape and labels) or several layers of newspaper directly on the grass. Wet it down thoroughly. This smothers the grass and weeds.
- Layer Up: Begin alternating layers of “green” materials (kitchen scraps, grass clippings, coffee grounds) and “brown” materials (dry leaves, shredded newspaper, straw, wood chips). Aim for a good mix, generally more browns than greens.
- Add Moisture: Water each layer as you go, especially if materials are dry.
- Finishing Touch: Top with a layer of finished compost or rich soil, especially if you plan to plant right away.
- Wait and Watch: The beauty of this method is you can plant directly into it (if adding a soil layer on top) or simply let it break down over several months. The layers will magically transform into rich soil.
Tips for Success:
If you want to plant sooner, ensure your green materials are well-chopped and you have a good balance of greens and browns. Adding finished compost can help kickstart the decomposition. This method is also an excellent example of how to use recycled materials like cardboard and newspaper in your gardening efforts.
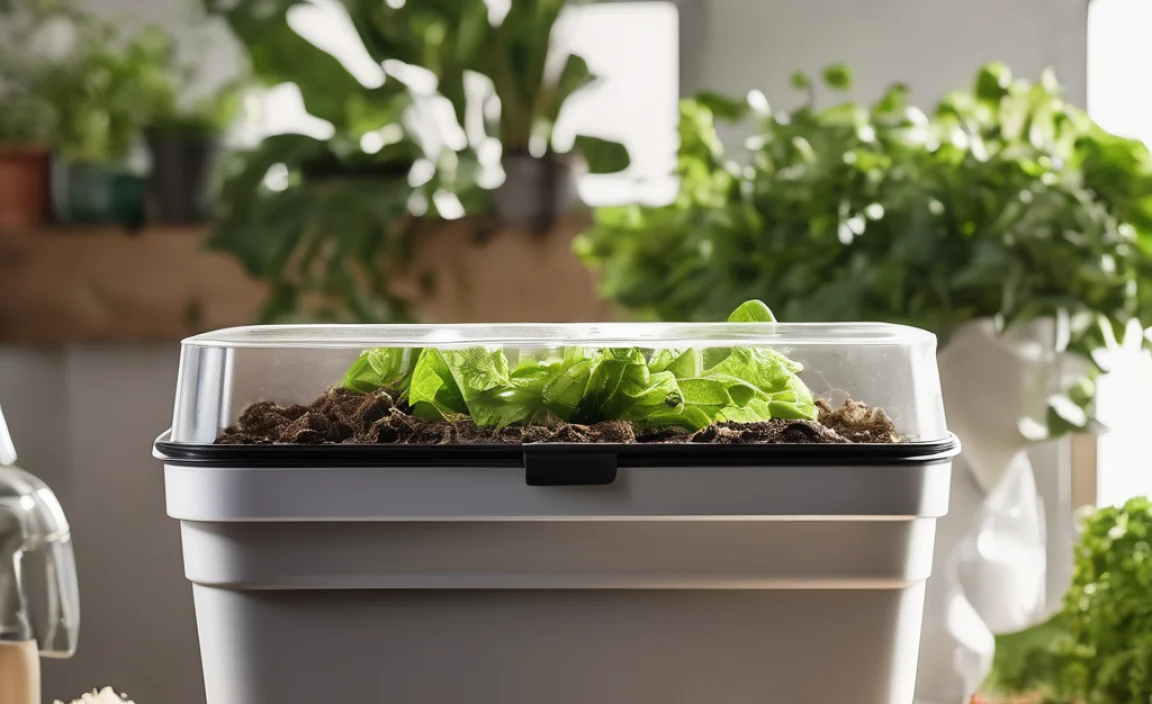
5. Advancing the Technology: Electric and Smart Composters
For those who appreciate cutting-edge tech and perhaps live in very small spaces or want the fastest possible results, electric composters are becoming an increasingly popular innovation.
Why it’s Genius:
These countertop appliances use heat, aeration, and sometimes grinding to significantly speed up the decomposition process, often turning food scraps into usable compost in a matter of hours or days. They are compact and often odor-eliminating.
What You’ll Need:
- An electric composter unit
- Food scraps (check manufacturer’s guidelines for what’s acceptable)
Getting Started:
- Plug and Prep: Set up your electric composter on a stable surface and plug it in.
- Add Scraps: Add your food scraps according to the appliance’s instructions. Some can handle a wider range of items than traditional composting; others are more selective.
- Run the Cycle: Typically, you’ll press a button, and the unit will run a cycle that involves heating, mixing, and drying/aerating the contents.
- Harvest: Once the cycle is complete, you’ll have a dry, sometimes crumbly material that is ready to be used as a soil amendment or mixed into your garden soil.
Considerations:
Electric composters are a significant investment compared to traditional methods. They also use electricity, so consider the environmental impact versus the convenience. However, for speed and odor control, they are unmatched.
Comparing Composting Methods
To help you decide which method might be best for you, here’s a quick comparison:
| Feature | Backyard Bin | Compost Tumbler | Vermicomposting | Sheet Composting | Electric Composter |
|---|---|---|---|---|---|
| Speed | Months | Weeks to Months | Months (for castings) | Many Months to a Year | Hours to Days |
| Space Required | Medium Yard Space | Small to Medium Yard Space | Small Indoor/Balcony Space | Any Area (direct on ground or in beds) | Countertop Space |
| Effort (Turning) | Moderate (1-2x week) | Low (rotate every 2-3 days) | Very Low (feed and harvest) | None | Very Low (load and start cycle) |
| Odor Potential | Low to Moderate (if managed well) | Very Low | Very Low (if managed well) | Very Low | Very Low to None |
| Cost (Initial) | Low to Moderate | Moderate to High | Low to Moderate | Very Low | High |
| Best For | Those with yards, moderate waste | Faster results, easier turning | Apartment dwellers, small spaces | Direct garden building, low effort | Speed, convenience, urban living |
Common Composting Mistakes to Avoid
Even with these innovative methods, it’s easy to stumble. Here are a few common pitfalls and how to sidestep them:
- Too Much Smells: Usually caused by too many “greens” or not enough aeration. Add more “browns” (like shredded cardboard or dry leaves) and turn the pile.
- Too Dry: The pile won’t break down efficiently. Water it thoroughly.
- Too Wet: Can lead to anaerobic conditions and
.lwrp.link-whisper-related-posts{
margin-top: 40px;
margin-bottom: 30px;
}
.lwrp .lwrp-title{}.lwrp .lwrp-description{
}
.lwrp .lwrp-list-container{
}
.lwrp .lwrp-list-multi-container{
display: flex;
}
.lwrp .lwrp-list-double{
width: 48%;
}
.lwrp .lwrp-list-triple{
width: 32%;
}
.lwrp .lwrp-list-row-container{
display: flex;
justify-content: space-between;
}
.lwrp .lwrp-list-row-container .lwrp-list-item{
width: calc(25% – 20px);
}
.lwrp .lwrp-list-item:not(.lwrp-no-posts-message-item){max-width: 150px;
}
.lwrp .lwrp-list-item img{
max-width: 100%;
height: auto;
object-fit: cover;
aspect-ratio: 1 / 1;
}
.lwrp .lwrp-list-item.lwrp-empty-list-item{
background: initial !important;
}
.lwrp .lwrp-list-item .lwrp-list-link .lwrp-list-link-title-text,
.lwrp .lwrp-list-item .lwrp-list-no-posts-message{}@media screen and (max-width: 480px) {
.lwrp.link-whisper-related-posts{}
.lwrp .lwrp-title{}.lwrp .lwrp-description{
}
.lwrp .lwrp-list-multi-container{
flex-direction: column;
}
.lwrp .lwrp-list-multi-container ul.lwrp-list{
margin-top: 0px;
margin-bottom: 0px;
padding-top: 0px;
padding-bottom: 0px;
}
.lwrp .lwrp-list-double,
.lwrp .lwrp-list-triple{
width: 100%;
}
.lwrp .lwrp-list-row-container{
justify-content: initial;
flex-direction: column;
}
.lwrp .lwrp-list-row-container .lwrp-list-item{
width: 100%;
}
.lwrp .lwrp-list-item:not(.lwrp-no-posts-message-item){max-width: initial;
}
.lwrp .lwrp-list-item .lwrp-list-link .lwrp-list-link-title-text,
.lwrp .lwrp-list-item .lwrp-list-no-posts-message{};
}
.lwrp.link-whisper-related-posts{
margin-top: 40px;
margin-bottom: 30px;
}
.lwrp .lwrp-title{
}.lwrp .lwrp-description{
}
.lwrp .lwrp-list-container{
}
.lwrp .lwrp-list-multi-container{
display: flex;
}
.lwrp .lwrp-list-double{
width: 48%;
}
.lwrp .lwrp-list-triple{
width: 32%;
}
.lwrp .lwrp-list-row-container{
display: flex;
justify-content: space-between;
}
.lwrp .lwrp-list-row-container .lwrp-list-item{
width: calc(25% – 20px);
}
.lwrp .lwrp-list-item:not(.lwrp-no-posts-message-item){
max-width: 150px;
}
.lwrp .lwrp-list-item img{
max-width: 100%;
height: auto;
object-fit: cover;
aspect-ratio: 1 / 1;
}
.lwrp .lwrp-list-item.lwrp-empty-list-item{
background: initial !important;
}
.lwrp .lwrp-list-item .lwrp-list-link .lwrp-list-link-title-text,
.lwrp .lwrp-list-item .lwrp-list-no-posts-message{
}@media screen and (max-width: 480px) {
.lwrp.link-whisper-related-posts{
}
.lwrp .lwrp-title{
}.lwrp .lwrp-description{
}
.lwrp .lwrp-list-multi-container{
flex-direction: column;
}
.lwrp .lwrp-list-multi-container ul.lwrp-list{
margin-top: 0px;
margin-bottom: 0px;
padding-top: 0px;
padding-bottom: 0px;
}
.lwrp .lwrp-list-double,
.lwrp .lwrp-list-triple{
width: 100%;
}
.lwrp .lwrp-list-row-container{
justify-content: initial;
flex-direction: column;
}
.lwrp .lwrp-list-row-container .lwrp-list-item{
width: 100%;
}
.lwrp .lwrp-list-item:not(.lwrp-no-posts-message-item){
max-width: initial;
}
.lwrp .lwrp-list-item .lwrp-list-link .lwrp-list-link-title-text,
.lwrp .lwrp-list-item .lwrp-list-no-posts-message{
};
}

I am passionate about home engineering. I specialize in designing, installing, and maintaining heating, ventilation, and air conditioning systems. My goal is to help people stay comfortable in their homes all year long.