Hey there, fellow garden enthusiasts! Troy D Harn here from TopChooser. Have you ever opened up your compost bin, expecting that rich, earthy smell and dark, crumbly goodness, only to find something dry and dusty instead? It’s a bummer, for sure. But don’t sweat it! This is a super common issue, and luckily, it’s pretty easy to fix. We’ve got a simple, step-by- step plan to get your compost back on track, turning that dry mess into fantastic garden gold.
We’ll walk through exactly what to do to rehydrate your compost. You’ll be amazed at how quickly you can revive it and get it working for your garden. Let’s get started!
Why Compost Gets Too Dry and How to Spot It
Composting is all about balance. It’s a living process, and like any living thing, your compost pile needs the right conditions to thrive. One of the most common imbalances happens when things get too dry. Think of it like a campfire that’s gone out – no heat activity, no breakdown. If your compost is too dry, those tiny microbes that do all the hard work of turning your scraps into nutrient-rich soil food simply can’t function.
So, what are the signs that your compost has crossed over into the “too dry” zone? It’s usually pretty obvious.
- The Feel Test: This is your best friend. Grab a handful of your compost. Does it feel like a dry sponge or even like desert sand? If it crumbles apart easily and feels brittle, it’s definitely too dry.
- The Squeeze Test: When you squeeze a handful, does any water drip out? If you get a few droplets, it’s probably just right. If it stays completely dry, that’s your signal. If it feels like squeezing a rock, you’ve got a problem.
- No Heat: A healthy, active compost pile generates heat, especially in the center. If your pile feels cool or lukewarm all over, even after you’ve turned it, dryness is a likely culprit. The heat comes from the microbes working, and they need moisture to do their thing.
- Slow Decomposition: Are your kitchen scraps and yard waste just sitting there, not breaking down? Instead of turning into a rich, dark material, they’re just drying out. This is a clear sign that the composting process has stalled.
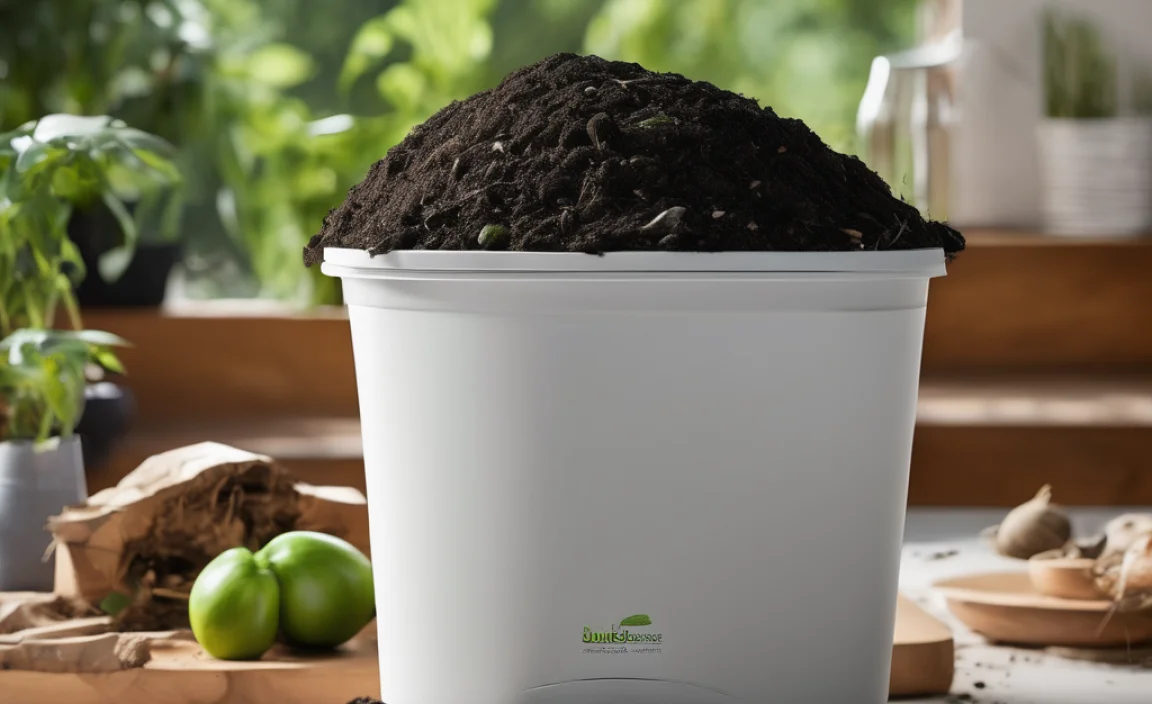
- Dusty Appearance: The compost will look pale and dusty, not dark and moist. It can even smell a bit musty or earthy, but not the rich, pleasant aroma of well-rotting compost.
Drought conditions, hot weather, or simply a lack of moisture-rich “green” materials can all contribute to a dry compost pile. Don’t worry, though. These issues are fixable!
The Culprits: Common Reasons for Dry Compost
Understanding why your compost is dry helps you prevent it from happening again. It’s usually one or a combination of these factors:
- Hot, Dry Weather: When the sun is beating down and the air is dry, those precious drops of moisture can evaporate from your compost pile faster than you can blink. Especially if your compost bin is in direct sunlight, this can be a major issue.
- Lack of “Green” Materials: Compost works best with a good mix of “greens” (nitrogen-rich stuff like fruit and veggie scraps, grass clippings) and “browns” (carbon-rich stuff like dry leaves, cardboard). If you’re putting in a lot of browns and not enough greens, or if the greens you add are already dry (like old hay), your moisture content will suffer.
- Poor Aeration (in some cases): While too much air can dry things out, in some bin types, a pile that’s too tightly packed with dry browns can prevent moisture from evenly distributing. This is less common than simple evaporation, but it can happen.
- Over-reliance on Dry Browns: If your compost is mostly made up of shredded paper, cardboard, straw, or dry leaves, and not enough moist kitchen scraps or fresh grass clippings, it will naturally be dry.
- Improper Bin Location: As mentioned, a bin in full, scorching sun will dry out much faster than one in a shady spot.
The Genius Fix: Step-by-Step to Rehydrate Your Compost
Okay, let’s get your compost pile back in its happy, moist place. This process is all about adding water and making sure it can mix in well.
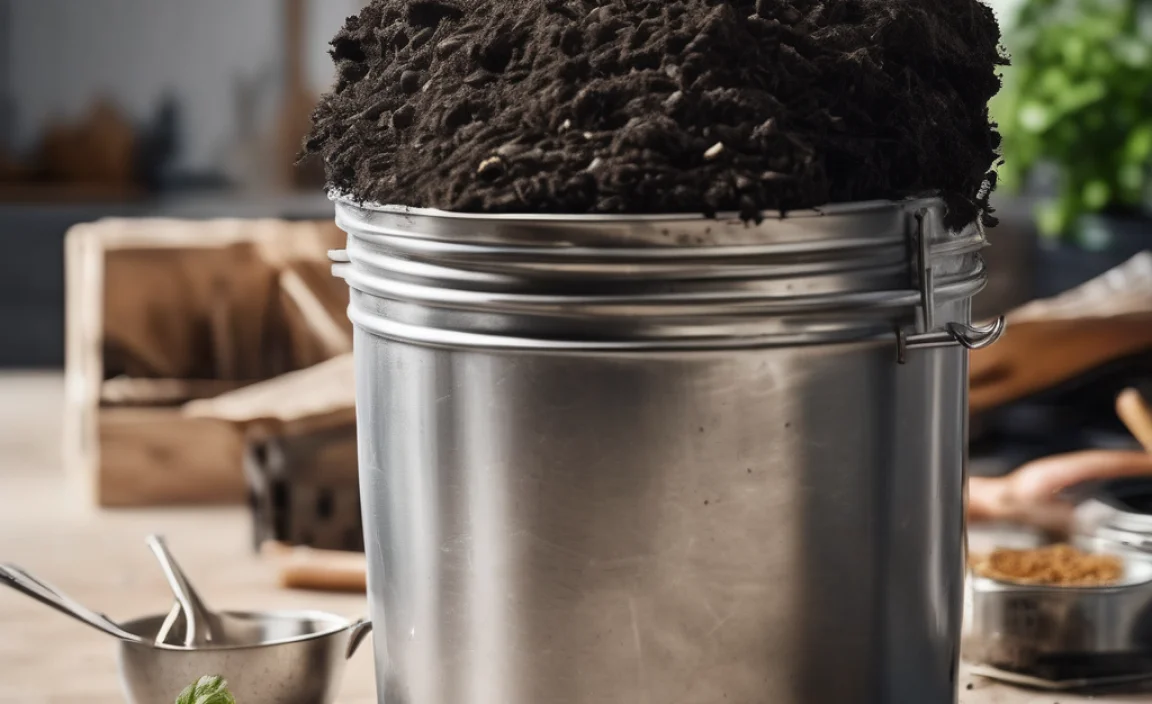
Step 1: Assess and Prepare
Before you grab the hose, take a moment to really look at your compost. Is it just slightly dry, or is it bone dry and compacted?
- Remove Large, Dry Clumps: If you have big, hard, dry chunks, break them up as much as you can. This helps water penetrate them better.
- Clear the Area: Make sure you have easy access to all sides of your compost pile or bin.
Step 2: Add Water – The Gentle Way
This is the crucial step. We want to add moisture without drowning your compost. Too much water all at once can create anaerobic (oxygen-free) conditions, which leads to stinky, slow-rotting compost.
Option A: Using a Hose with a Spray Nozzle (Recommended for larger piles/bins):
- Attach a spray nozzle to your hose. Set it to a gentle shower or mist setting.
- Start watering the pile. Aim to moisten the material evenly. Work your way around the pile, lifting and turning the top layers as you go to expose drier sections underneath.
- The goal is to get it as damp as a wrung-out sponge. If you squeeze a handful, you should get just a few drops of water, not a steady stream.
- Don’t just water the surface; try to get water into the deeper parts of the pile.
Option B: Using a Watering Can (Good for smaller bins or initial spot-treatment):
- Fill a watering can with water.
- Gently pour the water over the compost.
- Use a pitchfork or compost aerator to mix the water in. This is essential to distribute the moisture evenly and avoid creating a soggy bottom.
Pro Tip: If you have particularly stubborn, dry lumps, you can try soaking them in a bucket of water for a few hours before returning them to the pile. This pre-soaking can make a big difference.
Step 3: Mix and Aerate
This is just as important as adding water. Mixing ensures the moisture seeps throughout the entire pile. It also introduces air, which is vital for the microbes.
- Use a pitchfork, a compost aerator tool, or even a sturdy shovel to turn the compost.
- Dig down into the pile and bring the drier outer layers into the center, and the drier inner layers to the outside.
- Try to fluff up the material as you turn it. Break up any compacted clumps.
- Continue turning until the moisture feels consistent throughout.
For a quick guide on checking moisture:
| Compress Test | Moisture Level | Action Needed |
|---|---|---|
| Squeeze a handful, no water drips out. Feels dry. | Too Dry | Add water and mix thoroughly. |
| Squeeze a handful, a few drops of water come out. Feels like a damp sponge. | Just Right | No action needed on moisture. Continue with normal composting. |
| Squeeze a handful, water streams out. Feels like a soggy sponge. | Too Wet | Add more “brown” (carbon-rich) materials and mix. Ensure good aeration. |
The EPA explains how different elements, including moisture, contribute to the composting process, highlighting why it’s crucial to get that balance right.
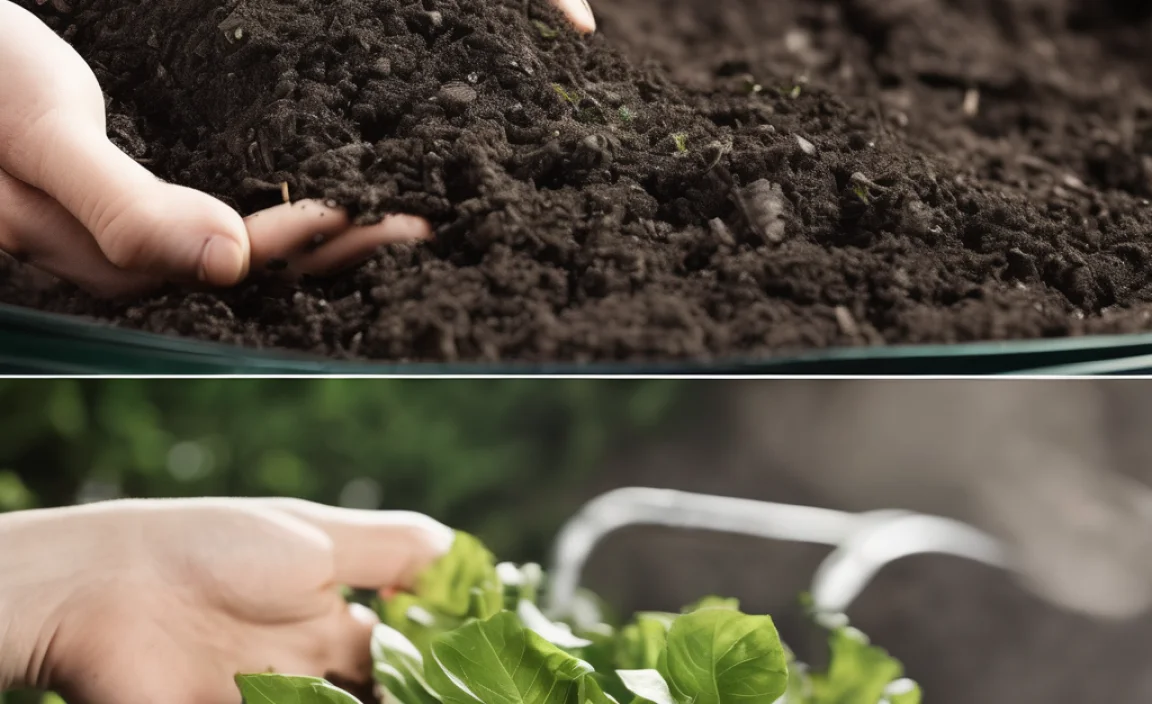
Step 4: Add More Green Materials (Optional but Recommended)
If your compost was dry because it lacked nitrogen-rich “green” materials, now is a good time to add some. This not only helps with moisture but also provides the fuel for the microbes to get working again.
- Incorporate some fresh kitchen scraps (fruit and vegetable peels, coffee grounds).
- Add fresh grass clippings (in thin layers to avoid matting).
- If you have them, compost activators can also help kickstart the process.
Remember to mix these new materials in thoroughly with the existing compost.
Step 5: Monitor and Maintain
After you’ve rehydrated your compost, keep an eye on it for the next few days. Check the moisture levels regularly.
- If it starts to dry out again, repeat the watering and mixing process.
- If you notice it’s getting too wet (e.g., after heavy rain), add more brown materials like shredded cardboard, dry leaves, or sawdust and turn it well.
Tips for Keeping Your Compost Moist
Preventing a dry compost pile is easier than fixing one. Think of these as your ongoing checklist:
- Choose a Good Location: If possible, place your compost bin in a spot that gets some shade during the hottest part of the day. This will significantly slow down moisture evaporation.
- Balance Your Greens and Browns: Aim for a ratio of roughly 2 parts browns to 1 part greens by volume. This isn’t an exact science, but it’s a good starting point. If your pile is dry, it likely needs more greens or more frequent additions of moist greens.
- Cover Your Bin: Many compost bins come with lids. Use them! A lid helps retain moisture and also prevents the pile from getting waterlogged during heavy rain. If you have an open pile, a tarp can work, but ensure some airflow. Make sure The Old Farmer’s Almanac has fantastic resources on building and maintaining compost piles.
- Bury Kitchen Scraps: When you add kitchen scraps (your greens), try to bury them a few inches deep within the compost pile. This helps them break down faster and prevents them from drying out on the surface.
- Add Water Regularly (Especially in Dry Climates): Don’t wait until it’s too dry. If you live in a hot, dry area, try to give your compost a light watering every week or two, especially during summer.
- Chop Up Materials: Smaller pieces break down faster and absorb moisture more evenly. When adding materials, especially dry ones like cardboard, break or chop them into smaller bits.
What NOT to Do When Fixing Dry Compost
Just like in any DIY project, it’s important to know what to avoid. There are a few common mistakes people make when trying to fix dry compost:
- Drowning the Pile: Avoid blasting your compost with a powerful hose stream or pouring bucket after bucket of water without mixing. This can saturate the pile, leading to anaerobic conditions and that dreaded rotten-egg smell. Remember, damp like a wrung-out sponge, not a swamp!
- Ignoring Aeration: Simply adding water to a compacted, dry pile won’t solve the problem. The water needs to reach all the materials, and the microbes need air to breathe. Turning the pile is non-negotiable.
- Adding Only Water to Very Dry, Woody Material: If your dry compost is mostly made of very woody or fibrous browns (like large twigs or straw), they’ll take a long time to rehydrate. Consider chopping them smaller or pre-soaking them in a bucket before adding them back to the main pile.
- Adding Materials Unmixed: Just dump a load of wet grass clippings on top of a dry pile? That’s an invitation for a smelly, slimy layer that won’t break down. Always mix new additions into the existing material.
- Giving Up Too Soon: Sometimes it takes a few turns and a bit of persistence to fully rehydrate a very dry pile. Don’t get discouraged if it’s not perfect after the first attempt.
Tools to Help You Fix Dry Compost
You don’t need a lot of fancy equipment to fix dry compost. Here are a few handy items:
- Pitchfork: Essential for turning and aerating the compost.
- Compost Aerator Tool: These long, spiral tools are designed for easily piercing and aerating compost piles, helping to lift and loosen material.
- Hose with Adjustable Spray Nozzle: Allows for gentle, controlled watering.
- Watering Can: Good for smaller bins or spot treatments.
- Bucket: Useful for pre-soaking and transporting materials.
- Gloves: Always a good idea for keeping your hands clean!
The good news is most of these are probably already in your garden shed!
Quick Troubleshooting Table for Compost Issues
While we’re focused on dry compost, here’s a quick look at common composting problems and their general solutions. Notice how dryness fits in!
| Problem | Likely Cause | Solution |
|---|---|---|
| Pile is too Dry | Not enough moisture, too many brown materials, hot weather. | Add water, mix well. Add more green materials. Cover pile. |
| Pile is Too Wet | Too much moisture, too many green materials, poor drainage. | Add brown materials (sawdust, shredded cardboard), mix well. Ensure aeration. Turn pile regularly. |
| Pile Smells Bad (Ammonia/Rotten) | Too many green materials (nitrogen), not enough air (anaerobic). | Add brown materials. Aerate and turn the pile thoroughly. |
| Pile Not Heating Up | Too dry, imbalance of greens/browns, pile too small, lack of aeration. | Add water if dry, add green materials if too many browns, turn pile to aerate. Ensure pile is at least 3x3x3 feet. |
| Pests (Rodents, Flies) | Exposed food scraps, imbalance of materials. | Bury food scraps deep. Ensure pile has adequate greens and browns. Use a critter-proof bin if necessary. |
FAQ: Your Beginner Compost Questions Answered
Here are some common questions beginners have about fixing dry compost. I’ve kept the answers short and sweet!
Q1: How much water should I add?
A1: Aim for the consistency of a well-wrung-out sponge. When you squeeze a handful, only a few drops of water should come out. It’s better to add water gradually and mix than to drench the pile all at once.
Q2: Do I need to add more “green” materials after watering my dry compost?
A2: It’s very helpful! Dry compost often lacks nitrogen-rich “greens.” Adding things like fresh kitchen scraps or grass clippings won’t just help with moisture levels but will also give the microbes the food they need to start decomposing again.
Q3: My compost is really compacted and dry. What’s the best way to break it up?
A3: Use a pitchfork or a compost aerator tool. Gently work the tool into the pile, then lift and twist to break apart dry clumps. Add water as you go, and then thoroughly mix the layers.
Q4: How often should I check my compost’s moisture?
A4: Especially after fixing a dry pile, check it every few days. Once it’s back in balance, you can check it weekly, or whenever you add new materials. In very hot weather, you might need to check daily.
Q5: Can I use a garden hose to water my compost?
A5: Yes, but use a spray nozzle set to a gentle shower or mist. Avoid using a direct, high-pressure stream, which can compact the compost and wash away beneficial microbes. Water evenly as you turn the pile.
Q6: Will adding a compost activator help fix dry compost?
A6: Compost activators are usually a mix of beneficial microbes and nutrients that can speed up decomposition. While they can help get the process going again in a revitalized pile, they won’t magically add moisture. Water and aeration are your primary tools for fixing dryness.
Q7: How do I know when my compost is “fixed” and back to normal?
A7: It will feel consistently moist (like a wrung-out sponge when squeezed), you’
.lwrp.link-whisper-related-posts{
margin-top: 40px;
margin-bottom: 30px;
}
.lwrp .lwrp-title{
}.lwrp .lwrp-description{
}
.lwrp .lwrp-list-container{
}
.lwrp .lwrp-list-multi-container{
display: flex;
}
.lwrp .lwrp-list-double{
width: 48%;
}
.lwrp .lwrp-list-triple{
width: 32%;
}
.lwrp .lwrp-list-row-container{
display: flex;
justify-content: space-between;
}
.lwrp .lwrp-list-row-container .lwrp-list-item{
width: calc(25% – 20px);
}
.lwrp .lwrp-list-item:not(.lwrp-no-posts-message-item){
max-width: 150px;
}
.lwrp .lwrp-list-item img{
max-width: 100%;
height: auto;
object-fit: cover;
aspect-ratio: 1 / 1;
}
.lwrp .lwrp-list-item.lwrp-empty-list-item{
background: initial !important;
}
.lwrp .lwrp-list-item .lwrp-list-link .lwrp-list-link-title-text,
.lwrp .lwrp-list-item .lwrp-list-no-posts-message{
}@media screen and (max-width: 480px) {
.lwrp.link-whisper-related-posts{
}
.lwrp .lwrp-title{
}.lwrp .lwrp-description{
}
.lwrp .lwrp-list-multi-container{
flex-direction: column;
}
.lwrp .lwrp-list-multi-container ul.lwrp-list{
margin-top: 0px;
margin-bottom: 0px;
padding-top: 0px;
padding-bottom: 0px;
}
.lwrp .lwrp-list-double,
.lwrp .lwrp-list-triple{
width: 100%;
}
.lwrp .lwrp-list-row-container{
justify-content: initial;
flex-direction: column;
}
.lwrp .lwrp-list-row-container .lwrp-list-item{
width: 100%;
}
.lwrp .lwrp-list-item:not(.lwrp-no-posts-message-item){
max-width: initial;
}
.lwrp .lwrp-list-item .lwrp-list-link .lwrp-list-link-title-text,
.lwrp .lwrp-list-item .lwrp-list-no-posts-message{
};
}

I am passionate about home engineering. I specialize in designing, installing, and maintaining heating, ventilation, and air conditioning systems. My goal is to help people stay comfortable in their homes all year long.