Hey there, fellow home improvers and garden enthusiasts! Troy D Harn here from TopChooser. Ever opened your compost bin and been hit with a smell that could knock your gardening gloves off? Yeah, it’s happened to the best of us. A stinky compost pile can be a real buzzkill. But don’t worry, a healthy compost pile shouldn’t smell like a dumpster fire! It should smell earthy and pleasant. In this guide, we’ll break down exactly why your compost might be stinking up the neighborhood and, more importantly, how to fix it, step-by-step. Get ready to turn that troublesome smell into the sweet scent of success!
Why Does My Compost Smell Bad? Understanding the Basics
Before we dive into fixing the problem, let’s get to the root of why compost can go from “earthy goodness” to “what’s that awful odor?” Usually, a bad smell means something is out of balance in your compost system. Think of it like a tiny factory that needs the right ingredients and conditions to work efficiently. When those conditions aren’t met, the factory starts producing unpleasant byproducts.
The main culprit behind nasty compost smells is often a lack of oxygen. When organic materials break down without enough air, anaerobic decomposition (that’s breakdown without oxygen) kicks in. This process produces gases like hydrogen sulfide, which smells like rotten eggs, and ammonia, which has that sharp, pungent odor. It’s basically the compost’s way of saying, “Hey, I can’t breathe!”
Another common reason is an imbalance of “greens” and “browns.” Compost relies on a mix of nitrogen-rich materials (greens) and carbon-rich materials (browns). If you have too many greens and not enough browns, your pile can become too wet and dense, leading to that anaerobic situation. Too many browns can also slow things down, but it’s the excess greens that usually cause the most offensive smells.
The “Rotten Egg” Smell: Sulfur Problems Explained
If your compost is emitting a strong rotten egg smell, you’re dealing with a classic sign of too much anaerobic decomposition. This happens when there’s a lack of air and often an overabundance of wet, nitrogen-rich materials (greens) without enough bulky, carbon-rich materials (browns) to create air pockets.
Imagine a soggy, compacted pile. The little microbes responsible for breaking down your kitchen scraps and yard waste can’t get the oxygen they need. So, they switch to a different process that releases sulfur compounds. These compounds are what give off that unmistakable rotten egg odor. It’s their tiny way of signaling distress!
The “Ammonia” Smell: Too Many Greens Alert
A sharp, chemical smell, similar to that of strong cleaning products or cat urine, usually indicates that your compost pile has too much nitrogen. Nitrogen-rich materials are often referred to as “greens” in composting. These include things like:
- Fruit and vegetable scraps
- Grass clippings
- Coffee grounds and tea bags
- Manure (from herbivores like cows, horses, or chickens)
When there’s an overload of greens, they decompose rapidly and release ammonia gas. If you’ve ever noticed your lawn fertilizer smelling strongly of ammonia, it’s the same principle. While ammonia is a necessary part of the composting process, too much of it signals an imbalance and can be quite unpleasant. The key is to have a good balance between these “greens” and the carbon-rich “browns.”
Fixing Compost Smells Bad: Your Step-by-Step Genius Guide
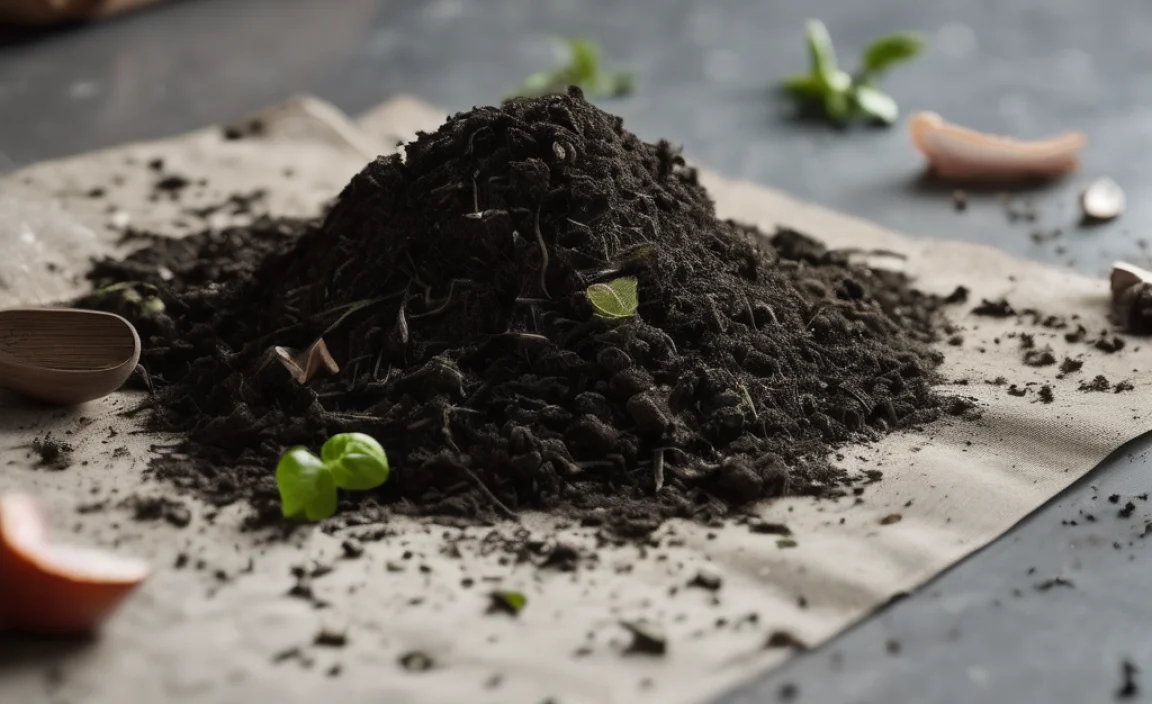
Don’t let a stinky situation deter you from the fantastic benefits of composting! Turning that foul smell around is totally achievable with a few simple adjustments. We’ll go through it step-by-step, so you can get your compost back to its healthy, earthy-smelling self in no time.
Step 1: Identify the Smell and Its Cause
First, take a good sniff. What kind of bad smell are you dealing with?
- Rotten Egg Smell: Too wet, too compacted, not enough air (anaerobic conditions). Often caused by too many kitchen scraps or food waste without enough bulking agents.
- Ammonia Smell: Too many nitrogen-rich “greens.”
- General “Rotten” or “Spoiled Food” Smell: Usually means decomposing food waste is exposed to the air, or the pile is too wet and dense.
Step 2: Introduce More Air (Aeration is Key!)
This is the most crucial step for fixing most composting stink issues, especially the rotten egg smell. Your compost pile needs to breathe!
- Turn Your Pile: The most direct way to add air is by physically turning your compost. Use a pitchfork or a compost aerator tool to mix the materials. Try to bring the outer, drier materials to the inside and the inner, wetter materials to the outside. Aim to do this at least once a week, or whenever you notice a smell developing.
- Add Bulking Agents: Even if you don’t have a specific smell issue, regularly adding carbon-rich “browns” helps create essential air pockets within the pile. These materials, like dried leaves, shredded cardboard, or straw, act like tiny sponges, allowing air to circulate.
- Check Drainage: Ensure your compost bin or pile has good drainage. If water is pooling, it’s creating a soggy, anaerobic environment. You might need to move the pile to a better-drained spot or adjust your bin setup.
Step 3: Balance Your Greens and Browns
The ideal compost recipe is roughly equal parts greens (nitrogen) and browns (carbon) by volume. If you’ve got too much of one, smells can follow. A common ratio to aim for is about 2 parts browns to 1 part greens.
What to Add if You Have Too Many Greens (Ammonia Smell):
- Add Browns: This is your go-to solution! Mix in plenty of carbon-rich materials. Think dry leaves, shredded newspaper (avoid glossy inks), sawdust (from untreated wood), straw, or even shredded cardboard. The more browns you add, the more they will absorb excess nitrogen and help balance the carbon-to-nitrogen ratio.
- Avoid Over-Watering: While moisture is needed, too much can exacerbate the green-heavy imbalance.
What to Add if You Have Too Many Browns (Slow Decomposition, Mildly Earthy but not actively breaking down):
This scenario is less common for bad smells but can lead to a very slow pile. If your pile is mostly browns and smells slightly musty or like dry leaves, you might need a boost of greens and moisture. You can also add a shovel-full of finished compost or garden soil to introduce more active microbes.
Here’s a handy table to help you remember the difference and common examples:
| Type | Role | Examples |
|---|---|---|
| Greens (Nitrogen) | Provide moisture and nitrogen for active decomposition | Fruit & vegetable scraps, grass clippings, coffee grounds, tea bags, fresh plant trimmings, manure (herbivore) |
| Browns (Carbon) | Provide energy for microbes, add bulk, and create air pockets | Dried leaves, straw, sawdust, shredded newspaper/cardboard, small twigs, wood chips |
Step 4: Manage Moisture Levels
Compost needs to be moist, but not soaking wet. Think of the feeling of a wrung-out sponge – that’s the sweet spot. Too much moisture leads to anaerobic conditions and stinky smells. Too little, and the decomposition process slows way down.
- If it’s Too Wet:
- Add more brown materials (dried leaves, straw, unprinted cardboard).
- Turn the pile regularly to help it dry out and get air.
- Ensure good drainage around and within your bin.
- If it’s Too Dry:
- Add some water, preferably with a hose and spray nozzle, mixing it in as you water.
- Add more green materials, which are higher in moisture.
- Cover the pile to help retain moisture, especially in hot, dry weather.
Step 5: Burying Your “Smelly” Scraps
When adding fresh kitchen scraps (greens) to your pile, it’s a good habit to bury them under a layer of brown material. This helps prevent them from sitting on top, exposed to the air and potentially attracting pests, and also helps to avoid immediate smells. Mix them in a bit as you add them, especially if your pile is already a bit too wet.
Step 6: What NOT to Compost (Avoiding Future Smells)
Certain items can contribute to bad smells or simply aren’t good for your compost. Avoid adding:
- Meat, bones, and dairy products: These can attract pests and create extremely foul odors.
- Oily or greasy foods: Similar to meat products, they can cause rancid smells and attract unwanted visitors.
- Diseased plants: You don’t want to spread plant diseases to your garden.
- Pet waste (from dogs and cats): Can contain pathogens that are not killed by typical composting temperatures.
- Weeds that have gone to seed: You might end up spreading them further!
- Chemically treated materials: Lawn clippings treated with herbicides, or wood treated with chemicals.
Sticking to kitchen scraps (fruits, veggies, coffee grounds), yard waste (leaves, grass clippings – in moderation!), and natural compostable materials is the safest bet for a pleasant-smelling pile.
Step 7: Troubleshooting Common Stink Scenarios
Let’s nail down some quick fixes for specific issues:
- Problem: Pile is soggy and smells like methane/swamp gas.Solution: Turn thoroughly, add a lot of dry brown material (leaves, straw, shredded cardboard), and ensure good drainage.
- Problem: Pile smells strongly of ammonia.Solution: Add a generous amount of carbon-rich brown materials. Turn it in well.
- Problem: Fresh food scraps are sitting on top and smell rotten.Solution: Bury fresh scraps 6-8 inches deep within the pile, covering them with existing compost and brown materials. Turn the pile.
Remember, a little bit of troubleshooting goes a long way. Most smell issues are fixable by adjusting the air, moisture, or green/brown balance.
Optimizing Your Compost Bin for Odor Control
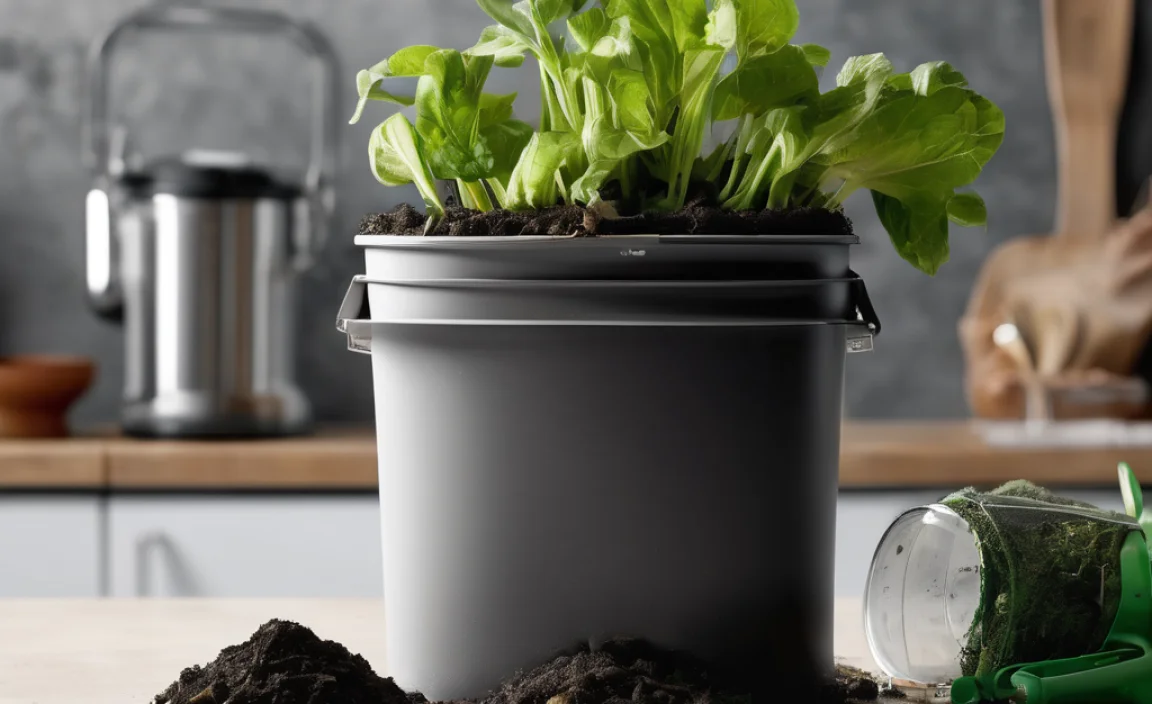
The type of compost bin or method you use can also play a role in how well your compost manages air and moisture, thus influencing smells. Here’s a quick look at some common setups:
Open Piles vs. Enclosed Bins
- Open Piles: Easiest to turn and aerate directly. However, they can dry out faster and might be more prone to becoming saturated if exposed to heavy rain.
- Enclosed Bins (Plastic or Wooden): Help retain moisture and heat, speeding up decomposition. They can also keep pests out. The key here is to ensure they have adequate ventilation (holes or slats) and that you’re still turning the contents periodically. Some enclosed tumblers are designed for easy aeration.
Compost Aerator Tools
If turning your pile with a pitchfork feels too daunting or your bin is too narrow, a compost aerator tool is a fantastic investment. These long, often spring-loaded or corkscrew-like tools are designed to be plunged into the compost pile and pulled up, creating channels for air and mixing materials without a huge amount of effort. They are excellent for preventing anaerobic spots.
You can find reliable compost aerator tools from gardening supply stores or online retailers. For instance, a well-regarded brand for garden tools is often Gardensongarden, which offers a variety of implements that can help. Always look for tools made from durable materials like steel.
The Importance of Location
Where you place your compost bin matters too! Avoid placing it in direct, scorching sun if you live in a hot climate, as it can dry out too quickly and increase ammonia smells. Conversely, a perpetually damp, shady spot might lead to a soggy, anaerobic mess. A partially shaded, level area with good drainage is usually ideal.
Maintaining a Smell-Free Compost Pile Long-Term
Once you’ve fixed your stinky situation, you’ll want to keep it that way! Here are some ongoing tips for a happy, healthy, and odor-free compost pile:
- Regular Turning: Make turning a habit. Even a quick turn once a week can make a big difference in preventing anaerobic conditions.
- Consistent “Brown” Additions: Keep a stash of dried leaves or shredded cardboard nearby to add whenever you add kitchen scraps. A handful of browns with every handful of greens helps maintain that crucial balance.
- Bury Kitchen Scraps: Always tuck your fresh food waste into an existing layer of compost or browns.
- Monitor Moisture: Stick your hand into the pile (wear gloves!) to check the moisture level regularly. Adjust by adding water or browns as needed.
- Avoid Problematic Items: Stick to the “do compost” list.
- Don’t Overload: Try not to add huge quantities of a single item at once, especially fresh grass clippings. Mix things up!
Composting is a natural process, and like any natural process, it thrives on balance. By paying attention to air, moisture, and the right mix of materials, you can ensure your compost works its magic without making your backyard smell like trouble.
Conclusion: Your Path to Pleasant Compost
There you have it! Dealing with a stinky compost pile might seem like a frustrating problem, but as you’ve seen, it’s usually a sign that your compost is asking for a little attention, not that it’s doomed. By understanding the roles of air, moisture, and the perfect balance of greens and browns, you possess the power to transform that unpleasant odor into the rich, earthy scent of fully functioning compost. Remember to turn, balance, and monitor your pile, and you’ll be creating fantastic, nutrient-rich compost for your garden without any olfactory offense. Happy composting, and enjoy the benefits of your hard (but rewarding!) work!
Frequently Asked Questions About Compost Smells
1.Why does my compost smell like a sewer?
A sewer smell, often like rotten eggs or sulfur, indicates severe anaerobic decomposition. This means your pile is too wet, too compacted, and lacks oxygen. The fix involves thoroughly turning the pile, adding dry brown materials to absorb moisture and create air pockets, and ensuring it drains well.
2.Can I compost if I live in an apartment?
Yes! Many apartment dwellers use compact kitchen compost bins (like Bokashi or worm bins/vermicomposting), which are designed to be odor-free when managed correctly. Outdoor compost bins are also an option if you have balcony or communal garden space. The principles of balance still apply!
3.How often should I turn my compost?
Ideally, you should turn actively composting piles every 1-2 weeks. If smell is an issue, turning more frequently (every few days until the smell is gone) is beneficial. If you have a less active pile, turning once a month or even less might be sufficient. The goal is to introduce air!
4.Will adding coffee grounds make my compost smell bad?
Generally, no. Coffee grounds are considered a “green” material and are excellent for composting. They add nitrogen and are usually well-balanced. However, if you add a massive amount of coffee grounds with nothing else, they can indeed contribute to a dense, “green”-heavy pile that might smell anaerobic. The key is moderation and balance with “browns.”
5.Is it normal for compost to smell at all?
A healthy, actively composting pile should smell earthy, like a forest floor after a rain. It might have a slightly pungent or “fermenting” smell as certain materials break down, but it should never be truly foul or offensive. If it smells bad, something is out of balance.
6.What if my compost is too dry and not smelling bad, just not breaking down?
This means the microbes don’t have enough moisture to work. Add water to the pile, mixing it in as you go, until it reaches that “wrung-out sponge” consistency. You can also add some green materials, which contain more moisture, to help. Turning it afterward will help distribute the moisture and get things going.
.lwrp.link-whisper-related-posts{
margin-top: 40px;
margin-bottom: 30px;
}
.lwrp .lwrp-title{
}.lwrp .lwrp-description{
}
.lwrp .lwrp-list-container{
}
.lwrp .lwrp-list-multi-container{
display: flex;
}
.lwrp .lwrp-list-double{
width: 48%;
}
.lwrp .lwrp-list-triple{
width: 32%;
}
.lwrp .lwrp-list-row-container{
display: flex;
justify-content: space-between;
}
.lwrp .lwrp-list-row-container .lwrp-list-item{
width: calc(25% – 20px);
}
.lwrp .lwrp-list-item:not(.lwrp-no-posts-message-item){
max-width: 150px;
}
.lwrp .lwrp-list-item img{
max-width: 100%;
height: auto;
object-fit: cover;
aspect-ratio: 1 / 1;
}
.lwrp .lwrp-list-item.lwrp-empty-list-item{
background: initial !important;
}
.lwrp .lwrp-list-item .lwrp-list-link .lwrp-list-link-title-text,
.lwrp .lwrp-list-item .lwrp-list-no-posts-message{
}@media screen and (max-width: 480px) {
.lwrp.link-whisper-related-posts{
}
.lwrp .lwrp-title{
}.lwrp .lwrp-description{
}
.lwrp .lwrp-list-multi-container{
flex-direction: column;
}
.lwrp .lwrp-list-multi-container ul.lwrp-list{
margin-top: 0px;
margin-bottom: 0px;
padding-top: 0px;
padding-bottom: 0px;
}
.lwrp .lwrp-list-double,
.lwrp .lwrp-list-triple{
width: 100%;
}
.lwrp .lwrp-list-row-container{
justify-content: initial;
flex-direction: column;
}
.lwrp .lwrp-list-row-container .lwrp-list-item{
width: 100%;
}
.lwrp .lwrp-list-item:not(.lwrp-no-posts-message-item){
max-width: initial;
}
.lwrp .lwrp-list-item .lwrp-list-link .lwrp-list-link-title-text,
.lwrp .lwrp-list-item .lwrp-list-no-posts-message{
};
}

I am passionate about home engineering. I specialize in designing, installing, and maintaining heating, ventilation, and air conditioning systems. My goal is to help people stay comfortable in their homes all year long.

