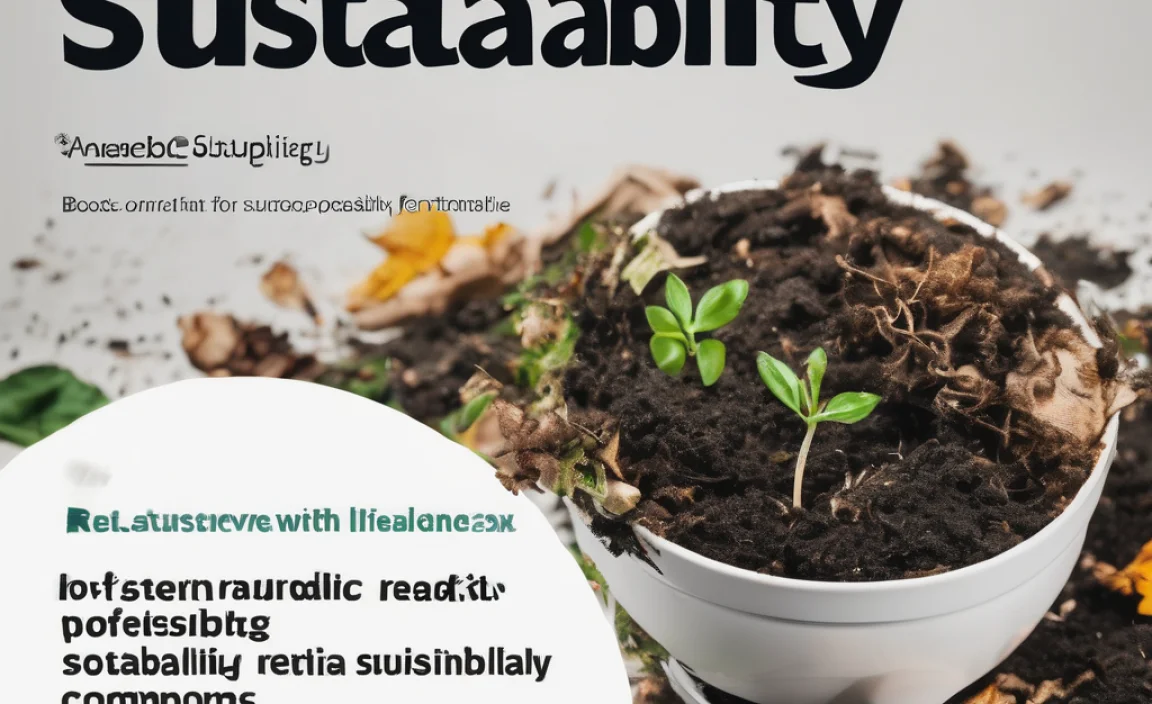
Want to make your garden the envy of the neighborhood? Composting is your secret weapon! It turns kitchen scraps and yard waste into rich, nutrient-packed food for your plants. But with so many composting methods out there, choosing the right one can feel overwhelming. Don’t worry! We’ll break it down, step-by-step, so you can pick the best composting system for your home and garden. Get ready to go from confused to compost pro!
Garden Compost Comparison: Choosing Your Perfect Composting Method
Hey there, garden enthusiasts! Troy D Harn here from TopChooser. If you’re looking to boost your garden’s health naturally and cut down on waste, you’ve come to the right place. Composting is one of the simplest yet most impactful things you can do for your plants and the planet. It’s like giving your garden a superfood smoothie! But as I mentioned, figuring out how to compost can be a bit tricky at first. There are different ways to get that black gold, and the best one for you depends on your space, how much time you have, and what kind of waste you’ll be composting.
This guide is designed to make your “garden compost comparison” super easy. We’ll cover the most popular composting methods, what makes them tick, and who they’re best suited for. We’ll talk about what you need, how to get started, and some handy tips to keep things running smoothly. By the end of this, you’ll feel confident picking and starting your own composting journey. Let’s dig in!
Why Bother with Composting? The Big Benefits
Before we dive into the different types of compost bins and methods, let’s quickly touch on why this whole composting thing is so worthwhile. It’s not just about making dirt look fancier; it’s about creating a healthier environment for your garden and your household.
- Supercharges Your Soil: Compost is packed with nutrients that plants absolutely love. It improves soil structure, helping it retain moisture and air, which is crucial for healthy root systems. Think of it as natural, slow-release fertilizer that keeps on giving.
- Reduces Waste: A significant portion of household waste is organic material that could be composted. By composting, you’re diverting this from landfills, where it can produce harmful methane gas. It’s a win for your garden and a win for the environment.
- Saves Money: Buying soil amendments and fertilizers can add up. Making your own compost drastically cuts down on these costs. Plus, healthier plants often mean better harvests, saving you trips to the grocery store.
- Eco-Friendly Gardening: Composting is a cornerstone of sustainable gardening practices. It closes the loop by returning nutrients back into the soil, reducing the need for chemical inputs.
- Improves Garden Health: Compost helps suppress plant diseases and pests. It introduces beneficial microorganisms to your soil, creating a more balanced and resilient ecosystem in your garden.
Understanding the “Greens” and “Browns”
No matter which composting method you choose, the basic recipe for success is usually a good mix of “greens” and “browns.” This isn’t about the color of your ingredients, but their carbon and nitrogen content. Getting this balance right is key to making compost efficiently without unpleasant smells.
Greens (Nitrogen-rich): These materials are typically moist and break down quickly. They provide the nitrogen that microorganisms need to live and multiply.
- Fruit and vegetable scraps
- Coffee grounds and tea bags
- Grass clippings (in thin layers to avoid matting)
- Plant trimmings and weeds (before they go to seed)
- Manure from herbivores (like chickens, rabbits, cows, horses)
Browns (Carbon-rich): These materials are usually dry and provide the carbon that microorganisms use for energy. They also help provide air pockets for good airflow.
- Dry leaves
- Shredded newspaper and cardboard (avoid glossy or colored inks)
- Straw and hay
- Twigs and small branches (chopped or shredded)
- Sawdust (from untreated wood, use sparingly)
The Ideal Ratio: A good starting point is roughly 2 parts Browns to 1 part Greens by volume. Don’t stress too much about being exact, especially when you’re starting out. You’ll learn to tell by looking and feeling. Your compost pile should feel moist like a wrung-out sponge and not be too mushy or too dry and dusty.
Popular Garden Compost Comparison: Methods and Best Practices
Now, let’s get down to the nitty-gritty: comparing the most common ways to compost. Each has its own pros and cons, and understanding these will help you make the best choice for your situation.
1. The Basic Open Pile / Heap
This is the simplest and often cheapest method. You just pile up your compostable materials in a designated spot in your yard. No fancy equipment needed, just a bit of space.
How It Works:
You create a pile in a corner of your yard, layering your greens and browns. The microbes, worms, and other beneficial organisms that naturally exist in the environment do the work. Turning the pile occasionally speeds up the process.
Best For:
- People with plenty of yard space.
- Those who generate a lot of yard waste.
- Budget-conscious gardeners who want the simplest approach.
- Those who aren’t fussed about a perfectly tidy appearance.
Pros:
- Extremely low cost – no bin required.
- Can handle large volumes of material.
- Easy to start – just pile it up!
Cons:
- Can look messy if not contained.
- Slower decomposition time compared to contained methods.
- May attract pests if not managed carefully (e.g., wrong materials added).
- Can dry out or get too wet more easily without walls.
Best Practices for Open Piles:
- Location: Choose a level, well-drained spot with partial sun. This helps it heat up but not dry out too quickly.
- Size: Aim for a pile that’s at least 3 feet x 3 feet x 3 feet. This size helps the pile retain heat, which is essential for decomposition.
- Layering: Start with a base layer of coarse browns (like twigs) for aeration. Alternate layers of greens and browns.
- Moisture: Keep the pile as moist as a wrung-out sponge. Water it during dry spells.
- Aeration: Turn the pile every few weeks with a garden fork or pitchfork to introduce oxygen. This speeds up decomposition and prevents anaerobic (smelly) conditions.
2. The Stationary Bin (Enclosed Bin)
These are a step up from open piles. They are usually square or rectangular containers, often made of wood, wire mesh, or recycled plastic. They keep the compost tidy and can help retain heat and moisture better.
How It Works:
Similar to an open pile, you add layers of greens and browns. The bin helps contain the materials, retain heat and moisture, and can deter pests. Some models have a lid, which further helps with moisture and temperature control.
Best For:
- Homeowners with moderate yard space.
- Those who want a tidier composting solution than an open pile.
- Beginners looking for a straightforward enclosed system.
Pros:
- Neater appearance than open piles.
- Helps retain heat and moisture, leading to faster composting.
- Can deter some pests.
- Relatively low cost, especially if you build your own.
Cons:
- Can be harder to turn than an open pile, potentially slowing decomposition if not managed.
- Volume is limited by the bin size.
- May require occasional watering if they dry out.
Table: Stationary Bin Materials & Construction
| Bin Material | Pros | Cons | Ease of Build/Assembly |
|---|---|---|---|
| Wood Pallets | Inexpensive (often free), good ventilation. Can be built into multi-bin systems. | Can eventually rot, may develop gaps. Requires some basic carpentry skills. | Moderate |
| Wire Mesh / Hardware Cloth | Excellent ventilation, inexpensive, easy to shape. | Less aesthetic, can dry out faster, may not retain heat as well. | Easy |
| Recycled Plastic Bins (DIY) | Durable, can be fashioned from old trash cans or plastic totes. | Requires drilling many holes for ventilation. May not be large enough for big batches. | Easy |
| Pre-made Stationary Bins | Convenient, often durable and functional designs. | Can be more expensive. Limited size options. | Very Easy (assembly only) |
Best Practices for Stationary Bins:
- Airflow is Key: Ensure your bin has plenty of ventilation holes or gaps. If you’re building one, drill lots of holes.
- Layering: Continue alternating greens and browns.
- Moisture Check: Stick your hand in or use a moisture meter. If it feels dry, add water. If it’s soggy, add more browns.
- Turning: While harder than with an open pile, try to turn the contents every few weeks. You might need a compost aerator tool or a pitchfork to reach the center.
- Lid Usage: Use a lid if you have one, especially during very wet or dry periods, to help manage moisture.
3. The Tumbler Composter
Compost tumblers are enclosed drums that rotate on an axle or base. They are designed to make turning the compost easy and speed up decomposition significantly.
How It Works:
You fill the drum with your compostable materials, add a good mix of greens and browns, and then simply turn the drum every few days. The rotation mixes the materials, aerates them, and helps maintain optimal moisture and temperature.
Best For:
- People with limited garden space, or even balconies/patios.
- Those who want a very fast composting process.
- Individuals who want to avoid manual turning with a pitchfork.
- People who want to prevent pests effectively.
Pros:
- Fastest composting method (often ready in 4-8 weeks).
- Very easy to turn and mix materials.
- Excellent at deterring pests and rodents.
- Keeps things tidy and contained.
- Built-in aeration.
Cons:
- Can be more expensive to purchase initially.
- Batch composting – you fill it, let it compost, then empty it. You can’t typically add new material continuously to a batch that’s still cooking.
- Can sometimes get too wet or dry if not managed properly, leading to clumping or a dry center.
- Limited capacity per batch.
Tumbler Best Practices:
- The Magic Ratio: Still important! Aim for that 2:1 Browns to Greens ratio. Too many greens can make it slimy; too many browns, and it won’t heat up.
- Chop It Up: Smaller ingredients break down faster. Chop up larger scraps before adding them.
- Don’t Overfill: Leave some air space. If the tumbler is packed too tightly, it won’t mix or aerate well.
- Spin Regularly: Aim to turn it 3-5 times a week, especially at the beginning when materials are breaking down rapidly.
- Moisture Management: If it looks too wet and muddy, add more browns and tumble. If it looks dry and dusty, add a little water and tumble.
- Batch Approach: If you have a single-chamber tumbler, you’ll need to stop adding new material once it’s mostly full to let it finish composting. Many have dual chambers to allow continuous filling of one while the other finishes.
4. The Worm Composter (Vermicomposting)
Vermicomposting uses special composting worms (like red wigglers) to break down organic matter, typically in a specialized bin. This method is fantastic for tiny spaces and produces a super-rich compost called “worm castings.”
How It Works:
Red wigglers live in a bin filled with bedding material (like shredded newspaper or coconut coir). You feed them your kitchen scraps, and they eat the organic matter, converting it into nutrient-rich worm castings. This is ideal for smaller-scale composting, especially for kitchen waste.
Best For:
- Apartment dwellers or those with very limited outdoor space.
- People who want to compost primarily kitchen scraps.
- Those interested in producing premium-quality compost (worm castings).
- Gardening in small containers or indoor plants.
Pros:
- Ideal for small spaces (can even be done indoors).
- Produces extremely high-quality compost (worm castings).
- Fast processing of kitchen scraps.
- Minimal odor if managed correctly.
Cons:
- Requires special composting worms (red wigglers, not earthworms from the garden).
- Cannot handle large volumes of yard waste.
- Requires a controlled environment (temperature is important).
- Not all food scraps are suitable (avoid citrus, onions, garlic in large amounts).
Table: What Worms Love and Hate
| Worm Favorites (Feed Sparingly) | Worm Villains (Avoid) | Excellent Bedding Materials |
|---|---|---|
| Fruit and vegetable scraps (avoiding excess citrus) | Meat, dairy, oily foods | Shredded newspaper (non-glossy) |
| Coffee grounds and tea bags | Spicy foods (peppers) | Shredded cardboard |
| Crushed eggshells (great source of calcium) | Citrus peels (in large quantities, can be too acidic) | Coconut coir |
| Cooked pasta and rice (small amounts) | Onions and garlic (in large quantities) | Shredded brown paper bags |
| Small amounts of bread | Treated wood or pet waste | A little bit of garden soil (helps grit) |
Best Practices for Vermicomposting:
- Get the Right Worms: You need red wigglers (Eisenia fetida) or European nightcrawlers, not common garden earthworms. You can buy starter kits online.
- Bedding is Crucial: Moisten your bedding until it feels like a squeezed-out sponge. This is their home and food source.
- Feed Buried: Bury food scraps under the bedding. This prevents odors and pests. Don’t overfeed; start with small amounts.
- Temperature Control: Worms thrive in temperatures between 55-77°F (13-25°C). Avoid extreme heat or cold.
- Harvesting Castings: After a few months, you can harvest the worm castings. You can either remove the worms to one side and harvest the finished compost from the other, or use a multi-tiered bin system. Find out more about composting with worms from university extension services like UC Davis.
5. Trench Composting (In-Ground Composting)
This method involves burying compostable materials directly into your garden soil. It’s a passive way to improve your soil over time and requires minimal effort once set up.
How It Works:
You dig a trench or hole in your garden, fill it with compostable materials, and then cover it with soil. The materials decompose in place, enriching the soil. You can compost directly in garden beds or designated trenches.
Best For:
- Gardeners who want to improve soil fertility in place.
- Those who don’t want a visible compost bin.
- People who don’t want to spend time turning or managing a compost pile.
- Composting materials that have already partially broken down.
Pros:
- Extremely simple and low effort.
- No need for a bin; uses garden space directly.
- Improves soil structure and fertility in the long run.

I am passionate about home engineering. I specialize in designing, installing, and maintaining heating, ventilation, and air conditioning systems. My goal is to help people stay comfortable in their homes all year long.