Got kitchen scraps and yard waste piling up? Wondering how to turn that mess into garden gold? You’re not alone! Many folks find composting a bit… mysterious. But I’m here to tell you it’s simpler than you think. I’m Troy D Harn from TopChooser, and I’ll walk you through turning your waste into amazing fertilizer. Get ready to boost your garden’s health and reduce your trash!
Your First Steps to Fantastic Garden Compost
Composting is like nature’s recycling program, and once you get the hang of it, you’ll wonder how you ever lived without it. It’s not just about getting rid of waste; it’s about creating nutrient-rich soil that your plants will absolutely love. Think of it as making free, super-powered food for your garden!
Why Bother with Composting?
Let’s break down why composting is such a game-changer for your garden and your home. It’s more than just a trend; it’s a smart, sustainable practice that brings real benefits.
Benefits for Your Garden
- Improved Soil Structure: Compost loosens heavy clay soils, making them easier to work with and allowing water and air to penetrate. For sandy soils, it helps them retain moisture and nutrients better.
- Nutrient Powerhouse: It’s packed with essential nutrients that plants need to grow strong and healthy. This means fewer trips to the garden center for expensive fertilizers!
- Healthier Plants: Plants grown in compost-rich soil are often more resistant to pests and diseases.
- Water Retention: Compost acts like a sponge, holding moisture in the soil. This means you’ll need to water your garden less often, which is a big win, especially during dry spells.
Benefits for the Environment (and Your Bin!)
- Reduces Landfill Waste: A huge portion of household waste is compostable material. Keeping it out of landfills reduces methane gas emissions, a potent greenhouse gas.
- Saves Money: You’ll buy fewer bags of soil amendments and fertilizers. Plus, reducing your garbage can sometimes even lower your waste disposal fees.
- Natural Pest Control: Healthy soil leads to healthy plants that are naturally better at fending off pests and diseases.
Choosing Your Composting Method
There are several ways to compost, and the best one for you depends on your space, how much time you want to spend, and how much material you’ll be composting. Don’t overthink this part; pick the one that feels right!
1. Simple Bin Composting
This is the most common and often the easiest method for beginners. You collect your compostable materials in a bin. These bins can be store-bought or even homemade.
Types of Compost Bins:
- Open Bins: Essentially just a pile or a three-sided enclosure. Good for large yards, but can look a bit messy and might attract pests if not managed well.
- Enclosed Bins (Tumblers): These are sealed containers, often on a stand with a handle to turn them. They speed up composting because you can mix them easily and retain heat better. They also keep critters out.
- Wire Mesh Bins: Simple to build with chicken wire or hardware cloth. They offer good aeration but can dry out faster.
Pros:
- Relatively simple to set up.
- Keeps things tidy.
- Many options to fit different budgets and yard sizes.
Cons:
- Some bins can be expensive.
- Slower composting than some other methods if not managed actively.
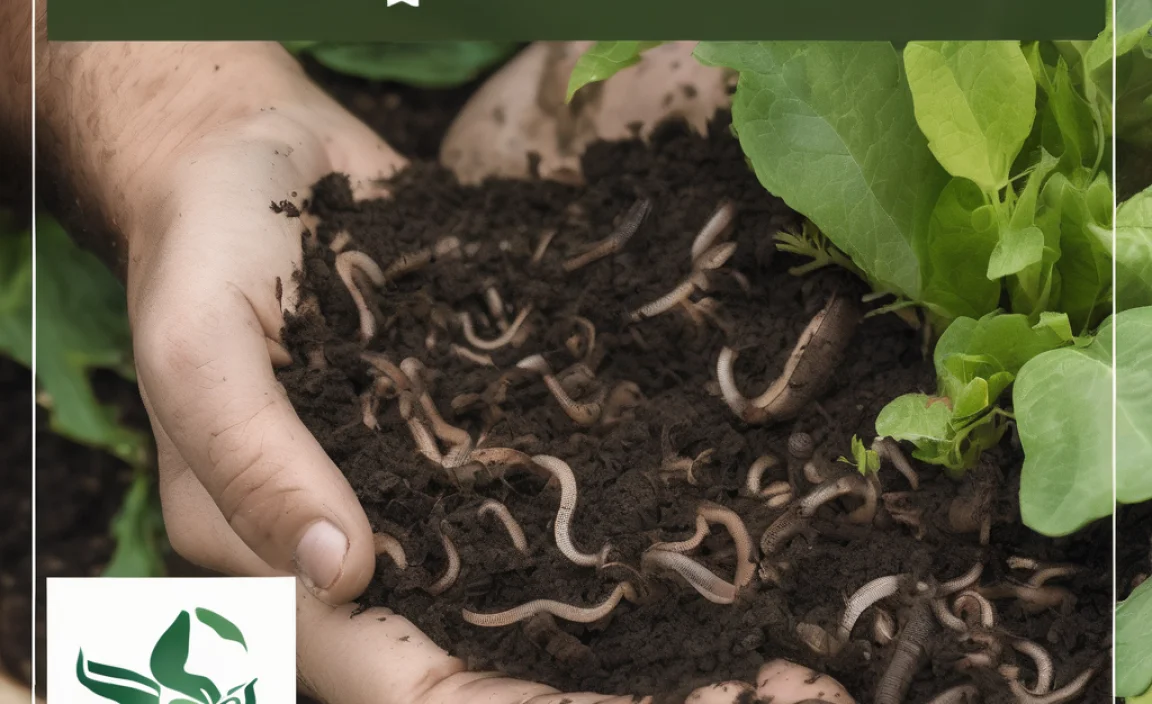
2. Worm Composting (Vermicomposting)
This method uses specific types of worms (like red wigglers) to break down food scraps. It’s fantastic for small spaces, like apartments, and produces a nutrient-rich by-product called worm castings. You’ll need a special worm bin, which you can buy or make.
Pros:
- Great for small spaces.
- Very fast decomposition of food scraps.
- Produces high-quality fertilizer (worm castings).
- Relatively odor-free if managed correctly.
Cons:
- Cannot compost meat, dairy, or oily foods.
- Requires specific types of worms.
- Worms have temperature preferences.
3. Trench or “No-Bin” Composting
The most basic method involves burying your compostable materials directly in your garden soil. Dig a hole or trench, toss in your scraps, cover with soil, and let nature do the work. You can rotate your spots around the garden.
Pros:
- Extremely easy and requires no special equipment.
- Improves the soil where you bury the scraps directly.
- No aesthetic impact on your yard.
Cons:
- Slower than other methods.
- Can attract pests if not buried deeply enough.
- Not ideal for large volumes of material.
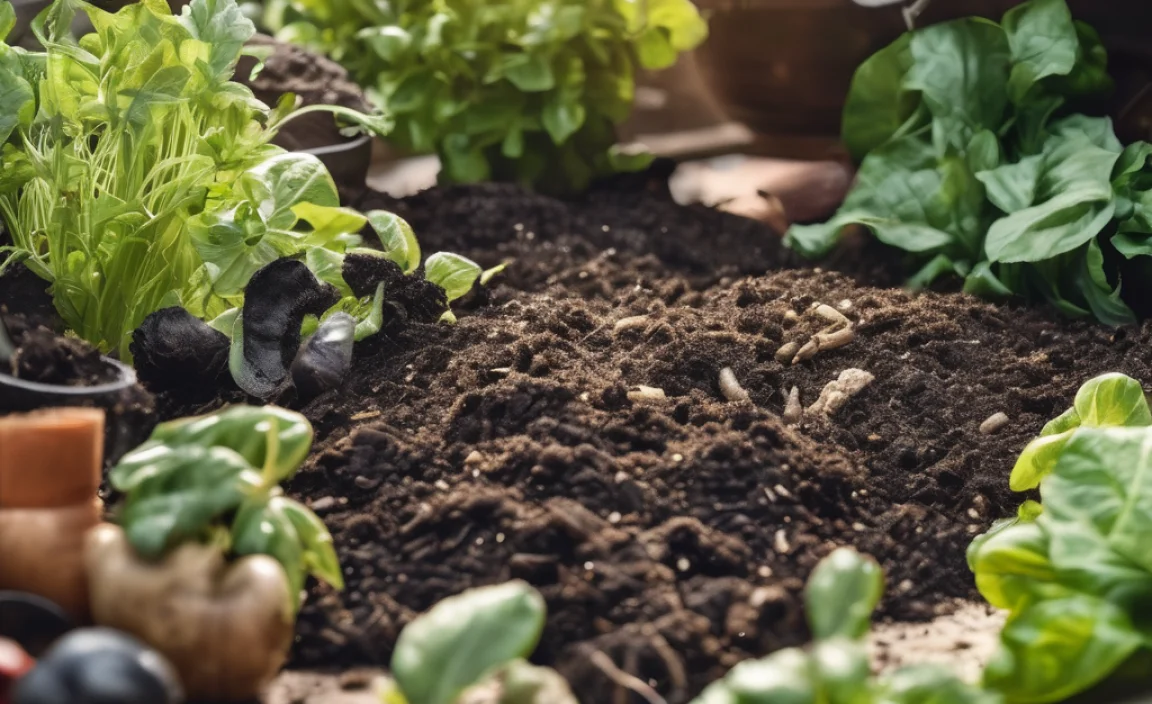
What Can You Compost? The “Greens” and “Browns”
This is where many beginners get a little confused, but it’s actually quite simple. A good compost pile needs a balance of “green” materials (nitrogen-rich) and “brown” materials (carbon-rich). Think of it as giving your compost pile a balanced diet!
A good rule of thumb is to aim for a ratio of about 2 parts browns to 1 part greens by volume. Don’t stress too much about an exact measurement; it’s more about getting a mix.
“Greens” (Nitrogen-Rich Materials)
These items are typically moist and break down quickly, providing nitrogen and heat to the pile.
- Fruit and vegetable scraps
- Coffee grounds and filters
- Tea bags (staples removed)
- Grass clippings (in thin layers to avoid matting)
- Plant trimmings (non-diseased)
- Eggshells (crushed)
- Manure from herbivores (cow, horse, rabbit, chicken)
“Browns” (Carbon-Rich Materials)
These items are usually dry and provide carbon, helping to aerate the pile and prevent it from becoming a soggy, smelly mess.
- Dry leaves
- Shredded cardboard and newspaper (avoid glossy paper)
- Straw and hay
- Wood chips or sawdust (in moderation)
- Old cotton rags or dryer lint (natural fibers only)
- Twigs and small branches (chopped up)
What NOT to Compost
Keeping certain items out of your compost bin is crucial for preventing odors, attracting pests, and ensuring the compost is safe for your garden.
- Meat, fish, and bones: Attract pests and can smell bad.
- Dairy products (milk, cheese, yogurt): Similar reasons to meat.
- Oily or greasy foods: Can slow decomposition and attract pests.
- Diseased plants: You could spread the disease to your garden.
- Weeds that have gone to seed: You’ll be spreading weed seeds!
- Pet waste (dog, cat): Can contain harmful pathogens.
- Chemically treated wood or yard waste: Chemicals can harm your plants and soil life.
- Synthetic materials: Plastic, metal, glass, synthetic fabrics won’t break down.
- Coal or charcoal ash: Can contain harmful substances.
Setting Up Your Compost System: Step-by-Step
Ready to get started? Here’s a simple, practical guide to setting up your composting system. We’ll focus on a basic bin system, as it’s a great starting point.
Step 1: Choose Your Location
Find a spot that’s convenient for you to access from your kitchen and garden. Ideally:
- Partially Shaded: Too much sun can dry out the pile, while too much shade can make it too wet. A spot that gets sun in the morning and shade in the afternoon is often perfect.
- Good Drainage: You don’t want your compost pile sitting in a puddle.
- Accessible: Easy to get to with a wheelbarrow or bucket for adding materials and eventually removing finished compost.
- Away from Wooden Structures: If possible, don’t place it directly against a wooden fence or shed, as constant moisture can cause rot.
Step 2: Get Your Bin Ready
Whether you bought a tumbler or are building a simple three-sided bin, make sure it’s sturdy and ready to go. If building your own, simple designs using wood pallets or wire mesh are effective and budget-friendly.
A commercial bin often comes with instructions, but the core idea is to contain your materials while allowing for airflow. For wire mesh bins, simply form a cylinder about 3-4 feet in diameter from hardware cloth or chicken wire and secure the ends.
Step 3: Start Layering Your Materials
This is where you begin building your compost. Think of it like making a lasagna!
- Base Layer: Start with a few inches of coarse brown material. Twigs, small branches, or straw work well. This helps with aeration and drainage from the bottom.
- Alternate Layers: Add your greens and browns. It’s good practice to add a layer of browns over your kitchen scraps (greens) to help absorb moisture and prevent odors.
- Moisture Check: Lightly water each layer as you add it. The goal is for the material to be damp, like a wrung-out sponge, not soaking wet.
Step 4: Maintain Your Compost Pile
This is the ongoing part, but it doesn’t have to be a chore!
- Add Materials Regularly: Keep adding your kitchen scraps and yard waste. Remember to bury fresh kitchen scraps under a layer of browns to deter pests and odors.
- Aerate (Turn): This is crucial for speeding up decomposition and preventing anaerobic (stinky) conditions. Aim to turn your pile every 1-4 weeks. You can use a pitchfork or a compost aerator tool. Tumblers make this very easy – just give them a spin!
- Monitor Moisture: Check the moisture level periodically. If it’s too dry, add some water. If it’s soggy, add more brown materials and turn it.
For a detailed look at effective turning techniques and tools, checking out resources from university extension offices can be very helpful. For example, Michigan State University Extension offers great, practical advice on compost management.
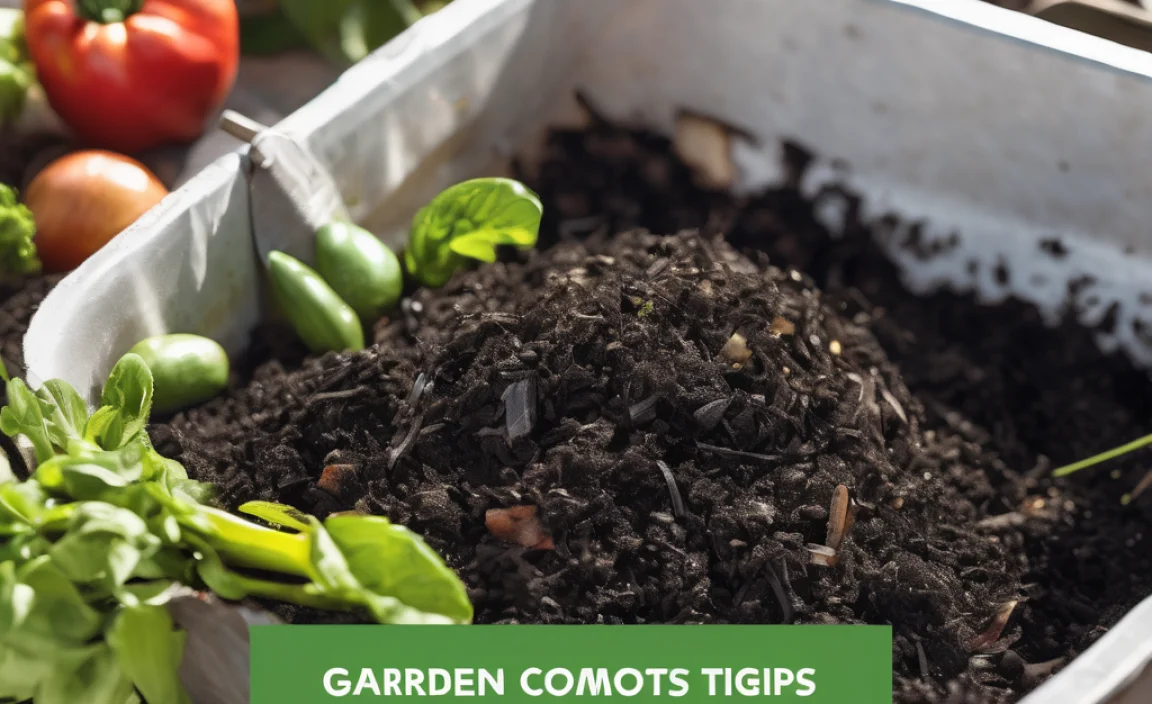
When is Compost Ready?
Patience is key! Compost can take anywhere from a few months to a year to become ready, depending on how often you turn it, the materials you use, and your climate. You’ll know it’s ready when:
- It has a dark, crumbly texture, like rich soil.
- It has a pleasant, earthy smell – no ammonia or sour odors.
- You can no longer identify the original materials you put in.
- The temperature of the pile has cooled down to ambient temperature.
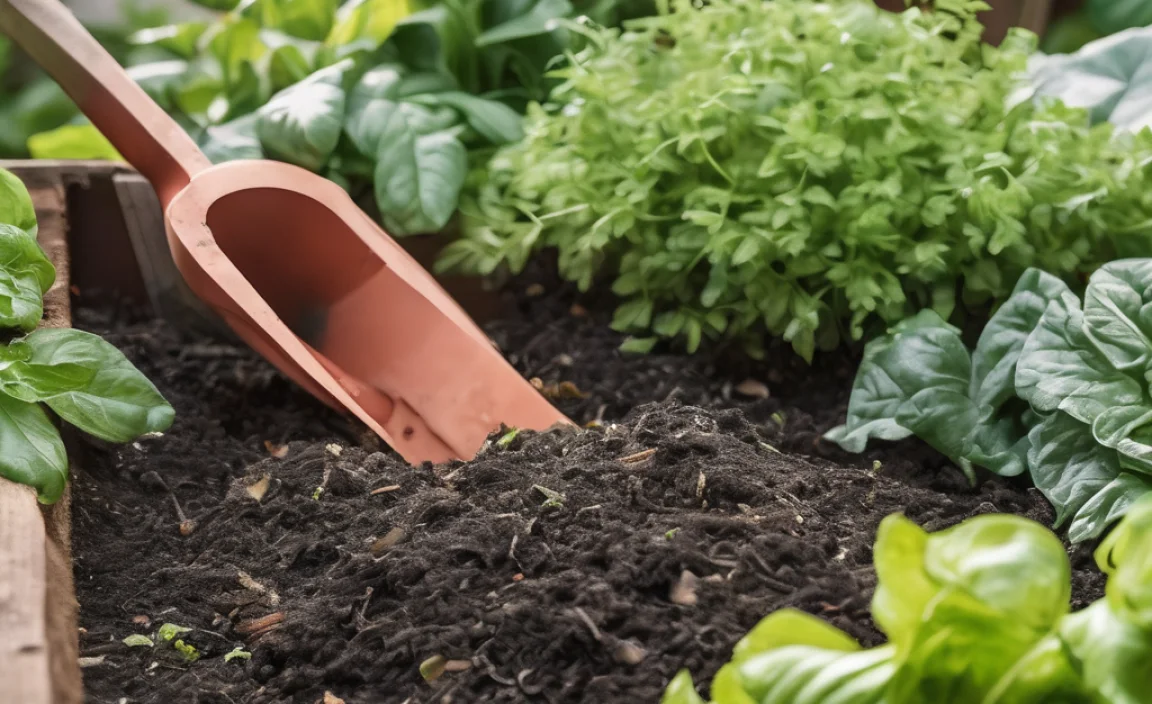
How to Use Your Finished Compost
Once your compost is ready, it’s time to reap the rewards! Here are some ways to use that black gold:
- Soil Amendment: Mix it into your garden beds before planting. A layer of 2-4 inches worked into the top 6-8 inches of soil is ideal.
- Top Dressing: Spread a layer around existing plants, shrubs, and trees. This feeds the plants and helps retain moisture.
- Potting Mix: Mix compost with other ingredients like perlite or coco coir to create a nutrient-rich potting mix for containers and hanging baskets.
- Lawn Care: Rake a thin layer of compost over your lawn in the spring or fall to improve soil health and grass vigor.
Troubleshooting Common Composting Problems
Even with the best intentions, sometimes issues pop up. Here are some common problems and how to fix them:
| Problem | Possible Cause(s) | Solution |
|---|---|---|
| Bad Odor (Ammonia/Rotten Eggs) | Too many greens, not enough browns; pile is too wet; not enough air. | Add more brown materials (leaves, cardboard); turn the pile to aerate; if very wet, add dry browns and turn. |
| Pile Not Heating Up/Decomposing Slowly | Too many browns, not enough greens; pile is too dry; pile is too small. | Add more green materials; add water to moisten; build the pile larger (at least 3x3x3 feet if possible). |
| Attracting Pests (Rodents, Flies) | Exposed food scraps; composting meat/dairy/oils. | Bury kitchen scraps deep within the pile under browns; avoid prohibited items; ensure bin is secure. |
| Pile is Dry | Not enough moisture added; pile is in too much sun; too many browns drying it out. | Add water while turning the pile; move the bin to a shadier spot; add more greens. |
| Pile is Soggy/Slimy | Too much moisture; poor drainage; not enough browns; pile is too compacted. | Add plenty of brown materials and turn to incorporate; ensure bin has drainage; turn more frequently. |
Composting with Worms: A Quick Intro
If you’re short on space or want a super-fast way to process kitchen scraps, worm composting is fantastic. You don’t need a big yard for this!
What You Need:
- A Worm Bin: You can buy a commercial one or make one from opaque storage totes. Ensure it has ventilation holes and drainage.
- Bedding: Shredded newspaper, cardboard, coconut coir, or straw. This holds moisture and gives the worms a place to live. Moisten it well.
- Red Wiggler Worms: These are different from earthworms you find in the garden. Buy them from a reputable supplier online or at a local garden center.
- Food Scraps: Primarily fruit and vegetable scraps, coffee grounds, and tea bags. Avoid citrus, onions, garlic, meat, and dairy in large quantities.
How It Works:
- Set up the bin: Fill your bin with moist bedding.
- Add the worms: Gently place the worms on top of the bedding. They’ll burrow down.
- Feed them: Start by burying a small amount of food scraps under the bedding. Only add more food when the previous amount is nearly gone.
- Harvest: After a few months, you’ll have worm castings (their waste), which is incredibly nutrient-rich fertilizer. There are several methods for harvesting, like migrating worms away from the food.
For apartment dwellers, the EPA’s composting page offers great tips, especially on vermicomposting.
Frequently Asked Questions About Garden Compost
Q1: How long does it take for compost to be ready?
It can take anywhere from 2 months to over a year. Factors include the materials used, how often you turn it, the moisture level, and the temperature. A well-managed, actively turned pile will be ready faster.
Q2: My compost smells bad. What did I do wrong?
A foul odor usually means the pile is too wet or has too many “green” (nitrogen-rich) materials. Try adding more “brown” materials like dry leaves or shredded cardboard and turn the pile to improve airflow.
Q3: Can I compost everything from my kitchen?
Almost! You can compost most fruit and vegetable scraps, coffee grounds, tea bags, and crushed eggshells. Avoid meat, dairy, oils, and greasy foods, as they can attract pests and cause odors. Diseased plants and seeds from weeds should also be avoided.
Q4: Do I really need to turn my compost pile?
Turning your compost pile (aerating it) is highly recommended. It speeds up decomposition, prevents nasty odors, and ensures all materials break down evenly. If you have a compost tumbler, just give it a spin! If not, a pitchfork works well

I am passionate about home engineering. I specialize in designing, installing, and maintaining heating, ventilation, and air conditioning systems. My goal is to help people stay comfortable in their homes all year long.