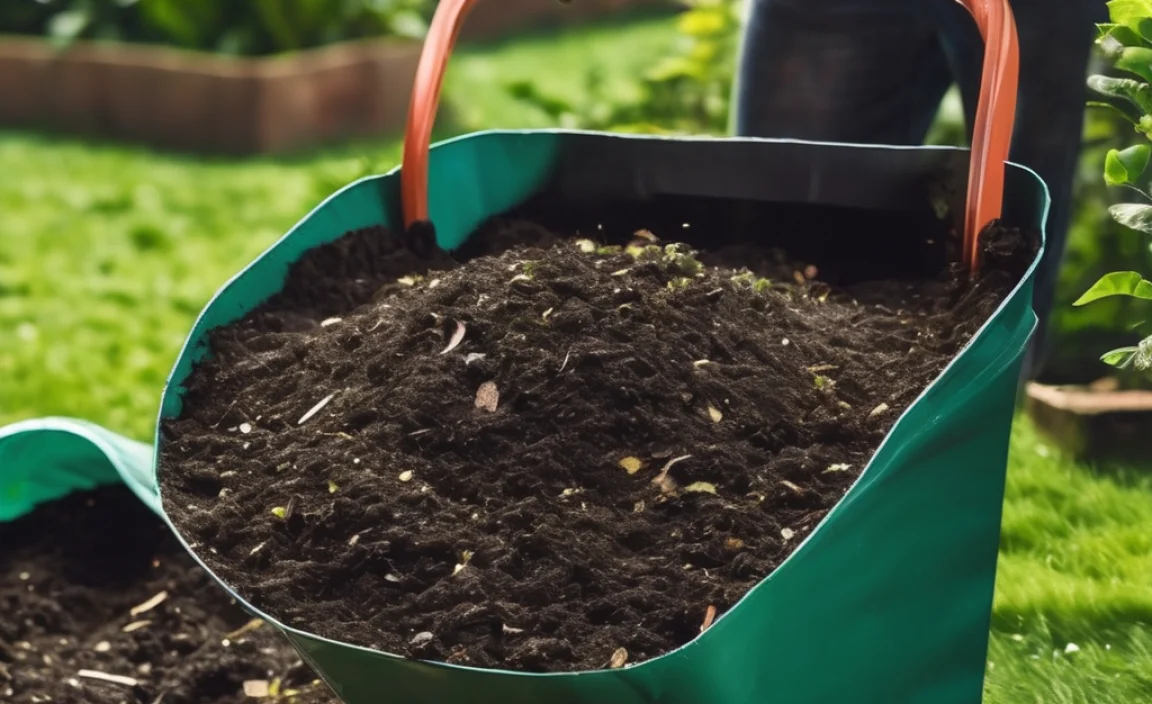
Want to make your garden super healthy, the natural way? It’s easier than you think! Many of us toss kitchen scraps and yard waste, but what if these could become a gardener’s dream? Making garden compost in India is a fantastic way to enrich your soil and reduce waste.
This guide is your friendly roadmap. We’ll break down everything you need to know, step-by-step. Get ready to transform your trash into garden treasure!
Let’s dive in and get your garden thriving!
Garden Compost In India: Your Essential Beginner’s Guide
Hey there, fellow home enthusiasts! Troy D Harn here from TopChooser. If you’ve ever looked at your kitchen scraps or garden trimmings and wondered if there’s a better way than just tossing them, you’re in the right place. Making your own garden compost in India is a brilliant way to boost your plants’ health, save money, and do a little good for the planet. It might sound a bit technical, but trust me, it’s as simple as mixing a few things together and letting nature do its magic. We’re going to walk through this together, making sure you feel confident every step of the way.
Why Compost? The Big Benefits for Your Garden and Beyond
Before we get our hands dirty, let’s talk about why composting is such a game-changer. It’s not just about getting rid of waste; it’s about creating something amazing!
- Super Soil: Compost is like a multivitamin for your soil. It improves soil structure, helping it hold more water and air, which plant roots love. This means healthier, stronger plants.
- Less Waste, More Savings: Think about how much food waste and yard debris you throw away. Composting diverts this from landfills, reducing methane gas production, and gives you free fertilizer for your garden, saving you money on store-bought products.
- Natural Pest and Disease Control: Healthy soil leads to healthy plants, and healthy plants are naturally more resistant to pests and diseases.
- Environmental Helper: By reducing landfill waste and the need for chemical fertilizers, composting is a simple, effective way to be more eco-friendly.
- pH Balance: Compost helps balance your soil’s pH, making nutrients more available to plants, regardless of whether your soil is too acidic or too alkaline.
What Can You Compost? Your Kitchen and Garden “Yes” and “No” List
The key to good compost is a good mix of materials. We generally categorize these as ‘greens’ (nitrogen-rich) and ‘browns’ (carbon-rich). Think of it like a balanced diet for your compost pile!
Green Materials (Nitrogen-Rich):
- Fruit and vegetable scraps
- Coffee grounds and tea bags
- Grass clippings (in moderation)
- Plant trimmings (non-diseased)
- Eggshells (crushed)
- Manure from herbivores (e.g., cow, chicken, rabbit – ensure it’s aged if possible)
Brown Materials (Carbon-Rich):
- Dry leaves
- Straw and hay
- Shredded newspaper and cardboard (avoid glossy or colored ink)
- Wood chips and sawdust (in moderation)
- Twigs and small branches (chopped small)
- Pine needles
What to AVOID in Your Compost Pile:
- Meat, fish, and dairy products (attract pests, smell bad)
- Oily or greasy foods
- Diseased plants or weeds that have gone to seed (you don’t want to spread them)
- Pet waste (can contain pathogens)
- Chemically treated wood products
- Plastic, metal, glass, synthetic fabrics
- Coal ash or charcoal briquettes
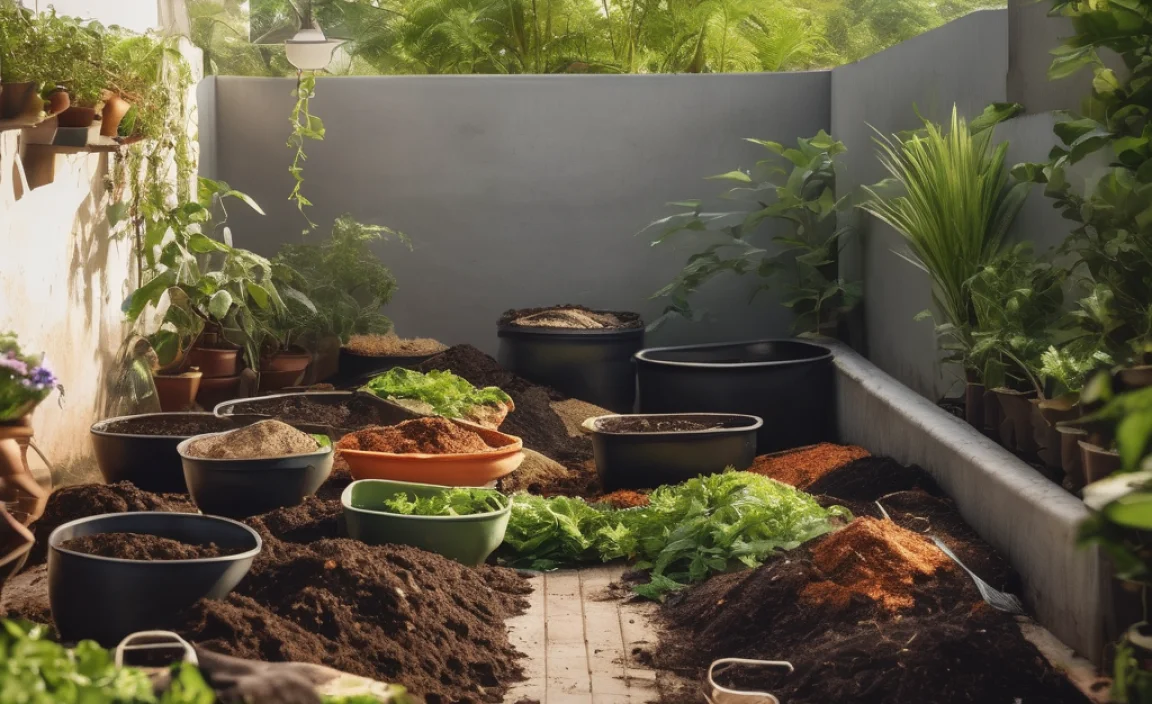
Getting Started: Choosing Your Composting Method in India
The right method for you depends on your space, how much time you have, and your personal preference. Here are a few popular options:
1. The Open Pile Method
This is the simplest and most traditional way. You just create a heap in a corner of your yard. It’s great if you have plenty of space and a lot of yard waste.
- Pros: Easy to start, no special equipment needed, can handle large volumes.
- Cons: Can look messy, might attract pests if not managed well, takes longer to break down, can be harder to control moisture and temperature.
2. Compost Bins (DIY or Purchased)
A bin encloses your compost, keeping it tidy and helping to retain heat and moisture. You can buy them or build one yourself. Many designs are available, from simple wooden structures to rotating tumblers.
- Pros: Neater appearance, helps retain moisture and heat, can speed up decomposition, deters pests better.
- Cons: Requires initial setup or purchase, may limit the volume you can compost.
For a DIY bin, you can use readily available materials in India like bamboo, old wooden planks, or even large plastic drums with holes drilled in them to allow air circulation.
3. Vermicomposting (Worm Composting)
This method uses special composting worms (like red wigglers) to break down organic matter quickly. It’s excellent for smaller spaces, like balconies or kitchens, and produces nutrient-rich worm castings.
- Pros: Produces high-quality compost (worm castings), faster breakdown, suitable for urban dwellers with limited space, minimal odor.
- Cons: Requires purchasing specific worms, needs careful temperature and moisture control, cannot handle large woody materials.
You can easily set up a worm bin using plastic containers available in India. Just make sure to provide adequate ventilation and the right bedding for your worms.
4. Bokashi Composting
This is an anaerobic (oxygen-free) fermentation process that uses a special inoculant (bran sprinkled with effective microorganisms). It can even break down things like meat and dairy, which are usually avoided.
- Pros: Can compost almost all food scraps, fast initial breakdown, minimal odor, compact system suitable for indoors.
- Cons: Requires purchasing the Bokashi bran and a sealed bin, the fermented material needs to be buried in soil or added to a traditional compost pile to finish decomposing.
Choosing a Location for Your Compost Pile/Bin
Where you put your compost matters. Aim for a spot that’s:
- Convenient: Easy to get to from your kitchen and garden.
- Level and Well-Drained: So water doesn’t pool around it.
- Partially Shaded: Too much direct sun can dry it out quickly, while constant shade might keep it too cool and damp. A spot that gets morning sun and afternoon shade is often ideal.
- Accessible: You’ll need to turn it and add materials, so make sure you can get around it easily.
- Away from Water Sources: Don’t place it too close to wells or natural water bodies to avoid potential contamination.
Your Step-by-Step Guide to Making Garden Compost in India
Ready to get started? Here’s how to build and maintain your compost pile or bin.
Step 1: Gather Your Tools and Materials
You don’t need much to start! Here’s a basic list:
- Compost Bin or Area: Choose from the methods discussed above.
- Kitchen Scraps Caddy: A small container with a lid to collect food waste from your kitchen.
- Pitchfork or Garden Fork: Essential for turning and aerating your compost.
- Shovel: For moving materials and harvesting finished compost.
- Water Source: A hose or watering can.
- Gloves: To keep your hands clean.
Step 2: Start Layering Your Compost
This is where the magic begins. Start with a base layer of bulky brown materials like twigs or straw. Aim for roughly 2-3 times more brown material than green material. Think of it as building a cake with alternating layers.
- Base Layer (Browns): Lay down a 4-6 inch layer of twigs, straw, or chopped-up brown leaves. This helps with drainage and aeration.
- Add Greens: Add a layer of your kitchen scraps (veggies, fruits, coffee grounds) and grass clippings.
- Add Browns: Cover the green layer with a layer of dry brown materials like shredded newspaper or dry leaves. This helps prevent odors and keep pests away.
- Moisten: Lightly water each layer as you add it. The compost should be as damp as a wrung-out sponge, not soggy.
- Repeat: Continue alternating layers of greens and browns, watering as you go, until your bin is full or you’ve reached the desired size for your open pile. Aim for a good mix of materials.
Step 3: Maintain Your Compost – The Key Ingredients
Your compost pile needs three things to work efficiently: the right ingredients, moisture, and air. You’ve got the ingredients, now let’s tend to the others.
A. Moisture: The ‘Damp Sponge’ Test
Your compost pile needs to stay moist, like a wrung-out sponge. If it’s too dry, decomposition slows down. If it’s too wet, it can become a slimy, smelly mess. Check the moisture regularly, especially during dry periods. If it feels dry when you squeeze a handful, it’s time to add water. If water drips out, you may have too many greens or need more browns.
B. Aeration: Giving It Some Air
Microorganisms that break down organic matter need oxygen. Turning your compost pile is crucial for this. Aim to turn or mix your compost pile every 1-2 weeks. Use your pitchfork to turn the outer layers into the center and the inner layers to the outside. This also helps mix the materials evenly and speeds up decomposition.
If you’re using a tumbling composter, simply rotate it regularly as per the manufacturer’s instructions. For DIY bins, vigorously mix with a fork.
Step 4: Know When It’s Ready
Compost is ready when it’s dark, crumbly, and smells earthy. You shouldn’t be able to recognize the original materials you put in. The time it takes can vary greatly, from a few weeks to several months, depending on the materials, bin type, turning frequency, and climate.
Step 5: Using Your Compost
Once your compost is ready, you can use it in many ways:
- Soil Amendment: Mix it into your garden beds before planting to enrich the soil.
- Top Dressing: Spread a layer around existing plants to provide nutrients and retain moisture.
- Potting Mix: Mix it with soil to create a rich medium for potted plants.
Common Composting Challenges and How to Solve Them
Even with the best intentions, you might run into a few hiccups. Here’s how to tackle common compost problems:
Here’s a quick rundown of what might go wrong and how to fix it:
| Problem | Cause | Solution |
|---|---|---|
| Bad Odor (Rotten Egg, Ammonia) | Too many green materials; too wet; lack of air. | Add more brown materials (dry leaves, shredded paper). Turn the pile to aerate. Ensure good drainage. |
| Pile is too Wet and Slimy | Too much moisture; not enough browns; poor drainage. | Add dry brown materials. Turn the pile thoroughly. If in a bin, check drainage holes. |
| Pile is too Dry and Not Decomposing | Not enough moisture; too many brown materials; excessive heat. | Add water, ensuring it’s damp like a wrung-out sponge. Add more green materials. Cover the pile if it’s too hot. |
| Attracting Pests (Flies, Rodents) | Exposed food scraps; wrong materials added (meat, dairy). | Bury food scraps deep within the pile and cover with browns. Avoid meat, fish, and dairy. Use a bin with a secure lid. |
| Decomposition is Too Slow | Pile is too small; material pieces are too large; lack of turning; too dry or too wet. | Make the pile at least 3x3x3 feet. Chop or shred materials into smaller pieces. Turn regularly. Check and adjust moisture. |
Essential Composting Resources in India
To help you on your composting journey, here are some great places to learn more:
- Indian Council of Agricultural Research (ICAR): The ICAR often publishes guides and research on organic farming and composting techniques relevant to Indian agriculture. Their publications can be found on their official website.
- Local Agricultural Universities: Many agricultural universities in India have extension services that provide localized advice on composting and soil management.
- Organic Farming Communities: Search for local organic gardening groups on social media platforms (like Facebook) or online forums. These communities are invaluable for sharing tips and solutions specific to your region.
- Government Schemes: Keep an eye out for government initiatives promoting organic farming and waste management, which often include resources or subsidies for composting setups.
For general composting principles and troubleshooting, resources from organizations like the U.S. Environmental Protection Agency offer reliable, foundational knowledge that applies globally.
Conclusion: Your Garden’s New Best Friend
So there you have it! Creating your own garden compost in India is a rewarding process that benefits your garden, your wallet, and the environment. From choosing the right method to layering your greens and browns, you’re now equipped with the knowledge to turn everyday waste into valuable ‘black gold’ for your soil.
Remember, composting is a journey. Don’t be afraid to experiment and learn as you go. Your healthy, vibrant garden awaits, fueled by the goodness you create right at home. Happy composting!
Frequently Asked Questions (FAQ) about Garden Compost in India
Why does my compost smell bad?
Bad odors usually mean your compost is too wet, lacks air, or has too many green materials. Try adding more brown materials like dry leaves or shredded paper, and turn your pile to let in air.
How do I know if the compost is ready to use?
Finished compost will be dark brown, crumbly, and smell like fresh earth. You won’t be able to recognize the original food scraps or yard waste.
Can I compost everything from my kitchen?
Mostly, yes! Focus on fruit and vegetable scraps, coffee grounds, and tea leaves. Avoid meat, fish, dairy, and oily foods, as they can attract pests and cause odors.
How often should I turn my compost pile?
For faster results, aim to turn your compost pile every 1 to 2 weeks. If you’re in a hurry, more frequent turning is better. If you’re more relaxed, turning it once a month is okay, but it will take longer.
What if I don’t have a lot of space for a compost pile?
No problem! Vermicomposting (worm composting) or Bokashi composting are excellent options for smaller spaces like balconies or even indoors. You can also find compact compost bins designed for patios.
Can I use compost made from garden waste that has pests or diseases?
It’s best to avoid composting diseased plants or weeds that have gone to seed. If your compost pile heats up sufficiently (around 55-60°C), it can kill off many pathogens, but it’s a safer bet to remove problematic materials.

I am passionate about home engineering. I specialize in designing, installing, and maintaining heating, ventilation, and air conditioning systems. My goal is to help people stay comfortable in their homes all year long.