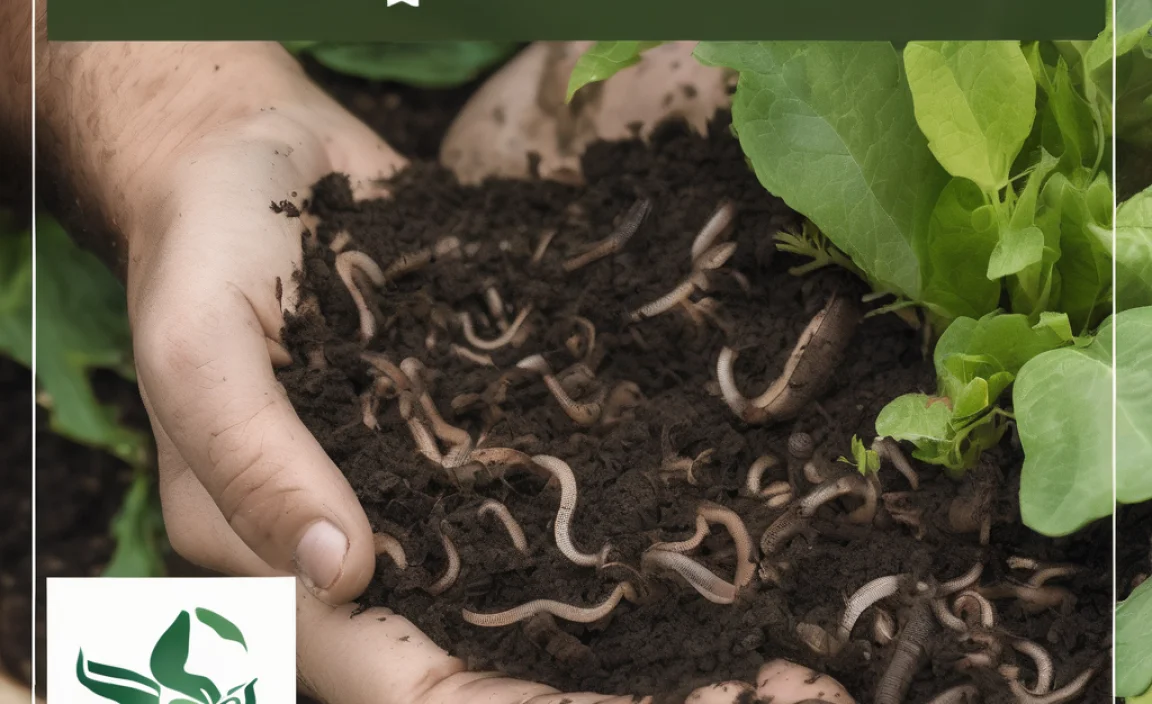
Turning kitchen scraps and yard waste into garden gold might sound complicated, but I’m here to show you it’s not! Many folks feel overwhelmed by composting, thinking it’s a messy or difficult chore. But with a few simple steps, you can easily create nutrient-rich compost right at home. This guide will walk you through everything you need, from choosing a bin to knowing what to add. Let’s get started on your composting journey and watch your garden thrive!
Garden Compost Step by Step: Your Essential Guide
Hey there, fellow home improvers and garden enthusiasts! I’m Troy D Harn from TopChooser, and I’m all about taking the guesswork out of DIY and home projects. Today, we’re diving into something super rewarding: garden compost. If you’ve ever looked at your kitchen scraps or fallen leaves and thought, “There must be a better use for this,” you’re absolutely right! Composting is like magic for your garden, turning everyday waste into black gold that nourishes your plants. It’s easier than you think, and this guide is designed to make it totally foolproof. We’ll go from choosing the right spot to keeping your compost happy and healthy. Let’s dig in!
Why Compost? The Benefits of Homemade Garden Gold
Before we get our hands dirty, let’s talk about why composting is such a fantastic idea. It’s more than just recycling; it’s about creating a richer, healthier environment for your plants and reducing waste. When you compost, you’re essentially creating a superfood for your soil.
- Healthier Soil: Compost improves soil structure, helping it retain moisture and nutrients. This means your plants will be stronger and more resilient.
- Reduced Waste: A huge portion of household waste is organic material that can be composted. By composting, you’ll significantly cut down on what goes into landfills.
- Fewer Chemicals: Healthy, compost-rich soil often reduces the need for chemical fertilizers and pesticides, which is better for your garden and the environment.
- Saves Money: Instead of buying expensive soil amendments and fertilizers, you’ll be making your own, totally free!
- Environmentally Friendly: Reducing waste and creating a natural soil enhancer is a win for planet Earth.
What You’ll Need: Composting Essentials
Getting started with compost doesn’t require a ton of fancy equipment. Here’s a breakdown of what you’ll need:
Choosing Your Compost Bin or Pile
This is your first big decision, and it depends on your space and how much you plan to compost. Don’t stress, though; there are simple solutions for everyone.
- Open Pile: The simplest method! Just pile your composting materials in a designated spot in your yard. This works best if you have plenty of space. Make sure it’s easy to access for turning and harvesting.
- Enclosed Bins: These can be made from wood, wire mesh, or recycled plastic. They help keep things tidy, retain heat and moisture better, and can deter pests.
- Tumbler Bins: These are rotating bins that make turning your compost super easy. They often speed up the composting process. They can be a bit pricier but are very convenient.
- DIY Bins: Got some spare pallets or wood? You can build a perfectly good compost bin yourself! It’s a great way to upcycle materials. For ideas, check out resources from university extension offices, like Colorado State University’s Extension on DIY compost bins.
Tools for the Job
You don’t need much, but these items will make the process smoother:
- Pitchfork or Garden Fork: Essential for turning and aerating your compost pile.
- Shovel: Useful for moving compost and for adding materials.
- Watering Can or Hose: Compost needs moisture to break down properly.
- Kitchen Compost Caddy (Optional): A small bin with a lid for collecting food scraps in your kitchen before taking them out to the main compost bin.
The Two Main Ingredients: Greens and Browns
Composting works by balancing two types of materials: “Greens” and “Browns.” Think of them as the fuel and the structure for your compost. Getting the ratio right is key to efficient decomposition.
What are “Greens” (Nitrogen-Rich Materials)?
Greens are wet materials that add nitrogen to your compost pile. They tend to break down quickly and provide the “heat” needed for decomposition.
- Fruit and vegetable scraps (peels, cores, rinds)
- Coffee grounds and tea bags
- Grass clippings (in moderation; can get matted)
- Plant trimmings (from healthy plants)
- Eggshells (crushed)
- Manure from herbivores (like chickens, rabbits, horses, cows – avoid dog or cat waste)
What are “Browns” (Carbon-Rich Materials)?
Browns are dry materials that provide carbon and help keep your compost pile airy. They take longer to break down and prevent your pile from becoming a soggy, smelly mess.
- Dry leaves
- Shredded newspaper or plain cardboard (no glossy inks)
- Straw or hay
- Sawdust or wood chips (from untreated wood)
- Twigs and small branches (chopped or shredded)
- Paper towel rolls and egg cartons (uncoated)
The Ideal Ratio
A good rule of thumb is to aim for a ratio of about 2 to 3 parts Browns to 1 part Greens by volume. This might seem a bit confusing at first, but don’t worry about being perfect. If your pile seems too wet and smelly, add more Browns. If it’s dry and not breaking down, add more Greens and moisture.
What NOT to Compost
While composting is forgiving, there are certain things you should keep out of your bin to avoid attracting pests, creating bad odors, or introducing diseases and pathogens.
- Meat, fish, and bones
- Dairy products (cheese, yogurt, milk)
- Oils, fats, and grease
- Diseased plants or weeds that have gone to seed
- Pet waste (dog and cat feces)
- Treated wood or sawdust from treated wood
- Coal or charcoal ash
- Glossy or coated paper products
- Inorganic materials (plastics, metals, glass)
Step-by-Step: Building Your Compost Pile
Now for the fun part! Let’s get your compost pile started.
Step 1: Choose Your Location
Pick a spot that’s convenient for you to access. It should be:
- Level: For stability and drainage.
- Well-drained: You don’t want your pile sitting in a puddle.
- Partially shaded: This helps keep it from drying out too quickly in the summer sun but still allows some warmth.
- Near a water source: Having a hose or faucet nearby makes watering easy.
- Accessible: You’ll need to add materials and turn it regularly.
Step 2: Start with a Base Layer of Browns
Begin by laying down a 4-6 inch layer of coarse, brown materials at the bottom of your bin or chosen spot. This could be twigs, straw, or shredded cardboard. This layer helps with drainage and airflow from the start.
Step 3: Add Your First Layer of Greens
Next, add a layer of your green materials – kitchen scraps, grass clippings, etc. Aim for a thinner layer, about 2-3 inches. If you’re adding a lot of grass clippings, mix them with some Browns to prevent matting.
Step 4: Cover with Browns
Always cover your green layer with another layer of brown materials. This helps control odors, deters pests, and balances the carbon-to-nitrogen ratio.
Step 5: Continue Layering
Keep adding alternating layers of Greens and Browns as you generate them. Each time you add a new batch of kitchen scraps (Greens), make sure to cover them with Browns. This is the basic principle of building your compost pile.
Step 6: Water Your Pile
Compost needs to be moist, like a wrung-out sponge. When you add new layers, lightly water them. You can also check the moisture level regularly by squeezing a handful of compost. If water drips out easily, it’s too wet. If it crumbles, it’s too dry. You can also sprinkle water on top of the pile as needed.
Step 7: Aerate (Turn) Your Pile
This is crucial for speeding up decomposition and preventing bad smells. Turning introduces oxygen, which the microorganisms need to work efficiently. Aim to turn your pile at least once every few weeks. Use your pitchfork to mix the outer layers into the center of the pile and vice versa.
Tip: If you have a tumbler, just give it a few spins every few days. It’s much easier!
The Science Behind Compost: Microorganisms at Work
You don’t need to be a scientist to compost, but understanding the basics helps! The magic happens thanks to billions of tiny organisms – bacteria, fungi, and other microbes. These little helpers feast on your organic materials. When they eat, they break down the complex compounds in the waste. This process generates heat, which further aids decomposition and helps kill weed seeds and pathogens. Aeration (turning) provides the oxygen they need, and moisture keeps them active. It’s a natural, biological process working hard to create your garden’s superfood!
Troubleshooting Common Composting Problems
Even with the best intentions, you might run into a few snags. Here are some common issues and how to fix them:
| Problem | Cause | Solution |
|---|---|---|
| Bad Odors (Ammonia, Rotten Eggs) | Too many ‘Greens’, not enough ‘Browns’, or lack of aeration. Pile is too wet. | Add a generous layer of ‘Browns’ (leaves, shredded paper, sawdust). Turn the pile to aerate. Ensure good drainage. If it smells like ammonia, it’s too nitrogen-rich; add more carbon (Browns). |
| Pile is not heating up or decomposing slowly | Too many ‘Browns’ or not enough ‘Greens’. Pile is too dry. Pile is too small. | Add more ‘Greens’. Moisten the pile. Turn the pile to mix everything. If your pile is too small, try to build it up larger, as larger piles tend to hold heat better. Consider adding a shovel full of finished compost as an activator. |
| Attracting Pests (Rats, Flies) | Improperly covered food scraps, or including prohibited items like meat/dairy. | Bury kitchen scraps deeper in the pile and always cover them with a layer of ‘Browns’. Ensure you are not adding meat, bones, dairy, or greasy foods. Consider using an enclosed bin or tumbler. |
| Pile is too wet/soggy | Too much rain, not enough ‘Browns’, or poor drainage. | Turn the pile and add plenty of ‘Browns’ to absorb excess moisture. If using an open bin, consider adding a tarp during prolonged wet periods but allow for some airflow. Ensure the location has good drainage. |
| Pile is too dry | Not enough watering, too much sun, or too many ‘Browns’. | Water the pile thoroughly. Turn it to distribute moisture. Add more ‘Greens’ and water them in. Consider locating the pile in a more shaded area. |
When is Compost Ready?
Patience is a virtue in composting! Your compost is ready when it looks and smells like rich, dark soil. It should be crumbly, earthy smelling, and you should no longer be able to recognize the original materials you put in. This can take anywhere from a few months to a year, depending on the method, materials, and how often you turn it.
Signs of Finished Compost:
- Dark brown or black color
- Crumbly texture
- Earthy, pleasant smell (like a forest floor)
- No recognizable original ingredients
- Cool temperature (it won’t be “hot” anymore)
The coarser materials at the bottom might take longer to break down. You can sift your compost to remove any larger pieces and return them to the active compost bin to break down further.
How to Use Your Finished Compost
Once your compost is ready, it’s time to reap the rewards! You can use it in many ways:
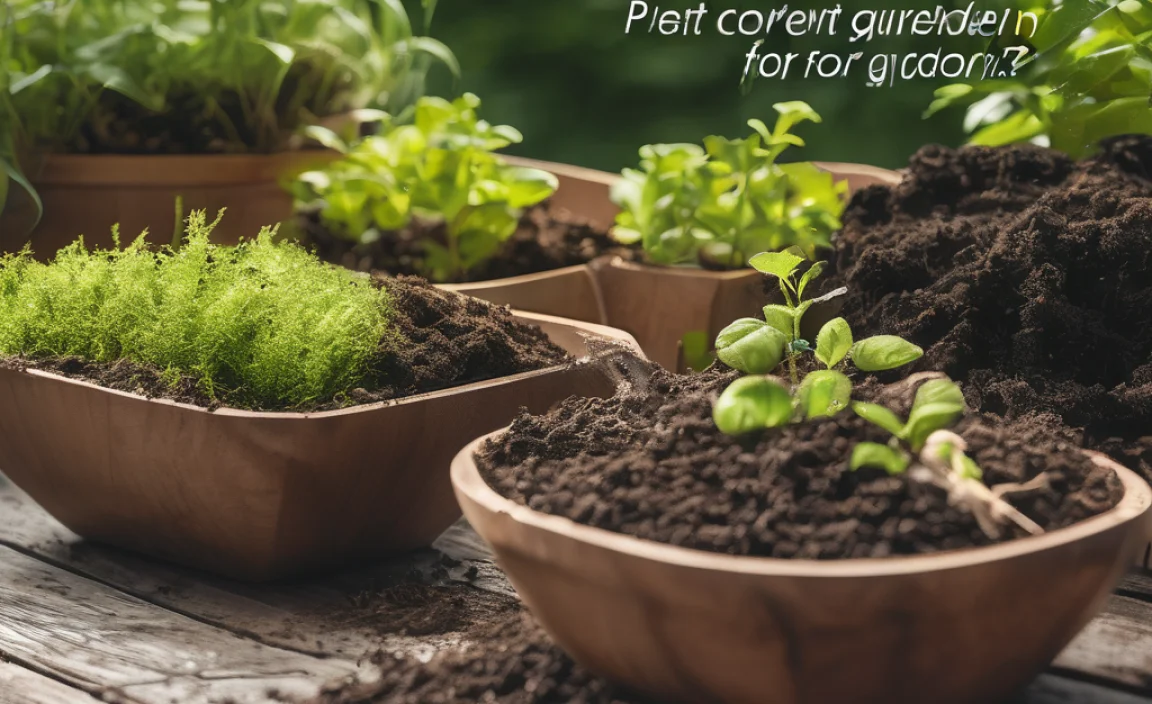
- Soil Amendment: Mix a few inches of compost into your garden beds before planting. It will improve your soil structure, drainage, and nutrient content.
- Top Dressing: Spread a thin layer (about an inch) of compost around existing plants, shrubs, and trees. This will help retain moisture and provide a slow release of nutrients.
- Potting Mix: For container plants, mix compost with other potting ingredients like peat moss or coir to create a nutrient-rich growing medium. A common mix is 1/3 compost, 1/3 peat moss/coir, and 1/3 perlite or vermiculite.
- Lawn Dressing: Rake a thin layer of compost over your lawn in the spring or fall to improve soil health.
Remember, compost is a powerful soil enhancer. While it’s great for your plants, it’s generally best not to use 100% compost as your sole growing medium, especially for seedlings, as it can be too rich and might hold too much water. A good balance with other soil components is usually best.
Quick Summary: Your Compost Checklist
Here’s a quick rundown to keep you on track:
- Location: Level, well-drained, accessible, partially shaded.
- Bin: Open pile, enclosed bin, or tumbler.
- Materials: Balance “Greens” (nitrogen) and “Browns” (carbon). Aim for 2-3 parts Browns to 1 part Greens.
- Avoid: Meat, dairy, oils, diseased plants, pet waste.
- Build: Layer Browns first, then Greens, then cover with Browns.
- Moisture: Damp like a wrung-out sponge.
- Aeration: Turn regularly (every few weeks for piles, daily for tumblers).
- Ready: Dark, crumbly, earthy-smelling.
- Use: Mix into beds, top-dress plants, use in potting mixes.
FAQs: Your Composting Questions Answered
Here are some common things beginners wonder about.
1. How long does it take to make compost?
It can take anywhere from 2-3 months to a year or more. Factors like the size of your pile, the mix of materials, the weather, and how often you turn it all play a role. Faster composting requires more attention and specific conditions.
2. Do I have to turn my compost pile?
Turning your compost pile, or aerating it, is highly recommended. It speeds up the process, prevents odors, and ensures all the material breaks down evenly. If you’re using a tumbler, giving it a spin regularly is the equivalent of turning.
3. What if my compost smells bad?
Bad smells usually mean your pile is too wet or has too much nitrogen-rich “Green” material. Try adding more “Brown” materials like dry leaves or shredded cardboard and turn the pile to introduce more air.
4. Can I compost kitchen scraps directly in my garden?
You can bury kitchen scraps directly into your garden beds, but this is different from composting. True composting involves decomposition in a pile or bin. Burying scraps can sometimes attract pests or lead to uneven decomposition. A compost bin or pile is generally preferred for consistent results and better soil health.
5. How do I know if my compost is ready to use?
Finished compost will be dark brown and crumbly, smell earthy like a forest floor, and you won’t be able to identify the original materials. It should also feel cool to the touch.
6. Can I compost grass clippings?
Yes, you can compost grass clippings! However, they are considered “Green” material and can pack down tightly, leading to a slimy.

I am passionate about home engineering. I specialize in designing, installing, and maintaining heating, ventilation, and air conditioning systems. My goal is to help people stay comfortable in their homes all year long.

