Looking to give your garden a boost without breaking the bank? Composting is your secret weapon! It might sound a bit daunting, but turning your kitchen scraps and yard waste into rich, garden gold is surprisingly simple. We’ll walk you through everything you need to know, step-by-step. Get ready to transform waste into wonderful food for your plants!
What is Garden Compost and Why Should You Care?
Compost is essentially decomposed organic material that’s been transformed into a dark, crumbly, nutrient-rich substance. Think of it as nature’s way of recycling! Instead of tossing food scraps and yard trimmings into the garbage bin, you can give them a second life. This finished compost is like a superfood for your soil, improving its structure, water retention, and fertility.
Why should you care about composting for your garden? Well, for starters:
- Healthier Plants: Compost feeds your plants all the essential nutrients they need to thrive, leading to bigger blooms and tastier veggies.
- Better Soil: It loosens heavy clay soils, helping them drain better, and helps sandy soils hold onto water and nutrients.
- Saves Money: You’ll buy fewer fertilizers and soil amendments from the store. Plus, you’ll reduce your garbage bill by diverting waste!
- Environmentally Friendly: Composting significantly reduces the amount of waste sent to landfills, where it can produce harmful greenhouse gases.
- It’s Rewarding!: There’s a special kind of satisfaction in seeing your finished compost turn into vibrant growth in your garden.
Getting Started: Your Essential Compost Toolkit
Don’t worry, you don’t need a fancy setup to start composting. Most of these items are probably things you already have around the house or can get for a few dollars.
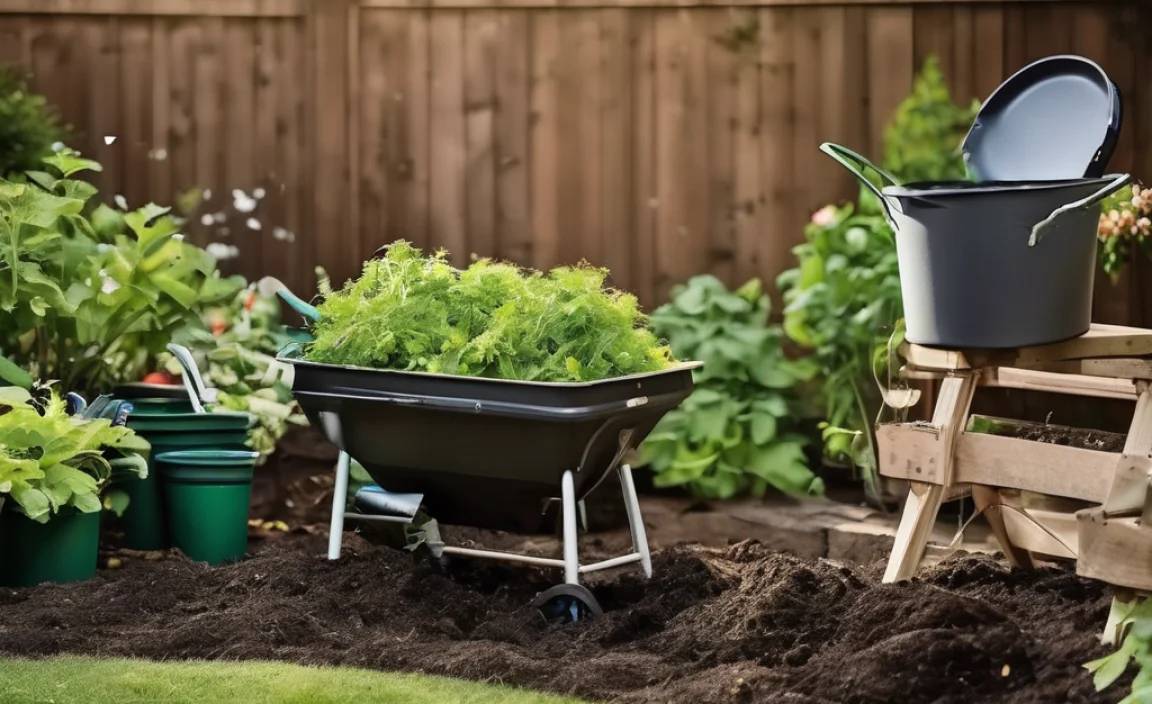
Choosing a Compost Bin
This is your compost pile’s home. There are a few popular options:
- Open Piles: The simplest method. Just create a heap in a corner of your yard. It’s free and easy, but can look a bit less tidy and might attract critters more easily.
- Enclosed Bins: These can be store-bought plastic tumblers (which make turning easy) or DIY wooden bins. They help keep things contained, look neater, and can speed up the process. For beginners, many opt for a simple enclosed bin.
- Wire Bins: Made from hardware cloth or chicken wire, these are a good balance of airflow and containment.
For a beginner, a simple enclosed bin or even a well-managed open pile is a great starting point. You can always upgrade later!
Essential Tools
You won’t need a shed full of gadgets, just a few handy items:
- Pitchfork or Garden Fork: Great for turning and aerating your compost pile. It helps mix the materials and lets air get in, which is crucial for decomposition.
- Shovel: Useful for moving compost from the bin to your garden beds and for digging.
- Watering Can or Hose: Your compost needs to stay moist, like a wrung-out sponge.
- Kitchen Caddy: A small container with a lid for collecting food scraps in your kitchen before taking them out to the main compost bin.
- Gloves: To keep your hands clean and protected.
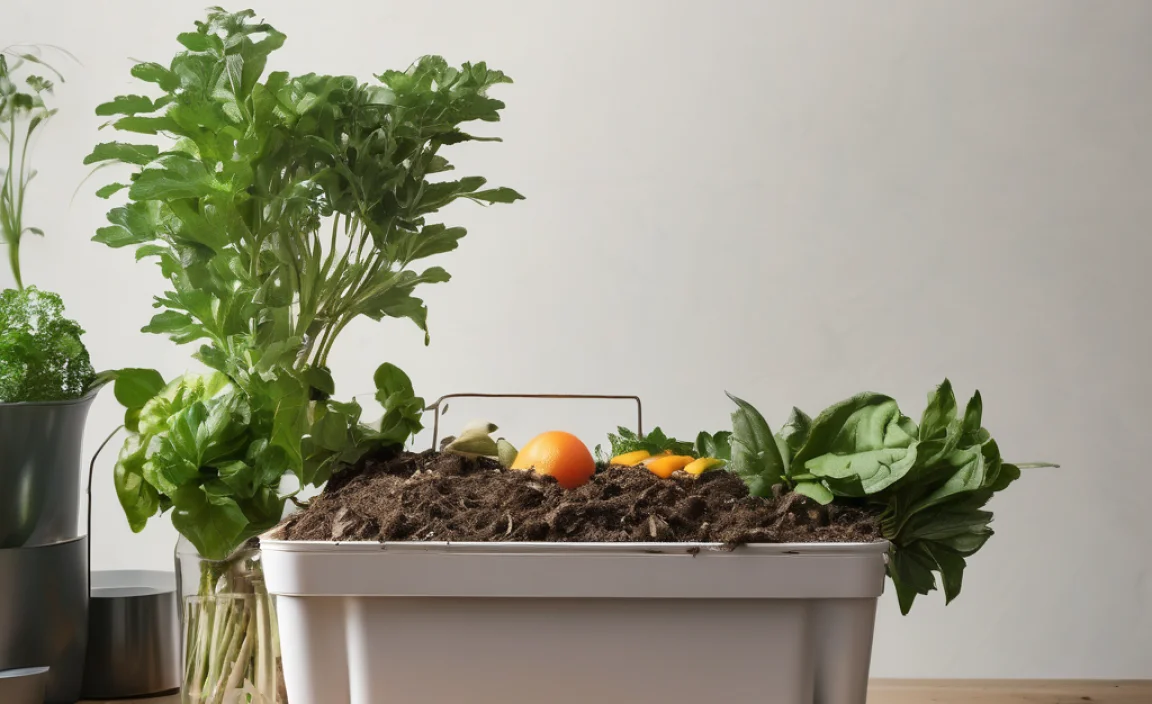
The Magic Formula: What Goes In (and What Stays Out!)
Composting works by balancing “greens” and “browns.” Think of it like a recipe for happy microbes – the tiny organisms that do all the hard work!
“Greens” (Nitrogen-Rich Materials)
These materials are typically moist and provide nitrogen. They include:
-
Fruit and Vegetable Scraps: Peels, cores, rinds, wilted greens.
(Avoid greasy or oily food scraps)
-
Coffee Grounds and Tea Bags: A fantastic addition for nitrogen.
(Remove staples from tea bags)
-
Grass Clippings: Fresh grass clippings are great greens.
(Chop them up and layer them thinly to avoid matting)
-
Plant Trimmings: From healthy plants, like spent annuals or vegetable plants.
(Avoid diseased plants)
- Manure: From herbivores like chickens, rabbits, cows, or horses.
(Avoid pet waste from dogs and cats, as it can contain pathogens)
“Browns” (Carbon-Rich Materials)
These materials are usually dry and provide carbon. They give your compost pile structure and allow air to flow. These include:
- Dry Leaves: A staple for any compost bin, especially in the fall.
-
Shredded Newspaper and Cardboard: Plain brown cardboard is best. Avoid glossy or heavily inked paper.
(Tear or shred it into small pieces)
-
Straw and Hay: Adds good carbon content.
(Ensure it’s not treated with herbicides)
-
Wood Chips and Sawdust: Use sparingly as they decompose slowly.
(Ensure they are from untreated wood)
- Eggshells: Crushed eggshells add calcium and help break down.
- Twigs and Small Branches: Break them up into smaller pieces.
What to AVOID Putting in Your Compost Bin
To ensure you create healthy compost and avoid pests or unpleasant smells, steer clear of these:
- Meat, Fish, and Dairy Products: These attract pests and can create odors.
- Oily or Greasy Foods: Same reasons as above – they slow decomposition and smell bad.
- Diseased Plants: You risk spreading diseases back into your garden.
- Weeds That Have Gone to Seed: The seeds might survive composting and sprout in your garden.
- Pet Waste (from dogs/cats): Can contain harmful pathogens.
- Treated Wood: Chemicals can leach into your compost.
- Coal Ash or Charcoal Briquettes: Contain harmful substances.
The Ideal Compost Ratio: Greens vs. Browns
Getting the balance right is key. A good starting point is a ratio of about 2 parts Browns to 1 part Greens by volume. This means for every two buckets of dry, brown materials, you add one bucket of moist, green materials.
Why this ratio? The browns provide the carbon and air pockets, while the greens provide the nitrogen and moisture that microbes need to thrive. Too many greens can make your pile dense, wet, and smelly. Too many browns can make it dry and slow to decompose.
Don’t get too hung up on exact measurements at first. It’s more about observation. If your pile smells like ammonia, add more browns. If it’s dry and not breaking down, add more greens and moisture.
Building Your Compost Pile: A Step-by-Step Guide
Ready to get your hands dirty? Here’s how to build your first compost pile:
Step 1: Choose Your Location
Pick a spot that’s:
- Accessible: You’ll need to easily add materials and eventually remove finished compost.
- Level: A flat surface is best for stability.
- Drained: Avoid areas that get waterlogged.
- Partially Shaded: This helps retain moisture, especially in hot climates.
- Near a Water Source: Makes watering easier.
Step 2: Start with a Layer of Browns
Begin by laying down a 4- to 6-inch layer of coarse brown materials like twigs, straw, or shredded cardboard at the bottom of your bin or chosen spot. This helps with drainage and aeration from the start.
Step 3: Add Your Greens
Now, add a layer of moist green materials (about half the thickness of your brown layer). This could be kitchen scraps, grass clippings, or plant trimmings. Chop larger items into smaller pieces for faster decomposition.
Step 4: Cover with More Browns
Always finish a layer of greens with a layer of browns. This helps prevent odors and keeps pests away. Aim to maintain that 2:1 brown-to-green ratio as you build up your pile.
Step 5: Lightly Water
Dampen each layer as you add it. The goal is for the compost to be as moist as a wrung-out sponge. Not dripping wet, but not dry either. If you’re adding dry materials, you might need a bit more water.
Step 6: Continue Layering
Keep adding your greens and browns, alternating layers and watering lightly. Chop or shred larger items to speed things up. The more surface area you create, the faster those microbes can work their magic!
Maintaining Your Compost Pile: The Secrets to Speed
Once your pile is built, a little attention will keep it working efficiently.
Turning and Aeration
This is where your pitchfork comes in! Turning your compost pile regularly introduces oxygen, which is essential for the aerobic bacteria that decompose material quickly and without odor. Aim to turn your pile every 1-4 weeks.
- What to Do: Use your pitchfork to mix the outer materials into the center and the inner materials to the outside.
- Benefits: Speeds up decomposition, prevents odors, distributes moisture evenly.
- Signs it Needs Turning: If your pile starts to smell sour or ammonia-like, it’s probably too dense and needs more air.
Moisture Management
As mentioned, your compost should feel like a wrung-out sponge. Too dry, and decomposition slows to a crawl. Too wet, and it can become anaerobic (lacking oxygen) and smelly.
- Too Dry? Add water while turning the pile, or add more moist green materials like kitchen scraps.
- Too Wet? Add more dry brown materials (leaves, shredded cardboard) and turn the pile to help it dry out and aerate.
Ideal Temperature
A hot compost pile (around 130-160°F or 55-70°C) breaks down a lot faster. This happens when you have a good balance of greens and browns, proper moisture, and regular turning. You don’t need a thermometer; you can often feel the heat when you turn a well-working pile. Even “cold” composting, which is slower and requires less work, will eventually yield results.
For a more in-depth look at the science behind compost temperatures and beneficial microbes, check out resources from university Extension offices, like this guide from the North Carolina State University Cooperative Extension.
When is Compost Ready?
Finished compost is a beautiful thing. It will be dark brown or black, crumbly, and smell earthy – like a forest floor after rain. You won’t be able to recognize the original materials you put in.
The time it takes to get to this stage can vary greatly, from as little as 2-3 months for a hot, actively managed pile to a year or more for a passively managed cold pile. Factors like material size, turning frequency, moisture, and ambient temperature all play a role.
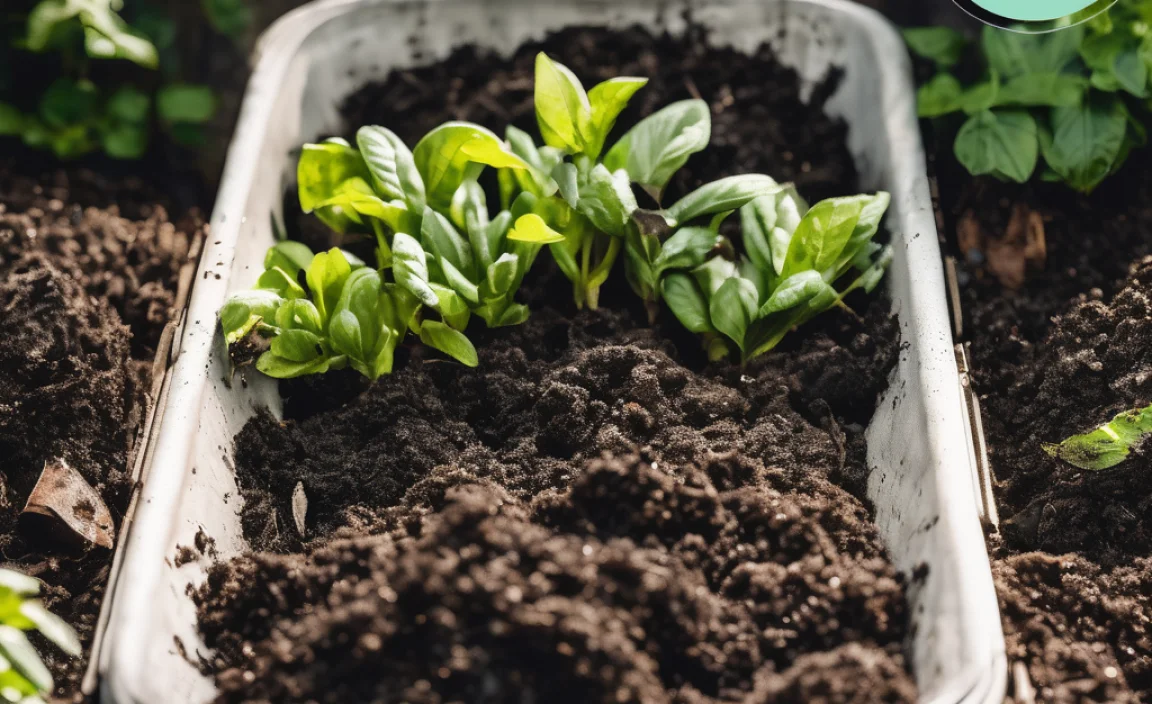
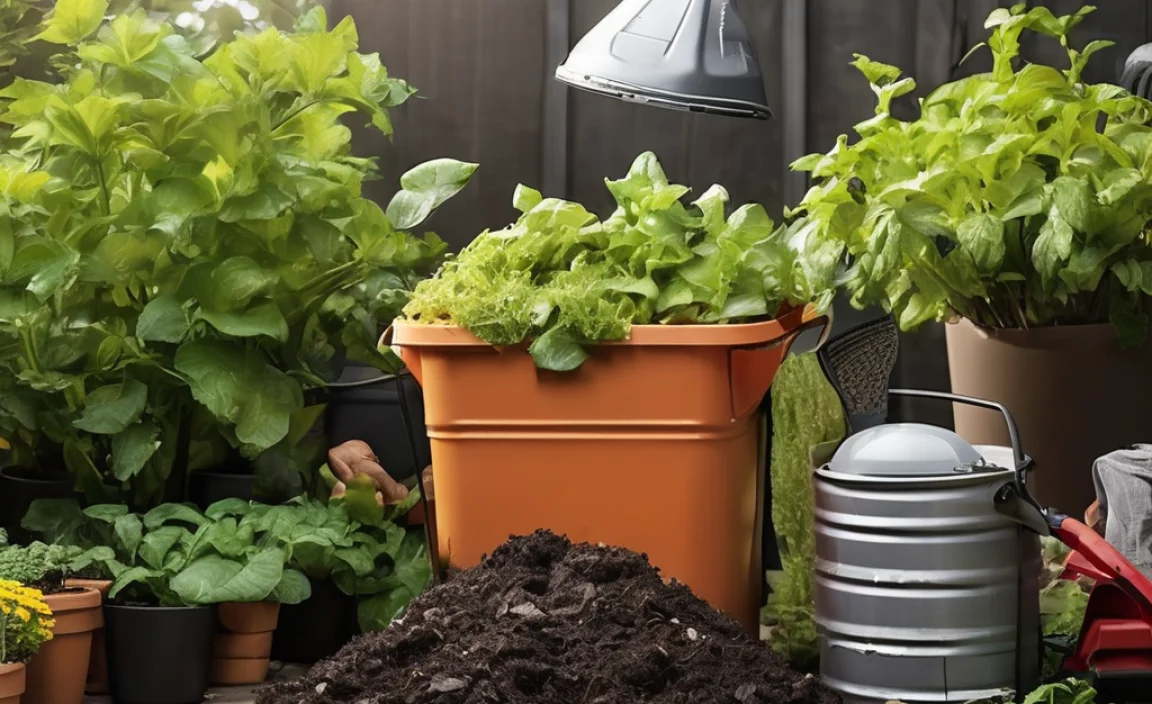
Using Your Finished Compost
Once your compost is ready, it’s time to reap the rewards! Here are some common ways to use it:
- Soil Amendment: Spread a layer of compost 1-3 inches deep over your garden beds before planting.
- Top Dressing: Apply a thin layer around established plants, shrubs, and trees.
- Potting Mix: Mix compost with other ingredients like perlite or coco coir to create a nutrient-rich potting mix for containers.
- Lawn Care: Rake a thin layer over your lawn in spring or fall to improve soil health and reduce the need for fertilizers.
Your newly composted soil will thank you with vibrant, healthy growth!
Troubleshooting Common Composting Problems
Even with the best intentions, you might run into a few snags. Here’s how to fix common compost issues:
| Problem | Cause | Solution |
|---|---|---|
| Foul Odors (Ammonia/Rotten Egg Smell) | Too many greens (nitrogen) or poor aeration. Pile is too wet. | Add more brown materials (leaves, shredded cardboard). Turn the pile to aerate. Ensure good drainage. |
| Pile is Not Heating Up / Decomposing Slowly | Too dry, not enough greens, or needs turning. Pile is too small to generate heat. | Add water and more green materials. Turn the pile. Ensure a minimum size of about 3x3x3 feet for hot composting. |
| Attracting Pests (Rodents, Flies) | Exposed food scraps, too much meat/dairy/oily foods. Pile is too dry. | Bury food scraps deep in the center of the pile. Avoid forbidden items (meat, dairy, oils). Keep the pile moist. Use an enclosed bin if pests are a persistent problem. |
| Pile is Too Wet | Too many greens, excess rain, poor drainage. | Add dry brown materials (sawdust, shredded newspaper, straw). Turn the pile and cover it during heavy rain if possible. Ensure good airflow. |
| Material Looks Unchanged After a Long Time | Materials are too large, pile is too dry, or lacks nitrogen. | Chop or shred materials into smaller pieces. Add moisture if dry. Introduce more green materials. Turn the pile. |
Composting for Small Spaces: Balconies and Patios
Think you need a big yard to compost? Think again! Composting can be adapted even for small urban spaces.
- Worm Composting (Vermicomposting): This is a fantastic method for small spaces. Red wiggler worms in a special bin eat your kitchen scraps and produce nutrient-rich castings. It’s quiet, odorless, and yields excellent compost. You can pick up a worm composting bin relatively inexpensively.
- Bokashi Composting: This is an anaerobic fermentation process using a special bran inoculated with microbes. It breaks down food scraps, including meat and dairy, quickly in an airtight bucket. The fermented product then needs to be buried in soil or added to a traditional compost pile to finish decomposing.
- Small Tumblers or Bins: Compact compost tumblers or small enclosed bins can fit on balconies or patios and are designed for smaller-volume composting.
Even in limited spaces, the principles of adding organic matter and providing the conditions for breakdown (as much as possible) still apply.
Frequently Asked Questions About Garden Compost
Q1: How long does it take for compost to be ready?
A: It can vary greatly! A “hot” compost pile that’s actively managed (turned regularly, good moisture, balanced materials) can be ready in 2-3 months. A “cold” compost pile that’s just left to decompose naturally might take a year or more.
Q2: My compost pile smells bad. What did I do wrong?
A: A foul smell usually means too much nitrogen (too many greens) or not enough air. Try adding more “brown” carbon-rich materials like dry leaves or shredded cardboard and turning the pile to aerate it.
Q3: Can I put citrus peels in my compost?
A: Yes, you can, but in moderation. While citrus peels are organic matter, their acidity can slow down decomposition and potentially harm beneficial microbes if added in very large quantities. Chop them up well, and make sure to balance them with plenty of other materials.
Q4: Do I need to worry about bugs in my compost?
A: A healthy compost pile will have insects, worms, and other beneficial organisms – they are the decomposers! These are good. If you’re seeing unwanted pests like rats or large numbers of flies, it’s usually a sign of something else, like exposed food scraps or an improperly managed pile.

I am passionate about home engineering. I specialize in designing, installing, and maintaining heating, ventilation, and air conditioning systems. My goal is to help people stay comfortable in their homes all year long.