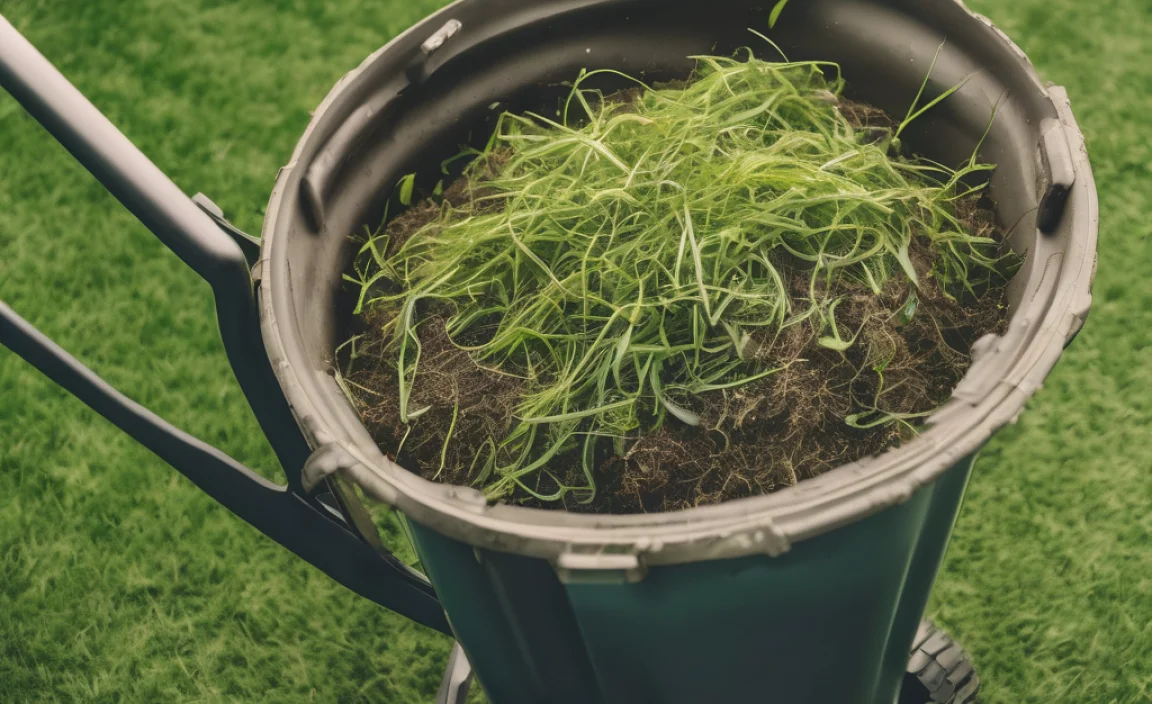
Got a heap of grass clippings piling up after mowing? Don’t toss them! They’re a treasure trove for your garden. Many folks aren’t sure what to do with them, but turning those green leftovers into compost is easier than you think. We’ll walk through it step-by-step, so you can start feeding your soil the good stuff. Let’s get your compost bin working for you!
Grass Clippings Composting Guide: Essential Tips
Hey there, fellow home improvers and garden enthusiasts! Troy D Harn here from TopChooser, ready to tackle another task that might seem a bit daunting but is actually super simple. Today, we’re talking about those mountains of grass clippings you get after a good mow. It’s easy to just bag them up and haul them away, but what if I told you they’re a fantastic free fertilizer waiting to happen? Composting grass clippings is a game-changer for your garden, turning waste into rich, black gold that your plants will absolutely love. We’re going to break down exactly how to do it, making it foolproof so you can boost your garden’s health without breaking a sweat or the bank.
Why Compost Grass Clippings?
So glad you asked! Composting grass clippings is like giving your yard a nutrient cycle. Instead of sending valuable organic material to the landfill, you’re recycling it back into the earth. Here’s why it’s such a smart move:
- Nutrient-Rich Fertilizer: Grass clippings are packed with nitrogen, a key ingredient for healthy plant growth. When composted, they release these nutrients slowly, feeding your soil over time.
- Improves Soil Structure: Compost adds organic matter to your soil, which helps it retain moisture, improves drainage, and makes it easier for plant roots to grow.
- Reduces Waste: It’s a fantastic way to cut down on household waste. Think of it as giving your lawn a second life and your garden a healthy boost.
- Saves Money: Why buy expensive soil amendments or fertilizers when you can make your own for free?
- Environmentally Friendly: Composting reduces greenhouse gas emissions and conserves water by improving soil’s water-holding capacity.
Understanding “Greens” and “Browns”
Composting is all about creating a balanced ecosystem in your bin. The key to a successful compost pile, especially when using grass clippings, is understanding the balance between “greens” and “browns.”
Greens (Nitrogen-Rich Materials): These materials are typically moist and break down quickly, providing nitrogen for your compost microbes. Grass clippings are the star green material here! Other greens include:
- Vegetable and fruit scraps
- Coffee grounds and tea bags
- Manure from herbivores (like rabbits or chickens)
Browns (Carbon-Rich Materials): These are usually dry and provide carbon, which feeds the microorganisms and adds bulk to your pile, helping with aeration. Without enough browns, your compost can become a slimy, smelly mess. Good browns include:
- Dried leaves
- Shredded newspaper or cardboard
- Straw or hay
- Wood chips or small twigs
The general rule of thumb for a healthy compost mix is roughly 2 parts browns to 1 part greens by volume. Grass clippings are so nitrogen-rich that you need to be careful not to add too many at once without balancing them with plenty of browns.
Getting Started: What You’ll Need
Before you dive in, let’s gather the essentials. You don’t need much to start composting grass clippings, making it a super accessibleDIY project.
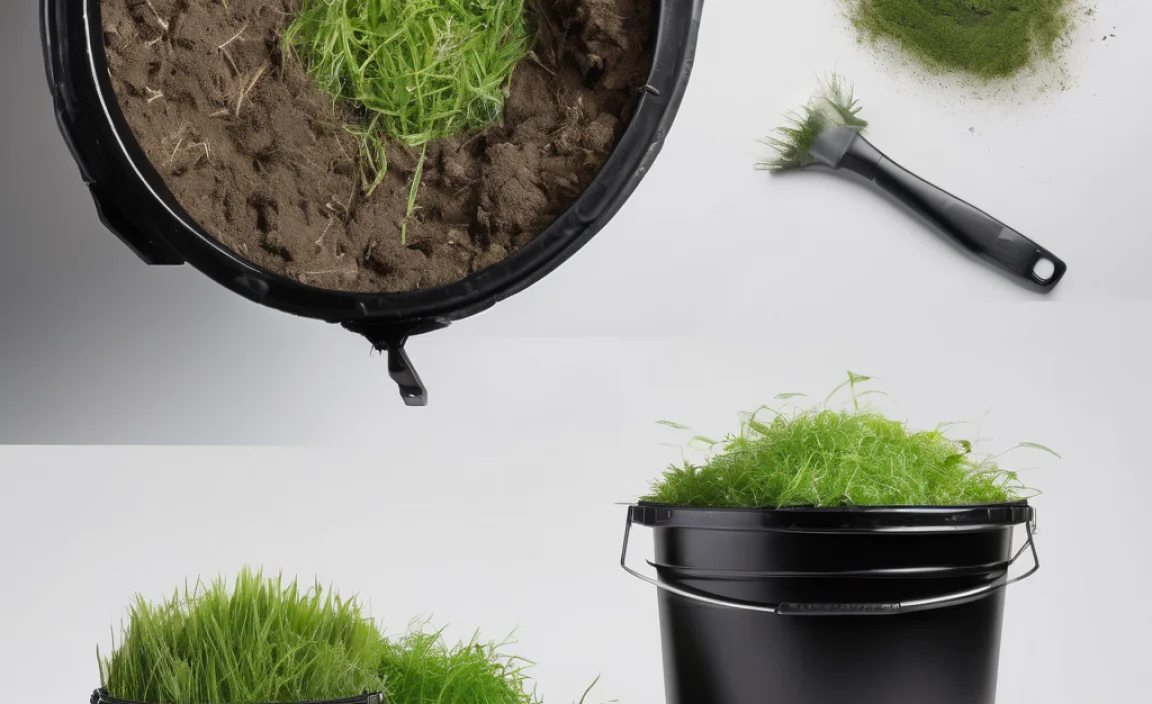
Compost Bin Options
You have a few choices for where to break down your grass clippings:
- DIY Compost Bin: You can build a simple bin using chicken wire, wooden pallets, or concrete blocks. It’s cost-effective and customizable. A basic structure with sides but no top or bottom is perfect for allowing air circulation and access.
- Tumbler Composter: These are enclosed, rotating bins that make turning the compost easy and can speed up the decomposition process. They’re a bit pricier but convenient, especially if you have limited space or want to keep critters out.
- Simple Pile: If you have plenty of yard space, you can simply create an open pile in a discreet corner of your yard. This is the easiest method, requiring no construction.
Essential Tools
While not strictly necessary to become a master composter, these can make life easier:
- Pitchfork or Compost Aerator: For turning and aerating your pile.
- Garden Hose with a Sprayer: To add moisture when needed.
- Gloves: To keep your hands clean.
- A Rake or Shovel: For moving materials around.
- A Source of “Browns”: As we discussed, you’ll need plenty of carbon-rich materials to balance the grass clippings.
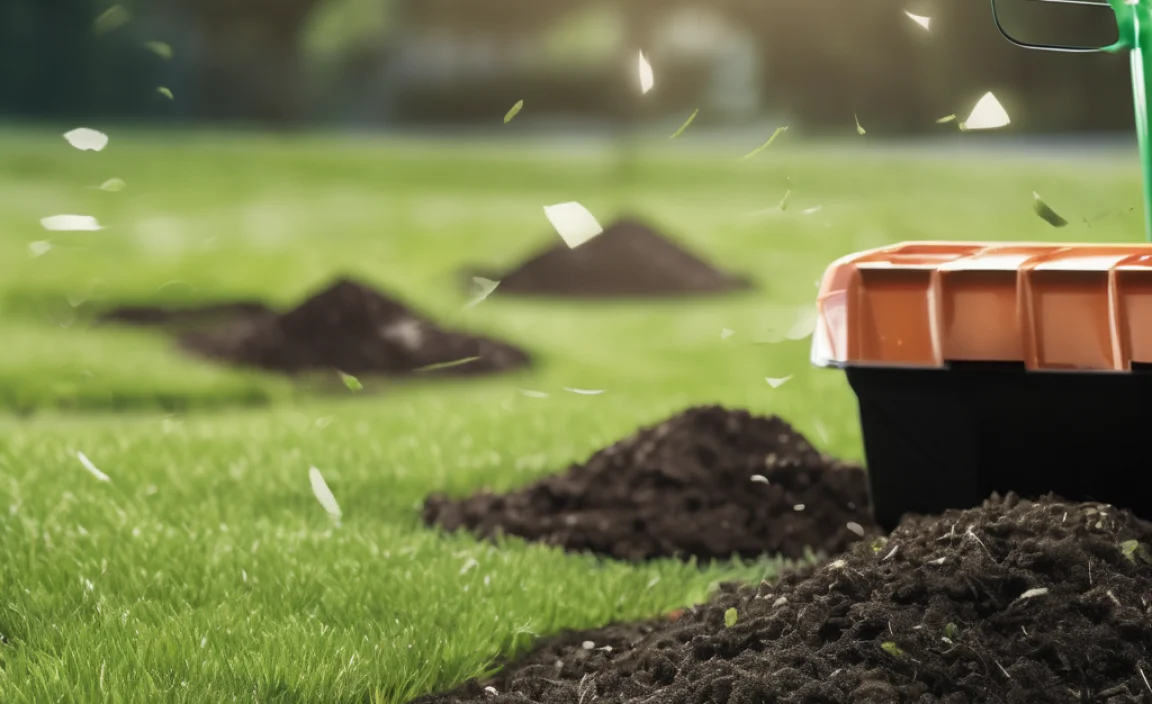
The Step-by-Step Guide to Composting Grass Clippings
Ready to get your hands (a little) dirty? Here’s how to turn those clippings into valuable compost. Remember, patience is key – healthy compost takes time!
Step 1: Choose Your Location
Find a sunny or partly shaded spot for your compost bin or pile. It should be easily accessible for adding materials and turning, and not too close to your house if you’re concerned about any initial decomposition smells (though a well-managed pile shouldn’t smell bad!). Make sure it’s on bare soil or grass, which allows beneficial microbes and worms to enter the pile.
Step 2: Start Layering
This is where the “greens” and “browns” magic happens. Begin your compost pile with a layer of bulky brown material, like twigs or straw. This helps with air circulation from the start. Then, start adding your materials in alternating layers:
- Brown Layer: Start with a 4-6 inch layer of brown materials.
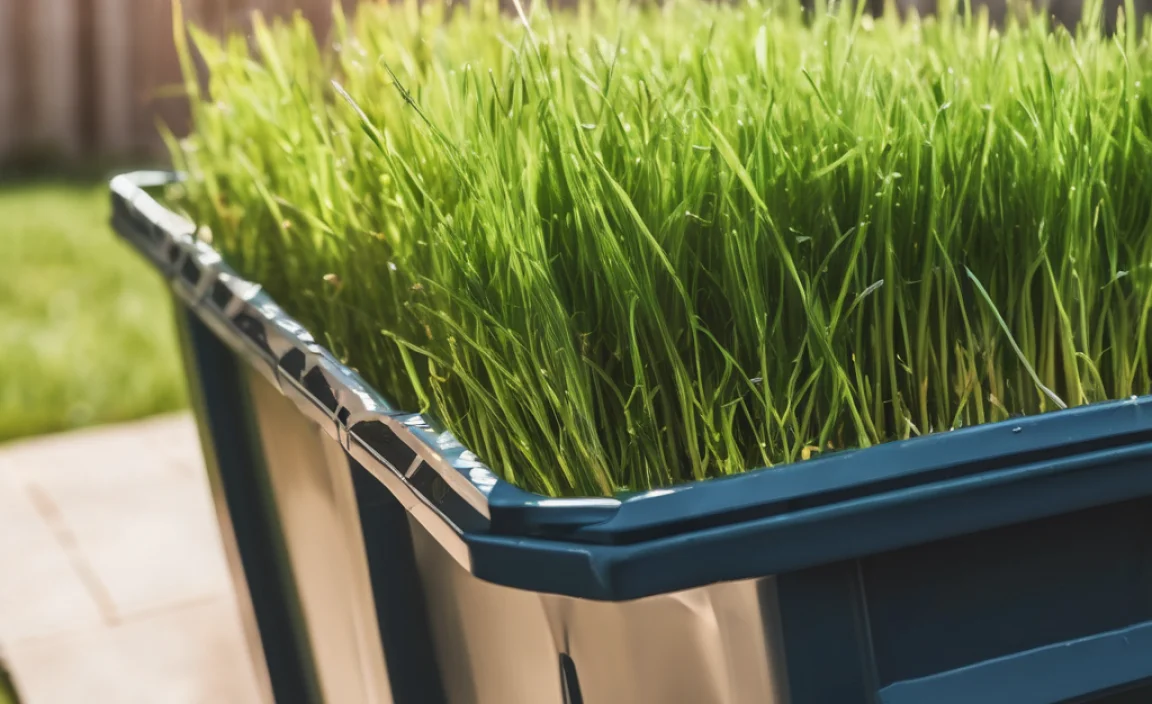
- Green Layer: Add a 2-3 inch layer of grass clippings. Important: Don’t add thick layers of grass clippings all at once! This is a common mistake that leads to a matted, anaerobic (oxygen-deprived) mess that smells foul and decomposes slowly. Spread them thinly.
- Brown Layer: Cover the grass clippings with another 4-6 inch layer of brown materials. This is crucial for several reasons: it absorbs excess moisture, balances the carbon-to-nitrogen ratio, and prevents those grassy clumps from sticking together.
- Repeat: Continue alternating layers of greens and browns, always topping with a brown layer.
Step 3: Manage Moisture
Your compost pile needs to be moist but not soggy. Think of the consistency of a wrung-out sponge. If it’s too dry, the decomposition process will slow down significantly. If it’s too wet, it can become slimy and anaerobic, leading to unpleasant odors.
- If it’s too dry: Gently water the pile with a hose, turning it as you go to ensure even moisture distribution.
- If it’s too wet: Add more brown materials (like shredded cardboard or dry leaves) and turn the pile to help soak up excess moisture.
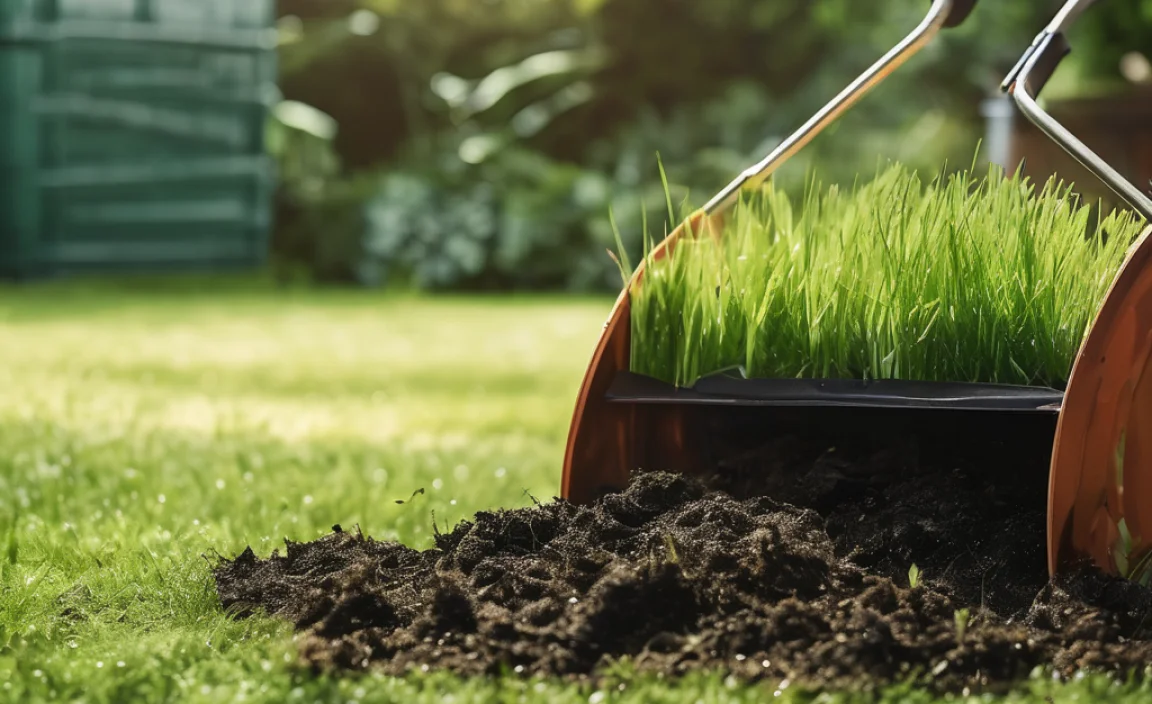
Step 4: Aerate and Turn
Oxygen is vital for the aerobic bacteria that do the heavy lifting in your compost pile. Turning your compost pile regularly introduces air, speeds up decomposition, and helps prevent odors.
- Frequency: Aim to turn your pile at least once every 1-2 weeks.
- How to Turn: Use a pitchfork to mix the materials from the outside of the pile into the center, and bring the material from the center to the outside. If you have a tumbler, simply rotate it a few times every few days.
As the pile decomposes, it will heat up, especially in the center. This heat is a good sign that the microbes are hard at work and killing weed seeds and pathogens. You might notice steam rising when you turn a hot pile!
Step 5: Be Patient and Monitor
Composting is a natural process, and it takes time. Depending on the mix, temperature, and how often you turn it, your compost can be ready anywhere from 2-3 months to a year.
Signs your compost is ready:
- It will be dark, crumbly, and earthy-smelling.
- You won’t be able to recognize the original materials (e.g., you won’t see identifiable grass blades or leaves).
- The temperature of the pile will have cooled down to ambient temperature.
Once it’s ready, you can use it! You might want to sift it to remove any larger, undecayed bits, which can go back into your next compost batch.
Troubleshooting Common Composting Problems
Even with the best intentions, you might run into a few hiccups. Here’s how to fix them:
Problem: Your compost pile smells bad (like rotten eggs or ammonia).
Solution: This almost always means the pile is too wet or doesn’t have enough air. It’s gone anaerobic.
- Add more “brown” materials like shredded cardboard, dry leaves, or straw to soak up moisture and add carbon.
- Turn the pile thoroughly to introduce air.
- If it’s very wet, try to push out excess water by piling it higher and wider, or add more absorbent browns.
Problem: Your compost pile isn’t breaking down.
Solution: The pile might be too dry, or it lacks nitrogen (greens).
- Check the moisture level and add water if it’s dry, turning as you do.
- Add more nitrogen-rich materials like fresh grass clippings (thinly layered, of course!), vegetable scraps, or coffee grounds.
- Ensure there’s enough air circulation by turning the pile.
Problem: The grass clippings are clumping and slimy.
Solution: This is a classic sign of too many grass clippings added at once without enough browns.
- Break up any large clumps.
- Mix in a liberal amount of brown materials like shredded newspaper, dry leaves, or sawdust.
- Turn the entire pile to incorporate the browns and improve aeration.
Problem: Pests are bothering your compost pile.
Solution: This is usually due to exposed food scraps or a lack of sufficient turning, which can attract rodents.
- Always cover fresh kitchen scraps with a layer of brown material.
- Ensure your grass clippings are well-mixed with browns and not sitting on top exposed.
- Turning the pile regularly can deter some pests.
- Consider using a compost tumbler or a bin with a lid and fine mesh to keep critters out.
- Avoid adding meat, dairy, or oily foods to your compost, as these are more likely to attract pests.
When to Use Your Finished Compost
Once your compost is dark, crumbly, and smells like fresh earth, it’s ready to work wonders in your garden! Here are some of the best ways to use it:
- Top Dressing: Spread a thin layer (about 1-2 inches) of compost around the base of plants, shrubs, and trees. Scratch it lightly into the top layer of soil.
- Soil Amendment: Mix compost into garden beds before planting. For new beds, aim for a mix of about 25-50% compost. For established beds, 1-2 inches mixed into the topsoil is usually sufficient.
- Potting Mix: Combine compost with other ingredients like perlite or vermiculite to create a nutrient-rich potting mix for containers and hanging baskets. A ratio of 1 part compost to 2 parts other materials is a good starting point.
- Lawn Dressing: After aerating your lawn, spread a thin layer of compost over the surface. This helps improve soil health, retain moisture, and provide nutrients.
Using your homemade compost is a rewarding way to close the loop in your garden, providing your plants with everything they need to thrive naturally.
Pro Tips from Troy
As your friendly neighborhood DIY expert, I live by a few simple rules when it comes to composting. These little nuggets of wisdom will save you time and ensure success:
- Chop it Up: Smaller pieces of material break down more quickly. If you have a mulching mower when you cut your grass, the clippings are already pretty small. For larger brown materials like leaves, consider shredding them with a leaf shredder or even running them over with your mower a couple of times.
- The “Hot” vs. “Cold” Method: The method described above, with regular turning and balancing greens/browns, aims for a “hot” compost pile. This breaks things down faster and kills weed seeds. If you’re less inclined to turn, you can still compost, but it will likely take longer – this is often called “cold” composting. Just keep adding layers and let nature do its thing, though you might end up with some weeds in your finished compost.
- Don’t Compost Sick Plants: If you have plants that suffered from disease or pests, it’s best to avoid composting them unless you’re sure your pile gets hot enough consistently to kill off pathogens. Otherwise, you might spread the problem back into your garden.
- Balance is King: I can’t stress this enough – too many grass clippings will create a stinky, slimy mess. Always have a good supply of browns ready to go. Think of it like a recipe; get the ingredients and proportions right for the best outcome.
- Layer Small Piles are Better: If you’re using a small bin or just starting, don’t try to build a giant pile all at once. Add materials gradually in thin layers as you generate them. This helps manage moisture and aeration right from the start.
Key Considerations for Grass Clipping Compost
While composting grass clippings is generally straightforward, there are a few specific things to keep in mind to ensure the best results:
Curing Time
Once your compost looks and smells ready, it’s a good idea to let it “cure” for a couple of weeks. This is like letting a good meal rest before serving. Curing allows the compost to stabilize further, ensures all the microbial activity has settled down, and results in a richer, more beneficial end product for your plants. Simply let the finished compost sit in a pile or bin without adding new materials for this short period.
Potential for Chemicals
If you use herbicides, pesticides, or fertilizers on your lawn, be cautious about composting grass clippings. Some chemicals can persist and potentially harm your garden plants. It’s generally recommended to avoid composting grass from lawns treated with these chemicals, at least until you’ve verified that the chemicals break down sufficiently during the composting process. Many sources, like the Ohio State University Extension, advise on the potential issues of composting chemically treated grass. A good rule of thumb is to compost clippings from organically managed lawns if possible, or to wait several mowings after treatment before composting.
Mowing Practices
Consider “mulch mowing” your grass clippings directly back into the lawn. If you don’t have a mulching mower, you can achieve a similar effect by mowing over the clippings again with your regular mower. Leaving finely shredded clippings on the lawn can provide immediate nutrients and moisture. This is often a good first step before you even think about collecting them for the compost bin. If you do collect them, try to do so when the grass is dry to prevent clumping in the bin.
The Great Grass Clippings Debate: To Bag or Not to Bag?
It’s a common question: should I compost my grass clippings? The answer is a resounding YES, with a few caveats we’ve touched upon. Here’s a quick comparison of bagging vs. composting:
| Feature | Bagging Clippings (and discarding) | Composting Clippings |
|---|---|---|
| Environmental Impact | High – contributes to landfill waste and methane production. | Low – recycles nutrients and reduces waste. |
| Cost | Can incur costs for bags and potential disposal fees. | Free – turns lawn waste into valuable soil amendment. |
| Soil Benefit | None; nutrients are lost. | High – adds nitrogen, improves soil structure, and retains moisture. |
| Effort Involved | Collecting and transporting clippings. | Layering, turning, monitoring moisture (requires active management). |
| Potential Issues | Waste of resources. | Requires balance of greens/browns
.lwrp.link-whisper-related-posts{ margin-top: 40px; }.lwrp .lwrp-description{ } max-width: 150px; }@media screen and (max-width: 480px) { } }.lwrp .lwrp-description{ } max-width: initial; }; |

I am passionate about home engineering. I specialize in designing, installing, and maintaining heating, ventilation, and air conditioning systems. My goal is to help people stay comfortable in their homes all year long.