Hey there, fellow Aussie home improvers! Ever look at your kitchen scraps and garden waste and think, “There’s got to be a better way to deal with all this?” You’re not alone! Chucking everything in the bin feels like a missed opportunity, and let’s face it, our landfills are groaning. But diving into home composting can feel a bit daunting, like trying to assemble flat-pack furniture without the instructions. Don’t worry, I’m here to break it all down for you. We’ll go from “what on earth is compost?” to having nutrient-rich “black gold” for your garden. Ready to turn trash into treasure? Let’s get started!
Why Bother With Home Composting in Australia?
So, you might be wondering, with all the bins and recycling services, is home composting really worth the effort? Absolutely! For us Aussies, it’s a fantastic way to do our bit for the planet, reduce waste heading to landfill, and give your garden the best possible boost. Think of it as nature’s ultimate recycling program, right in your backyard.
Reduce Your Waste Footprint
In Australia, households generate a significant amount of waste. A big chunk of this is organic matter – food scraps, garden clippings, and yard trimmings. By composting these materials at home, you’re diverting them from landfills. This reduces the production of harmful greenhouse gases like methane that are released when organic waste decomposes anaerobically (without air) in landfill. Less waste to landfill means a cleaner environment for everyone.
Create Superb Soil Food
Compost is often called “black gold” for a reason. It’s packed with nutrients and beneficial microorganisms that can transform your soil. When you add compost to your garden beds, you’re improving soil structure, aeration, and water retention. This means healthier plants, better yields for your veggies, and more vibrant flowers. It’s like feeding your soil a deluxe, all-natural meal!
Save Money
Compost can significantly reduce your need to buy expensive potting mixes and fertilisers. Once you’ve got your compost system going, you’ll have a continuous supply of nutrient-rich soil conditioner for free! Imagine all the savings you’ll make on gardening supplies over the years. Plus, you might even save on your council waste collection fees if you can reduce the amount of general waste you produce.
Support a Circular Economy
Home composting is a perfect example of a circular economy in action. Instead of a linear “take-make-dispose” model, you’re closing the loop. You’re taking organic materials that have served their purpose (like veggie peels) and transforming them into a valuable resource that helps grow more food or beautiful plants. It’s a genuinely sustainable practice.
Getting Started: What You’ll Need for Home Composting

The great news is you don’t need a huge backyard or fancy equipment to start composting. There are options for everyone, whether you’re in a suburban house with a garden or a small apartment. Here’s a breakdown of the essentials:
Choosing Your Composting System
This is the big decision! Your choice will depend on your space, the amount of waste you produce, and how quickly you want compost. Here are the most popular options for home composting in Australia:
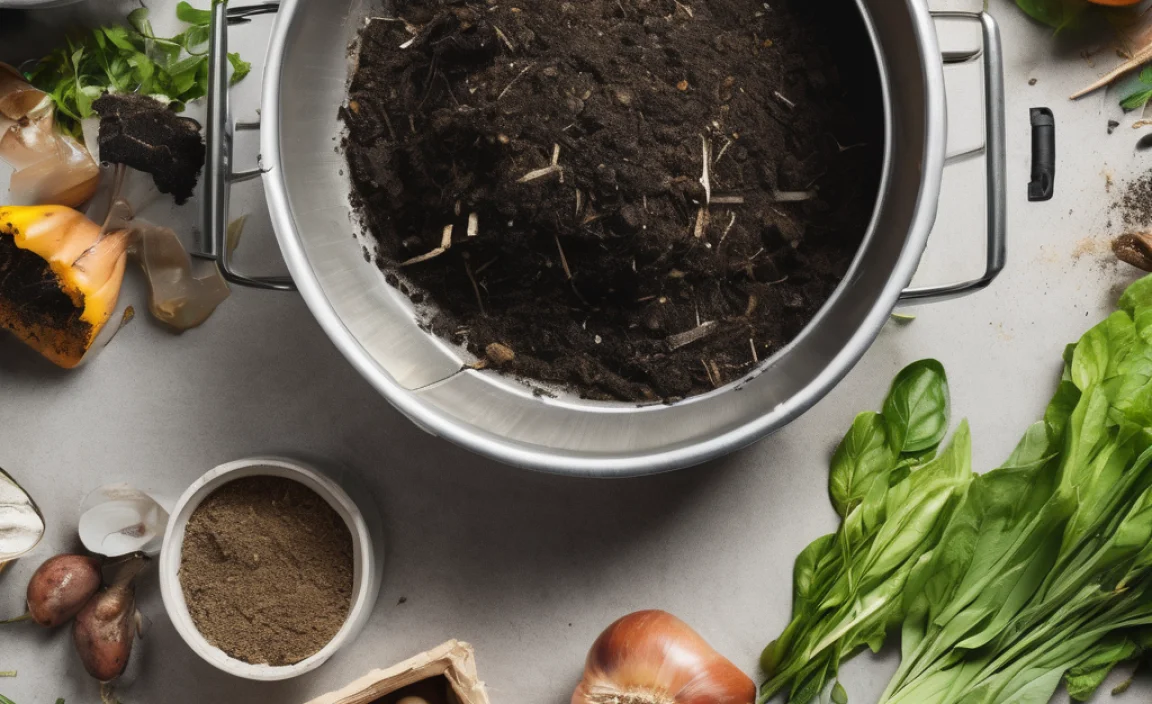
1. Compost Bins (Tumblers or Static Bins)
- Static Bins: These are the classic, upright bins, often made from recycled plastic. Some have lids, others are open at the top or have a door at the bottom for easy access to finished compost. They’re great for containing the compost and keeping pests out.
- Tumblers: These are enclosed drums that can be rotated. Tumbling speeds up the composting process and makes turning the compost easy. They’re generally tidier and less prone to pests than static bins.
Pro Tip: Many local councils in Australia offer subsidised compost bins, so it’s worth checking their websites before you buy! For example, councils often partner with organisations like Compact Solutions to offer discounted bins.
2. Compost Piles (Open Piles)
If you have ample space in your garden, you can simply start a compost pile. This is the most basic method. You just heap your organic materials in a designated spot. It’s simple and can handle large volumes, but it can look a bit untidy and might attract more critters if not managed well.
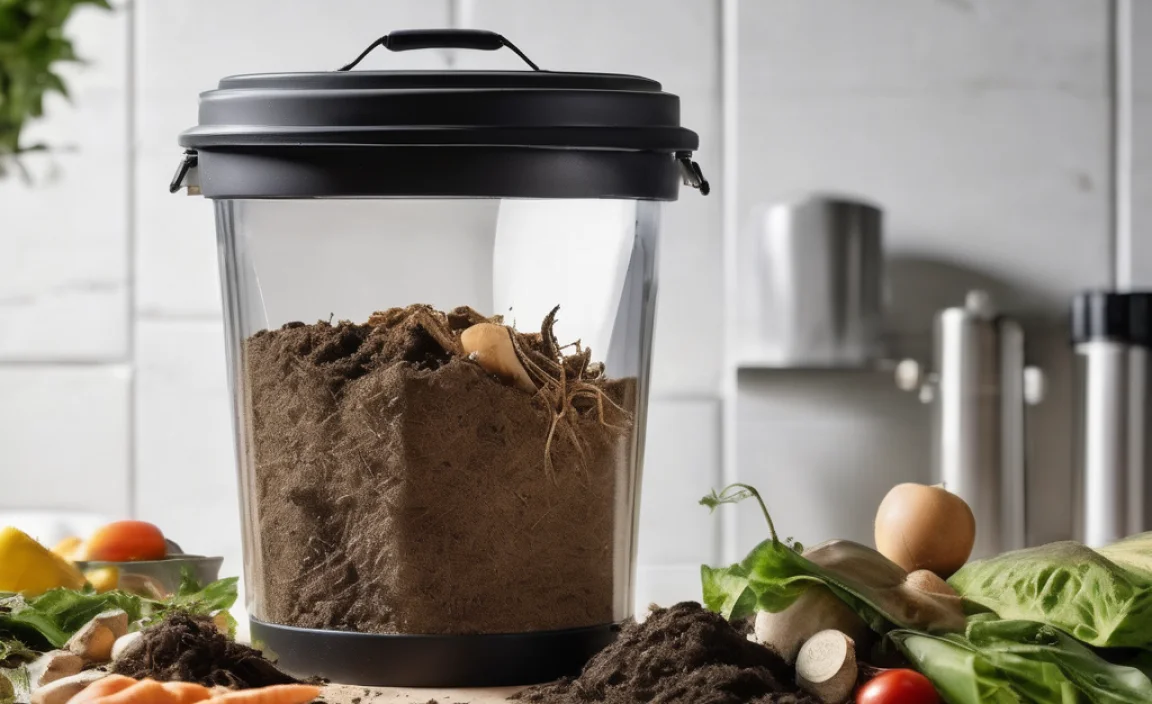
3. Worm Farms (Vermicomposting)
Ideal for smaller spaces, balconies, or even indoors, worm farms use composting worms (like Red Wigglers) to break down kitchen scraps. They produce a liquid fertiliser (worm tea) and rich worm castings. They’re efficient for food waste and don’t produce smells if properly maintained.
4. Bokashi Bins
This is a bit different – it’s an anaerobic fermentation system. You add food scraps (including meat and dairy, which are usually a no-no for traditional composting) and a special Bokashi bran. It pickles the waste, and the resulting material needs to be buried in soil or added to a traditional compost bin to finish decomposing. It’s great for reducing the volume of food waste quickly.
What ‘Greens’ and ‘Browns’ Do I Need?
For traditional composting (bins or piles), the magic happens when you balance “green” and “brown” materials. Think of it like a recipe for happy microbes!
| Greens (Nitrogen-Rich) | Browns (Carbon-Rich) |
|---|---|
| Fruit and vegetable scraps | Dry leaves |
| Coffee grounds and tea bags | Straw or hay |
| Grass clippings (in moderation) | Shredded newspaper or cardboard (avoid glossy paper) |
| Plant trimmings (non-diseased) | Sawdust (from untreated wood) |
| Eggshells (crushed) | Twigs and small branches (chopped) |
The Ideal Ratio: Aim for roughly two parts Browns to one part Greens. Too many greens can make your compost slimy and smelly. Too many browns can slow down the decomposition process. It’s not an exact science, and you’ll get a feel for it as you go.
Essential Tools (Optional but Handy!)
- Compost Aerator/Turner: A long metal tool with prongs that helps you mix and aerate your compost. Makes turning much easier than using a fork.
- Garden Fork or Shovel: Useful for turning larger compost piles and moving material.
- Gloves: For keeping your hands clean.
- Kitchen Caddy: A small bin for collecting kitchen scraps before you take them to your main compost system.
- Shredder: If you have a lot of cardboard or garden waste, a shredder can chop it up into smaller, faster-composting pieces.
Step-by-Step Guide to Home Composting in Australia
Alright, let’s get down to business. Here’s how to set up and manage your compost system. We’ll cover the most common method: using a compost bin (static or tumbler).
Step 1: Choose a Location
Find a good spot for your compost bin. Ideally, it should be:
- Partially Shaded: Too much direct sun can dry out your compost, while full shade might keep it too wet.
- On Bare Earth: If possible, place your bin directly on soil. This allows beneficial microbes to enter and earthworms to find their way in. If you’re on a concrete or paved area, you might need to add a layer of soil to the bottom first.
- Accessible: Make sure you can easily get to it with your kitchen scraps and garden waste, and that you can easily access it to turn or harvest the finished compost.
- Away from Neighbours (Considerate Placement): While a well-managed compost bin shouldn’t smell, it’s polite to position it so it’s not right on the property boundary.
Step 2: Start Layering
Begin by putting a layer of coarse “brown” material at the bottom. This could be twigs, straw, or shredded cardboard. This helps with drainage and aeration.
- Add a few handfuls of garden soil or some finished compost if you have it. This introduces the necessary microorganisms to kickstart the process.
- Now, start adding your kitchen scraps (greens) and garden waste (greens and browns). Aim for that 2:1 Browns to Greens ratio as you add them.
- Important: Chop or shred larger items like fruit rinds, broccoli stalks, or cardboard to help them break down faster.
Step 3: Add New Material
Once your bin has a good base layer, you can start adding fresh materials as you generate them.
- Kitchen Scraps: Collect these in your kitchen caddy. Avoid adding meat, dairy, oily foods, and diseased plants, as these can attract pests and cause odours.
- Garden Waste: Add grass clippings, leaves, and small prunings.
- Cover Your Greens: Always try to cover fresh kitchen scraps (your “greens”) with a layer of “browns” like dry leaves or shredded paper. This is crucial for preventing odours and deterring pests.
Step 4: Manage Moisture Levels
Your compost needs to be moist, but not soaking wet. It should feel like a wrung-out sponge.
- Too Dry? If you squeeze a handful and no water comes out, it’s too dry. Sprinkle it with water, or add more “green” materials.
- Too Wet? If water streams out when you squeeze it, it’s too wet. Add more “brown” materials to absorb the excess moisture. You might also need to turn it more often to help it dry out.
Step 5: Aerate Your Compost
Composting needs oxygen to work efficiently. Turning your compost pile or tumbler is key.
- Static Bins: Turn the contents every 1-4 weeks using a compost aerator or garden fork. Try to move the material from the outside to the inside and vice versa, and break up any clumps.
- Tumblers: Rotate them every few days, especially after adding new material.
- Open Piles: Turn them with a fork or shovel every 1-4 weeks.
Regular turning speeds up decomposition and prevents the compost from becoming anaerobic (which causes bad smells). A good sign that your compost is actively breaking down is if it feels warm in the centre.
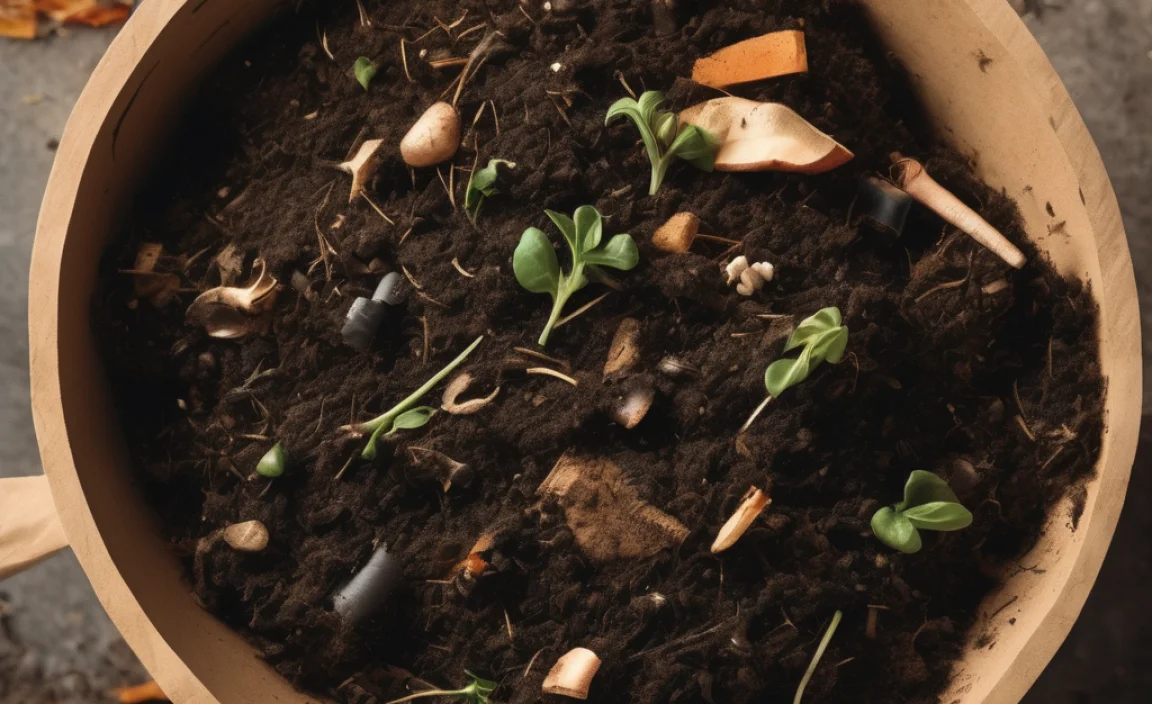
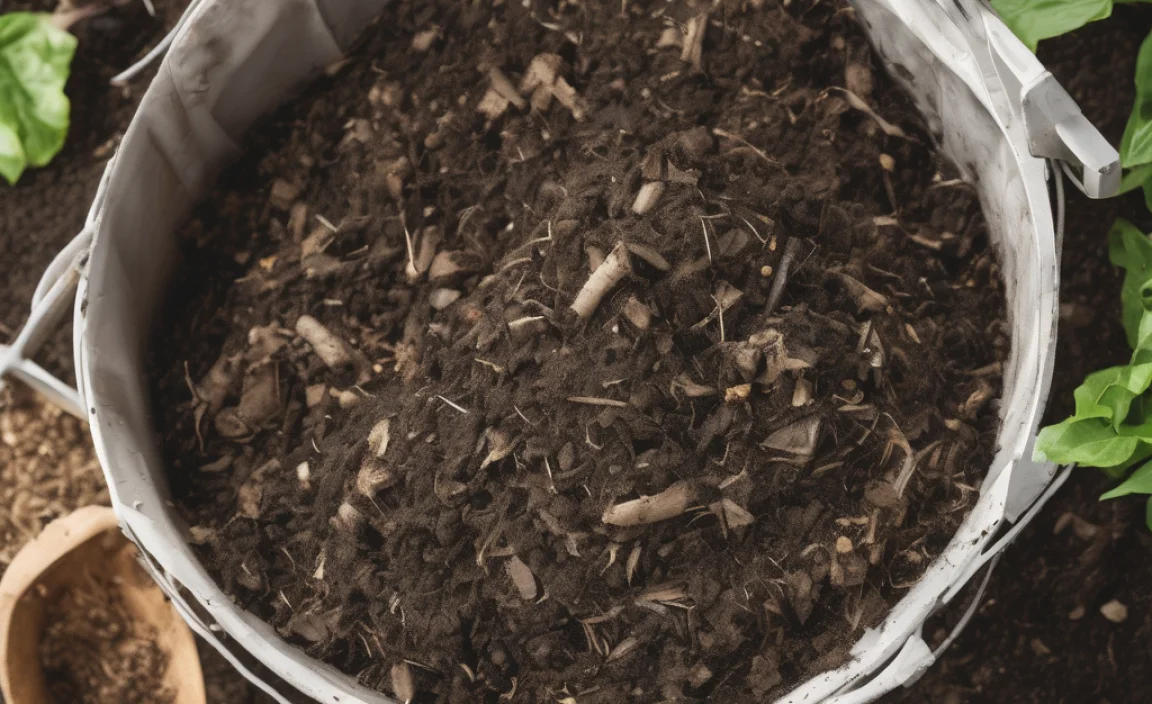
Step 6: Harvest Your Finished Compost
Compost is ready when it’s dark, crumbly, and smells earthy, like a forest floor. You shouldn’t be able to recognise the original materials.
- Static Bins: The finished compost will usually be at the bottom. You can empty the entire bin onto a tarp and sift out the finished compost, returning any unfinished material to the bin to continue decomposing. Some bins have a door at the bottom for easier harvesting.
- Tumblers: Once a batch is finished, stop adding new material and let it cure for a couple of weeks. Then empty it and start a new batch.
This process can take anywhere from 2 to 12 months, depending on the materials, the weather, and how often you turn it.
Special Considerations for Home Composting Down Under
Australia’s climate can be diverse, from hot and dry to humid and wet. Here are a few tips to make your composting journey smoother:
Hot & Dry Climates
- Keep it Moist: You’ll need to check moisture levels more frequently. Water your compost more often, especially during summer.
- Shade is Your Friend: Ensure your bin is in a spot that provides good shade to prevent it from drying out too quickly.
- Cover with Mulch: A layer of mulch on top of the compost can help retain moisture.
- Consider a Tumbler: Tumblers tend to hold moisture better than open piles.
Humid & Wet Climates
- Ensure Good Drainage: If your bin is on bare earth, ensure the ground slopes away so water doesn’t pool. If on concrete, make sure there are drainage holes.
- Lots of Browns: You’ll likely need to add more “brown” materials than usual to absorb excess moisture and maintain aeration.
- Turn More Often: Frequent turning helps to release excess moisture and prevent the compost from becoming waterlogged.
- Avoid Overfilling: Don’t let your bin get too full, as this can trap moisture.
Pest Prevention
While a well-managed compost bin doesn’t attract pests, it pays to be vigilant.
- Bury Food Scraps: Always cover fresh kitchen scraps with a good layer of “browns” to mask the smell and deter rodents and flies.
- Enclosed Systems: Compost bins with secure lids or tumblers are best if pests are a major concern in your area.
- Avoid Problematic Items: Steer clear of meat, dairy, and oily foods, which are more attractive to pests.
- Keep the Area Clean: Don’t leave food scraps lying around your compost bin.
If you’re serious about pest-proofing, resources like those from Sustainability Victoria offer further advice tailored to Australian conditions.
Composting Troubleshooting: Facing Common Issues

Even with the best intentions, you might run into a few hiccups. Don’t get discouraged; these are common and usually easy to fix!
Issue: Smelly Compost
- Likely Cause: Too many “greens” or too wet. This creates anaerobic conditions where nasty bacteria thrive.
- Solution: Add more “brown” materials (dry leaves, shredded paper, sawdust) to balance the mix and absorb moisture. Turn the compost more frequently to introduce air. Ensure the compost isn’t waterlogged.
Issue: Compost is Too Dry and Not Breaking Down
Likely Cause: Lack of moisture.
Issue: Pests (Rodents, Flies)
Likely Cause: Exposed food scraps or inappropriate items are being added.
Issue: Compost is Slimy
Likely Cause: Too many “greens” or too wet, with poor aeration.
Issue: Very Slow Decomposition
Likely Cause: Compost is too cold, too dry, or lacks nitrogen (“greens”).
Choosing a Compost Bin: A Quick Comparison
To help you decide, here’s a simple comparison of the most common bin types for home composting in Australia:
| Compost System | Best for | Pros | Cons | Australian Availability/Popularity |
|---|---|---|---|---|
| Static Compost Bin | Suburban backyards, medium waste volume | Relatively inexpensive, good for general waste, generally pest-resistant with a lid | Requires regular turning (can be hard work), takes longer than tumblers | Very common, widely available, often subsidised by councils |
| Compost Tumbler | Busy people, those wanting compost faster, smaller gardens | Faster composting, easy to turn, tidier, good pest barrier | More expensive, limited capacity per batch, can get heavy to turn when full | Increasingly popular, good range available online and in garden centres |

I am passionate about home engineering. I specialize in designing, installing, and maintaining heating, ventilation, and air conditioning systems. My goal is to help people stay comfortable in their homes all year long.