Ever look at your kitchen scraps and lawn clippings and wonder if there’s a better way than just tossing them in the trash? You’re not alone! It can feel like a lot of wasted potential. But what if I told you those everyday discards could become something incredibly valuable for your garden? Home composting is a fantastic way to turn that “waste” into “wonder.” It’s easier than you think and incredibly rewarding. Let’s dive into why it’s such a smart move and how you can get started today!
Home Composting Benefits: Genius Eco-Friendly Solutions
Hey there, green thumbs and even those who just want a simpler, more sustainable way to manage household waste! I’m Troy D Harn from TopChooser, and I’m here to chat about something that can seriously up your garden game and shrink your trash bin: home composting. If you’ve ever felt a bit overwhelmed by the idea, or just aren’t sure where to start, stick around. We’re going to break down why composting is one of the smartest, most eco-friendly things you can do around your home, and how easily you can get those amazing benefits working for you.
Think about all the stuff that gets thrown away daily – apple cores, coffee grounds, grass clippings, dead leaves. Most of it ends up in a landfill, taking up space and creating harmful greenhouse gases. Not exactly a win for the planet, right? Home composting is the superhero solution to this problem. It’s a natural process that transforms organic materials into a rich, dark, soil-like substance called compost. This “black gold” is a gardener’s best friend.
We’ll cover everything you need to know, from the incredible environmental perks to the tangible benefits for your wallet and your garden. You’ll see that composting isn’t some complicated science experiment; it’s a straightforward, satisfying process that anyone can do. So, let’s explore the genius behind home composting and how you can harness its power!
Why Bother Composting? Unpacking the Eco-Friendly Awesome Sauce
Let’s get down to brass tacks. Why should you invite a compost bin into your life? The benefits are pretty stacked, both for Mother Earth and for your own backyard. It’s more than just about reducing trash; it’s about creating a healthier ecosystem right where you live.
The Big Environmental Wins
- Reduces Landfill Waste: This is the big one. According to the United States Environmental Protection Agency (EPA), food scraps and yard waste make up a significant portion of what we send to landfills. When organic matter decomposes in a landfill, it does so anaerobically (without oxygen), producing methane, a potent greenhouse gas. Composting allows this material to break down aerobically, minimizing methane emissions.
- Fights Climate Change: By diverting organic waste from landfills and reducing methane production, composting directly contributes to mitigating climate change. Healthier soil, built with compost, can also sequester carbon.
- Conserves Water: Compost acts like a sponge in the soil. It improves the soil’s ability to retain moisture, meaning you’ll need to water your plants less often. This is a huge win, especially in drier climates or during hot summer months.
- Reduces Need for Chemical Fertilizers: Compost is packed with essential nutrients that plants need to thrive. Using compost means you can significantly cut down on, or even eliminate, the need for synthetic fertilizers, which can be harmful to surrounding ecosystems and water sources.
- Improves Soil Health Naturally: Compost adds vital organic matter to your soil, improving its structure, aeration, and drainage. This creates a better environment for plant roots, leading to healthier, more robust growth.
- Prevents Soil Erosion: Healthy, compost-rich soil is more stable and resistant to erosion from wind and rain. This protects your valuable topsoil.
- Supports Biodiversity: By fostering healthier plant growth and reducing chemical runoff, composting helps support a wider range of beneficial insects, microbes, and other wildlife in your garden and local environment.
The Smart Homeowner’s Perks
Beyond the grand environmental gestures, home composting offers some seriously practical benefits for you:
- Free, Nutrient-Rich Soil Amendment: Forget buying expensive soil conditioners or fertilizers at the garden center. Your compost bin produces a continuous supply of high-quality compost that is perfect for your flower beds, vegetable gardens, and even potted plants.
- Healthier, More Productive Gardens: Plants grown in compost-rich soil are generally stronger, more disease-resistant, and produce more flowers and fruits. Imagine tastier tomatoes and more vibrant roses!
- Saves Money: Less trash means potentially lower waste disposal fees. Plus, as mentioned, you save money on fertilizers and soil amendments.
- Reduces Your Household Waste Footprint: It’s a tangible way to feel good about reducing your personal impact on the environment.
- Educational Opportunity: It’s a fantastic way to teach kids (or even yourself!) about natural cycles and where our food comes from.
Getting Started: What You Absolutely Need
The beauty of composting is its flexibility. You don’t need a huge yard or fancy equipment to get started. Let’s look at the essentials.
Choosing Your Composting Method/Bin
Your first decision is how you’ll contain your compost. There are several popular options:
- Open Piles: The simplest method. You just create a heap of organic materials in a secluded corner of your yard. It’s free and easy but can look a bit messy and may attract pests if not managed well. Great for larger yards with plenty of yard waste.
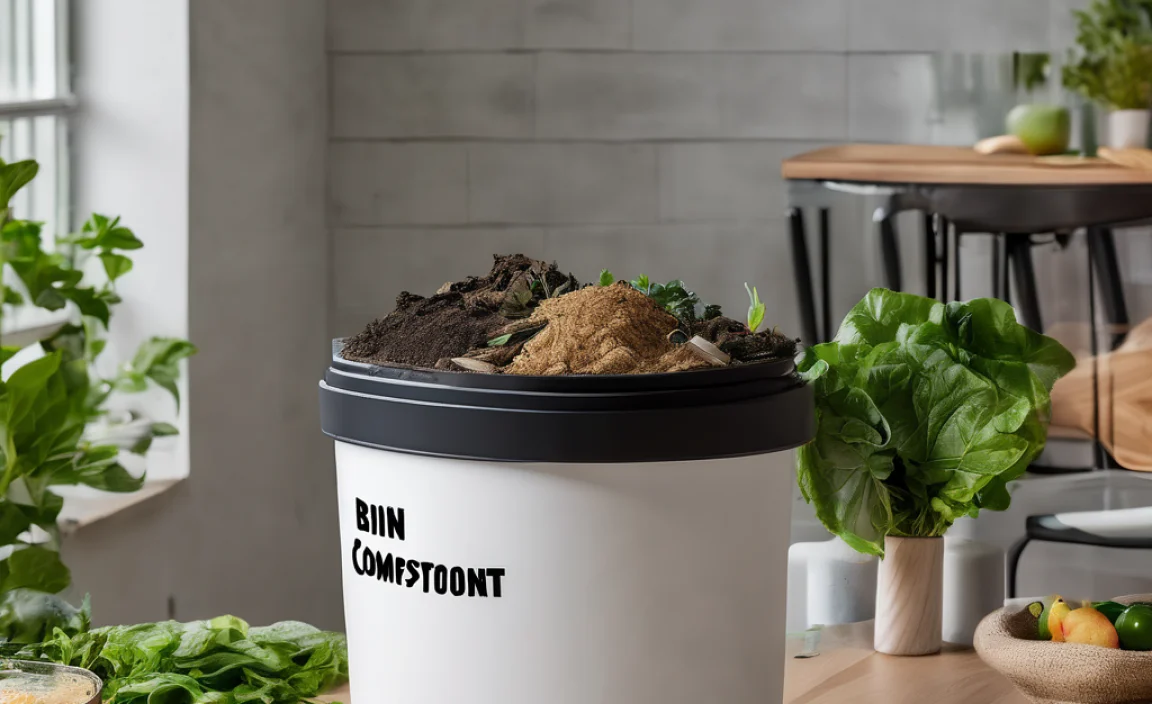
- Enclosed Bins (DIY or Purchased): These are a step up. They help contain the material, retain moisture and heat, and keep pests out. You can buy sturdy plastic bins from garden centers or build your own from wood pallets, wire mesh, or even old trash cans. Look for bins that offer good aeration (holes or slats).
- Tumbler Composters: These are rotating bins that make turning the compost easy. They often speed up the composting process and are excellent at deterring pests. They can be more expensive, but many find the convenience worth the price.
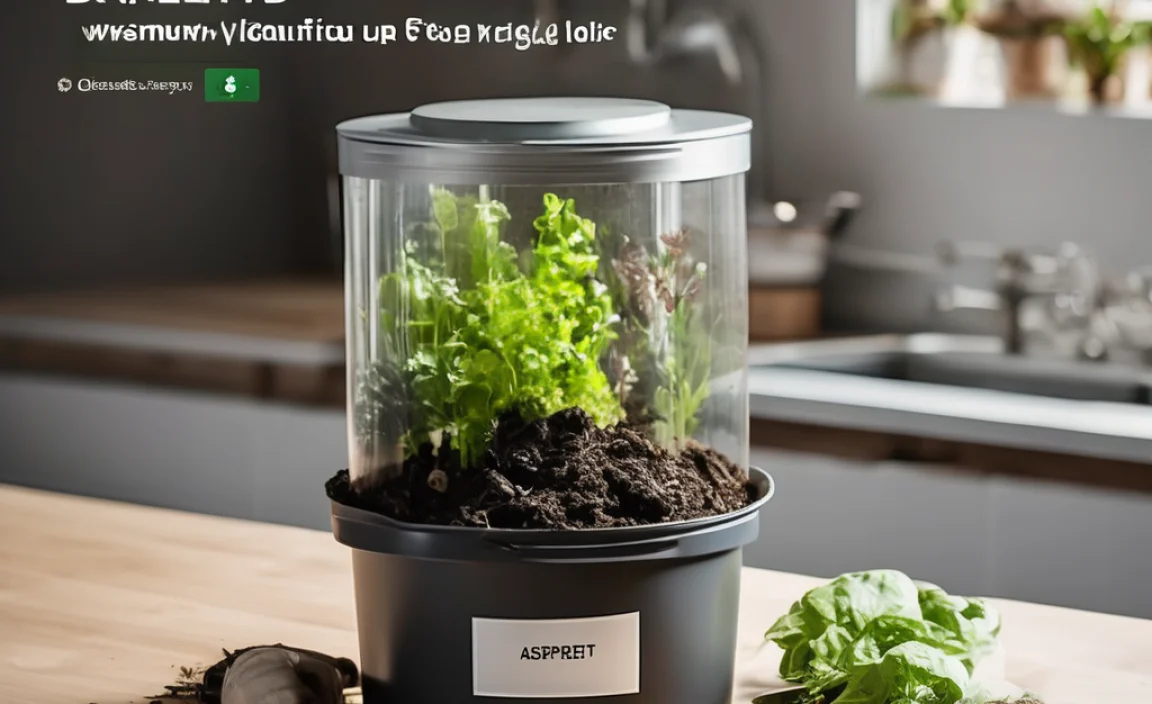
- Worm Composting (Vermicomposting): This is perfect for apartment dwellers or those with very little outdoor space. Red wiggler worms do the work for you in a specialized bin, turning food scraps into nutrient-rich worm castings. It’s a bit different than traditional composting but yields incredible fertilizer.
The “Greens” and “Browns”: Your Compost Recipe
Successful composting relies on a good balance of nitrogen-rich materials (“greens”) and carbon-rich materials (“browns”). Too much of one can lead to odors or slow decomposition.
“Greens” (Nitrogen-Rich – Add Moisture and Protein):
- Fruit and vegetable scraps
- Coffee grounds and tea bags
- Grass clippings (in thin layers to avoid matting)
- Plant trimmings (non-woody)
- Eggshells (crushed)
“Browns” (Carbon-Rich – Add Bulk and Aeration):
- Dry leaves
- Straw or hay
- Shredded newspaper or cardboard (avoid glossy inks)
- Wood chips or sawdust (in moderation)
- Twigs and small branches (chopped up)
What NOT to Compost:
- Meat, fish, and dairy products (attract pests, can smell bad)
- Oily or greasy foods (attract pests, can smell bad)
- Diseased plants or weeds that have gone to seed (you don’t want to spread problems)
- Pet waste (can contain pathogens)
- Treated wood or coal ash (contain toxins)
Your Composting Toolkit (Optional but Helpful)
While you can get by with just your hands and a shovel, a few tools can make the process smoother:
- Pitchfork or Compost Aerator: For turning and mixing your compost pile.
- Shovel: For moving materials and harvesting finished compost.
- Watering Can or Hose: To keep your compost pile moist.
- Kitchen Compost Pail: A small, lidded container to collect food scraps in your kitchen before taking them to the main bin.
- Gloves: To keep your hands clean.
The Magic Method: How to Compost Like a Pro (It’s Easy!)
Composting is essentially managing a mini ecosystem. Your job is to provide the right conditions for the tiny organisms that do the actual breakdown. Here’s a simple step-by-step guide for a typical bin or pile:
Step 1: Choose Your Location Wisely
Find a spot that’s convenient for you to access, preferably with good drainage. A partially shaded spot is often ideal, as direct sun can dry out the pile too quickly, and deep shade might keep it too cool and wet. Make sure it’s away from areas where pests might be a nuisance. If you’re building a pile, place it directly on the soil to allow beneficial organisms to enter.
Step 2: Start Layering Your Materials
Begin with a base layer of coarse browns, like twigs or straw. This helps with aeration from the bottom. Then, start adding your greens and browns, alternating layers. A good rule of thumb is to aim for roughly a 2:1 or 3:1 ratio of browns to greens by volume. You can mix them as you add them, or layer them and mix later.
Pro-Tip: Chop larger items like branches or large vegetable scraps into smaller pieces. This increases the surface area for microbes to work on, speeding up decomposition.
Step 3: Maintain Moisture Levels
Your compost pile should be as damp as a wrung-out sponge. Not soaking wet, and not bone dry. If it’s too dry, decomposition slows to a crawl. If it’s too wet, it can become slimy and anaerobic, leading to foul smells. Check the moisture regularly, especially during dry or hot weather. Add water with a watering can or hose as needed. If it’s too wet, add more dry brown materials to absorb excess moisture.
Step 4: Ensure Aeration – Let It Breathe!
Microbes need oxygen to work efficiently. Turning your compost pile regularly is key. Aim to turn it every 1-4 weeks. You can use a pitchfork to mix the outer layers into the center and the bottom layers to the top. Tumbler composters make this super easy – just give them a spin! Good aeration prevents odors and speeds up the composting process.
When to Turn: You can turn it when you add new materials, or set a schedule (e.g., weekly, bi-weekly). If your pile starts to smell bad, it’s a sign it needs more air (and possibly more browns).
| Factor | Impact on Speed | How to Optimize |
|---|---|---|
| Material Size | Smaller particles decompose faster. | Chop, tear, or shred larger items. |
| Moisture Content | Optimal moisture (damp sponge) is crucial. | Monitor and add water or dry materials as needed. |
| Aeration (Oxygen) | Sufficient oxygen speeds decomposition. | Turn the pile regularly or use an aerator. |
| Temperature | Warmer temperatures (ideally 130-160°F / 55-70°C in active piles) speed up decomposition. | Balance greens and browns, and turn to maintain internal heat. |
| Green-to-Brown Ratio | A good balance fuels microbial activity. | Aim for roughly 1 part greens to 2-3 parts browns by volume. |
Step 5: Be Patient – The Waiting Game
Composting takes time. Depending on your method, materials, and how actively you manage the pile, it can take anywhere from a few months to a year or more to produce finished compost. You’ll know it’s ready when it’s dark, crumbly, smells earthy (like a forest floor), and you can no longer recognize the original materials.
Step 6: Harvest and Use Your Compost!
Once your compost is ready, you can harvest it. If you have a pile, you can simply dig out the finished compost from the bottom. If you have a bin, you might empty the whole bin and sift out the finished material, returning any uncomposted bits to a new pile. You can sift it through a screen (like old hardware cloth) to get a finer texture if desired.
Use your beautiful compost in your garden! Mix it into your soil, spread it as a top dressing around plants, or use it in potting mixes. Your plants will thank you!
Troubleshooting Common Composting Puzzles
Even with the best intentions, you might run into a few snags. Here are some common problems and their simple solutions:
- Smelly Pile (Ammonia or Rotten Egg Smell): This usually means too much nitrogen (“greens”) or not enough air.
- Fix: Add more carbon-rich brown materials (leaves, shredded paper) and turn the pile thoroughly to introduce air.
- Pile Isn’t Heating Up or Decomposing: This could be due to a lack of moisture, too many browns, or not enough nitrogen.
- Fix: Check moisture – it should be damp. Add more nitrogen-rich “greens” (like kitchen scraps or grass clippings). Turn the pile to mix and aerate.
- Attracting Pests (Rodents, Flies): This is usually caused by adding meat, dairy, or oily foods, or by leaving food scraps exposed at the top.
- Fix: Avoid adding prohibited items. Bury fresh kitchen scraps deep within the compost pile, covering them with brown materials. Ensure your bin has a secure lid.
- Dry and Dusty Pile: The pile is too dry, and decomposition has stopped.
- Fix: Add water! Thoroughly moisten the pile, turning as you go to ensure even distribution.
Remember, composting is a forgiving process. If something seems off, a little observation and adjustment usually get things back on track.
Beyond the Bin: Integrating Compost Wisdom
Once you’ve experienced the magic of turning scraps into soil, you’ll see opportunities everywhere. It’s a lifestyle shift that feels good.
For the Urban Gardener: Even a small balcony can host a worm bin! The nutrient-dense worm castings are gold for container plants. Small compost tumblers are also great for limited spaces.
Community Composting: If home composting isn’t feasible for you, look for local community composting initiatives or drop-off points. Many municipalities are starting these programs, which accept food scraps and often offer finished compost back to residents.
Educate and Share: Talk to your neighbors, friends, and family about composting! The more people who compost, the less waste goes to landfills, and the more amazing compost benefits are shared.
Curious about the science behind it? Organizations like the EPA offer in-depth resources on composting practices and environmental benefits.
Frequently Asked Questions About Home Composting
Q1: How long does it take to make compost?
It varies greatly! Depending on the materials, temperature, moisture, and how often you turn it, compost can be ready in as little as 2-3 months for a hot, actively managed pile, or it might take 6-12 months or longer for a cooler, less managed pile. Tumblers often speed things up.
Q2: My compost smells bad. What did I do wrong?
A bad smell (like rotten eggs or ammonia) usually means your compost is too wet and/or lacks air. You have too much “green” materiaal or not enough air. Bury food scraps deeper, add more “brown” materials like dry leaves or shredded paper, and turn the pile to aerate it.
Q3: Can I compost yard waste like grass clippings and leaves?
Absolutely! Grass clippings are great “greens,” but add them in thin layers to prevent matting. Dry leaves are fantastic “browns” and provide essential carbon. Mixing both is a recipe for great compost.
Q4: Do I really need a special bin? Can’t I just pile it up?
You can absolutely start with an open pile, especially if you have a larger yard and plenty of “browns” like leaves. However, an enclosed bin or tumbler can help keep pests out, retain heat and moisture better, and often speed up the composting process. It also tends to look tidier!
.lwrp.link-whisper-related-posts{
margin-top: 40px;
margin-bottom: 30px;
}
.lwrp .lwrp-title{
}.lwrp .lwrp-description{
}
.lwrp .lwrp-list-container{
}
.lwrp .lwrp-list-multi-container{
display: flex;
}
.lwrp .lwrp-list-double{
width: 48%;
}
.lwrp .lwrp-list-triple{
width: 32%;
}
.lwrp .lwrp-list-row-container{
display: flex;
justify-content: space-between;
}
.lwrp .lwrp-list-row-container .lwrp-list-item{
width: calc(25% – 20px);
}
.lwrp .lwrp-list-item:not(.lwrp-no-posts-message-item){
max-width: 150px;
}
.lwrp .lwrp-list-item img{
max-width: 100%;
height: auto;
object-fit: cover;
aspect-ratio: 1 / 1;
}
.lwrp .lwrp-list-item.lwrp-empty-list-item{
background: initial !important;
}
.lwrp .lwrp-list-item .lwrp-list-link .lwrp-list-link-title-text,
.lwrp .lwrp-list-item .lwrp-list-no-posts-message{
}@media screen and (max-width: 480px) {
.lwrp.link-whisper-related-posts{
}
.lwrp .lwrp-title{
}.lwrp .lwrp-description{
}
.lwrp .lwrp-list-multi-container{
flex-direction: column;
}
.lwrp .lwrp-list-multi-container ul.lwrp-list{
margin-top: 0px;
margin-bottom: 0px;
padding-top: 0px;
padding-bottom: 0px;
}
.lwrp .lwrp-list-double,
.lwrp .lwrp-list-triple{
width: 100%;
}
.lwrp .lwrp-list-row-container{
justify-content: initial;
flex-direction: column;
}
.lwrp .lwrp-list-row-container .lwrp-list-item{
width: 100%;
}
.lwrp .lwrp-list-item:not(.lwrp-no-posts-message-item){
max-width: initial;
}
.lwrp .lwrp-list-item .lwrp-list-link .lwrp-list-link-title-text,
.lwrp .lwrp-list-item .lwrp-list-no-posts-message{
};
}

I am passionate about home engineering. I specialize in designing, installing, and maintaining heating, ventilation, and air conditioning systems. My goal is to help people stay comfortable in their homes all year long.