Ever wonder what to do with those kitchen scraps and yard trimmings? It can feel like a waste, right? But what if I told you there’s a simple, brilliant way to turn that “trash” into treasure for your garden? Home composting is more accessible than you might think. Forget complicated systems; we’ll walk through easy, effective ideas to get you started. Let’s ditch the guilt and dig into making your own super-soil!
Home Composting Ideas: Genius & Essential for Every Yard (and Kitchen!)
Hey everyone, Troy D Harn here from TopChooser! If you’re looking to give your garden a boost, reduce waste, and feel a little more like a green superhero, you’ve come to the right place. Composting might sound like something only expert gardeners worry about, but I’m here to tell you it’s super simple and incredibly rewarding. We’re talking about turning your banana peels and coffee grounds, along with some yard bits, into amazing food for your plants. It’s like magic, but it’s just science, and a little bit of know-how!
This guide is all about making home composting easy, even if you’ve never done it before. We’ll cover the basics, some genius ideas for different spaces, and what you absolutely need to know to get going without any fuss. Ready to make your garden (and the planet) a little bit happier?
Why Compost? The Big Wins You Might Not Know
Before we dive into the “how,” let’s chat about the “why.” Composting isn’t just a trendy gardening hobby; it’s a practical, no-brainer way to improve your home and your environment. Here are some of the best reasons:
- Reduces Landfill Waste: A huge chunk of what we throw away is organic material. Composting diverts this from landfills, where it produces harmful greenhouse gases like methane.
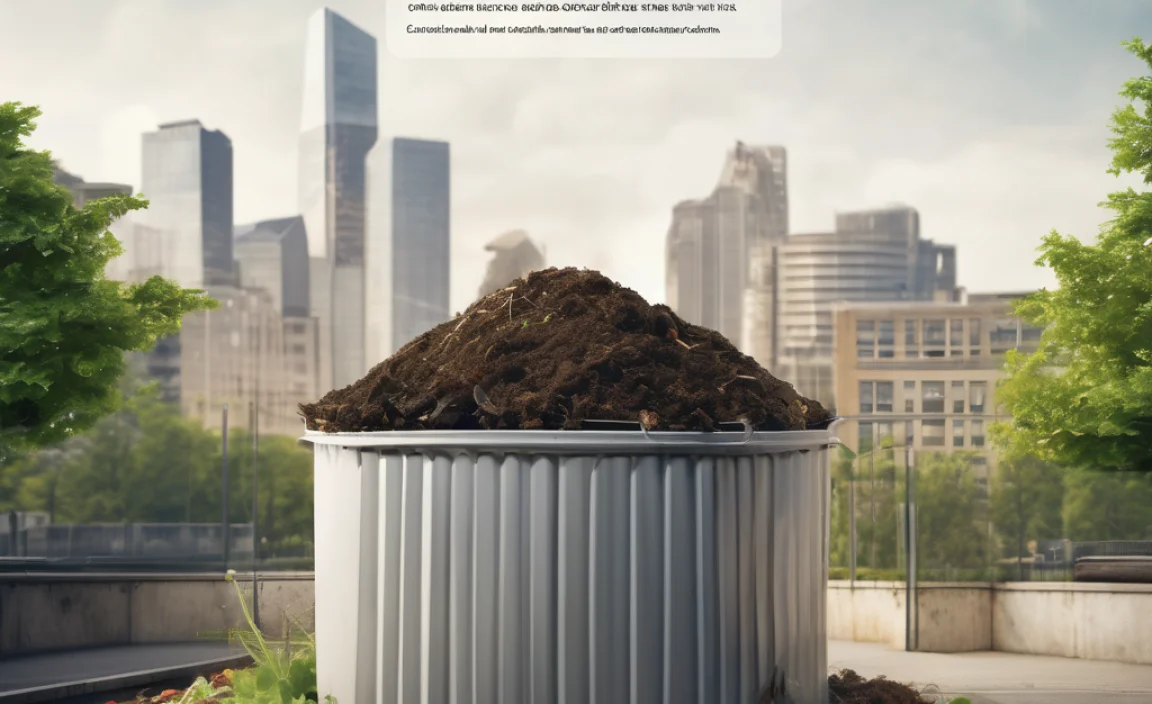
- Creates Nutrient-Rich Soil: Compost, often called “black gold,” is packed with essential nutrients that your plants will absolutely love. It improves soil structure, drainage, and water retention. Think of it as a super-powered vitamin boost for your garden beds.
- Saves Money: You’ll buy fewer fertilizers and soil amendments. Plus, by reducing waste, you might even save on trash disposal fees if your local service charges by volume or weight.
- Environmentally Friendly: By composting, you’re actively participating in a natural cycle. You’re enriching the earth rather than depleting it. It’s a small action with a big collective impact.
- Improves Plant Health: Healthier soil leads to healthier, more resilient plants that are better equipped to fight off pests and diseases naturally.
Getting Started: What Goes In & What Stays Out
The core of composting is balancing “greens” and “browns.” Think of it like a recipe for a healthy compost pile. Too much of one, and things can get smelly or just not break down properly. Getting this balance right is key!
Greens (Nitrogen-Rich Materials): These are usually moist and provide nitrogen. They help heat up the compost pile and get the decomposition process going strong.
- Fruit and vegetable scraps (peels, cores, etc.)
- Coffee grounds and paper filters
- Tea bags (remove any staples or plastic tags)
- Grass clippings (in thin layers to avoid matting)
- Plant trimmings (avoid diseased plants)
- Eggshells (crushed)
- Manure from herbivores (like chickens, rabbits, cows, horses – not dogs or cats!)
Browns (Carbon-Rich Materials): These are typically dry and provide carbon. They add bulk and allow air to circulate, which is super important for aerobic decomposition (the good kind that doesn’t smell).
- Dry leaves
- Shredded newspaper and cardboard (avoid glossy paper and colored inks)
- Straw and hay
- Wood chips and sawdust (from untreated wood only, and in moderation)
- Twigs and small branches (chopped up)
- Paper towels and napkins (if not soiled with grease or chemicals)
- Pine needles (use in moderation as they can be acidic)
What to AVOID (The No-Nos): Some things just shouldn’t go into your compost bin, especially if you’re a beginner. They can attract pests, create bad odors, or spread disease.
- Meat, fish, and dairy products (attract pests, cause odors)
- Oily or greasy foods
- Diseased plants or weeds that have gone to seed
- Pet waste (from dogs and cats – can contain pathogens)
- Treated wood or sawdust
- Coal ash
- Synthetic materials (plastics, metals, glass)
- Weed killers or pesticides
Genius Home Composting Ideas for Every Space
Don’t have a sprawling backyard? No problem! There are composting solutions for almost any living situation. Let’s look at some popular and effective methods.
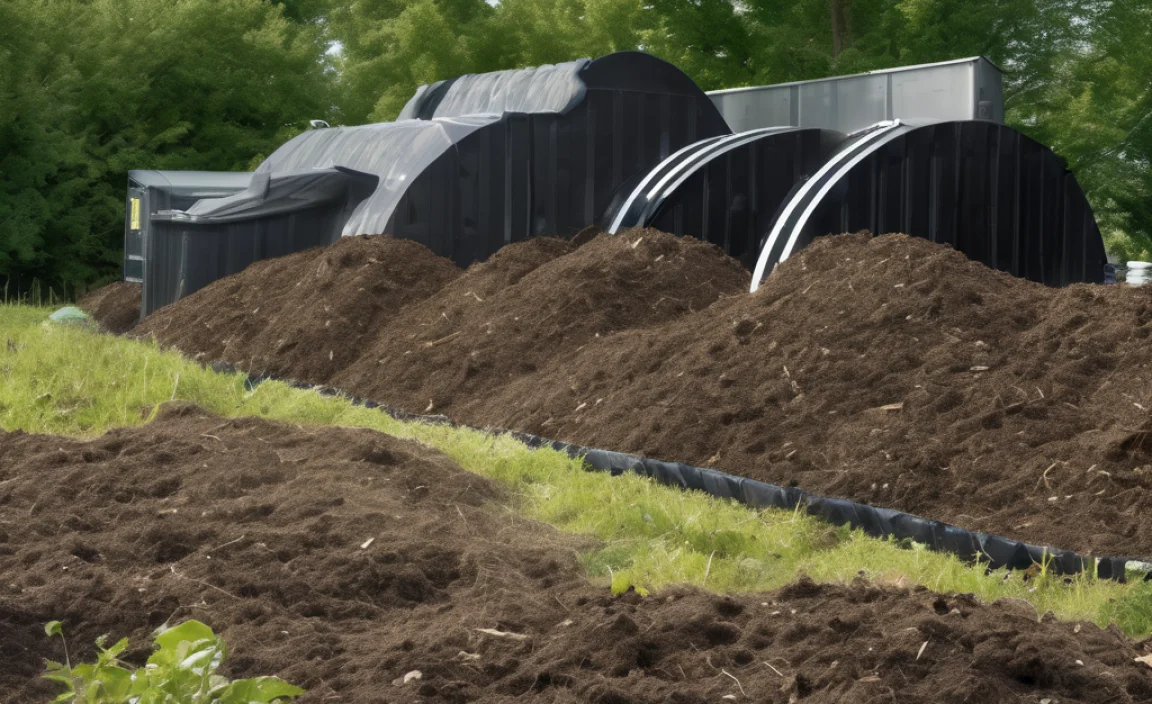
1. The Classic Outdoor Compost Bin
This is what most people picture when they think of composting. It’s great for yards with a decent amount of space. You can buy one or build your own. The basic idea is to contain your compostable materials in one spot, allowing them to break down. Tumblers are a popular variation that makes turning easier.
Pros:
- Can handle larger volumes of material.
- Relatively simple to set up and maintain.
- Good for processing yard waste as well as kitchen scraps.
Cons:
- Requires some outdoor space.
- Can take longer to break down if not managed properly (turned, moisture checked).
- Some bins can be aesthetically unappealing if not placed thoughtfully.
Tip: If you’re building your own, consider using pallets or wire mesh. For more details on DIY bins, check out resources like the EPA’s composting guide, which offers great starting points.
2. The Backyard Tumbler (The Speedy Solution)
A compost tumbler is basically a sealed barrel or drum that you can rotate. This makes turning your compost super easy – just give it a spin every few days! Because they are enclosed, they tend to break down materials faster and can deter pests more effectively than open bins.
Pros:
- Faster composting due to easy aeration and mixing.
- Enclosed design deters pests and contains odors better.
- Easier to turn than a traditional pile.
Cons:
- Can be more expensive upfront than a DIY bin or basic plastic bin.
- Batch composting: You typically add materials for a while, let it finish, and then empty and start a new batch.
- Smaller capacity compared to some large bins.
Tip: Look for dual-chamber tumblers. You can fill one chamber while the other is actively composting, ensuring you always have good compost ready or a place to start a new batch.
3. The Worm Composting Bin (Red Wiggler Revolution!)
This is a fantastic option for apartment dwellers or anyone with limited outdoor space. Worm composting, or vermicomposting, uses specific types of worms (like Red Wigglers) to break down kitchen scraps quickly. You can buy specialized worm bins or even build your own using stacked plastic bins.
Pros:
- Perfect for small spaces, indoors or on a balcony.
- Works quickly to break down kitchen waste.
- Produces nutrient-rich worm castings, a highly valuable fertilizer.
- Minimal odor when managed correctly.
Cons:
- Requires specific “composting worms” (not earthworms from your garden).
- Sensitive to temperature fluctuations; needs a stable environment.
- Cannot process large amounts of yard waste.
- Some people are squeamish about worms.
Tip: Start with a simple kit and learn about your worms’ needs. They love fruit and veggie scraps but avoid citrus and onions in large quantities. For more, the USDA Agricultural Research Service has also published on vermicomposting research.
4. Bokashi Composting (The Pickling Process)
Bokashi is a unique fermentation process that can be done entirely indoors. It uses an anaerobic (without oxygen) fermentation method with a special Bokashi bran inoculated with effective microorganisms. It pickles your food waste rather than decomposing it. The end product needs to be buried or added to a traditional compost pile to fully break down, but it’s incredibly effective at handling materials that traditional composting can’t, like meat and dairy scraps.
Pros:
- Can compost all food scraps, including meat, dairy, and oils.
- Very fast pre-composting process (around two weeks).
- Odorless until the final burial stage.
- Produces a nutrient-rich liquid (Bokashi tea) that can be used as fertilizer.
- Space-efficient; can be done in a small kitchen.
Cons:
- Requires purchasing Bokashi bran.
- The fermented material is acidic and needs further decomposition in soil or a compost pile.
- The bin needs to be airtight.
Tip: You can often find Bokashi kits online or at garden supply stores. It’s a great way to reduce the volume of waste going to landfill, especially if you have strict rules about what you can compost traditionally.
5. Trench Composting (The No-Bin Method)
This is about as simple as it gets and requires no special equipment. You simply dig a trench or hole in your garden, add your kitchen scraps and organic waste, and cover it up with soil. The materials then decompose directly in the ground.
Pros:
- Extremely simple and requires no bin.
- No turning or active management needed.
- Adds nutrients directly to the soil where plants can use them.
- Keeps waste out of sight and deters pests.
Cons:
- Cannot be used during freezing weather if the ground is hard.
- Takes longer for materials to break down compared to active composting.
- You need garden space to dig into.
- Cannot handle large volumes of waste quickly.
Tip: Dig trenches away from plant roots initially to avoid “burning” them with fresh, decomposing material. Aim for a depth of about 12 inches and cover with at least 6 inches of soil.
Essential Tools for the Aspiring Composter
While you can get by with just your hands and a pitchfork, a few simple tools can make the composting process much easier and more efficient.
- Pitchfork or Garden Fork: Essential for turning your compost pile. It helps aerate the material, which speeds up decomposition and prevents anaerobic conditions (and smells!).
- Shovel: Useful for moving compost around, burying new materials in a trench, or filling your bin.
- Gloves: Keeps your hands clean and protected.
- Watering Can or Hose: Compost needs to be kept moist, like a wrung-out sponge. A watering can or hose is crucial for adding water when it gets too dry.
- Kitchen Countertop Caddy: A small lidded container you keep in your kitchen to collect food scraps before taking them to your main compost bin. It makes the process much tidier.
- Shredder (Optional): If you have a lot of cardboard or paper to compost, a shredder can speed up the process significantly by breaking down larger items.
- Strainer or Sieve (Optional): For sifting finished compost to remove any larger, uncomposted bits.
The Composting Process: Tips for Success
No matter which method you choose, there are a few universal tips to help your compost break down efficiently and without fuss.
1. Balance Greens and Browns
We touched on this earlier, but it’s worth repeating. A good rule of thumb is to aim for a ratio of about 2-3 parts browns to 1 part greens by volume. If your pile is too wet and smells like ammonia, you likely have too many greens. Add more browns. If it’s dry, dusty, and not heating up, add more greens and some water.
2. Keep it Moist
Your compost pile should be as moist as a wrung-out sponge. Too dry, and the decomposition microbes will slow down or stop. Too wet, and you’ll get anaerobic conditions, leading to unpleasant odors and slow breakdown. Check the moisture regularly, especially during dry or hot weather, and add water as needed. If it’s too wet, add more brown materials to absorb excess moisture.
3. Aerate Regularly (Turn Your Pile!)
Composting is an aerobic process, meaning it requires oxygen. Turning your compost pile introduces air, balances moisture, and helps distribute heat and microorganisms. Aim to turn your pile every 1-4 weeks, depending on your method. Tumblers make this easy, but for static piles, use your pitchfork!
4. Chop it Up
Smaller pieces break down much faster. If you’re tossing in whole vegetable stalks or large branches, they’ll take a long time to decompose. Chop or shred larger items into smaller pieces before adding them to your bin.
5. Be Patient and Observe
Composting takes time. Depending on the method, the materials you use, and the weather, it can take anywhere from a few months to a year to get finished compost. Don’t get discouraged! Observe your pile. Is it too wet? Too dry? Smelly? The more you pay attention, the better you’ll get at troubleshooting and achieving that perfect black gold.
Troubleshooting Common Composting Issues
Even with the best intentions, you might run into a snag or two. Here’s how to fix some common problems:
Problem: My compost pile smells bad (like rotten eggs or ammonia).
- Cause: Too wet and/or too many green materials (nitrogen-rich). This indicates anaerobic conditions.
- Solution: Add more brown materials (dry leaves, shredded paper/cardboard) to absorb moisture and balance the greens. Turn the pile thoroughly to introduce air. If it’s excessively wet, try to remove some of the excess moisture manually before adding browns.
Problem: My compost pile isn’t heating up and isn’t breaking down.
- Cause: Too dry, not enough green materials, or not enough air.
- Solution: Add water until it’s consistently moist like a wrung-out sponge. Add more green materials (kitchen scraps, grass clippings) to provide nitrogen. Turn the pile to introduce air. Make sure the pile is large enough to retain heat (ideally at least 3x3x3 feet for traditional piles).
Problem: I’m attracting pests (rodents, flies).
- Cause: Usually due to adding prohibited items like meat, dairy, or oily foods, or if the pile is too wet and accessible.
- Solution: Ensure you are only adding approved materials. Bury fresh kitchen scraps deep within the pile, especially if using an open bin or pile. Ensure your bin has a lid or is constructed in a way that prevents easy access. Tumblers are excellent for deterring pests.
Problem: The material is still in large pieces after many months.
- Cause: Items were too large to begin with, pile wasn’t turned enough, or it wasn’t moist enough.
- Solution: Chop or shred materials into smaller pieces before adding them. Turn the pile more frequently. Ensure consistent moisture levels. You might need to make a new pile with this material and let it continue breaking down.
What Finished Compost Looks Like
Knowing when your compost is ready is important. Finished compost will:
- Look dark brown to black.
- Smell earthy and pleasant, like a forest floor after rain.
- Feel crumbly and uniform in texture.
- No longer contain recognizable food scraps or yard waste.
- Be cool to the touch – the high-temperature phase of decomposition will be complete.
If there are still recognizable items, you can either bury them in a new compost pile or give them a final sift and return any remaining bits to the active bin. You might divide your compost pile into active (where you add new materials) and finishing (where materials are left to cure) sections in a multi-chamber bin or by creating two piles.
Understanding Compost Ratios and Thermophilic vs. Mesophilic Decomposition
For those who love a bit more detail, let’s briefly touch on the science. Composting relies on microorganisms, and their activity is influenced by temperature and the C:N (Carbon to Nitrogen) ratio. This is where those “browns” and “greens” come in.
Carbon to Nitrogen (C:N) Ratio:
Microorganisms need both carbon (for energy) and nitrogen (for protein and reproduction). Ideal compost piles aim for a C:N ratio between 25:1 and 30:1. This is achieved by balancing your brown (high carbon) and green (high nitrogen) materials. Too much nitrogen and you get ammonia; too much carbon and the decomposition slows down significantly.
Thermophilic Composting:
This is the “hot” composting method. When you achieve the right balance of greens and browns, sufficient moisture, and aeration in a pile that’s at least 3x3x3 feet, the microorganisms proliferate rapidly. This generates high temperatures (131°F to 160°F or 55°C to 70°C). This hot phase is great because it kills weed seeds and pathogens, and it breaks down materials much faster. This is typically what happens in well-managed enclosed bins or tumblers.
Mesophilic Composting:
This is the “cool” composting phase that occurs at moderate temperatures (50°F to 95°F or 10°C to 35°C). It’s the stage that follows the thermophilic phase or occurs in piles that never get hot enough. Microorganisms present in this phase continue the decomposition process, albeit more slowly. Worms and other larger organisms also become more active during this phase.
While you don’t need to be a scientist to compost, understanding these concepts can help when troubleshooting or aiming for faster results. For most home composters, focusing on the green/brown balance, moisture, and aeration is more than enough to get fantastic results!
A Table of What to Compost and What Not To
To make it super clear, here’s a quick reference table:
| Compostable (Yes!) | Non-Compostable (No!) |
|---|---|
| Fruit & Vegetable Scraps | Meat, Fish, Bones |
| Coffee Grounds & Filters | Dairy Products (Cheese, Yogurt, Milk) |
| Tea Bags (remove staples) | Oily or Greasy Foods |
| Eggshells (crushed) | Diseased Plants |
| Grass & Plant Clippings | Weeds Gone to Seed |
| Leaves & Yard Trimmings | Pet Waste (Dog, Cat) |
| Shredded Newspaper & Cardboard | Treated Wood/Sawdust |
| Straw & Hay | Coal Ash |
| Wood Chips (untreated) | Synthetic Materials |
| Herbivore Manure | Glossy or Colored Paper |
Conclusion: Go Forth and Compost!
See? Home composting isn’t scary or overly complicated. It’s a natural, rewarding process that benefits your garden, your wallet, and the planet. Whether you have a large yard or a tiny balcony, there’s a composting method here that can work for you. Start small, learn as you go, and don’t be afraid to experiment a little.
By turning your kitchen scraps and yard waste into nutrient-rich compost, you’re closing the loop and creating something truly valuable. So, pick an idea that sparks your interest, gather a few simple tools, and give it a whirl. Your plants, and your future self, will thank you!
Frequently Asked Questions (FAQ)
How long does it take to make compost?
It varies! A fast-composting system like a hot pile or a tumbler can produce compost in as little as 4-8 weeks. Slower methods, like a simple pile or trench composting, can take 6-12 months or even longer. It depends on your method, the materials used, and how actively you manage it (turning, moisture).
Do I need a special bin?
No, you don’t need a special bin, but it can help! You can successfully compost in a simple pile on the ground. However, a bin (bought or DIY) helps contain materials, retain heat and moisture, and look tidier. Tumblers are excellent for faster composting and pest deterrence. Worm bins are specific for vermicomposting. Trench composting requires no bin at all.
What if my compost smells bad?
Bad smells (like rotten eggs or ammonia) usually mean your compost is too wet and/or has too many nitrogen-rich “greens.” This leads to anaerobic (without oxygen) decomposition. To fix it, add dry “brown” materials like shredded cardboard, dry leaves, or straw. Turn the pile thoroughly to introduce air and help it dry out.
Can I compost meat and dairy?
Generally, it’s best for beginner home composters to avoid meat, fish, bones, and dairy products in traditional compost piles. These items can attract pests (like rodents) and create strong, unpleasant odors. If you want to compost these items, consider Bokashi composting or a very well-managed, hot-composting system that can reach high temperatures to kill pathogens.
How much compost do I need to produce?
It depends on your needs! A typical household can produce 5-10 pounds of food waste per week. If you have a garden, even a small one, you’ll find that compost is incredibly useful and you can use as much as you make. Many people find they can consistently use all the compost they produce for their gardens, houseplants, or to share with neighbors.
What are “greens” and “browns”?
“Greens” are nitrogen-rich materials that are typically moist, like fruit and vegetable scraps, coffee grounds, and fresh grass clippings. They help heat up the pile. “Browns” are carbon-rich materials that are usually dry, like dry leaves, shredded newspaper, cardboard, and straw. They provide energy for the microbes and help with aeration. Balancing them is key to good composting.

I am passionate about home engineering. I specialize in designing, installing, and maintaining heating, ventilation, and air conditioning systems. My goal is to help people stay comfortable in their homes all year long.