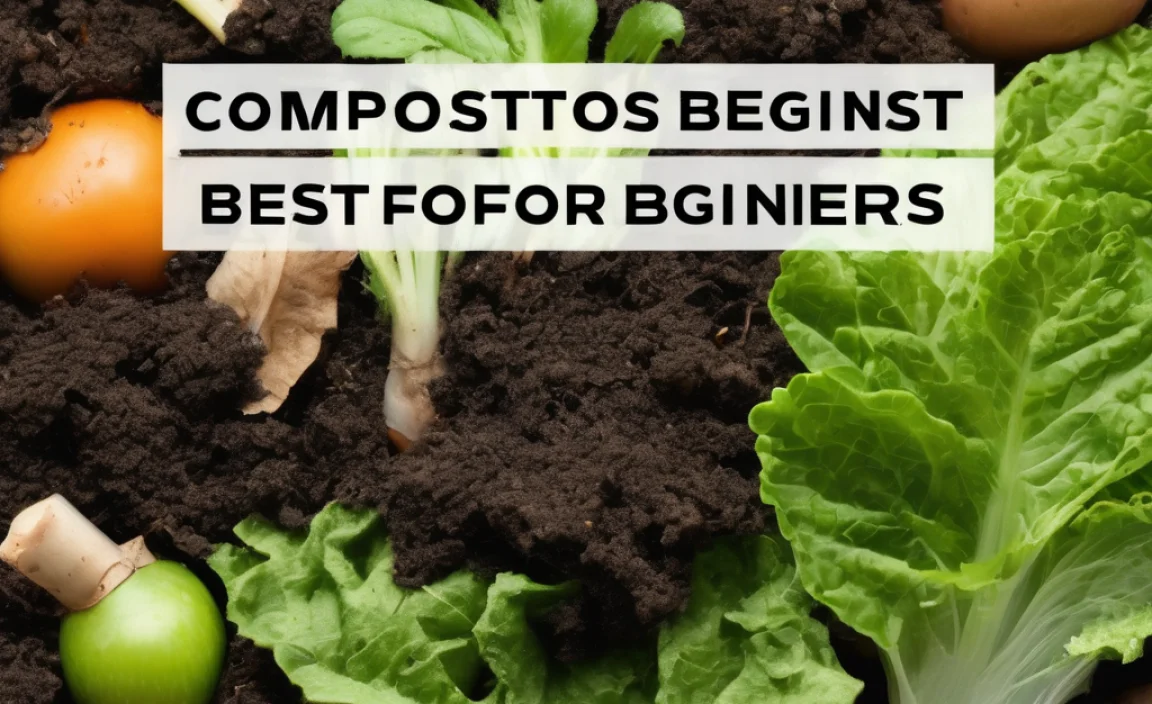
Got kitchen scraps? Cardboard boxes? Annoyed by all that waste heading to the landfill? You’re not alone! Many of us want to do better for our gardens and the planet but feel a little lost about where to start with composting. It seems complicated, right? Don’t sweat it! This guide is here to break down home composting into super simple steps. We’ll show you how to turn that “waste” into garden gold, and yes, we’ll even point you to a handy home composting PDF to keep handy!
Your Genius Gardening Solution Starts Here: The Magic of Home Composting
Hey there, neighbor! Troy D Harn here from TopChooser. I’ve seen a lot of folks look at a pile of yard trimmings or onion peels and scratch their heads, wondering what to do with it all. The good news? You can easily transform that stuff into something amazing for your garden. I’m talking about compost – black, crumbly, nutrient-rich magic that makes plants happy and healthy. It’s like a superfood for your soil!
Think of it this way: plants need food, just like we do. Compost is nature’s way of providing that food, packed with everything they need to grow strong and produce more flowers or veggies. And the best part? You can make it right at your home, reducing waste and saving a few bucks on store-bought fertilizers. It’s a win-win!
We’re going to walk through this together, step-by-step. No fancy gardening lingo, just practical advice. By the end of this, you’ll feel confident about starting your own composting journey and might even find yourself eager to download a helpful home composting PDF for quick reference. Let’s dig in!
Why Bother with Composting? The Amazing Perks!

Before we get our hands dirty, let’s talk about why home composting is such a brilliant idea. It’s not just about being a good eco-citizen (though that’s pretty awesome!). There are real, tangible benefits for your garden and your wallet.
Boosts Your Garden’s Health Dramatically
- Nutrient Powerhouse: Compost is teeming with beneficial microorganisms, fungi, and nutrients that plants soak up like a sponge. It’s packed with nitrogen, phosphorus, and potassium – the big three for plant growth.
- Improves Soil Structure: Whether you have clay soil that’s hard as a brick or sandy soil that drains too fast, compost helps. It loosens up clay, making it easier for roots to grow and water to penetrate. For sandy soil, it helps retain moisture and nutrients.
- Healthy Roots, Healthy Plants: Better soil means stronger, healthier root systems. This makes your plants more resilient against pests, diseases, and harsh weather conditions.
- Encourages Beneficial Microbes: Compost reintroduces living organisms to your soil, creating a vibrant ecosystem that helps plants thrive naturally.
Reduces Household Waste
- Did you know that a significant portion of household trash is actually organic material that could be composted? Think fruit peels, vegetable scraps, coffee grounds, and yard waste.
- By composting these items, you divert them from landfills, where they can produce methane, a potent greenhouse gas. This is a simple yet effective way to shrink your environmental footprint. A report by the Environmental Protection Agency (EPA) highlights how much valuable material is landfilled that could be reused.
Saves You Money
- Store-bought fertilizers and soil amendments can add up quickly. Making your own compost is essentially free!
- You’ll be giving your garden the nutrients it needs without buying expensive bags of plant food.
It’s Surprisingly Simple!
Seriously, you don’t need to be a science whiz or have a huge amount of space. We’ll break down how to get started with minimal fuss.
Getting Started: Your Composting Toolkit
Let’s talk about what you’ll need. The good news is you probably already have most of this, or it’s super inexpensive to get.
Choosing Your Composting Bin: Options Galore!
This is where you’ll build your compost pile. You have a few choices, depending on your space and how hands-on you want to be:
1. Open Pile Composting
Best for: Those with ample yard space.
What it is: Simply creating a designated pile in a corner of your yard. You don’t even need a formal bin. Just start layering your materials.
Pros: Easiest to start, no cost for a bin, can handle large volumes.
Cons: Can look a bit messy, might attract some critters if not managed well, can dry out or get too wet more easily.
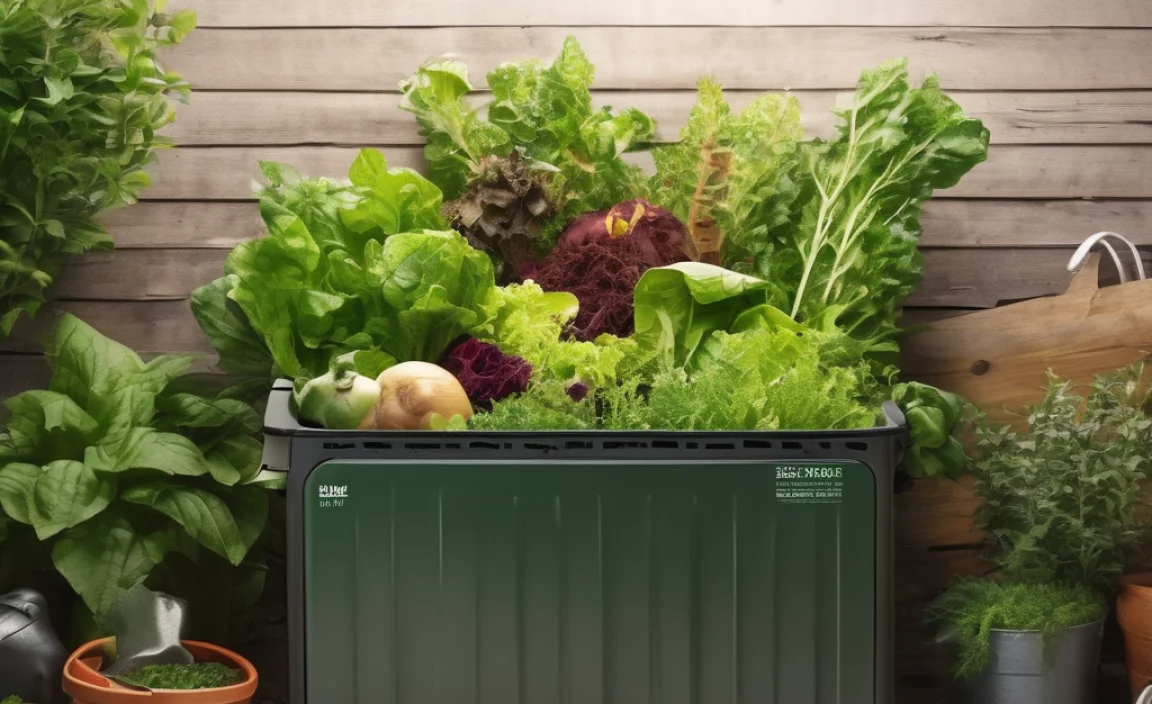
2. Enclosed Bins (Tumblers or Stationary)
Best for: Smaller yards, neat freaks, and those wanting to speed up the process.
What it is: These are containers specifically designed for composting. They can be stationary (like a large plastic bin with a lid and aeration holes) or tumblers (which are like barrels on stands that you can spin to mix the contents).
Pros: Neater appearance, can deter pests, tumblers make turning easy, stationary bins often retain moisture and heat well.
Cons: Can be more expensive, might have capacity limits, tumblers can be heavy when full.
Where to find them: You can often find good quality composting bins at your local garden center, home improvement stores, or online retailers like Amazon. For a budget-friendly option, check out your municipality’s website – some offer subsidized compost bins for residents!
Essential Tools (The Bare Minimum!)
You don’t need a shed full of gadgets. Here are the basics:
- A Pitchfork or Garden Fork: This is your main tool for turning and aerating the compost pile. It helps mix the ingredients and lets air in.
- A Shovel: Useful for moving materials in and out of the bin and for covering food scraps.
- A Hose with a Spray Nozzle: You’ll need to keep your compost pile moist, like a wrung-out sponge.
- A Kitchen Caddy/Scrap Bin: A small container with a lid to collect your kitchen scraps before you take them out to the main compost bin.
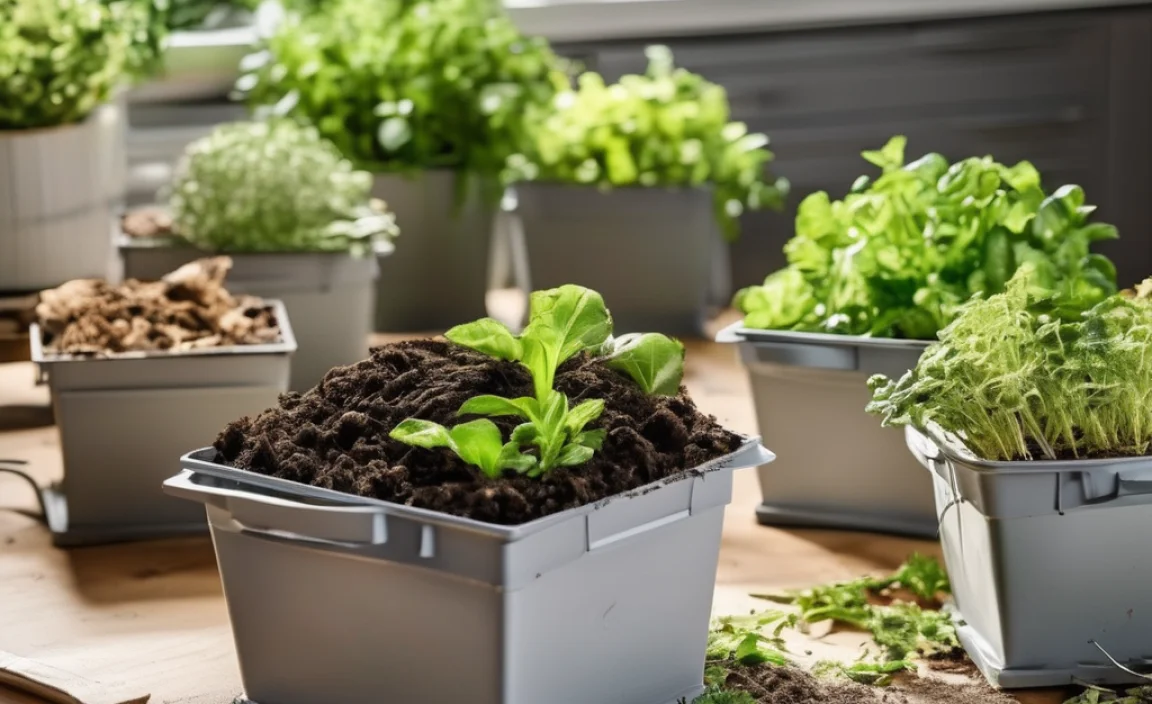
The Secret Sauce: What Goes Into Your Compost Bin?

Composting is all about creating the right balance of “greens” and “browns.” Think of it like a recipe your compost microbes will love!
Greens (Nitrogen-Rich Materials)
These are typically moist, fresh materials that provide nitrogen. They heat up the compost pile and feed the microbes.
- Fruit scraps (peels, cores, rinds)
- Vegetable scraps (stems, leaves, peels)
- Coffee grounds and paper filters
- Tea bags (remove staples if any)
- Grass clippings (in thin layers to avoid matting)
- Plant trimmings (fresh, non-diseased)
- Eggshells (crushed)
Browns (Carbon-Rich Materials)
These are drier, woody materials that provide carbon and help with aeration. They prevent the pile from getting too dense and smelly.
- Dry leaves
- Shredded newspaper and plain cardboard (avoid glossy or colored inks)
- Straw or hay
- Wood chips or sawdust (use sparingly)
- Twigs and small branches (chopped up)
- Pine needles (use sparingly, as they can be acidic)
The Ideal Ratio: Aim for Balance!
While it’s not an exact science, a good starting ratio is roughly 2 parts Browns to 1 part Greens. If your pile seems too wet and smells like ammonia, you need more Browns. If it’s dry and not heating up, you need more Greens.
What NOT to Compost (The Don’ts!)
Some things should stay out of your compost bin to avoid attracting pests, spreading disease, or creating unpleasant odors:
- Meat, fish, and dairy products: These can attract rodents and other scavengers and create foul odors.
- Oily or greasy foods: Similar to meat products, these can cause smells and attract pests.
- Diseased plants: You don’t want to spread plant diseases back into your garden.
- Weeds that have gone to seed: Unless your compost pile gets very hot, weed seeds can survive and sprout in your garden.
- Pet waste (dog or cat feces): These can contain pathogens that are harmful to humans.
- Treated wood or coal ash: These can contain harmful chemicals.
- Glossy or heavily inked paper/cardboard: The inks can be toxic.
Sticking to these guidelines will ensure your compost is safe and effective for your garden.
Step-by-Step: Building Your Perfect Compost Mix
Ready to get started? Here’s how to build your compost pile, layer by layer:
Step 1: Choose Your Location
Find a convenient spot for your bin or pile. It should be:
- Accessible: Easy to get to with your kitchen scraps and garden waste.
- Well-drained: Avoid areas that get waterlogged.
- Partially shaded: Direct sun can dry out the pile too quickly, while deep shade might keep it too cool and wet.
- Close to a water source: For easy watering.
Step 2: Start with a Base Layer of Browns
Begin by adding a layer of coarse Brown materials (like twigs or wood chips) at the bottom. This helps with drainage and airflow.
Step 3: Alternate Layers of Greens and Browns
This is the core of building your pile. Think of it like making a lasagna:
- Add a layer of Green materials (e.g., kitchen scraps, grass clippings).
- Cover that layer with a thicker layer of Brown materials (e.g., dry leaves, shredded newspaper).
- Continue layering, trying to maintain that roughly 2:1 Browns to Greens ratio.
Always try to finish with a layer of Browns on top. This acts as a natural cover, helping to keep pests away and reduce odors.
Step 4: Moisten as You Go
Each time you add new materials, give them a light watering. The goal is for the pile to be as moist as a damp sponge – not dripping wet, but not bone dry.
Step 5: Aerate Your Pile (Turning the Compost)
This is crucial for speeding up decomposition and preventing odors. Aim to turn your compost pile every 1-4 weeks.
- Using your pitchfork, mix the outer layers into the center and the inner layers to the outside.
- If you have a compost tumbler, simply give it a few spins.
- Turning introduces oxygen, which the helpful microbes need to do their work efficiently.
Step 6: Be Patient! What to Expect
Composting takes time. Depending on the materials you use, the weather, and how often you turn it, it can take anywhere from a few months to a year to get finished compost. You’ll know it’s ready when:
- It’s dark brown or black.
- It has a pleasant, earthy smell.
- The original materials are no longer recognizable.
- It feels crumbly and light.
When it’s ready, you can use a sieve to remove any large chunks that haven’t broken down yet. You can add these back into a new compost pile to continue decomposing.
Troubleshooting Common Composting Potholes
Even with the best intentions, sometimes things don’t go perfectly. Here are common issues and how to fix them:
Problem: My Compost Pile Smells Bad!
Likely Cause: Too much nitrogen (too many Greens) or not enough air. This can lead to anaerobic decomposition (rotting without oxygen), which produces stinky gases.
Solution:
- Add more Browns: Layer in dry leaves, shredded cardboard, or straw to absorb excess moisture and balance the nitrogen.
- Turn the pile: More frequent turning will introduce oxygen and help the smell dissipate.
- Avoid meat/dairy: Double-check that you haven’t accidentally added prohibited items.
Problem: My Compost Pile Isn’t Heating Up (or Decomposing)
Likely Cause: Too many Browns, not enough Greens, or it’s too dry.
Solution:
- Add more Greens: Introduce fresh grass clippings, fruit/vegetable scraps, or coffee grounds.
- Add water: Moisten the dry areas. Remember, it should be like a damp sponge.
- Turn the pile: Stirring everything together can help activate decomposition.
- Chop materials smaller: Smaller pieces break down faster.
Problem: I See Pests (Rats, Flies, etc.)
Likely Cause: Improperly covered food scraps, or the presence of meat/dairy/oils.
Solution:
- Bury food scraps: Always cover fresh kitchen scraps with a layer of Brown materials.
- Avoid prohibited items: Make sure no meat, dairy, or greasy foods are in the bin.
- Use an enclosed bin: Tumblers or bins with tight-fitting lids are excellent for deterring pests.
- Maintain moisture: Some pests are attracted to dry piles; a moist pile is less appealing.
Problem: My Compost is Too Wet and Slimy
Likely Cause: Too many Greens or not enough aeration.
Solution:
- Add Browns: Mix in shredded paper, cardboard, dry leaves, or sawdust.
- Turn the pile: More turning will help dry it out and improve airflow.
- Ensure good drainage: If using a bin, make sure drain holes aren’t blocked.
Making Your Own Home Composting PDF
While there are fantastic home composting PDF guides available online from reputable sources (like your local University Extension offices or the EPA), you can also create your own simplified version for easy reference!
How to Create Your DIY Home Composting PDF:
- Gather Key Information: Print out or copy/paste the most important sections from this guide and other reliable sources. Focus on the “What to Compost,” “What NOT to Compost,” “Ideal Ratio,” and “Troubleshooting” sections.
- Add Your Notes: Jot down any specific observations from your own composting journey. What works best for you? What times of year are most challenging?
- Include Pictures: If you have photos of your bin, your compost at different stages, or examples of good Greens/Browns, add them in! Visual aids are super helpful.
- Use a Document Editor: Type up your compiled information into a program like Microsoft Word, Google Docs, or even a simple text editor.
- Format for Usability: Use clear headings, bullet points, and simple language. Break up long paragraphs. Make it easy to scan.
- Save as PDF: Once your document looks good, use the “Save As” or “Export” function to save it as a PDF file.
- Keep it Handy: Save the PDF to your phone, tablet, or computer so you can quickly reference it when you’re adding materials to your bin or trying to solve a problem.
Having a personalized home composting PDF means the advice you need is always at your fingertips, tailored to your gardening style and setup.
Using Your Finished Compost: The Grand Finale!
You’ve done it! Your patience and effort have paid off. Now comes the best part: using your homemade black gold.
How to Use Compost in Your Garden:
- Soil Amendment: Mix compost into your garden beds before planting. A layer of 2-4 inches worked into the top 6-8 inches of soil is a great start.
- Mulch: Spread a 1-2 inch layer of compost around plants, shrubs, and trees. This helps retain moisture, suppress weeds, and slowly feeds the plants.
- Top Dressing
.lwrp.link-whisper-related-posts{
margin-top: 40px;
margin-bottom: 30px;
}
.lwrp .lwrp-title{}.lwrp .lwrp-description{
}
.lwrp .lwrp-list-container{
}
.lwrp .lwrp-list-multi-container{
display: flex;
}
.lwrp .lwrp-list-double{
width: 48%;
}
.lwrp .lwrp-list-triple{
width: 32%;
}
.lwrp .lwrp-list-row-container{
display: flex;
justify-content: space-between;
}
.lwrp .lwrp-list-row-container .lwrp-list-item{
width: calc(25% – 20px);
}
.lwrp .lwrp-list-item:not(.lwrp-no-posts-message-item){max-width: 150px;
}
.lwrp .lwrp-list-item img{
max-width: 100%;
height: auto;
object-fit: cover;
aspect-ratio: 1 / 1;
}
.lwrp .lwrp-list-item.lwrp-empty-list-item{
background: initial !important;
}
.lwrp .lwrp-list-item .lwrp-list-link .lwrp-list-link-title-text,
.lwrp .lwrp-list-item .lwrp-list-no-posts-message{}@media screen and (max-width: 480px) {
.lwrp.link-whisper-related-posts{}
.lwrp .lwrp-title{}.lwrp .lwrp-description{
}
.lwrp .lwrp-list-multi-container{
flex-direction: column;
}
.lwrp .lwrp-list-multi-container ul.lwrp-list{
margin-top: 0px;
margin-bottom: 0px;
padding-top: 0px;
padding-bottom: 0px;
}
.lwrp .lwrp-list-double,
.lwrp .lwrp-list-triple{
width: 100%;
}
.lwrp .lwrp-list-row-container{
justify-content: initial;
flex-direction: column;
}
.lwrp .lwrp-list-row-container .lwrp-list-item{
width: 100%;
}
.lwrp .lwrp-list-item:not(.lwrp-no-posts-message-item){max-width: initial;
}
.lwrp .lwrp-list-item .lwrp-list-link .lwrp-list-link-title-text,
.lwrp .lwrp-list-item .lwrp-list-no-posts-message{};
}

I am passionate about home engineering. I specialize in designing, installing, and maintaining heating, ventilation, and air conditioning systems. My goal is to help people stay comfortable in their homes all year long.