Ever feel like your kitchen scraps and yard trimmings just pile up? You’re not alone! Dealing with food waste can be a bit of a hassle. But what if I told you there’s a super simple way to turn that waste into something amazing for your garden? It’s called composting, and it’s much easier than you might think. We’re going to walk through the whole home composting process, step-by-step, so you can get started today. You’ll learn exactly what you need and how to do it, without any confusing jargon. Get ready to create your own ‘black gold’ and give your plants a nutrient boost!
Your Effortless Guide to the Home Composting Process
Hey there, fellow home enthusiasts! Troy D Harn here, your go-to guy for making tricky tasks feel like a walk in the park. Today, we’re diving into the wonderful world of home composting. If you’ve ever looked at your banana peels and coffee grounds and thought, “There’s got to be a better way,” then you’re in the right place. Composting is like magic for your garden, turning waste into treasure. It sounds complicated, but trust me, it’s totally doable for anyone, even if you’ve never gardened before. We’ll break down the whole home composting process into simple, actionable steps. Ready to turn trash into treasure?
Why bother with composting? For starters, it significantly reduces the amount of waste you send to landfills. This is great for the environment! Plus, the compost itself is a fantastic natural fertilizer for your plants, helping them grow stronger and healthier. It’s a win-win for you and Mother Earth. We’ll cover everything from choosing a bin to knowing what to toss in and what to keep out. Let’s get this composting party started!
What Exactly is Composting?
At its heart, composting is nature’s recycling program. It’s the process of breaking down organic materials—like food scraps and yard waste—into a rich, dark, soil-like substance called humus. Microorganisms, tiny critters like bacteria and fungi, do the heavy lifting. They munch away on your organic materials, decomposing them into that valuable compost. Think of it as a slow, natural decomposition process that we’re helping along.
This finished compost is pure gold for your garden. It improves soil structure, helps retain moisture, and provides essential nutrients to your plants. It’s like giving your plants a superfood smoothie! And the best part? You can do it right in your backyard or even on a smaller scale on your balcony.
Why Start Composting at Home? The Big Wins!
Let’s talk about why you’ll love composting. It’s not just about being eco-friendly (though that’s a huge perk!).
- Reduces Landfill Waste: Up to 30% of household trash can be composted. Imagine shrinking your garbage can’s contents significantly!
- Creates Nutrient-Rich Soil Amendment: Your garden will thank you with healthier, more vibrant plants. It’s the ultimate organic fertilizer.
- Saves Money: You’ll buy fewer fertilizers and soil conditioners.
- Improves Soil Health: Compost helps soil retain water, improves drainage, and adds beneficial microbes.
- Reduces Greenhouse Gas Emissions: Decomposing organic matter in landfills produces methane, a potent greenhouse gas. Composting avoids this.
- It’s Satisfying! There’s a real sense of accomplishment in turning everyday scraps into something so useful.
Choosing Your Composting System: Bin There, Done That!
The first step to mastering the home composting process is picking the right setup for your space and needs. Don’t worry; there are options for everyone!
1. The Tumbler Composter
These are enclosed, barrel-like bins that you can rotate. Tumblers are great because they speed up decomposition due to easy mixing and aeration. They also keep critters out and look quite tidy.
- Pros: Faster composting, contained, less odor, pest-resistant, easy to turn.
- Cons: Can be pricier, may have smaller capacity.
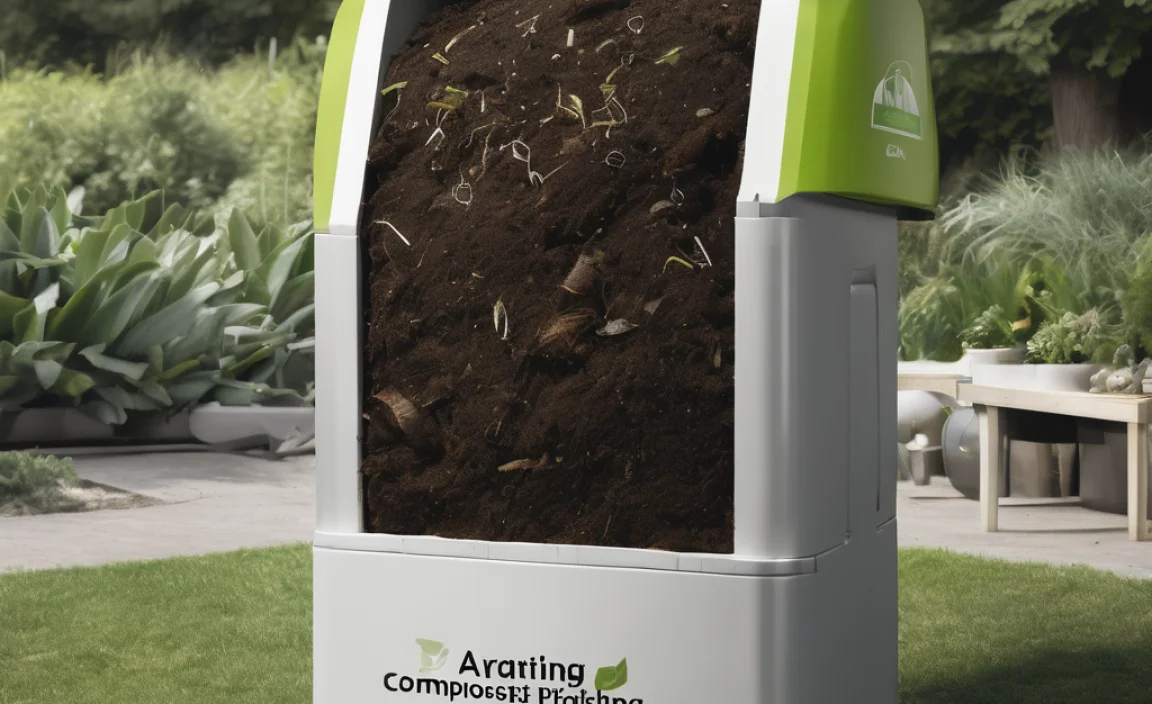
2. The Stationary Bin Composter
This is probably what most people picture. It’s a bin, often made of plastic or wood, that sits in one spot. You add materials to the top and can usually access compost from a door at the bottom. They can be store-bought or DIY.
- Pros: Large capacity, good for significant yard waste, often more affordable.
- Cons: Slower decomposition than tumblers, can be harder to aerate, might attract pests if not managed well.
3. The Open Pile Composter
The simplest method! You just create a pile in a corner of your yard. It’s free and easy to start, but it requires more space and can look a bit messy. It’s also more prone to pests and odors if not managed correctly.
- Pros: No cost, easy to start, very large capacity.
- Cons: Can look untidy, attracts pests more easily, slower decomposition, can lose heat and moisture.
4. The Worm Composter (Vermicomposting)
This is perfect for apartment dwellers or those with limited space. It uses specific types of worms (like red wigglers) to break down food scraps in a contained bin. It’s very efficient for kitchen waste but doesn’t handle yard waste.
- Pros: Great for indoor/small spaces, produces high-quality compost (worm castings), relatively fast for kitchen scraps.
- Cons: Requires special worms, can’t handle large volumes of green waste, sensitive to temperature. For more on this fascinating method, check out the EPA’s composting guide.
My Pick for Beginners: If you’re just starting, a sturdy stationary bin or a tumbler is usually the easiest route. They offer a good balance of ease of use, containment, and efficiency.
Gathering Your Composting Toolkit
You don’t need much to get started! Here are the basics:
- A Composting Bin: (See above!)
- A Pitchfork or Compost Aerator: To turn and mix your pile, which speeds up decomposition and prevents smells.
- A Shovel: For moving finished compost.
- A Kitchen Compost Caddy: A small container with a lid to collect food scraps in your kitchen before taking them to the main bin.
- Gloves: To keep your hands clean.
- Water Source: A hose or watering can.
The “Greens” and “Browns”: What Goes In?
This is the golden rule of composting: balance your greens and browns. Think of it like a diet for your composting microbes. Too much of one without the other can lead to a smelly, sludgy mess or a pile that just sits there.
“Greens” (Nitrogen-Rich Materials): These are wet, nitrogen-rich materials that provide moisture and protein for the microbes. They tend to heat up the pile.
- Fruit and vegetable scraps
- Coffee grounds and tea bags
- Grass clippings (in moderation)
- Plant trimmings (non-diseased)
- Eggshells (crushed)
“Browns” (Carbon-Rich Materials): These are dry, carbon-rich materials that provide bulk, air pockets, and energy for the microbes. They balance out the wetness of the greens.
- Dry leaves
- Shredded newspaper or cardboard (avoid glossy or colored inks)
- Straw or hay
- Small twigs and branches (chopped)
- Sawdust (from untreated wood)
- Pine needles (in moderation)
What to AVOID in Your Compost Pile
Knowing what NOT to compost is just as important as knowing what to add. These items can cause problems:
- Meat, fish, and bones
- Dairy products (cheese, yogurt, milk)
- Oily or greasy foods
- Diseased plants
- Weeds that have gone to seed (they might sprout later)
- Pet waste (dog and cat feces) – these can contain harmful pathogens.
- Chemically treated wood or yard waste
- Inorganic materials (plastic, metal, glass)
Putting these in can attract pests, create foul odors, or introduce harmful substances into your compost, rendering it unusable for your garden.
The Step-by-Step Home Composting Process
Ready to get composting? Let’s break it down:
Step 1: Choose Your Location
Find a convenient spot for your compost bin. It should be:
- Level and well-drained.
- Easily accessible to your kitchen and garden.
- Partially shaded is ideal. Too much sun can dry it out, too much shade can keep it too wet.
- Away from wooden structures if possible, as it can draw moisture.
Step 2: Start Layering Your Materials
The key to a successful compost pile is variety and balance. Begin by adding a layer of “browns” to the bottom of your bin. This helps with drainage and air circulation.
A good starting ratio is roughly 2 parts browns to 1 part greens. You don’t need to be super precise, but aim for a mix.
- Start with a 4-6 inch layer of coarse brown material like twigs or straw at the bottom.
- Add a layer of your kitchen scraps (greens).
- Cover the greens with a layer of dry brown material (leaves, shredded paper).
- Continue layering greens and browns as you add them.
Step 3: Add Water
Your compost needs to be moist, like a wrung-out sponge. Not soaking wet, not bone dry. If adding dry materials like leaves, you’ll need to add water as you layer them.
If it rains heavily, you might need to cover your bin to prevent it from becoming waterlogged. Conversely, during dry spells, you may need to water it more frequently.
Step 4: Aerate or Turn Your Compost
This is crucial for speeding up decomposition and preventing smells. Microbes need oxygen to do their work efficiently. About once a week, or whenever you add a significant amount of new material, turn the pile.
- Use your pitchfork or aerator to mix the materials thoroughly.
- Try to bring the outer materials into the center and vice versa.
- If you have a tumbler, give it a few good spins.
This “turning” process also helps regulate the temperature, which is important for good composting. A hot compost pile (130-160°F or 55-70°C) can break down materials faster and kill weed seeds and pathogens.
Step 5: Be Patient and Monitor
Composting isn’t instantaneous. The time it takes depends on several factors, including the materials used, how often you turn it, moisture levels, and the ambient temperature. It can take anywhere from a few months to a year.
You’ll know your compost is ready when it’s dark, crumbly, and smells earthy – like the forest floor after rain. You shouldn’t be able to recognize the original materials.
Step 6: Harvest Your Compost!
Once it’s ready, it’s time to reap the rewards! Depending on your bin, you can either:
- Dig out the finished compost from the bottom access door of a stationary bin.
- Empty a tumbler when a batch is ready.
- Sift through your open pile to separate finished compost from unfinished material.
Use your finished compost! Mix it into garden beds, spread it around trees and shrubs, or add it to potting soil. You’ve just created “black gold” from waste!
Troubleshooting Common Composting Issues
Even with the best intentions, you might run into a snag. Here are a few common problems and how to fix them:
Problem: The pile smells bad (like rotten eggs or ammonia).
Cause: Too many “greens” or not enough air.
Solution: Add more “brown” carbon-rich materials (leaves, shredded paper) and turn the pile thoroughly to introduce air.
Problem: The pile is too wet and slimy.
Cause: Too much moisture, often from too many kitchen scraps or excessive rain.
Solution: Add more dry “browns” and turn the pile. If it’s very wet, you might need to cover it during rainy spells. Ensure good drainage in your bin location.
Problem: The pile is too dry and not breaking down.
Cause: Not enough moisture.
Solution: Add water. Use your hose or watering can to moisten the materials, then turn the pile to distribute the moisture evenly. Aim for that wrung-out sponge consistency.
Problem: Pests (flies, rodents).
Cause: Exposed food scraps, meat/dairy products, or improper bin management.
Solution: Ensure your bin is sealed or covered. Always bury kitchen scraps deep within the pile and cover them with brown material. Avoid adding meat, dairy, or oily foods. A tumbler is often best for deterring pests.
Problem: The pile is cold and not decomposing.
Cause: Too small, not enough nitrogen (“greens”), or poor aeration.
Solution: Make sure your pile is at least 3x3x3 feet if it’s an open pile or bin. Add more nitrogen-rich “greens” if it’s mostly browns. Turn the pile to introduce air and mix materials.
Composting in Different Environments
Your composting journey might look a bit different depending on where you live:
Backyard Composting
This is the most common scenario. You have the space for a bin or an open pile. The process is exactly as described above, focusing on balancing greens and browns, moisture, and aeration. Many homeowners find a stationary bin or a tumbler works best for managing yard waste and kitchen scraps efficiently.
Small Space Composting (Balconies, Patios)
Don’t have a backyard? No problem!
- Worm Composting (Vermicomposting): As mentioned, this is ideal for small spaces. You can buy specialized worm bins or even build your own. Worm castings are incredibly nutrient-dense.
- Compact Tumblers: Smaller versions of regular tumblers are available that are perfect for patios.
- Bokashi Composting: This is a fermentation process that pre-composts food scraps, including meat and dairy, which are then buried in soil or added to a traditional compost bin to finish. It’s a good pre-composting step for small spaces.
For more on reducing food waste, the EPA offers great tips.
The Ideal Compost Mix: A Quick Reference
To make things super clear, here’s a handy table to show you the balance:
| Greens (Nitrogen-Rich) | Approximate Ratio | Browns (Carbon-Rich) | Approximate Ratio |
|---|---|---|---|
| Fruit & Vegetable Scraps | 1 part | Dry Leaves | 2 parts |
| Grass Clippings | 1 part | Shredded Newspaper/Cardboard | 2 parts |
| Coffee Grounds & Tea Bags | 1 part | Straw/Hay | 2 parts |
| Plant Trimmings (Non-diseased) | 1 part | Small Twigs/Wood Chips | 2 parts |
| Eggshells (crushed) | – | Sawdust (untreated) | – |
Remember, this is a guideline! Your compost pile will tell you what it needs. If it smells, add browns. If it’s dry, add water. The more you compost, the more intuitive it becomes.
When is Compost Ready? The Signs of Black Gold
You’ll know your compost is ready to use when it:
- Looks uniform: It should be a dark, earthy brown color with a crumbly texture.
- Smells earthy:

I am passionate about home engineering. I specialize in designing, installing, and maintaining heating, ventilation, and air conditioning systems. My goal is to help people stay comfortable in their homes all year long.