Feeling a bit overwhelmed by all those kitchen scraps and yard waste? You’re not alone! Many of us want to be more eco-friendly and reduce what goes into the landfill, but the thought of home composting can seem… complicated. Don’t worry, it’s much simpler than you might think! This guide will break it all down, step-by-step, so you can start turning your “waste” into garden gold. We’ll cover everything from choosing a bin to knowing what to toss in, making it easy and even a little fun. Ready to transform your trash into treasure?
Home Composting Tips: Your Essential Beginner’s Guide
Hey there, fellow home improvers and garden enthusiasts! Troy D Harn here, your go-to guy for making DIY, gardening, and home projects wonderfully simple. Today, we’re diving into the fantastic world of home composting. If you’ve ever looked at your banana peels, coffee grounds, or grass clippings and wondered, “Can this really be useful?” – the answer is a resounding YES!
Home composting is one of the easiest and most rewarding ways to reduce waste, enrich your soil, and give your garden a super-boost. It might sound a bit technical, but trust me, it’s not. Think of it like cooking for your soil. We’re going to cover the basics, from picking the right spot and bin to what food scraps your compost pile will absolutely love, and which ones to keep out. By the end of this guide, you’ll have all the confidence you need to start your own composting journey.
Why Start Composting at Home?
Before we get our hands dirty, let’s chat about why composting is such a big deal for your home and the planet.
- Reduces Landfill Waste: Food scraps and yard waste make up a significant portion of household trash. Composting diverts this material, lessening the burden on landfills. Less waste in landfills means less methane gas, a powerful greenhouse gas.
- Creates Amazing Soil: Finished compost, often called “black gold,” is packed with nutrients. It improves soil structure, drainage, and aeration, helping your plants grow healthier and stronger.
- Saves Money: No need to buy expensive fertilizers or soil amendments when you have your own free, nutrient-rich compost. Your garden will thank you, and so will your wallet.
- Environmentally Friendly: Composting is a natural process that recycles organic matter. It closes the loop, turning waste into a valuable resource.
- Reduces Need for Chemical Fertilizers: Relying on compost means you can often skip or reduce the use of synthetic fertilizers, which can be harmful to the environment and your health.
Getting Started: What You Need
The great news is you don’t need a huge backyard or fancy equipment to start composting. Here’s what you’ll need to consider:
1. Choosing Your Composting Method/Bin
There are several ways to compost, and the best one for you depends on your space, how much waste you generate, and how quickly you want compost.
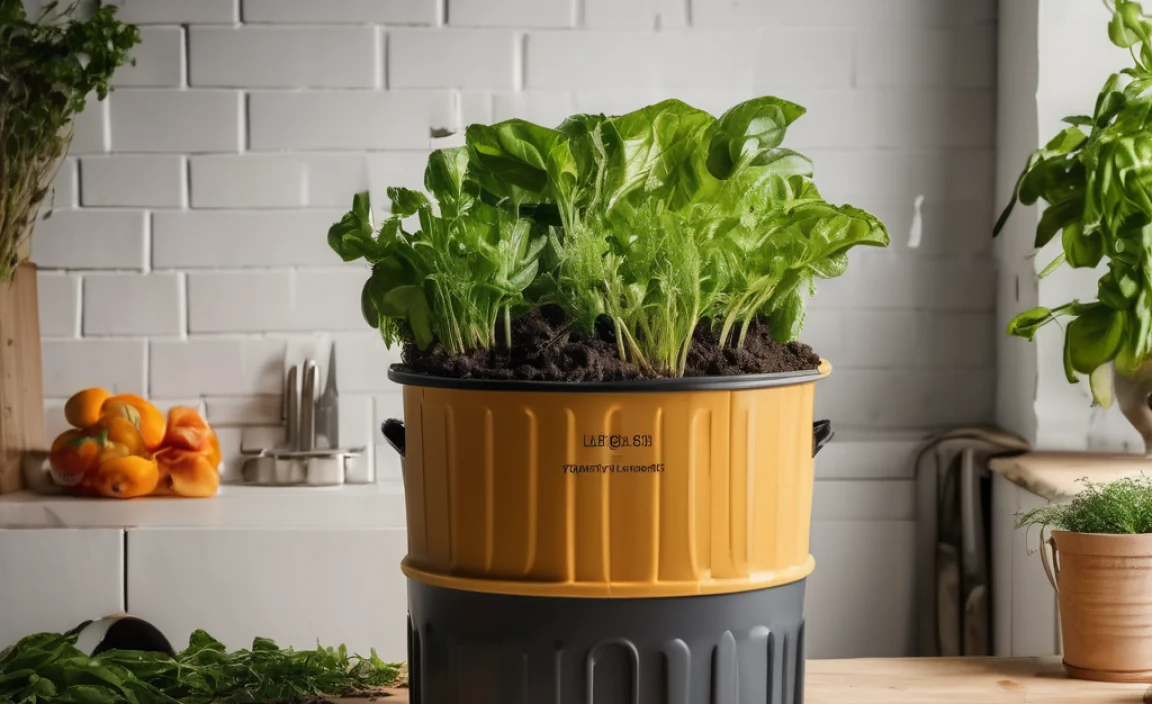
a) Outdoor Compost Bins: These are the most common. They can be enclosed bins (tumblers or stationary bins) or open piles.
- Stationary Bins: These are typically a contained structure, often square or cylindrical, made of wood, plastic, or wire mesh. They’re great for holding a good amount of material and can look tidier. Some have lids to keep out pests and moisture.
- Compost Tumblers: These are enclosed barrels mounted on an axle or stand, designed to be rotated easily. Tumblers speed up the composting process because they make turning the material simple and help retain heat and moisture. They’re also generally more rodent-proof.
- Open Piles: If you have plenty of space and aren’t worried about aesthetics or pests, you can simply create a pile in a corner of your yard. This is the simplest and cheapest option, but it can take longer and might attract critters if not managed well.
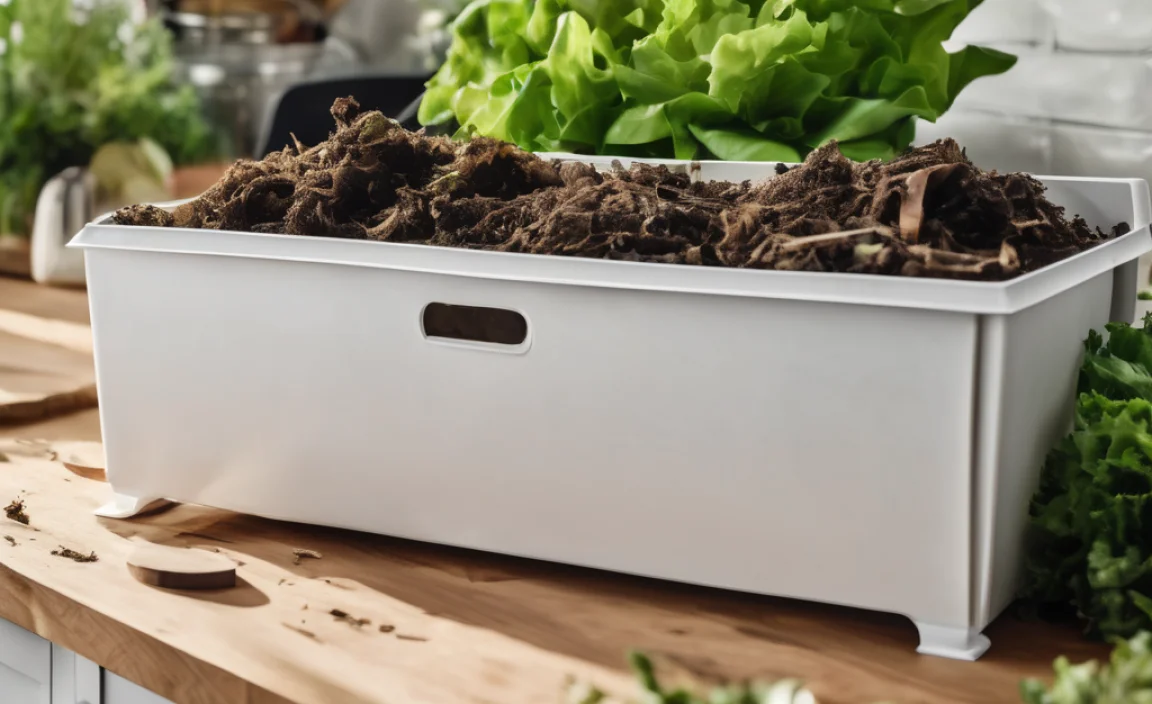
b) Indoor Composting (for Apartment Dwellers):
- Worm Composting (Vermicomposting): This uses special composting worms (like red wigglers) in a bin to break down food scraps. It’s very efficient, produces nutrient-rich compost tea, and is ideal for small spaces. You can buy worm bins or make your own.
- Bokashi Composting: This is a fermentation process that can handle almost all food scraps, including meat and dairy (which are often avoided in traditional composting). It uses an anaerobic (oxygen-free) method with a special bran inoculated with microbes. The fermented material then needs to be buried in soil (or added to a traditional compost pile) to finish decomposing.
2. Selecting a Location
Where you put your compost bin matters. Aim for a spot that is:
- Accessible: You’ll need to add materials regularly and eventually harvest your compost. Make sure you can easily get to it with a wheelbarrow or bucket.
- Well-Drained: You don’t want your compost pile sitting in a puddle. Ensure the ground where your bin sits drains well.
- Partially Shaded: Direct, scorching sun can dry out your compost pile too quickly. Too much shade can keep it too wet. A spot that gets some sun and some shade throughout the day is ideal.
- Near a Water Source: Your compost pile needs moisture, so having a hose or watering can nearby will be handy.
- Away from Wooden Structures: If you’re using a wooden bin or pile, keep it a few feet away from your house or wooden fences to prevent moisture damage or potential rot.
3. The Right Tools (Optional but Helpful)
You can get by with just a pitchfork and a bucket, but a few tools can make the job easier:
- Pitchfork or Compost Aerator: For turning and mixing the compost. Aerators are specifically designed to poke holes and mix without heavy lifting.
- Garden Gloves: To keep your hands clean and protected.
- Sturdy Bucket or Container: For collecting kitchen scraps to take out to the compost bin.
- Shovel or Trowel: For turning and harvesting finished compost.
- Watering Can or Hose: To add moisture when needed.
What Can You Compost? The “Greens” and “Browns”
The secret to successful composting is balancing two main types of materials: “Greens” and “Browns”. Think of these as the fuel and the structure for your compost.
“Greens” (Nitrogen-Rich Materials)
“Greens” are typically moist materials that provide nitrogen. They help heat up the compost pile and get the decomposition process going.
- Fruit and vegetable scraps (peels, cores, wilted produce)
- Coffee grounds and paper filters
- Tea bags (staple removed)
- Grass clippings (in moderation, don’t let them get matted)
- Fresh garden trimmings
- Eggshells (crushed)
- Plant trimmings from houseplants
“Browns” (Carbon-Rich Materials)
“Browns” are usually dry materials that provide carbon. They add bulk, allow air to circulate, and balance the moisture from the greens.
- Dry leaves
- Shredded newspaper and cardboard (avoid glossy or colored inks)
- Straw and hay
- Pine needles (in moderation)
- Wood chips or sawdust (from untreated wood, in moderation)
- Paper towel rolls and toilet paper rolls (torn up)
- Dried grass
What NOT to Compost (Generally)
While many organic materials can be composted, some items can cause problems like attracting pests, creating odors, or even containing harmful pathogens.
- Meat, fish, and bones: Attract pests and can smell bad.
- Dairy products (milk, cheese, yogurt): Attract pests and can smell bad.
- Oily or greasy foods: Can slow down decomposition and attract pests.
- Diseased plants: Can spread diseases to your garden if the compost doesn’t get hot enough.
- Weeds that have gone to seed: Seeds might survive the composting process and sprout in your garden.
- Pet waste (dog, cat feces): Can contain harmful pathogens.
- Chemically treated wood or yard waste: Avoid anything that has been treated with pesticides or herbicides.
- Coal or charcoal ash: Can contain harmful chemicals and heavy metals.
- Glossy or coated paper/cardboard: Often contains plastics or non-biodegradable materials.
A Note on Meat and Dairy: While traditional hot composting *can break down these items if managed perfectly (reaching high temperatures consistently), it’s generally best for beginners to avoid them to prevent pests and odors. Bokashi is an exception as it ferments these items.
The Art of Layering: Building Your Compost Pile
Think of building your compost pile like making a lasagna. You want layers of different ingredients to ensure everything breaks down properly. While you don’t need to be perfectly precise, a good starting point is to aim for a ratio of about 2-3 parts “Browns” to 1 part “Greens” by volume. This helps maintain airflow and prevent your compost from becoming a slimy, smelly mess.
Here’s a simple layering method:
- Start with a Base Layer: Begin with a layer of coarse “browns,” like small twigs or straw, at the bottom. This helps with drainage and aeration.
- Alternate Layers: Add alternating layers of “greens” and “browns.” A good way to do this is to have a layer of greens, then cover it completely with a layer of browns. This helps to contain moisture and prevent odors.
- Moisten Each Layer: Lightly water each layer as you add it. The compost should be as damp as a wrung-out sponge – not soggy, not dry.
- Chop or Shred Large Items: Smaller pieces break down much faster. Chop up large vegetable scraps or shred cardboard before adding them.
- Bury Food Scraps: Always cover fresh kitchen scraps (greens) with a layer of browns to deter pests and odors.
Managing Your Compost Pile for Success
Once your pile is built, it needs a little attention to thrive. It’s not difficult, just involves a few key actions.
1. Turning (Aeration)
Composting is an aerobic process, meaning it needs oxygen. Turning your compost pile mixes the materials, introduces air, and helps speed up decomposition. It also distributes moisture and heat.
- How Often? For faster compost, turn it every 1-2 weeks. If you’re a bit more hands-off, turning every 3-4 weeks is fine, but it will take longer.
- How to Turn? Use a pitchfork or compost aerator to mix the outer layers into the center and vice-versa. Break up any clumps.
- Tumblers: Just give them a good spin every few days!
2. Moisture Control
The right moisture level is crucial. Too dry, and decomposition slows to a crawl. Too wet, and it can become anaerobic, leading to foul odors and the growth of undesirable microorganisms.
- Too Dry? Add water while turning. If it’s very dry, you might need to add more greens or even a bit of liquid like diluted urine (a good source of nitrogen).
- Too Wet? Add more dry browns (shredded newspaper, leaves, straw) and turn the pile to help it dry out and aerate. Ensure good drainage at the base.
3. Temperature
A healthy, actively decomposing compost pile will generate heat. This heat is important because it kills weed seeds and pathogens. Your pile should ideally reach temperatures between 130°F and 160°F (54°C and 71°C).
- To Heat Up: Ensure you have a good balance of greens and browns, sufficient moisture, and good aeration (turn it!). A well-insulated bin can also help retain heat.
- If it’s Not Heating Up: It might be too dry, have too many browns, or not enough greens. Turning it and adding more greens can help.
You can get a compost thermometer to check the internal temperature, but don’t stress if you don’t have one. You can often tell if a pile is active by its warmth when you turn it.
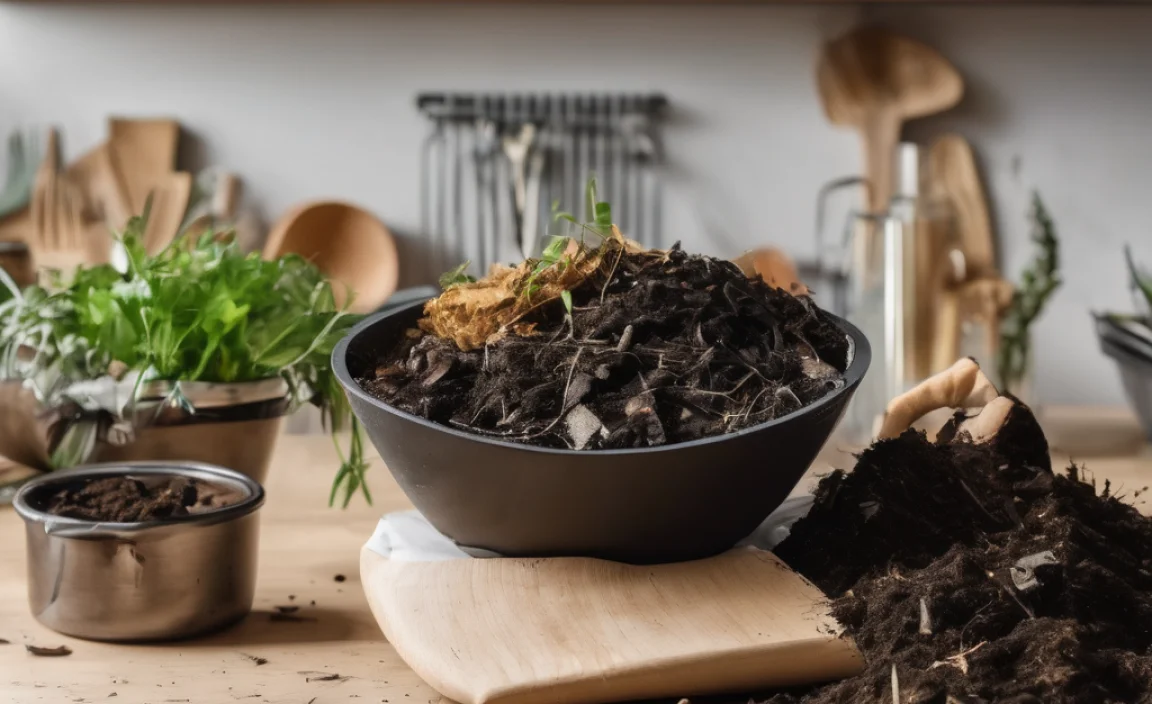
When is Compost Ready?
Finished compost is a rich, dark, crumbly material that smells earthy, like a forest floor after rain. You shouldn’t be able to recognize the original ingredients you put in.
- Timeframe: Depending on how actively you manage your pile (turning, moisture, ingredients), compost can be ready anywhere from 2 months to a year. Tumblers usually produce compost faster.
- Signs of Readiness:
- Dark brown or black color.
- Crumbly texture.
- Earthy smell – no sour or ammonia odors.
- Original materials are no longer recognizable.
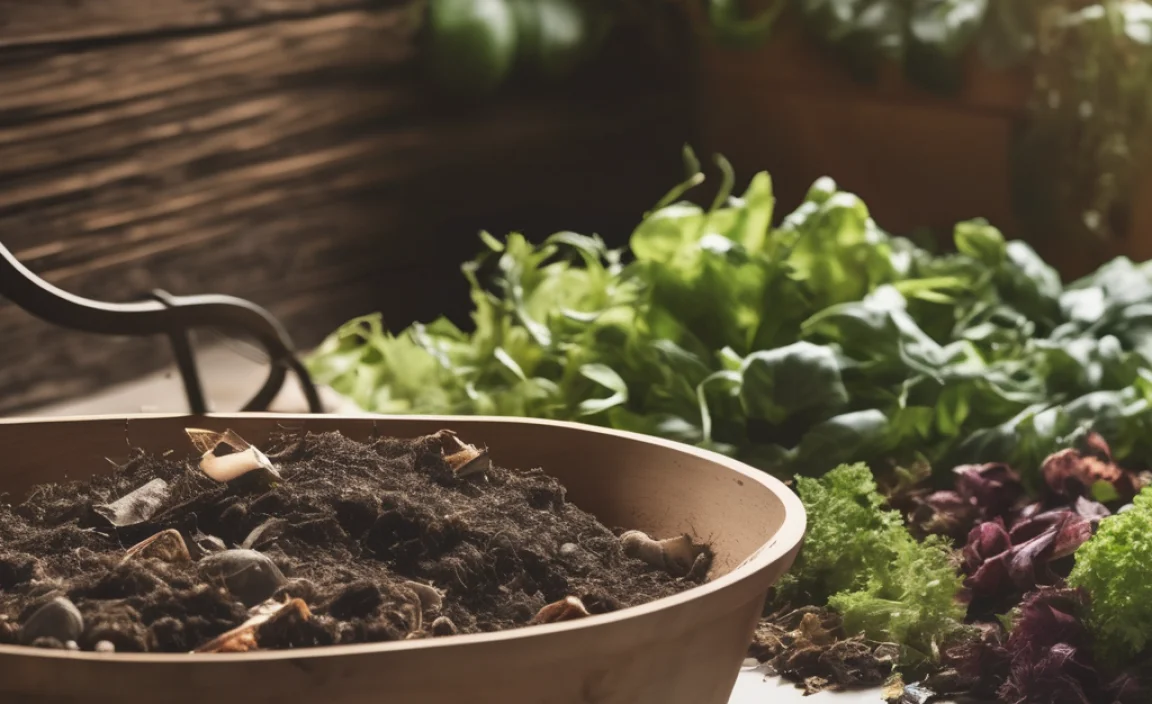
How to Use Your Finished Compost
Once your compost is ready, it’s time to enjoy the fruits of your labor! Finished compost is a fantastic soil amendment for nearly any gardening application.
- Soil Amendment: Mix compost into garden beds before planting. A layer of 2-3 inches worked into the top 6-8 inches of soil is ideal. This improves soil structure, fertility, and water retention.
- Top Dressing: Spread a thin layer (about 1 inch) of compost around existing plants, shrubs, and trees. As it rains or you water, nutrients will leach down into the soil.
- Potting Mix: You can mix compost with other ingredients like peat moss or perlite to create a rich potting mix for containers and houseplants. A common ratio is one-third compost, one-third peat moss/coir, and one-third perlite/vermiculite.
- Lawn Care: Spread a thin layer of mature compost over your lawn in the spring or fall. Rake it in to help improve the soil beneath the grass.
- Compost Tea: Steep finished compost in water for a day or two (often with an aeration stone) to create a liquid fertilizer that can be used to drench plants or as a foliar spray.
Troubleshooting Common Composting Problems
Even with the best intentions, compost piles can sometimes develop issues. Here are a few common problems and how to fix them:
Problem: Bad Odors (Smells like ammonia or rotten eggs)
- Why: Too wet, not enough air, or too many “greens.”
- Solution: Add dry “browns” (leaves, shredded paper, sawdust) and turn the pile thoroughly to introduce air. Ensure good drainage. If it smells like ammonia, it’s likely too heavy on the greens.
Problem: Pile Isn’t Heating Up
- Why: Too dry, not enough “greens,” or pile is too small.
- Solution: Add water (if dry), add more “greens” (kitchen scraps, grass clippings), and turn the pile. A pile needs to be at least 3x3x3 feet to generate significant heat.
Problem: Attracting Pests (Rodents, flies)
- Why: Exposed food scraps, or items that attract pests are in the pile.
- Solution: Always bury kitchen scraps under a layer of “browns.” Avoid adding prohibited items like meat, dairy, and oily foods. Use an enclosed bin or tumbler if pests are a persistent problem. Ensure your pile is managed well and not creating foul odors that attract them.
Problem: Compost is Too Wet and Slimy
- Why: Too much “greens,” poor drainage, or excessive rain.
- Solution: Add shredded paper, cardboard, leaves, or straw (“browns”) and turn the pile to improve aeration. If it’s in a bin, ensure the drainage holes are clear. Consider moving the pile to a better-drained spot or protecting it from heavy rain.
Composting for Beginners: Quick Summary Table
Here’s a handy table to keep the essential dos and don’ts of beginner composting at your fingertips:
| Do Compost | Avoid Composting |
|---|---|
| Fruit and vegetable scraps | Meat, fish, bones |
| Coffee grounds and filters | Dairy products |
| Tea bags | Oily or greasy foods |
| Grass clippings (in moderation) | Dise
.lwrp.link-whisper-related-posts{ margin-top: 40px; }.lwrp .lwrp-description{ } max-width: 150px; }@media screen and (max-width: 480px) { } }.lwrp .lwrp-description{ } max-width: initial; }; |

I am passionate about home engineering. I specialize in designing, installing, and maintaining heating, ventilation, and air conditioning systems. My goal is to help people stay comfortable in their homes all year long.