Ever look at kitchen scraps and yard waste and think, “There’s got to be a better way than the landfill?” You’re not alone! Many of us want to compost but feel a little unsure where to begin. It can seem complicated, but it’s actually quite simple once you get the hang of it. This guide is here to break down home composting training into easy steps, just like explaining how to fix a leaky faucet or plant a vibrant flower bed. We’ll cover everything you need to know to turn your waste into garden gold. Get ready to transform your trash into treasure!
What is Home Composting Training and Why You Need It
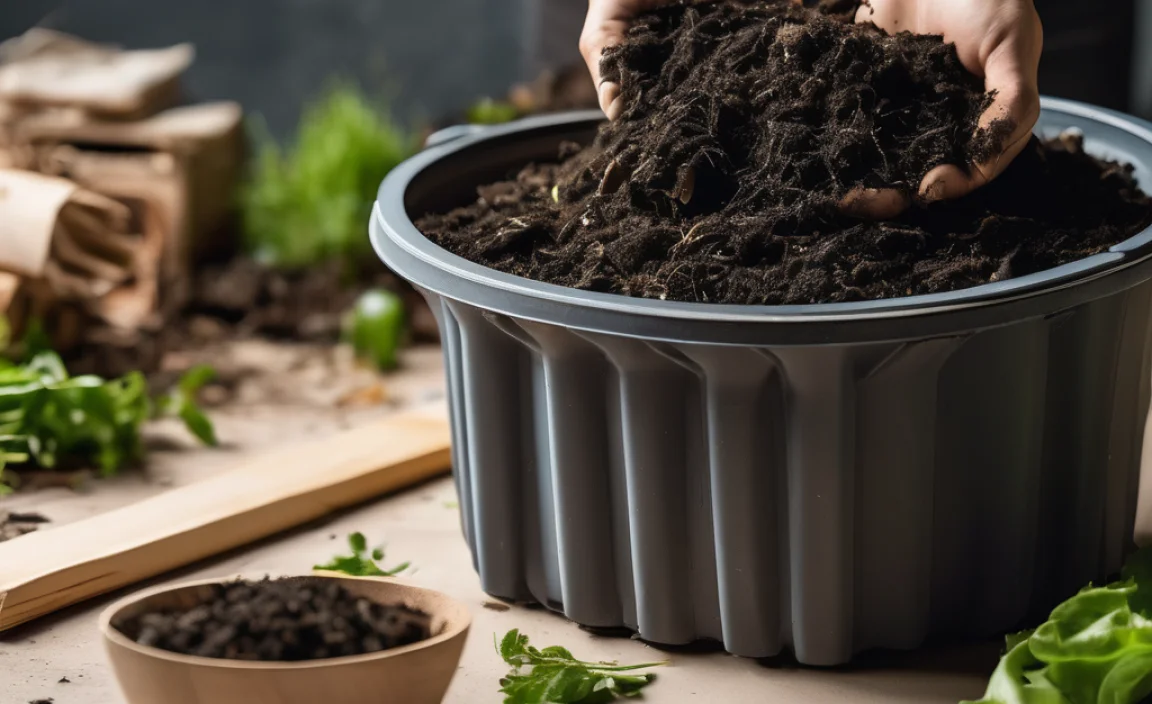
Home composting training is essentially learning how to manage your organic waste – things like food scraps and yard trimmings – so that it breaks down naturally into a nutrient-rich soil amendment. Think of it as a super-powered, natural recycling program for your home. You might be frustrated by how much stuff you throw away, or maybe you want to give your garden a boost without buying expensive fertilizers. Composting is the answer, and understanding the basics is key to success. This training will give you the confidence to start and keep your compost bin working like a charm. It’s about making it simple and rewarding.
The “Why”: Benefits of Home Composting
Before we dive into the “how,” let’s really appreciate the “why.” Composting at home isn’t just a chore; it’s a fantastic way to contribute positively to your environment and your garden.
- Reduces Landfill Waste: A huge portion of household waste is organic material that could be composted. Sending less to the landfill helps reduce methane gas, a potent greenhouse gas.
- Enriches Soil: Compost is packed with nutrients that plants love. It’s like a superfood for your garden, improving soil structure, drainage, and moisture retention.
- Saves Money: You’ll buy fewer fertilizers and soil conditioners for your garden. Plus, some municipalities charge by trash volume, so composting can even lower your waste disposal bills.
- Healthier Plants: Healthier soil means healthier, more resilient plants that are less susceptible to pests and diseases.
- Environmental Stewardship: It’s a direct way to participate in a sustainable lifestyle, closing the loop on organic materials in your own home.
- Reduces Need for Chemical Fertilizers: Natural compost supports eco-friendly gardening practices.
Getting Started: What You Need for Home Composting
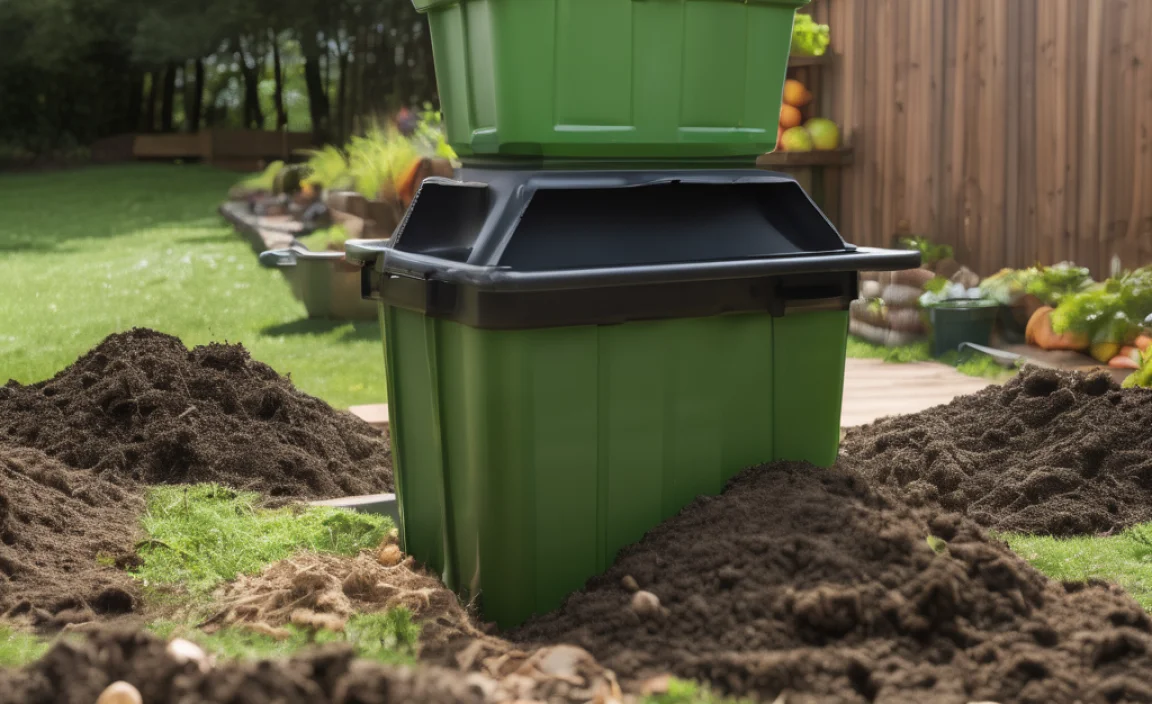
The beauty of home composting is that you don’t need fancy equipment to start. You can begin with just a few basic items. The most crucial decision is what kind of composting system you’ll use. Here are the common options and what they involve:
Choosing Your Composting System
Your space, the amount of waste you produce, and your personal preference will guide you to the right system. Here’s a quick rundown:
| Composting System | Pros | Cons | Best For |
|---|---|---|---|
| Open Pile | Easiest to start, needs no special bin, can be very large. | Can look messy, may attract pests if not managed well, takes longer. | Large yards with plenty of space and lots of yard waste. |
| Bin Composter (Enclosed) | Neater appearance, helps retain moisture and heat, deters pests better. | Can be more expensive, size is limited by the bin capacity. | Suburban yards, smaller spaces, those who want a tidier look. |
| Tumbler Composter | Fast composting, easy to turn and mix, good pest protection. | Can be the most expensive, capacity is typically smaller, can get heavy. | Gardeners with limited space, those who want compost quickly, people with mobility issues. |
| Worm Composting (Vermicomposting) | Great for small spaces (even indoors), produces nutrient-rich castings, no turning needed. | Specific food scrap limitations (no meat, dairy, citrus overload), needs temperature control, initial setup can be fiddly. | Apartment dwellers, small households, those wanting high-quality worm castings. |
Essential Tools for Your Composting Journey
Once you’ve picked your system, you’ll want a few handy tools. Don’t worry, these are all pretty standard backyard items.
- A Pitchfork or Garden Fork: Essential for turning your compost pile. This aerates the material, which speeds up decomposition and prevents a smelly mess.
- A Shovel: Useful for moving compost around, especially when filling your garden beds.
- A Watering Can or Hose with a Sprayer: Compost needs to be moist, like a wrung-out sponge. You’ll use this to add water.
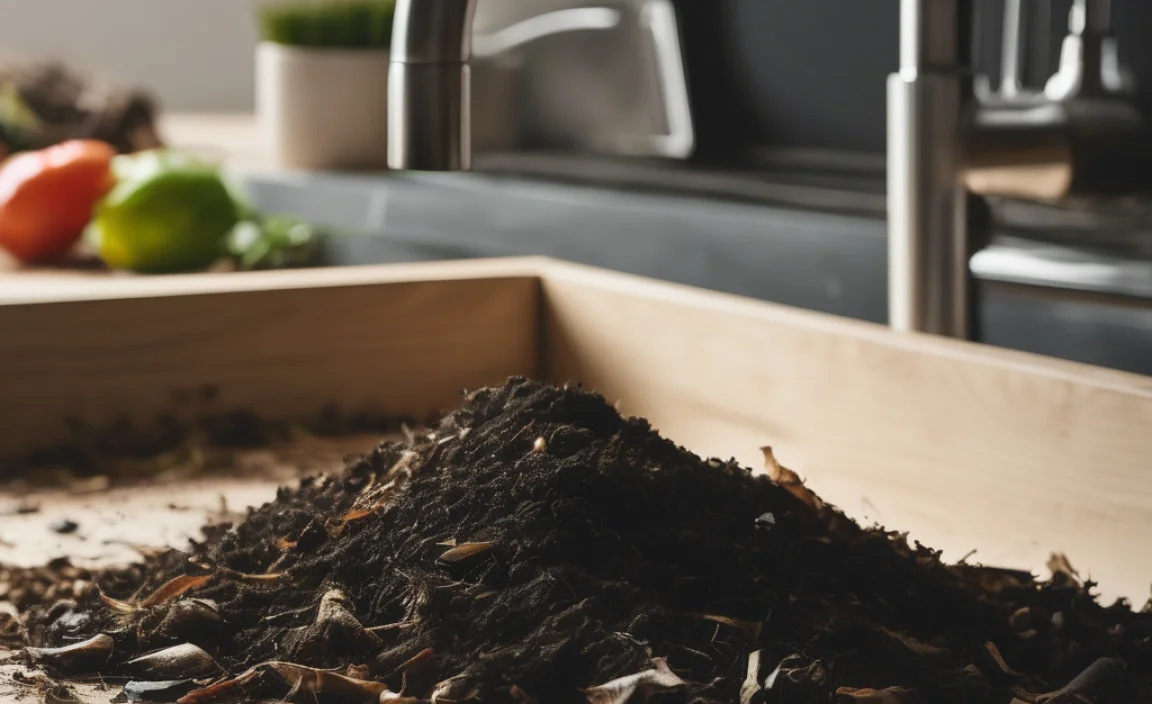
- A Kitchen Scrap Pail: A small container with a lid for collecting food scraps at your kitchen sink before taking them out to the main compost bin.
- Gardening Gloves: To keep your hands clean.
- (Optional) A Compost Thermometer: Helps you monitor the internal temperature of your compost, ensuring it’s hot enough to kill weed seeds and pathogens. A hot compost pile is great for faster results.
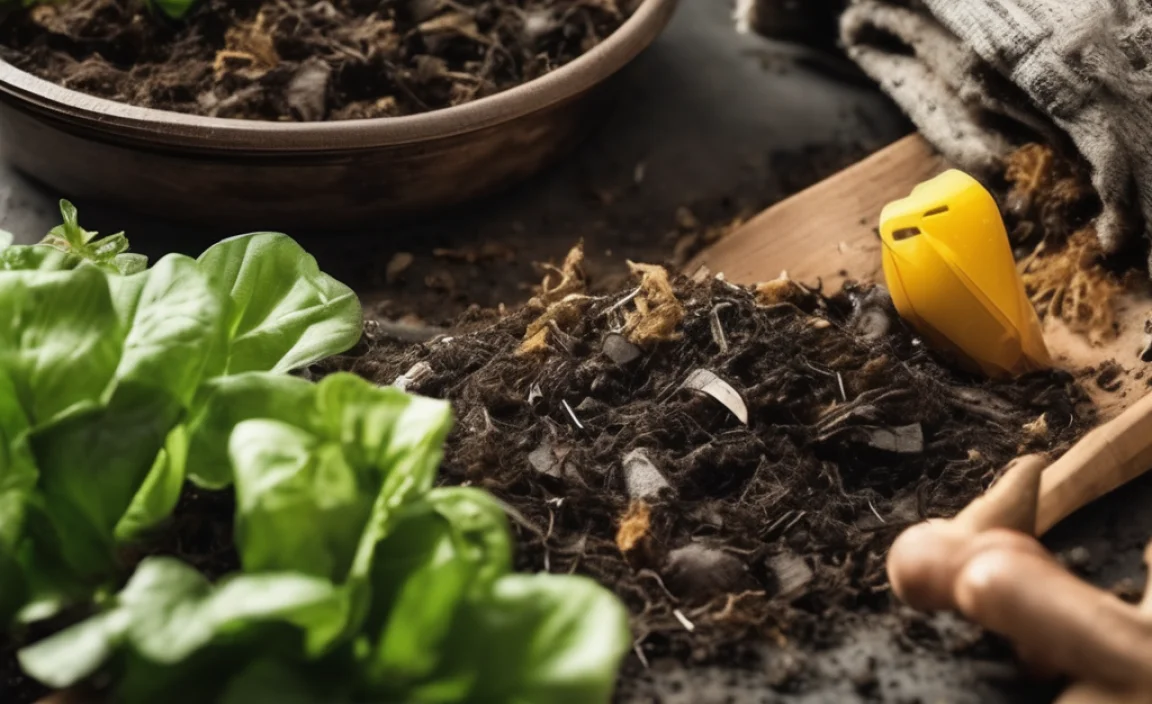
The “Green” and “Brown” Basics: Composting Materials
The secret to successful composting lies in balancing two types of materials: “Greens” and “Browns.” Think of them as the fuel and fiber for your compost fire. Getting this ratio right is one of the most important parts of home composting training.
The ideal ratio is generally about 2 parts Browns to 1 part Greens by volume. Don’t stress about being exact; it’s more about having a good mix. Too many greens can make your pile slimy and smelly; too many browns can make it dry and slow. Your goal is to create a balanced environment for the microorganisms that do the hard work.
Greens (Nitrogen-Rich Materials)
These are typically moist, “fresh” materials. They provide nitrogen, which is essential for the microorganisms to multiply and work efficiently.
- Fruit and vegetable scraps
- Coffee grounds and tea bags
- Grass clippings (in moderation, as they can mat down)
- Plant trimmings (non-woody parts)
- Eggshells (crushed)
- Manure from herbivores (like rabbits, chickens, cows, horses – not dogs or cats)
Browns (Carbon-Rich Materials)
These are typically dry, woody materials. They provide carbon, which is the energy source for the microorganisms, and also add bulk, allowing air to circulate.
- Dried leaves
- Straw or hay
- Shredded newspaper or cardboard (avoid glossy or colored ink)
- Small twigs and bark
- Sawdust (from untreated wood, use sparingly)
- Paper towels and napkins (unbleached, not those used with grease or chemicals)
What NOT to Compost
Avoiding certain items is crucial to prevent attracting pests, creating foul odors, or introducing diseases and harmful chemicals into your compost.
- Meat, fish, and bones
- Dairy products (cheese, yogurt, milk)
- Oily or fatty foods
- Diseased plants or weeds that have gone to seed
- Weed seeds (unless you’re certain your compost pile gets hot enough)
- Pet waste (dog or cat feces) – these can contain pathogens harmful to humans.
- Treated wood or sawdust from treated wood
- Coal or charcoal ash
- Glossy or coated paper/cardboard
- Synthetic materials
Step-by-Step: Building Your Compost Pile
Let’s get building! This is where the magic happens. We’ll focus on building an open pile or a bin composter for this guide, as they are the most common for beginners.
Step 1: Choose Your Location
Find a spot that’s convenient for you to access from both your kitchen and garden. It should be:
- Partially Sunny to Shady: Too much sun can dry out the pile; too much shade can slow decomposition. A balance is best.
- Well-Drained: You don’t want your compost sitting in a puddle.
- Accessible: Easy to reach with your fork, shovel, and wheelbarrow.
- Away from your house: If you’re concerned about smells or very minor pest issues (though a well-managed pile shouldn’t smell bad).
Step 2: Start with Your Base Layer (Browns)
Begin by laying down a 4-6 inch layer of coarse brown materials at the bottom of your compost bin or pile. This could be twigs, small branches, or straw. This layer helps with aeration and drainage right from the start.
Step 3: Add Your First Layers of Greens and Browns
Now, start alternating layers of greens and browns. Try to aim for that 2:1 ratio of Browns to Greens. Chop up larger items to speed up decomposition. For instance:
- Add a layer of fruit and vegetable scraps (Greens).
- Cover it with a layer of dry leaves or shredded newspaper (Browns).
- Add a layer of grass clippings (Greens, but use sparingly and mix well).
- Cover that with more leaves or straw (Browns).
It’s a good idea to slightly dampen each layer as you add it, especially the brown layers, so everything is about as moist as a wrung-out sponge. Use your watering can or hose.
Step 4: Incorporate “Activators” (Optional but Recommended)
To give your compost pile a helpful kick-start, you can add “activators.” These introduce beneficial microorganisms that speed up decomposition. You can purchase commercial compost activators, but simple things work too:
- A shovel-full of finished compost from a friend or garden center.
- A handful of rich soil.
- Manure from herbivores (if you have access to it).
Step 5: Continue Layering and Turning
Keep adding your kitchen scraps (Greens) and yard waste (Browns) as you generate them. Bury food scraps under a layer of browns to discourage pests and odors. The more you can mix and turn your pile, the faster it will break down.
Turning Frequency:
- Fast Composting: Turn every 1-2 weeks. Aim for a pile that heats up.
- Slow Composting: Turn every 4-6 weeks or even less. It will still work, just take longer.
When you turn it, try to move material from the outside to the inside and vice-versa. This ensures everything decomposes evenly. If the pile seems dry, add some water as you turn. If it’s too wet and smelly, add more brown material and turn it thoroughly.
Troubleshooting Common Composting Problems
Don’t get discouraged if your compost pile doesn’t seem perfect right away. Here’s how to fix common issues:
| Problem | Cause | Solution |
|---|---|---|
| Bad Odor (Ammonia/Rotten Egg Smell) | Too many greens, pile is too wet, not enough air. | Add more brown materials (leaves, straw, shredded paper). Turn the pile thoroughly to aerate it. Ensure good drainage. |
| Pile is Slimy or Soggy | Too much moisture, not enough browns. | Add plenty of dry brown materials. Mix well and turn. |
| Pile is Too Dry and Not Decomposing | Not enough moisture, too many browns, or exposed to too much sun. | Add water while turning the pile. Ensure you’re adding enough green materials. Cover the pile if it’s in direct sun. |
| Doesn’t Heat Up | Pile is too small, not enough greens, or needs turning. | Add more materials to increase the size (aim for at least 3x3x3 feet for hot composting). Ensure a good balance of greens to browns. Turn the pile. Add a compost activator. |
| Attracting Pests (Rodents, Flies) | Exposed food scraps, wrong materials being added. | Always bury food scraps deep within the pile, covering them with brown materials. Do not compost meat, dairy, or oily foods. Ensure your bin has a secure lid if needed. Consider a tumbler or a well-managed enclosed bin. |
When is Compost Ready?
The ultimate goal is finished compost! You’ll know your compost is ready to use when it:
- Looks dark brown and crumbly, like rich soil.
- Smells earthy and pleasant, not sour or like decomposition.
- You can no longer recognize the original materials (no more recognizable food scraps or leaves).
- The temperature of the pile has cooled down.
This process can take anywhere from a few months to a year, depending on the method, materials, turning frequency, and climate.
How to Use Your Finished Compost
You’ve done it! You’ve created black gold for your garden. Here are some great ways to use your homemade compost:
- Soil Amendment: Mix 1-3 inches of compost into your garden beds before planting. This improves soil structure and fertility for vegetables, flowers, and shrubs.
- Top Dressing: Spread a layer of compost around established plants, trees, and shrubs. This adds nutrients, helps retain moisture, and suppresses weeds.
- Container Gardening: Mix compost with potting soil for a nutrient-rich mix for potted plants and hanging baskets. A common recipe is equal parts compost, peat moss or coco coir, and perlite or vermiculite.
- Lawn Care: Rake a thin layer (about 1/4 to 1/2 inch) of compost over your lawn in the spring or fall to improve soil health and grass growth.
- Compost Tea: Steep compost in water to create a liquid fertilizer that can be used for foliar feeding or watering plants.
For more detailed guidance on soil health and amendments, resources from organizations like the University of New Hampshire Extension provide excellent, research-backed information.
Composting in Small Spaces: Apartment and Balcony Living
Think you can’t compost if you don’t have a yard? Think again! Vermicomposting (worm composting) is a fantastic solution for small spaces. You can even set up a small bin system. You’ll need a special worm bin (or a DIY version made from plastic bins), bedding material (like shredded newspaper or coconut coir), composting worms (like Red Wigglers), and of course, your kitchen scraps. Worms eat the scraps and excrete nutrient-rich castings, which are even more potent than standard compost.
There are also compact, enclosed composters designed for small patios or balconies that can handle limited amounts of kitchen waste. These often work by accelerating decomposition with limited oxygen or by using beneficial microbes.
Frequently Asked Questions about Home Composting
Q1: How long does it take to make compost?
A1: It varies greatly! It can take anywhere from 2-3 months for a hot, actively managed pile with frequent turning to over a year for a cold, passive pile. Factors include materials, temperature, moisture, and how often you turn it.
Q2: Will my compost pile smell bad?
A2: A well-managed compost pile should smell earthy, not unpleasant. Bad smells usually indicate an imbalance, often too many greens or too much moisture, or a lack of air. Adding browns and turning the pile typically solves this.
Q3: Can I compost food scraps if I have a small bin?
A3: Yes! For smaller bins or tumblers, it’s best to finely chop food scraps and ensure they are well-covered with brown material. Burying them helps prevent odors and attracts fewer pests. For very small spaces, worm composting is ideal.
Q4: What do I do if my compost is too wet?
A4: If your compost feels soggy and smells a bit like ammonia or rot
.lwrp.link-whisper-related-posts{
margin-top: 40px;
margin-bottom: 30px;
}
.lwrp .lwrp-title{
}.lwrp .lwrp-description{
}
.lwrp .lwrp-list-container{
}
.lwrp .lwrp-list-multi-container{
display: flex;
}
.lwrp .lwrp-list-double{
width: 48%;
}
.lwrp .lwrp-list-triple{
width: 32%;
}
.lwrp .lwrp-list-row-container{
display: flex;
justify-content: space-between;
}
.lwrp .lwrp-list-row-container .lwrp-list-item{
width: calc(25% – 20px);
}
.lwrp .lwrp-list-item:not(.lwrp-no-posts-message-item){
max-width: 150px;
}
.lwrp .lwrp-list-item img{
max-width: 100%;
height: auto;
object-fit: cover;
aspect-ratio: 1 / 1;
}
.lwrp .lwrp-list-item.lwrp-empty-list-item{
background: initial !important;
}
.lwrp .lwrp-list-item .lwrp-list-link .lwrp-list-link-title-text,
.lwrp .lwrp-list-item .lwrp-list-no-posts-message{
}@media screen and (max-width: 480px) {
.lwrp.link-whisper-related-posts{
}
.lwrp .lwrp-title{
}.lwrp .lwrp-description{
}
.lwrp .lwrp-list-multi-container{
flex-direction: column;
}
.lwrp .lwrp-list-multi-container ul.lwrp-list{
margin-top: 0px;
margin-bottom: 0px;
padding-top: 0px;
padding-bottom: 0px;
}
.lwrp .lwrp-list-double,
.lwrp .lwrp-list-triple{
width: 100%;
}
.lwrp .lwrp-list-row-container{
justify-content: initial;
flex-direction: column;
}
.lwrp .lwrp-list-row-container .lwrp-list-item{
width: 100%;
}
.lwrp .lwrp-list-item:not(.lwrp-no-posts-message-item){
max-width: initial;
}
.lwrp .lwrp-list-item .lwrp-list-link .lwrp-list-link-title-text,
.lwrp .lwrp-list-item .lwrp-list-no-posts-message{
};
}
Related Posts

I am passionate about home engineering. I specialize in designing, installing, and maintaining heating, ventilation, and air conditioning systems. My goal is to help people stay comfortable in their homes all year long.