Ever feel like your kitchen scraps are just… waste? It’s a common feeling! Many of us toss food scraps and yard trimmings, wishing there was a better way. Good news! You can turn that “waste” into garden gold with home composting. It’s easier than you think, and I’m here to walk you through it, step-by-step. Ready to start making your own super-rich soil?
Your Simple Guide to Home Composting in the USA
Hey there, fellow garden enthusiasts and eco-conscious homeowners! Troy D Harn here from TopChooser, and I’m thrilled to talk about something I’m passionate about: home composting. If you’ve ever looked at your kitchen scraps and wondered, “Can I do something more with this?” then you’re in the right place. Composting sounds fancy, but it’s really just nature’s way of recycling, and you can totally do it right in your backyard.
We’ll break down everything you need to know, from choosing the right bin to knowing what goes in and what stays out. No complicated gardening lingo here – just plain, practical advice to get you composting like a pro. Let’s dig in!
Why Composting is a Big Deal (Even if You’re a Beginner)
Composting is more than just a trendy buzzword; it’s a powerful way to make a real difference. Here’s why it’s worth your time:
- Reduces Landfill Waste: A huge chunk of what we throw away is actually compostable material. By composting, you’re diverting this from landfills, which helps reduce methane gas production – a potent greenhouse gas.
- Creates Nutrient-Rich Soil: Compost is like superfood for your plants. It improves soil structure, helps retain moisture, and provides essential nutrients, leading to healthier, happier plants and more vibrant flowers and veggies.
- Saves Money: You’ll buy less fertilizer and soil amendments for your garden. Plus, some areas might offer reduced trash pickup fees for households that compost.
- Environmentally Friendly: It’s one of the easiest and most effective ways to be more sustainable right from your own home.
Getting Started: What You Need for Home Composting
Before we start tossing kitchen scraps, let’s get you set up. Don’t worry, it’s not about owning a whole farm!
Choosing Your Composting Bin: Options Galore!
This is probably the biggest decision you’ll make upfront. Luckily, there are options for every space and budget.
1. Open Pile/Heap:
- What it is: The simplest method. You just pile your compostable materials in a designated spot in your yard.
- Best for: Larger yards, folks with a lot of yard waste, and those who want the absolute easiest setup.
- Pros: No cost for a bin, easy to manage large volumes.
- Cons: Can look a bit messy, might attract pests if not managed well, can dry out or get too wet easily.
2. Stationary Bin (Enclosed):
- What it is: These are often plastic or wooden structures that hold your compost. They can be simple and cheap or more elaborate. Some have lids, some don’t.
- Best for: Backyards of all sizes. They contain the materials and can look tidier.
- Pros: Relatively inexpensive, keeps things contained, often breathable.
- Cons: Can be harder to turn or mix the compost inside.
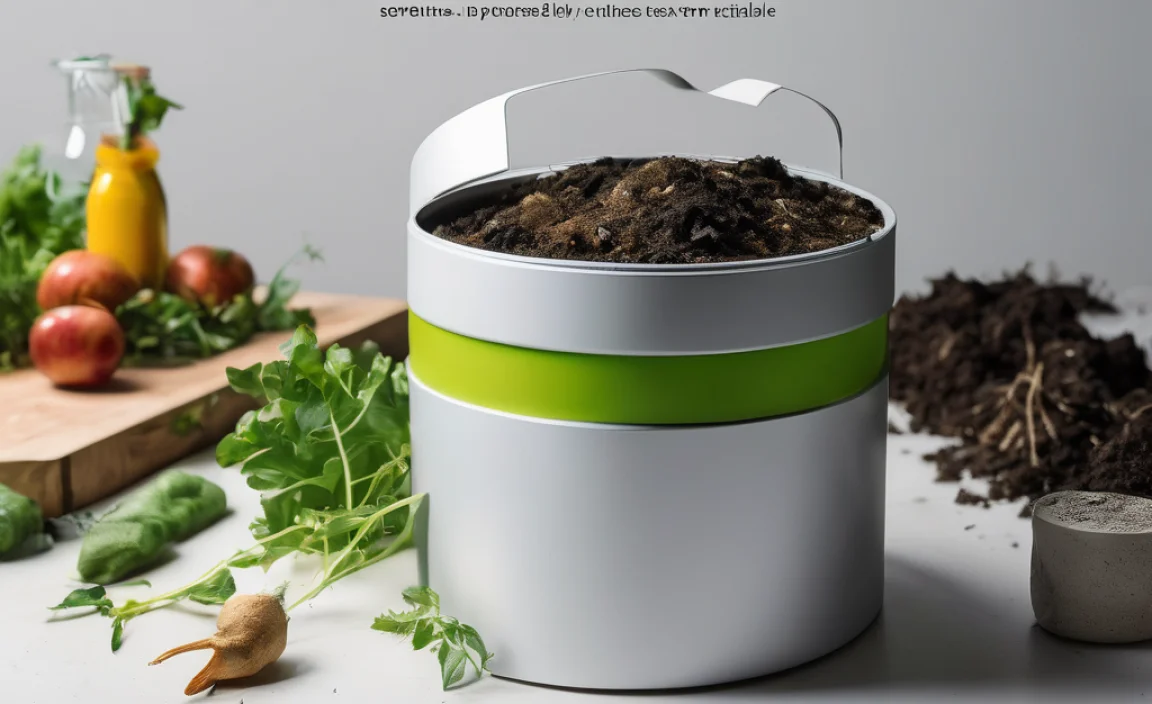
3. Tumbler Composter:
- What it is: A sealed barrel or drum mounted on an axis that you can spin or “tumble.”
- Best for: Smaller yards, those who want faster composting, and anyone who wants to avoid manual turning.
- Pros: Easy to turn and aerate, faster decomposition, keeps pests out, neat and tidy.
- Cons: Can be more expensive, limited capacity, can become very heavy when full and difficult to turn if overloaded.
4. Worm Composting (Vermicomposting):
- What it is: Using specific types of worms (like red wigglers) in a bin to break down food scraps.
- Best for: Apartment dwellers, people with very little outdoor space, or those who want to compost primarily kitchen scraps indoors or on a balcony.
- Pros: Produces high-quality compost (worm castings), works year-round, no smell if managed properly, compact system.
- Cons: Requires special worms, can be sensitive to temperature, not suitable for large amounts of yard waste.
Where to find them: You can find composting bins at garden centers, home improvement stores, and online retailers like Amazon. Many municipalities also offer subsidized bins – check your local government’s website!
Essential Tools (You Probably Have Most Already!)
You don’t need a fancy setup. Here are a few things that make composting easier:
- A Pitchfork or Garden Fork: For turning and aerating your compost pile.
- A Shovel: To move finished compost or add new materials.
- Kitchen Countertop Bin: A small, lidded container to collect food scraps in your kitchen before taking them out to the main compost bin/pile.
- Water Source: A hose or watering can to keep the compost moist.
- Optional: Thermometer: A compost thermometer can help you monitor the pile’s temperature, ensuring it’s hot enough to break down material effectively.
The “Do’s” and “Don’ts”: What to Compost
This is where the magic happens! Understanding what to add is key to successful composting. Think of your compost pile needing a balance of “greens” and “browns.”
What to COMPOST (“Greens” & “Browns”)
“Greens” (Nitrogen-Rich Materials): These are usually moist and help heat up the pile.
- Fruit and vegetable scraps (peels, cores, rinds)
- Coffee grounds and paper filters
- Tea bags (remove staples and paper tags)
- Grass clippings (in moderation, they can mat down)
- Fresh plant trimmings
- Eggshells (crushed)
“Browns” (Carbon-Rich Materials): These are usually dry and provide bulk and air pockets.
- Dry leaves
- Straw or hay
- Shredded newspaper and plain cardboard (avoid glossy or colored inks)
- Small twigs and branches (chopped up)
- Sawdust (from untreated wood)
- Paper towels and napkins (if not used with grease or harsh chemicals)
What NOT to Compost (and Why!)
Keeping these out prevents odors, pests, and potential pathogens.
- Meat, fish, bones, and dairy products: These attract pests and can create foul odors.
- Oily and greasy foods: Similar to meat products, they smell bad and can slow down decomposition.
- Diseased plants: You don’t want to spread plant diseases through your compost.
- Weeds that have gone to seed: The seeds might survive the composting process and sprout in your garden.
- Pet waste (dog and cat feces): These can contain harmful pathogens.
- Chemically treated wood or yard waste: Chemicals can contaminate your compost.
- Coal or charcoal ash: Can contain sulfur and other compounds harmful to plants.
- Glossy or colored paper/cardboard: Inks and coatings may be toxic.
Step-by-Step: Building Your Compost Pile
Ready to get your hands dirty (but not too dirty!)? Here’s how to build your compost:
Step 1: Choose Your Location Wisely
Find a spot that’s:
- Accessible: Easy to get to with kitchen scraps and garden waste.
- Level: So your bin or pile doesn’t tip over.
- Well-drained: You don’t want your compost sitting in a puddle.
- Partially Shaded (Ideally): This helps prevent it from drying out too quickly in hot sun, but full sun can also work if you monitor moisture.
Step 2: Start with a Layer of “Browns”
Begin your pile or fill the bottom of your bin with a 4-6 inch layer of coarse brown material like twigs, straw, or shredded cardboard. This helps with drainage and airflow.
Step 3: Add Your “Greens” and “Browns” in Layers
Now, start adding your kitchen scraps (greens) and yard waste (browns). A good ratio to aim for is roughly 2-3 parts browns to 1 part greens. You don’t need to measure perfectly; just try to achieve a mix. Layer them like a cake, or mix them as you add them.
It’s super helpful to chop or shred larger items into smaller pieces. This increases the surface area, allowing microbes to break them down faster.
Step 4: Moisten Your Compost
Your compost pile should be as damp as a wrung-out sponge. If it’s too dry, it won’t decompose. If it’s too wet, it can get stinky and anaerobic (lacking air). Water it lightly with a hose or watering can after adding new materials, especially when adding dry brown materials.
Step 5: Aerate Your Compost (Turn, Turn, Turn!)
This is crucial for good composting. Turning introduces oxygen, which the beneficial microbes need to do their work and helps speed up the process. Aim to turn your pile every 1-2 weeks. You can do this with a pitchfork, turning the outer layers into the center and vice-versa. If you have a tumbler, just give it a spin!
A well-aerated pile will heat up, which is a good sign! Hot composting (reaching temperatures of 130-160°F or 54-71°C) kills weed seeds and pathogens more effectively. For beginners, don’t stress too much about hitting exact temperatures; regular turning and the right mix of greens and browns will get you there.
Step 6: Be Patient and Wait for “Black Gold”
Composting can take anywhere from a few months to a year, depending on your method, the materials used, and how often you turn it. You’ll know your compost is ready when:
- It looks dark brown and crumbly.
- It smells earthy and pleasant, like a forest floor.
- The original materials are no longer recognizable.
To harvest, you can either scoop it from the bottom of your bin or pile, or sift it to remove any larger, unfinished pieces that can go back into the active compost pile.
Troubleshooting Common Composting Problems
Even with the best intentions, you might run into a few snags. Don’t get discouraged!
| Problem | Possible Cause | Solution |
|---|---|---|
| Rotten Egg Smell | Too wet, not enough air | Add more brown materials (leaves, cardboard) and turn the pile thoroughly to aerate it. |
| Pile is Dry and Not Heating Up | Needs moisture, not enough green materials | Add water until it’s damp, and add more nitrogen-rich green materials (kitchen scraps, grass clippings). |
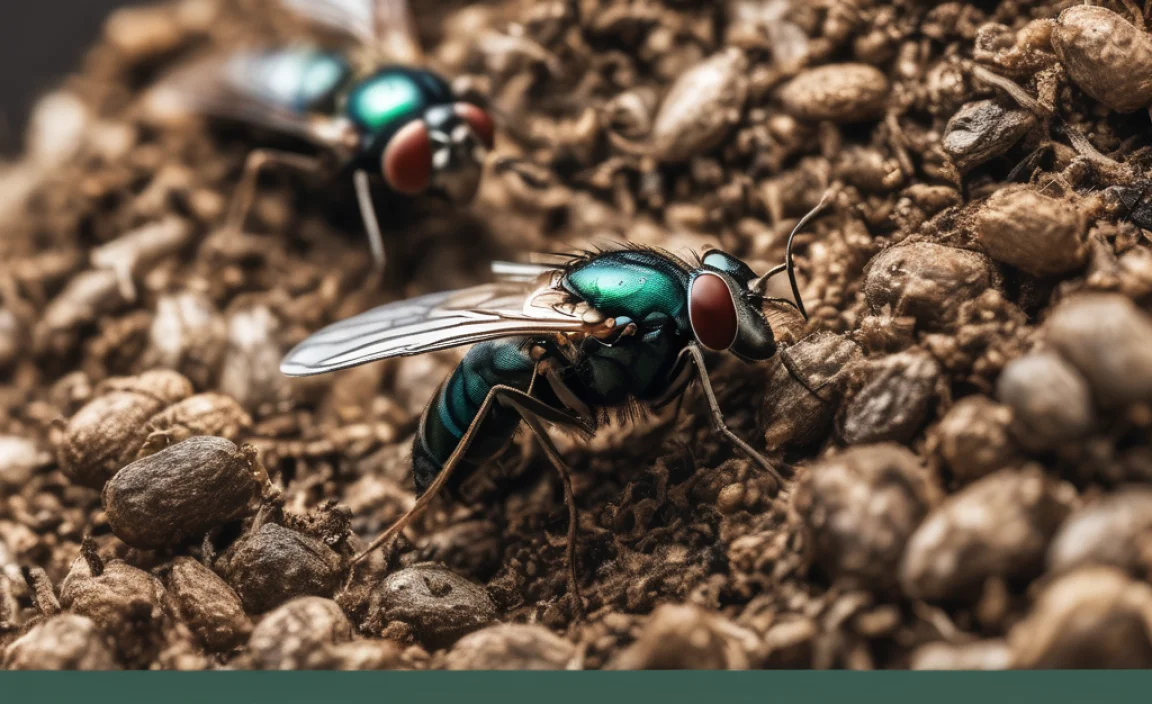
| Attracting Pests (Flies, Rodents) | Exposed food scraps, wrong materials added | Bury fresh food scraps deep within the pile, cover with browns. Ensure you aren’t adding meat/dairy/oils. Consider an enclosed bin or tumbler. |
| Compost is Too Slow | Too dry, not enough greens, or not enough turning | Check moisture levels, add more greens if needed, and increase turning frequency. Chop materials smaller. |
Using Your Finished Compost
Once you have that wonderful “black gold,” here’s how to use it:
- Soil Amendment: Mix it into your garden beds before planting. It improves drainage, aeration, and nutrient content for all your plants. A common ratio is to mix 2-3 inches of compost into the top 6-8 inches of soil.
- Top Dressing: Spread a layer around existing plants, shrubs, and trees. This helps retain moisture and provides a slow release of nutrients.
- Potting Mix: Mix it with other ingredients like perlite or vermiculite to create a rich potting mix for container plants and seedlings.
- Lawn Care: Rake a thin layer over your lawn in spring or fall. It helps improve soil health and grass vigor.
For more detailed guidance on soil health and amendments, resources like the USDA’s Soil Health website offer excellent, science-based information.
Composting Made Easy: Tips for Success
Here are a few extra tips to make your composting journey smooth:
- Chop it Up: Smaller pieces decompose much faster.
- Balance is Key: Aim for a good mix of greens and browns.
- Keep it Moist, Not Soggy: Like a damp sponge.
- Turn Regularly: Oxygen is your friend!
- Avoid the No-Nos: Keep meats, dairy, and oily foods out.
- Be Patient: Great things take time.
Conclusion
Home composting in the USA is an incredibly rewarding practice, and as you’ve seen,
Frequently Asked Questions About Home Composting
Q1: How long does it take to make compost?
It can take anywhere from 2 months to a year. Faster composting happens with regular turning, a good mix of materials, and adequate moisture and aeration. Tumblers usually speed up the process.
Q2: Can I compost in a small yard or apartment?
Absolutely! Worm composting (vermicomposting) or using a small, enclosed bin are excellent options for limited spaces.
Q3: My compost pile smells bad. What’s wrong?
A bad smell, especially like rotten eggs, usually means the pile is too wet and doesn’t have enough air. Try adding more brown, dry materials (like shredded cardboard or leaves) and turn it thoroughly to introduce oxygen.
Q4: What if I don’t have any yard waste, just kitchen scraps?
You can still compost! You’ll just need to be extra careful to balance your kitchen “greens” with purchased brown materials like straw, shredded newspaper, or coco coir. If you have no yard at all, worm composting is your best bet.
Q5: Can I compost diseased plants?
It’s generally best to avoid composting diseased plants. The composting process might not get hot enough to kill all pathogens, and you could spread diseases back into your garden.
Q6: How do I know when compost is ready to use?
Finished compost will look dark brown and crumbly, smell earthy and pleasant, and you won’t be able to recognize the original materials. Think of rich, dark soil.

I am passionate about home engineering. I specialize in designing, installing, and maintaining heating, ventilation, and air conditioning systems. My goal is to help people stay comfortable in their homes all year long.