Want rich, dark compost for your garden without breaking the bank? Hot composting creates amazing fertilizer fast, but it can seem complicated and expensive. Don’t worry! I’m Troy D Harn from TopChooser, and I’m here to show you how to do it affordably and easily. We’ll walk through it step-by-step, proving you don’t need fancy gear to get fantastic results. Get ready to transform your kitchen scraps and yard waste into garden gold!
Hot Composting Affordable: Your Essential Guide to Speedy, Cheap Fertilizer
Composting is a gardener’s best friend. It turns waste into valuable soil amendment. Hot composting is the fastest way to do it. It heats up the pile, killing weeds and diseases while making compost in weeks, not months. But “hot composting” sounds intense, right? And maybe even expensive? That’s where I come in!
At TopChooser, we believe in making home projects simple, budget-friendly, and totally achievable. This guide is designed for folks like you – busy homeowners and renters who want great results without a huge investment or a degree in science. We’ll break down hot composting into easy, actionable steps. You’ll learn what you need, how to build your pile, and how to keep it cooking. By the end, you’ll be a composting pro, saving money and boosting your garden’s health.
What is Hot Composting, Anyway?
Think of hot composting as a super-charged version of regular composting. It works by creating the perfect environment for a specific type of bacteria that thrives at high temperatures (between 130°F and 160°F, or about 55°C to 70°C). These “thermophilic” bacteria munch through organic matter at an astonishing rate.
Why is this heat so important?
- Speed: Compost is ready in as little as 3 to 8 weeks. Compare that to traditional composting, which can take 6 months to a year.
- Weed & Disease Control: The high heat kills weed seeds and most plant pathogens, giving you a cleaner compost.
- Odor Reduction: When done correctly, a hot compost pile shouldn’t smell bad.
The key to achieving this magical heat is balancing specific ingredients and ensuring good aeration. It’s like baking a cake – you need the right ingredients in the right proportions and a well-heated oven.
The “Greens” and “Browns”: Your Affordable Ingredients
The secret to successful hot composting (and all composting, really) is the mix of “greens” and “browns.” This isn’t about the color, but the material’s nitrogen (greens) or carbon (browns) content.
Greens (Nitrogen-Rich): These materials are moist and tend to break down quickly. They provide the nitrogen that feeds the microbes and helps generate heat.
- Fruit and vegetable scraps (no meat, dairy, or oily foods)
- Coffee grounds and tea bags
- Grass clippings (use in thin layers to avoid matting)
- Fresh plant trimmings
- Manure from herbivores (cow, horse, chicken – if you have access to it)
Browns (Carbon-Rich): These are drier materials that provide carbon. They add bulk, allow air to circulate, and help balance the nitrogen from the greens. Without enough browns, your pile can become slimy and smelly.
- Dry leaves
- Shredded cardboard (uncoated, plain brown)
- Shredded newspaper (black and white ink is fine)
- Straw or hay
- Wood chips or sawdust (use in moderation, as they break down slowly)
- Twigs and small branches (chopped up)
A common mistake beginners make is using too many greens. This can lead to a soggy, smelly pile. The ideal ratio is roughly 2 parts browns to 1 part greens by volume. Don’t get too hung up on exact measurements; it’s more about a thoughtful mix. Think about providing a balanced diet for your compost microbes!
Affordable Structure Options for Your Hot Compost Pile
You don’t need a fancy, expensive bin to hot compost. Here are some practical, budget-friendly options:
1. The Simple Pile (Free!)
The most affordable option is simply… a pile! Find a quiet corner of your yard, preferably in partial shade, and start layering your greens and browns directly on the ground. This method is easiest if you have space.
Pros: Absolutely free, easy to turn with a pitchfork, allows good airflow.
Cons: Can look a bit messy, materials might spill out easily, may dry out faster in hot weather.
2. Wire Mesh Bin (Very Affordable to DIY)
This is a classic for a reason. It’s incredibly effective and cheap to make.
How to make it:
- Get a roll of hardware cloth or chicken wire (about 3-4 feet tall, 4 feet wide). You can often find this affordably at farm supply stores or even hardware stores’ gardening sections.
- Bend the wire mesh into a cylinder, overlapping the ends by a few inches.
- Secure the overlapped ends with zip ties, wire, or small carabiner clips (these allow you to open it easily for turning).
Pros: Excellent airflow, easy to turn the pile by lifting the cylinder off and setting it beside the pile, relatively inexpensive to build.
Cons: Can dry out quickly, might not deter pests as well as solid bins.
3. Pallet Bin (Free to Very Low Cost)
If you can get your hands on some free wooden pallets (check local businesses, many give them away), you can build a sturdy compost bin.
How to make it:
- Acquire 3 or 4 wooden pallets of similar size.
- Stand them up on their edges to form three sides or a square with an opening for access.
- Secure them together using heavy-duty zip ties, screws, or hinges for one side to allow easy access for turning.
Pros: Uses recycled materials, sturdy, offers good airflow through the pallet gaps.
Cons: Pallets can be heavy, may have gaps that let material fall out if not lined, need to ensure they aren’t treated with harmful chemicals (look for “HT” stamp for heat-treated, avoid “MB” for methyl bromide).
4. Black Trash Can or Tote (Low Cost)
You can repurpose a large plastic trash can or storage tote. This is a good option for smaller spaces.
How to make it:
- Get a large plastic trash can or tote with a lid.
- Drill plenty of holes all over the sides and bottom for aeration and drainage.
- Drill a few holes in the lid too.
- You can cut a large flap in the side or bottom for easier access to finished compost, or simply tip it over to empty.
Pros: Contains materials well, good for limited space, lid helps retain moisture and heat.
Cons: Aeration can be tricky, turning can be difficult (often requires rolling or shaking), limited capacity.
Which structure you choose depends on your space, budget, and how much material you generate. For hot composting, good airflow is key, so bins with lots of holes or gaps (like wire mesh or pallets) are often best. Regardless of the bin, aim for a minimum size of about 3x3x3 feet (or 1 cubic meter) to help the pile generate and retain heat.
Getting Started: Building Your First Hot Compost Pile
Now for the fun part – building your pile! The key is layering and getting that “brown to green” ratio right.
Step-by-Step Guide to Building Your Pile:
- Choose Your Location: Pick a spot that’s easy to access, gets some sun but not baking all day (partial shade is ideal), and has good drainage. If using a bin, place it there. If not, just start on bare earth.
- Build a Base Layer (Browns): Start with a 4-6 inch layer of coarse brown material at the bottom. This could be twigs, straw, or shredded cardboard. This helps with drainage and aeration from the start.
- Add Your First “Green” Layer: Now add a layer of greens (food scraps, grass clippings) about 2-4 inches thick.
- Add a “Brown” Layer: Cover the greens with a layer of browns (leaves, shredded paper) that’s about twice as thick as the green layer. This helps trap moisture and nutrients, and prevents odors.
- Moisten Lightly: Each time you add a layer, lightly water it. The goal is for the material to be as damp as a wrung-out sponge, not soaking wet.
- Continue Layering: Keep alternating layers of greens and browns, aiming for that 2:1 brown to green ratio. Chop or shred larger items to speed up decomposition.
- Add “Activator” (Optional but Recommended): To jumpstart the process, you can add a shovel-full of finished compost or garden soil to your pile. This introduces beneficial microbes. Some people also use commercial compost activators, but they aren’t essential if you have the right mix.
When you’re done building the initial pile, the top layer should ideally be browns to help it shed rain and deter pests. Once built, resist the urge to add small bits constantly if you want that fast “hot” compost. It’s better to build a large batch at once.
Maintaining the Heat: Turning and Moisture
Building the pile is only half the battle. To keep it hot and composting quickly, you need proper moisture and aeration.
Moisture Management:
As mentioned, the pile should feel like a wrung-out sponge.
- Too Dry? If the pile feels dry and isn’t heating up, it needs more moisture. Turn the pile and add water as you go.
- Too Wet? If it’s mucky and smells like ammonia, it’s too wet and likely needs more browns. Turn the pile and mix in dry leaves, shredded cardboard, or straw.
The lid on a bin or a tarp over a pile can help regulate moisture, especially in rainy or very dry climates.
The Importance of Turning:
Turning your compost pile introduces oxygen, which is crucial for the aerobic bacteria that do the composting. Without oxygen, the pile can go anaerobic, becoming smelly and breaking down slowly.
- How Often? For hot composting, aim to turn the pile every 4-7 days.
- How to Turn: Use a pitchfork or a compost aerator tool. Try to move material from the outside to the inside and vice versa. If you have a wire mesh bin, you can often lift the entire cylinder off, set it beside the pile, and fork the material back in, effectively turning it.
When you turn the pile, you should notice steam rising, especially on the first few turns. This is a good sign your microbes are working hard!
Knowing When Your “Hot Compost” is Ready
The beauty of hot composting is its speed. You’ll know your compost is ready when:
- It’s dark, crumbly, and resembles rich soil.
- It has a pleasant, earthy smell.
- You can no longer recognize the original materials you put in.
- The pile has cooled down to ambient temperature.
Typically, this happens within 3 to 8 weeks if you’ve maintained the right conditions: good C:N ratio, adequate moisture, and regular turning. You can then use it directly in your garden beds, mix it into potting soil, or let it cure for a few more weeks if you want an even finer texture.
Troubleshooting Common Hot Composting Problems
Even with the best intentions, you might run into a few hiccups. Here’s how to fix them:
Problem: Pile Isn’t Heating Up
- Cause: Not enough nitrogen (greens), too dry, or needs turning.
- Solution: Add more green materials. Check moisture and add water if needed. Turn the pile to introduce oxygen. Ensure your greens-to-browns ratio is closer to balanced, perhaps a bit more greens if you suspect too many browns.
Problem: Pile Smells Bad (Ammonia or Rotten Eggs)
Ammonia smell usually means too much nitrogen (too many greens). A rotten egg smell usually means it’s gone anaerobic (not enough oxygen).
- Cause: Too many greens, too wet, or compacted (lack of air).
- Solution: Add plenty of brown materials (leaves, shredded cardboard) to absorb excess nitrogen and add bulk for aeration. Turn the pile thoroughly to reintroduce oxygen. If it’s too wet, add browns and turn well.
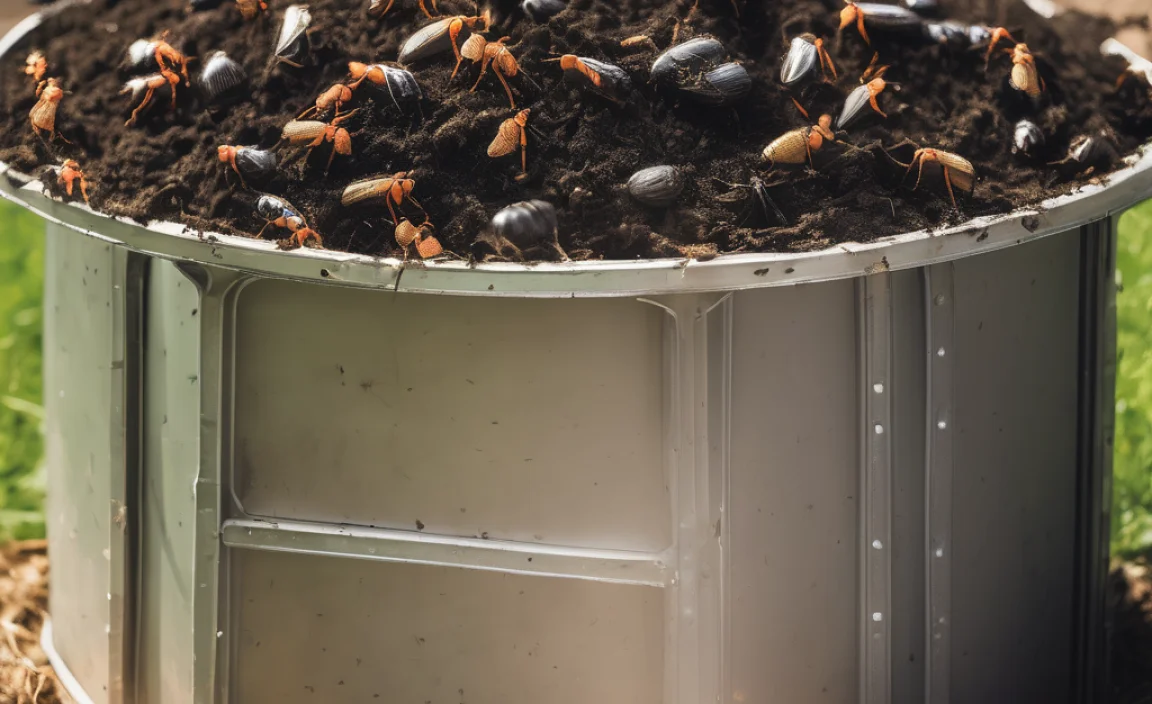
Problem: Pests (Rodents, Flies)
This is more common with “cold” composting, but can happen with hot piles if not managed well.
- Cause: Exposed food scraps, wrong materials in the pile.
- Solution: Always bury food scraps in the center of the pile, covered by browns. Avoid adding meat, dairy, or oily foods, as these attract pests and can smell. A well-built hot pile’s heat often deters critters, but proper burying is key. Ensure your bin has good coverage if it’s an open pile.
Problem: Material Not Breaking Down
- Cause: Pile is too small, too dry, too cool, or lacks nitrogen.
- Solution: Ensure your pile is at least 3x3x3 feet. Check and adjust moisture. Add more nitrogen-rich materials (greens). Turn it more frequently. Break up large items.
Affordable Tools to Make Hot Composting Easier
While you can get by with just a pitchfork, a few inexpensive tools can make the process smoother and more efficient.
| Tool | Why it’s helpful for affordable hot composting | Estimated Cost Range (USD) |
|---|---|---|
| Pitchfork | Essential for turning the pile, aerating, and moving materials. A standard garden pitchfork works great. | $20 – $40 |
| Compost Aerator Tool | Designed specifically for turning compost piles. Helps break up compacted areas and introduces air without having to physically fork the whole pile. Less strenuous than a pitchfork for some. | $15 – $30 |
| Sturdy Gardening Gloves | Protects your hands from dirt, thorns, and anything else in the compost. Essential for comfortable turning. | $10 – $25 |
| Watering Can or Garden Hose with Spray Nozzle | Crucial for maintaining the correct moisture level. A spray nozzle allows for gentle, even watering. | $15 – $30 (for watering can) / $30 – $60 (for hose/nozzle combo) |
| Shredder (Optional, but very helpful) | A basic shredder for cardboard, newspaper, and leaves significantly speeds up decomposition and helps create a better brown-to-green ratio. Look for used or basic models for affordability. | $70 – $150 (for basic electric models) or Free (if using manual methods like tearing/cutting and your bin/structure is good) |
The goal here is affordability. You don’t need the fanciest gadgets. A good pitchfork and a way to add water will serve you very well. For shredding, you can also manually tear materials or use a pair of sturdy scissors if a shredder is out of budget. Remember, the most affordable option is to use what you have!
Hot Composting vs. Cold Composting: What’s the Difference Affordably?
It’s helpful to understand that not all composting aims for the “hot” phase. Cold composting is more passive. You just add materials and let nature take its course over a longer period.
Hot Composting:
- Speed: 3-8 weeks for finished compost.
- Process: Requires actively managing greens/browns ratio, moisture, and turning to reach and maintain high temperatures (130-160°F).
- Benefits: Kills weed seeds and pathogens, produces compost quickly, can be less prone to pests when managed correctly

I am passionate about home engineering. I specialize in designing, installing, and maintaining heating, ventilation, and air conditioning systems. My goal is to help people stay comfortable in their homes all year long.