Ever feel like throwing away food scraps and yard waste is just… wasteful? You’re not alone! It’s a common frustration to see good organic material heading to the landfill. But what if there was a way to turn that “waste” into garden gold? This guide will show you how. We’ll break down hot composting, making it super simple. Get ready to create amazing fertilizer for your plants, the fast and eco-friendly way!
Hot Composting Sustainable: Genius Solutions
Hey there, neighbor! Troy D Harn here from TopChooser. Have you ever looked at your kitchen scraps – apple cores, coffee grounds, veggie peelings – and then at your yard trimmings, and thought, “There’s got to be a better way than just tossing it all”? Well, there is! It’s called hot composting, and it’s a fantastic way to recycle organic materials and create nutrient-rich compost for your garden, much faster than traditional methods.
Think of it as a supercharged composting process. Instead of waiting months or even years for your compost to break down, hot composting gets it done in weeks! This isn’t just about speed, though. It’s about sustainability, reducing landfill waste, and giving your plants the best possible food. It might sound a bit technical, but I promise, we’ll walk through it step-by-step. You’ve got this!
What is Hot Composting, Anyway?
So, what exactly makes composting “hot”? It’s all about creating the perfect environment for beneficial microorganisms to do their work. These tiny helpers, like bacteria and fungi, break down your organic materials. When they’re happy and busy, they generate heat. A properly managed hot compost pile can reach temperatures between 130°F and 160°F (55°C to 70°C).
Why is this heat so important? Well, those high temperatures are amazing for a few reasons:
- Speeds up decomposition: The heat helps microbes break down organic matter much faster.
- Kills weeds and pathogens: The intense heat can kill off weed seeds and harmful bacteria or pathogens that might be present in your organic materials.
- Reduces odors: A well-aerated and balanced hot compost pile tends to have fewer unpleasant smells.
This is the key difference between “hot” and “cold” composting. Cold composting is more passive; you just pile stuff up and let nature take its course, which can take a long time. Hot composting is an active process, like being a conductor of an orchestra of microbes!
Why Go for Hot Composting? The Sustainable Edge
Choosing hot composting is a fantastic step towards a more sustainable lifestyle. Let’s break down why it’s such a “genius solution”:
Benefits of Hot Composting
- Waste Reduction: You’ll divert a significant amount of organic waste from landfills. According to the EPA, food and yard waste make up over 30% of what we throw away nationally. Composting tackles this head-on!
- Rich Soil Amendment: The compost you create is packed with nutrients. It improves soil structure, water retention, and provides essential food for your plants, reducing the need for synthetic fertilizers.
- Faster Results: As we discussed, you can get usable compost in as little as 1-3 months with hot composting, compared to 6-12 months or more for cold composting.
- Healthier Garden: Healthier soil leads to healthier, more resilient plants. Plus, using compost reduces reliance on chemical fertilizers, which can be harmful to soil ecosystems and local waterways.
- Cost Savings: You’ll buy less soil, fertilizer, and plant food for your garden. Plus, you’re saving money by not contributing to landfill tipping fees if that’s applicable in your area.
The “Greens” and “Browns”: Your Composting Recipe
The secret to successful hot composting is balance. You need the right mix of nitrogen-rich materials (the “greens”) and carbon-rich materials (the “browns”). Think of it like a balanced diet for your compost pile! Too much of one and not enough of the other, and your pile won’t heat up properly.
A good rule of thumb is to aim for a carbon-to-nitrogen ratio (C:N) of roughly 30:1. While you don’t need to be a chemist, understanding the types of materials helps massively.
Greens (Nitrogen-Rich)
These materials are generally moist and break down quickly, providing the nitrogen that fuels the microbes.
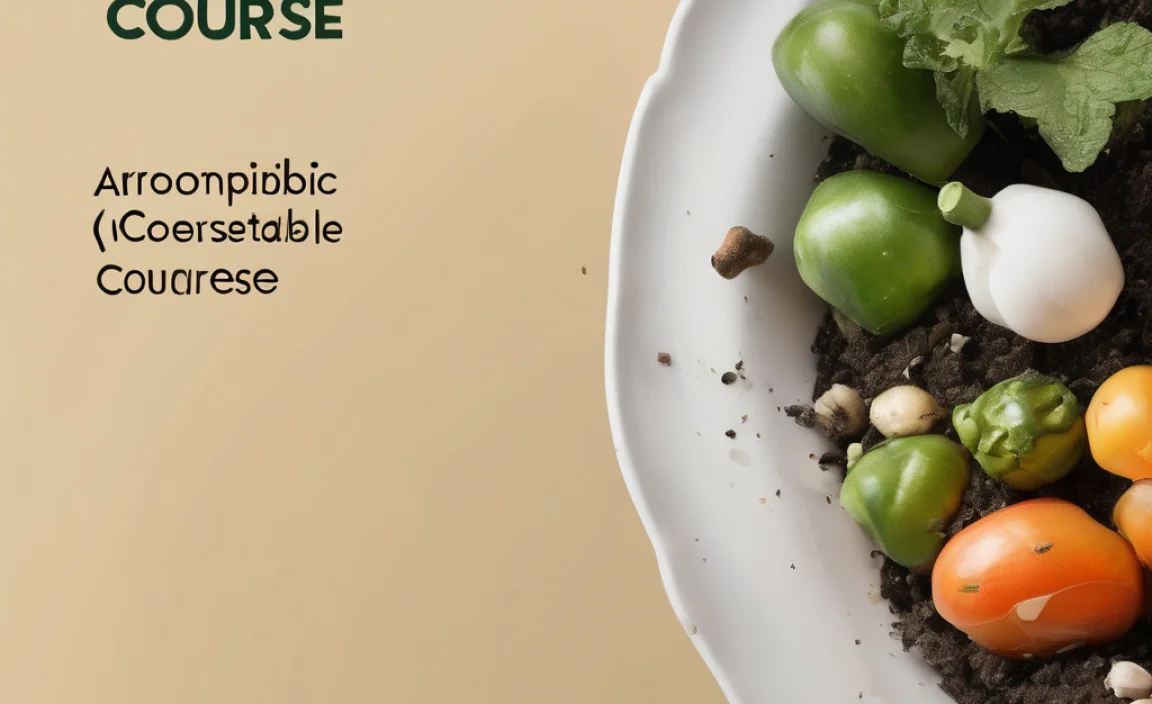
- Fruit and vegetable scraps
- Coffee grounds and tea bags
- Grass clippings (in thin layers to avoid matting)
- Plant trimmings (fresh)
- Manure from herbivores (like chickens, cows, horses – avoid dog/cat waste)
Browns (Carbon-Rich)
These materials are drier and provide the energy source for the microbes, as well as important carbon. They also help with aeration.
- Dry leaves
- Straw or hay
- Shredded newspaper or cardboard (uncoated, ink is usually soy-based and safe)
- Wood chips or sawdust (use sparingly, they break down slowly)
- Died-back plants (from the garden)
- Pine needles (use in moderation as they can be acidic)
Pro Tip: Chop up larger items into smaller pieces. This increases the surface area for microbes to work on, accelerating the decomposition process.
Getting Started: Your Hot Composting Setup
You don’t need a fancy setup to begin hot composting. The key is to create a space where the materials can hold moisture, air, and heat.
Option 1: The Open Pile
This is the simplest method. Just designate a spot in your yard (at least 3 feet x 3 feet x 3 feet) and start layering your greens and browns.
Pros: Easy, no cost for a bin, good for large amounts of material.
Cons: Can look messy, might dry out or get too wet easily, may require more turning.
Option 2: The Bin (Stationary or Tumbler)
A bin helps contain the material, retain heat and moisture, and often looks neater. You can buy pre-made compost bins or build your own.
- Stationary Bins: These are enclosed boxes, often with doors for easy access to finished compost at the bottom. They work well but require turning the material with a fork or aerator.
- Tumblers: These are barrel-like containers that you rotate. Tumbling makes turning much easier, and they can speed up the process by improving aeration.
Pros: Neater appearance, better at retaining heat and moisture, tumblers make turning easy.
Cons: Can be costly if purchased, DIY bins require some effort, tumblers have limited capacity.
For beginners, a DIY bin made from pallets or a purchased stationary bin is a great starting point. If you’re feeling adventurous, a tumbler can be a real game-changer for speed and ease.
The Step-by-Step Guide to Hot Composting
Ready to get your hands (a little) dirty? Here’s how to build and maintain your hot compost pile:
Step 1: Choose Your Location
Pick a spot that is well-drained, gets some sun (but isn’t baking hot all day), and is convenient for you to access with kitchen scraps and yard waste. Ideally, it should be near a water source.
Step 2: Gather Your Materials
Start collecting your greens and browns. It’s best to have a good stash of both before you begin, or at least a plan for how you’ll add them.
Step 3: Build Your Pile (Layering is Key!)
Start with a base layer of coarse brown material (like twigs or straw) for aeration at the bottom. Then, alternate layers of greens and browns. A good starting ratio is about 2-3 parts browns to 1 part greens by volume. For example:
- Layer 1: A few inches of straw or shredded cardboard.
- Layer 2: A few inches of kitchen scraps (greens).
- Layer 3: A few inches of dry leaves or grass clippings (browns).
- Repeat these layers until your pile is at least 3 feet high.
Important: If adding a lot of fresh grass clippings, spread them thinly and mix them with browns to prevent matting and anaerobic conditions.
Step 4: Add Water
Your compost pile needs to be moist, like a wrung-out sponge. After building your initial layers, water the pile thoroughly. If it’s dry, the microbes won’t be active. If it’s too wet, it can become slimy and anaerobic, leading to bad smells. You can check moisture by squeezing a handful of material; a few drops of water should come out, but it shouldn’t drip.
Step 5: Aerate (Turn Your Pile!)
This is crucial for hot composting. Microbes need oxygen to thrive. For a hot pile, you’ll want to turn it regularly. A good schedule is:
- Active Piles: Turn every 3-7 days. When you turn, try to move material from the outside to the inside and vice-versa.
- Less Active Piles: You can turn every 1-2 weeks.
Turning mixes oxygen in, distributes moisture, and ensures all materials get a chance to heat up. If you’re using a tumbler, give it a few spins every other day.
Step 6: Monitor Temperature and Moisture
As you turn, check the temperature. You can use a compost thermometer (recommended for true hot composting) or just stick your hand in (carefully!). If it’s not heating up, it might be too dry, lack nitrogen (greens), or not have enough bulk. If it’s too hot (uncomfortably so after a day or two), it might need more air or a little more brown material.
Keep an eye on the moisture level. If it’s too dry, add water while turning. If it’s too wet, add more brown materials and turn to help it dry out and aerate.
The process of turning and monitoring typically continues for several weeks. Eventually, you’ll notice the material breaking down into a dark, crumbly substance.
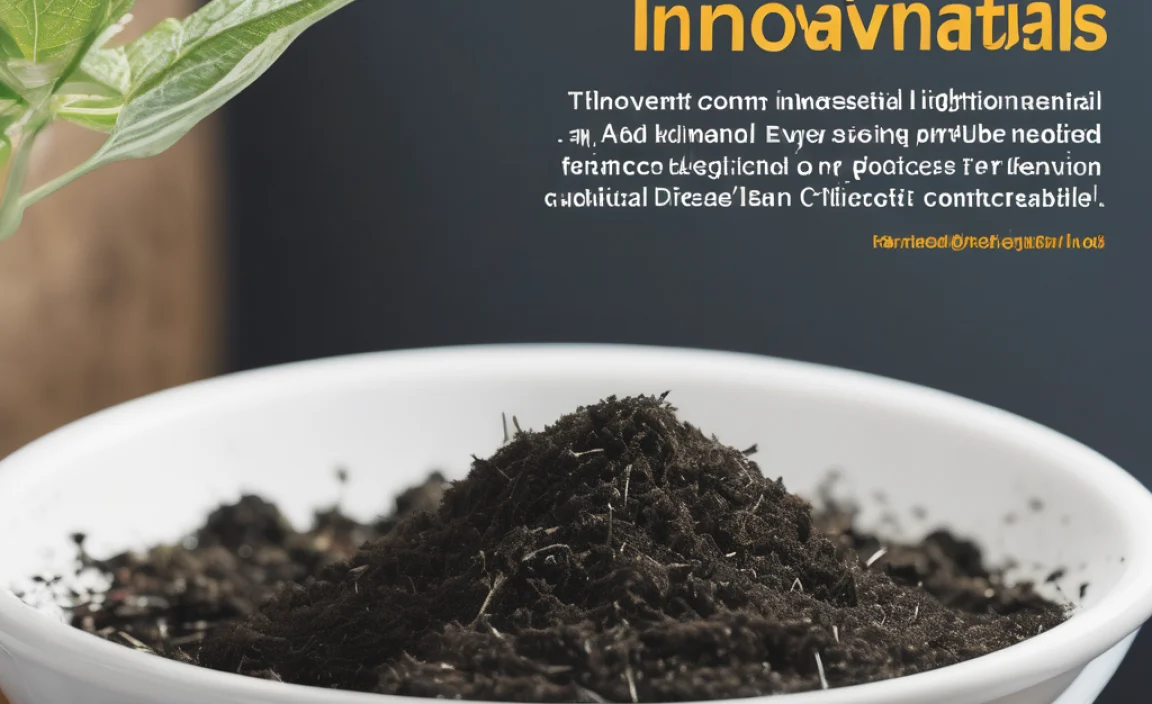
Step 7: Harvest Your Compost
Your compost is ready when it’s dark, crumbly, smells earthy (like a forest floor), and you can no longer recognize the original materials. The temperature will have cooled down to ambient levels. This can take anywhere from 4 weeks to 3 months depending on how diligently you manage the pile.
To harvest, you can either shovel the finished compost from the bottom of a bin or sift the entire pile. Any larger, unfinished pieces can be returned to your active compost bin to break down further.
Troubleshooting Common Hot Composting Problems
Even with the best intentions, compost piles can sometimes be a bit stubborn. Here are some common issues and how to fix them:
Problem: The Pile Isn’t Heating Up
Possible Causes:
- Not enough nitrogen (greens).
- The pile is too dry.
- The pile is too small (needs to be at least 3x3x3 feet to build significant heat).
- Poor aeration (needs turning).
- Materials are too finely shredded (compacts too much).
Solutions: Add more nitrogen-rich materials (kitchen scraps, grass clippings), water the pile thoroughly, add more bulky brown materials for aeration, and turn the pile more frequently.
Problem: The Pile Smells Bad (Ammonia or Rotten Eggs)
Possible Causes:
- Too much nitrogen (ammonia smell).
- Lack of oxygen (anaerobic, rotten egg smell).
- The pile is too wet.
Solutions: Add carbon-rich brown materials (leaves, shredded paper) to balance the nitrogen. Turn the pile vigorously to introduce air. If it’s very wet, add more browns and turn to help dry it out.
Problem: The Pile Attracts Pests
Possible Causes:
- Visible food scraps that attract rodents.
- Meat, dairy, or oily foods are included.
Solutions: Bury fresh kitchen scraps deep within the pile, especially under a layer of browns. Avoid adding meat, dairy, oils, and pet waste to your compost. Using a compost bin with a lid can also help deter pests.
What NOT to Compost
While composting is broad, there are certain items that should be kept out of your hot compost pile, especially for beginners, to avoid problems:
- Meat, fish, and bones
- Dairy products
- Oily or greasy foods
- Diseased plants
- Weeds that have gone to seed (unless your pile consistently reaches high temperatures to kill them)
- Pet waste (dog or cat feces)
- Chemically treated wood or yard waste
- Coal or charcoal ash
These items can attract pests, create foul odors, or introduce harmful pathogens. Stick to the greens and browns for the best results!
Maintaining a Sustainable Hot Composting Cycle
Once you get the hang of it, hot composting becomes a natural part of your home routine. The key to sustainability here is continuous management.
Keep Adding Materials
As you use finished compost, keep adding fresh greens and browns to your active pile. This ensures a continuous supply of nutrient-rich material for your garden.
Regular Turning and Moisture Checks
Don’t let your pile sit for too long without attention. Regular turning and moisture checks are the engine of hot composting. Even if you’re not aiming for extremely fast compost, maintaining good aeration and moisture will keep the process efficient and odor-free.
Seasonal Adjustments
In cooler months, your pile might not heat up as much. You can insulate your bin with straw bales or cover it. In warmer months, you might need to water more frequently. Nature is always in flux, and your compost pile will respond!
Advanced Tips for the Dedicated Composter
Once you’ve mastered the basics, you might want to optimize your hot composting even further.
Using a Compost Thermometer
A compost thermometer is an invaluable tool. It helps you monitor the core temperature of your pile. Aim to get it into the 130-160°F range. If it spikes too high (above 160°F), it might indicate too much nitrogen or poor aeration, and you’ll need to turn it. This level of control ensures all pathogens and weed seeds are killed efficiently.
Inoculating Your Pile
Sometimes, a new pile can take a while to get going. You can “inoculate” it by adding a shovel-full of finished compost from a healthy pile or even some rich garden soil. This introduces a starter culture of beneficial microorganisms.
Layering Specific Materials
While a general mix is good, some people like to create specific layers. For example, a nitrogen-rich layer followed by a carbon-rich layer, allowing them to mix as they break down. Experiment to see what works best for you.
Consider Multiple Bins
If you produce a lot of organic waste, consider having two or three bins. One for adding fresh material, one for actively heating, and one for maturing. This creates a continuous composting system.
Expert Insights on Hot Composting Sustainability
Hot composting isn’t just a gardening technique; it’s a cornerstone of sustainable living. By actively managing organic waste, you’re participating in a circular economy. You’re taking what nature provides, recycling it efficiently, and returning it to the earth to nourish new life. This process beautifully closes the loop, reducing our reliance on manufactured inputs for gardening and minimizing our environmental footprint.
The scientific principle behind hot composting is the aerobic decomposition by thermophilic microorganisms—basically, heat-loving bacteria and fungi. These organisms are incredibly efficient decomposers when provided with the right conditions: a balanced mix of carbon and nitrogen, adequate moisture, and sufficient oxygen. This efficient breakdown is why hot composting is faster and why it effectively sanitizes the compost.
For those serious about soil health and waste reduction, understanding ratios is key. While a 30:1 carbon-to-nitrogen ratio is the ideal target, slight variations won’t derail the process. It’s more about the balance of “greens” and “browns” and ensuring enough of each. For instance, excessive grass clippings (greens) can lead to a nitrogen overload, while too many dry leaves (browns) might slow down decomposition without sufficient moisture and nitrogen.
The long-term benefits extend beyond your garden. By diverting organic waste from landfills, you’re reducing methane emissions, a potent greenhouse gas. This makes adopting composting a powerful individual action in the fight against climate change. Resources from institutions like Colorado State University Extension offer in-depth guidance on composting science and best practices, reinforcing the reliability and effectiveness of this method.
Embrace hot composting not just as a task, but as a commitment to a healthier planet and a more vibrant garden. It’s a tangible way to make a difference, right from your backyard.
Conclusion: Your Journey to Garden Gold Begins Now!
There you have it! Hot composting sustainable is not as complicated as it might seem. By understanding the balance of greens and browns, providing adequate moisture and air, and committing to regular turning, you can transform your kitchen scraps and yard waste into some of the best natural fertilizer your garden has ever seen. It’s a powerful way to reduce waste, save money, and cultivate a thriving, healthy garden.
Remember, every compost master started somewhere. Don’t be afraid to dive in. Your first few piles might be learning experiences, and that’s perfectly okay. The rewards – lush plants, a greener conscience, and the satisfaction of DIY success – are well worth the effort. Happy composting, neighbor!
Frequently Asked Questions (FAQs)
Have more questions swirling around? We’ve got you covered with some common queries for beginners.
How long does hot composting take?
When managed actively, hot composting can yield finished compost in as little as 4 to 8 weeks. This is significantly faster than cold composting, which can take 6 months to over a year.
What is the ideal size for a hot compost pile?
For a pile to generate and retain enough heat, it needs to be at least 3 feet wide, 3 feet deep, and 3 feet long (a cubic yard). Smaller amounts can be composted, but they are less likely to reach hot composting temperatures.
Can I compost all my kitchen scraps?
It’s best to avoid meat, fish, dairy, and oily foods. These can attract pests and cause odors. Everyday items like fruit and vegetable peels, coffee grounds, and eggshells are excellent for your compost.
How often do I need to turn a hot compost pile?
For optimal heating and fast decomposition, turning every 3 to 7 days is recommended. This ensures good aeration and mixes the materials.
What if my compost pile smells like ammonia?
An ammonia smell indicates too much nitrogen. To fix this, add more carbon-rich materials like dry leaves, shredded cardboard, or straw and turn the pile to aerate it.
What if my compost pile has a rotten egg smell?
This smell typically means the pile is anaerobic (lacking oxygen) and too wet. You need to add bulky brown materials for aeration and turn the pile thoroughly to introduce air and help it dry out.
Do I need a special bin for hot composting?
No, you don’t strictly need a special bin. An open pile can work, but a bin (DIY or purchased) helps contain the material, retain heat and moisture, and can deter pests. Tumbler bins make turning very easy.

I am passionate about home engineering. I specialize in designing, installing, and maintaining heating, ventilation, and air conditioning systems. My goal is to help people stay comfortable in their homes all year long.