Feeling overwhelmed by kitchen scraps and yard waste? Many of us want to compost, but the idea of waiting months for dark, crumbly results feels daunting. What if you could speed things up significantly? Hot composting is your secret weapon, transforming your organic materials into nutrient-rich compost in weeks, not months. It might sound complex, but with a little know-how, you can achieve amazing results. Let’s break down exactly how to get your compost pile heating up and working for you, quickly and efficiently.
Hot Composting Time: Proven Results
Hey everyone, Troy D Harn here from TopChooser! I know that feeling when your compost bin looks more like a stagnant mountain of stuff than a magic soil-builder. The good news? You don’t have to wait forever. Hot composting is a fantastic method that gets your compost pile cooking, breaking down materials much faster than traditional cold composting. It’s all about balancing the right ingredients and giving your composting microbes the perfect conditions to thrive. Stick with me, and I’ll show you how to make hot composting work for you, turning waste into garden gold in record time.
What is Hot Composting, Anyway?
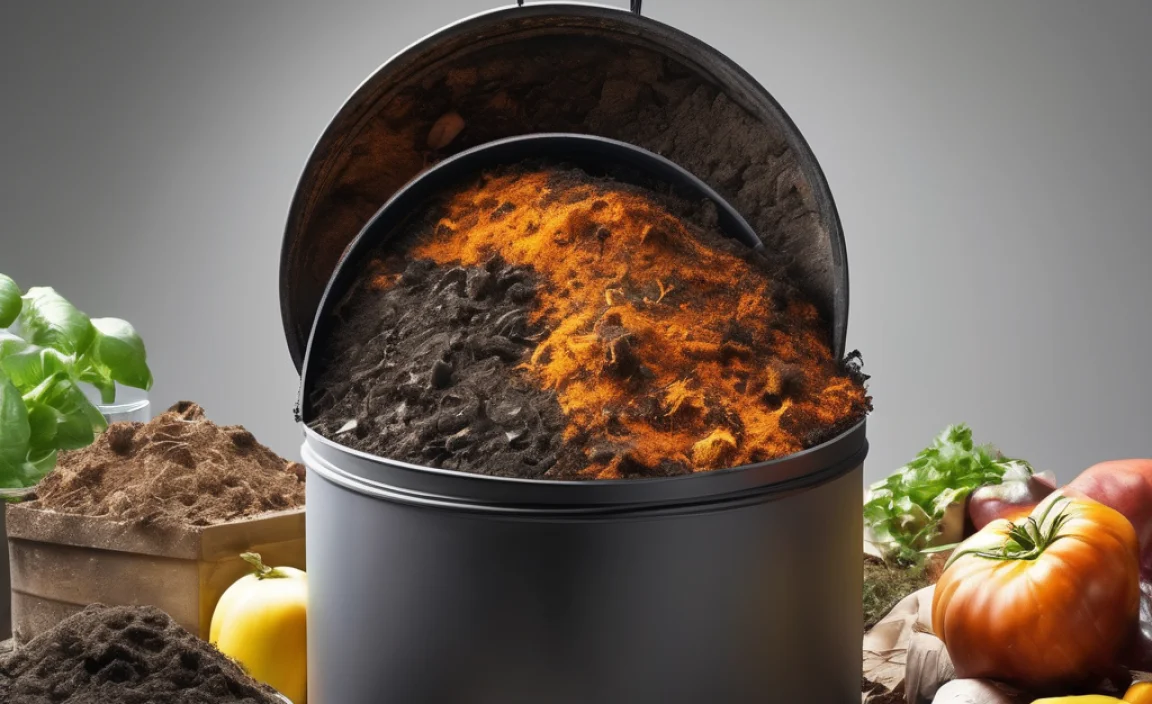
Think of hot composting as a supercharged version of regular composting. Instead of just letting things decompose slowly, we’re actively creating an environment where the microscopic organisms – bacteria and fungi – can multiply rapidly. These little guys work tirelessly, but they need a specific menu, temperature, and air supply to perform at their best. When they’re happy, they eat through organic matter at an incredibly fast pace, generating heat as a byproduct. This heat is key: it kills weed seeds and pathogens, giving you a cleaner, more effective compost faster.
Traditional or “cold” composting can take anywhere from six months to over a year to yield finished compost. Hot composting, on the other hand, can produce usable compost in as little as 30 to 60 days, provided you manage it correctly. It’s a dynamic process that requires attention, but the rewards – fresh, nutrient-rich compost for your garden in a fraction of the time – are well worth the effort.
Why Chase the Heat? The Benefits of Hot Composting
So, why go through the extra effort to get your compost hot? The advantages are pretty compelling:
- Speed: This is the big one. If you need compost for an upcoming planting season or just dislike waiting, hot composting dramatically cuts down the timeline.
- Pathogen and Weed Seed Destruction: The high temperatures (reaching 130-160°F or 55-71°C) are hot enough to kill off many weed seeds and harmful pathogens found in manure or other organic materials. This results in a safer, more effective compost for your garden.
- More Uniform Compost: Because the process is so active, you often end up with a more uniform-looking finished product.
- Reduced Odor: When managed correctly, a hot compost pile should smell earthy and pleasant. The rapid decomposition means less time for unpleasant anaerobic (low-oxygen) smells to develop.
- Pest Deterrent: The heat also tends to deter common garden pests that might be attracted to a slower-rotting pile.
The Science Behind the Heat: What Makes it Work?
Hot composting relies on a delicate ecosystem of microorganisms. These tiny workers need three main things to thrive and generate heat:
- Food: A balanced mix of “greens” and “browns.”
- Air: Oxygen is crucial for aerobic decomposition.
- Moisture: The environment needs to be damp, but not waterlogged.
When these conditions are met, the microbial activity increases exponentially. Their metabolic processes release energy, which we experience as heat. A well-managed hot compost pile will often reach temperatures that are too hot to comfortably keep your hand in – that’s a sign it’s working!
Ingredients for Success: The Greens and Browns Ratio
This is the most critical aspect of hot composting. You need a good mix of nitrogen-rich materials (greens) and carbon-rich materials (browns). Think of it like a balanced diet for your microbes!
A common recommendation for hot composting is a carbon-to-nitrogen (C:N) ratio of around 25:1 to 30:1 by weight. This sounds technical, but we can simplify it by thinking about volume. A good starting rule of thumb is to aim for roughly 2 to 3 parts Browns to 1 part Greens by volume. You might need to adjust this as you go, but it’s an excellent place to begin.
What are “Greens”? (Nitrogen-Rich)
Greens are typically moist materials that break down quickly and provide nitrogen. They are often fresh, living plant materials or recently deceased ones.
- Grass clippings (in thin layers to avoid matting)
- Fruit and vegetable scraps from the kitchen
- Coffee grounds and tea bags
- Manure from herbivores (cows, horses, chickens, rabbits – avoid pet waste!)
- Fresh plant trimmings
- Weeds (before they go to seed!)
What are “Browns”? (Carbon-Rich)
Browns are drier, bulkier materials that provide carbon and structure to the pile, allowing air to circulate. They break down more slowly.
- Dry leaves
- Straw or hay
- Shredded newspaper or cardboard (avoid glossy or colored inks)
- Wood chips or sawdust (use sparingly and from untreated wood)
- Small twigs and branches (chopped or shredded)
- Pine needles (use in moderation as they can be acidic)
- Paper towels and napkins (unsoiled with grease or chemicals)
Pro Tip: Chop or shred your materials into smaller pieces. Smaller pieces have more surface area for microbes to work on, which speeds up decomposition.
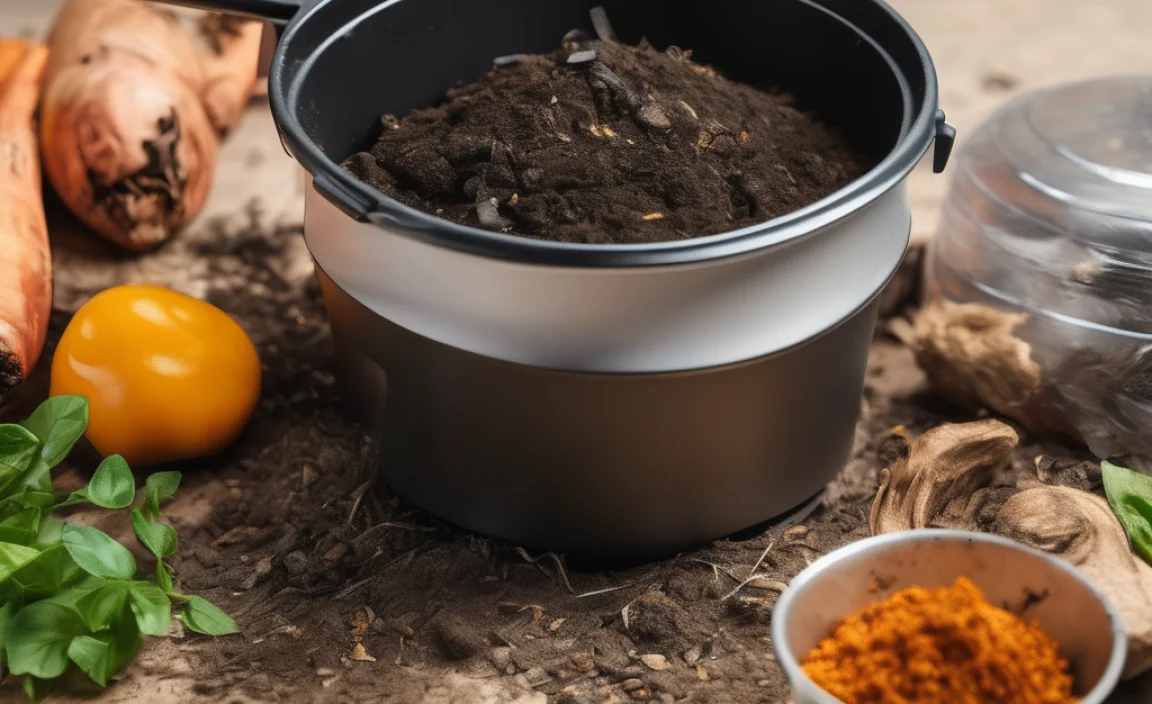
Putting it All Together: Building Your Hot Compost Pile
Building a hot compost pile is like constructing a layered cake, but for microbes! You want to create a structure that allows for good airflow and moisture distribution.
Step 1: Choose Your Location and Bin
Location: Find a spot that’s convenient to access, has good drainage, and gets some sun (to help with initial heating) but isn’t baked dry all day. Avoid placing it right next to wooden structures that could rot. Placing it directly on bare soil is ideal, as it encourages contact with beneficial microbes and worms from the ground.
Bin Type: While a simple open pile can work, an enclosed bin or a three-bin system is often best for hot composting. This helps retain heat and moisture, and keeps things tidy. Tumbling composters can also work well for hot composting if they are large enough to generate sufficient mass and are turned frequently.
- Enclosed Bins: These retain heat and moisture well. Ensure they have adequate ventilation.
- Open Piles: Need to be larger to generate enough heat and can dry out faster.
- Three-Bin Systems: Excellent for continuous composting. One bin for adding new material, one for actively heating/turning, and one for curing finished compost.
- Tumblers: Great for turning, but can sometimes be too small for sufficient mass to achieve sustained high temperatures unless managed very carefully.
Step 2: The Base Layer
Start with a coarse layer of “browns” at the bottom. Twigs, straw, or wood chips work well. This provides initial aeration and drainage, preventing the pile from becoming a dense, anaerobic mess right from the start.
Step 3: Layering Greens and Browns
Now, start alternating layers of greens and browns, aiming for that 2-3:1 brown-to-green volume ratio. Think of it as one layer of greens, followed by two or three layers of browns.
- Add a layer of greens (kitchen scraps, grass clippings).
- Cover it with a thicker layer of browns (leaves, shredded paper).
- Sprinkle a bit of finished compost or garden soil between layers if you have it. This introduces beneficial microbes to kickstart the process.
- As you add kitchen scraps, try to bury them within a layer of browns to help deter pests and odors.
Step 4: Add Moisture
As you build your layers, dampen them with a hose or watering can. The goal is for the materials to be as moist as a wrung-out sponge. If you squeeze a handful, only a drop or two of water should come out. Too dry, and the microbes won’t be active. Too wet, and you’ll suffocate them and create anaerobic conditions (and smell!).
Step 5: The First Turn (Crucial for Heating!)
Once your pile reaches a good size (ideally at least 3 feet x 3 feet x 3 feet – this is the minimum mass needed to retain heat effectively), it’s time to help it heat up. This is where the “hot” comes in.
The Goal: Introduce oxygen and mix the materials. This is done by turning (“flipping”) the pile. You want to move the material from the outside to the center and the material from the center to the outside.
How often? For fast hot composting, aim to turn your pile every 4-7 days. After the first turn, you should notice a significant rise in temperature, often reaching 130-160°F (55-71°C) in the core.
If you have a three-bin system, when the first bin is full, you start a second bin. After about a week, you turn the first bin into the second bin, covering the new material. The original material in the second bin is now in the center, getting hotter. The third bin is for curing.
Step 6: Monitor Temperature and Moisture
A compost thermometer is a handy tool, but your senses also work! If the pile stops heating up after a turn, it might need more greens, more moisture, or it might just need turning again to reintroduce oxygen.
- Temperature: Look for 130-160°F (55-71°C). If it drops significantly after a few days, it may need turning or more nitrogen. If it’s too high and stays there for days, it might be too dense or too wet.
- Moisture: Check periodically. If it feels dry, add water while turning. If it seems soggy, add more browns and ensure good aeration.
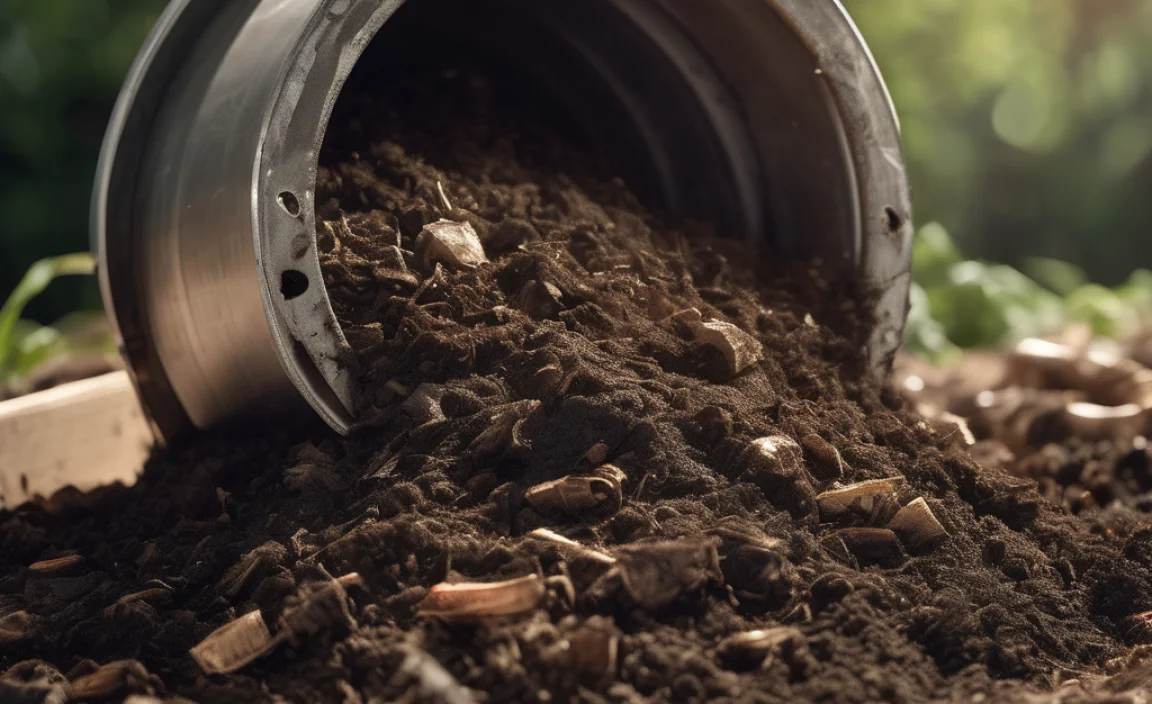
Step 7: Curing
Once the materials have broken down significantly and the pile is no longer heating up consistently after turns, it’s time to let it cure. This phase allows the compost to cool down, and beneficial fungi can break down any remaining tougher materials. Move the compost to a curing pile or bin and let it sit for at least 2-4 weeks. It should develop an earthy smell and a uniform, dark color.
Troubleshooting Your Hot Compost Pile
Even with the best intentions, compost piles can sometimes falter. Here are common issues and how to fix them:
- Smells Bad (Ammonia/Rotten Eggs): Often caused by too much nitrogen (too many greens) or lack of oxygen. Solution: Add more browns (leaves, shredded paper) and turn the pile thoroughly to aerate it.
- Not Heating Up: Could be too small a pile, not enough greens, or too dry. Solution: Ensure your pile is at least 3x3x3 feet (a minimum of 1 cubic yard). Add more greens, moisten the pile adequately, and turn it.
- Pests (Rodents, Flies): Usually a sign that large pieces of food scraps are exposed, or the pile isn’t hot enough. Solution: Bury food scraps deep within the pile and cover them with browns. Ensure your pile is actively heating. If using a bin, make sure it has a lid and is well-maintained.
- Too Wet and Slimy: Lack of airflow and too much moisture. Solution: Add plenty of dry brown materials (straw, shredded cardboard) and turn the pile vigorously to introduce air.
- Too Dry: Microbes need moisture to live and work. Solution: Water the pile thoroughly while turning it.
When is Hot Compost Ready?
Your finished hot compost will look and smell its best. Here’s what to look for:
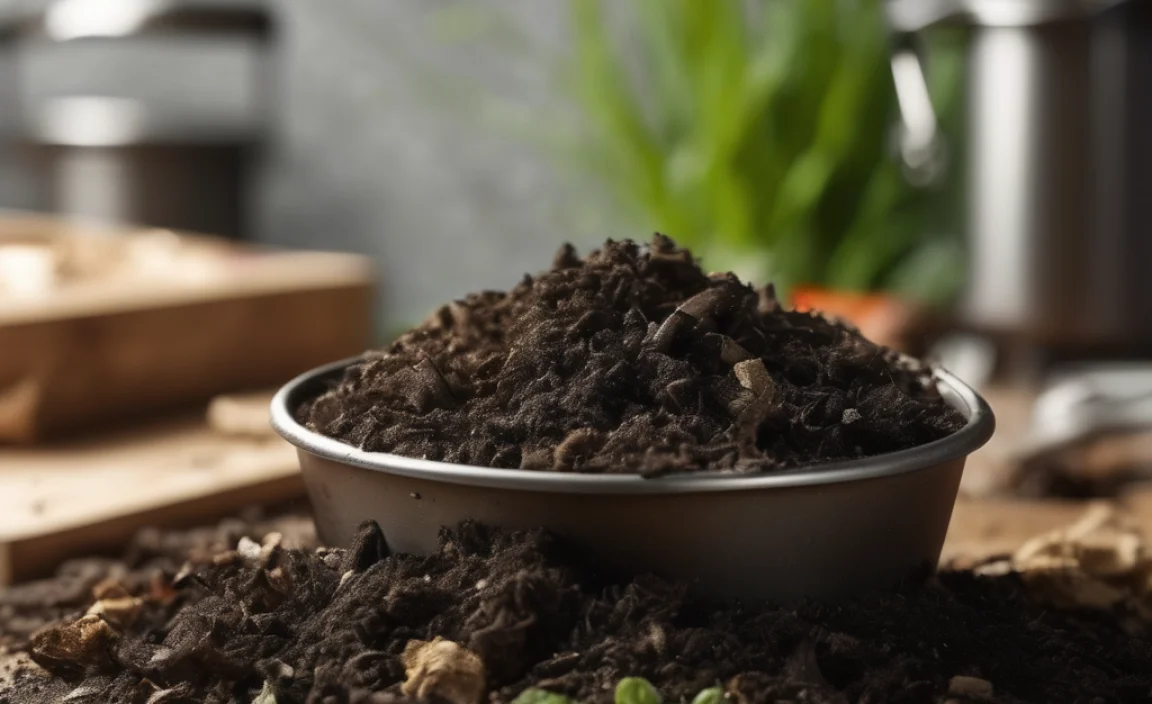
- Appearance: It will be dark brown to black, crumbly, and uniform in texture. You shouldn’t be able to distinguish the original materials (like potato peels or grass clippings).
- Smell: It should have a pleasant, earthy aroma, like a forest floor after rain. No sour, ammonia, or rotten smells.
- Temperature: It will have cooled down to ambient temperature.
Using it for the first time? You can sift it through a screen to remove any larger, unfinished bits (which can go back into a new pile) for an even finer product. TopChooser’s guide to reducing waste at home can help you generate even more materials for your compost!
Quick Summary Table: Hot Composting Essentials
Here’s a handy table to keep the key elements of hot composting in mind:
| Element | Importance | How to Achieve |
|---|---|---|
| Greens (Nitrogen) | Fuel for microbes, generates heat. | Fruit/veg scraps, grass, manure. (~1 gal per 2-3 gal browns) |
| Browns (Carbon) | Provides structure, air pockets, energy source. | Leaves, straw, shredded paper, cardboard. (~2-3 gal per 1 gal greens) |
| Moisture | Keeps microbes active. | Damp as a wrung-out sponge; add water as needed. |
| Aeration (Oxygen) | Essential for aerobic microbes; prevents smells. | Turn pile every 4-7 days; build with coarse materials at base. |
| Pile Size | Minimum mass to retain heat. | At least 3ft x 3ft x 3ft (1 cubic yard). |
| Temperature | Indicates microbial activity; kills pathogens/seeds. | Aim for 130-160°F (55-71°C) during active phase. |
Tools of the Trade for Hot Composting
You don’t need a lot of fancy equipment, but a few items can make the job much easier and more effective:
- Pitchfork or Compost Aerator: Essential for turning and aerating the pile. A pitchfork is great for lifting and tossing; a compost aerator tool is good for piercing and loosening dense material.
- Garden Hose or Watering Can: To maintain the correct moisture level.
- Compost Thermometer: Highly recommended to monitor the internal temperature and ensure it’s reaching hot composting levels (130-160°F / 55-71°C). You can find reliable ones online or at garden supply stores. Check out resources from reputable sites like Penn State Extension for detailed composting guidance.
- Gloves: For hygiene and comfort when handling materials.
- Optional: Shredder: For breaking down bulky browns like leaves and small branches. This significantly speeds up decomposition.
Hot Composting vs. Cold Composting: A Quick Comparison
It helps to see the differences laid out:
| Feature | Hot Composting | Cold Composting |
|---|---|---|
| Time to Finish | 30-60 days (actively managed) | 6 months to over a year |
| Temperature | 130-160°F (55-71°C) reached and maintained | Ambient temperature, rarely heats significantly |
| Management Needed | Frequent turning, careful ratio management, moisture monitoring | Minimal; add materials, let nature take its course |
| Pathogen/Seed Destruction | Yes (due to high heat) | No (or very limited) |
| Materials Required | Specific C:N ratio (approx. 25:1 to 30:1)
.lwrp.link-whisper-related-posts{ margin-top: 40px; }.lwrp .lwrp-description{ } max-width: 150px; }@media screen and (max-width: 480px) { } }.lwrp .lwrp-description{ } max-width: initial; }; |

I am passionate about home engineering. I specialize in designing, installing, and maintaining heating, ventilation, and air conditioning systems. My goal is to help people stay comfortable in their homes all year long.
