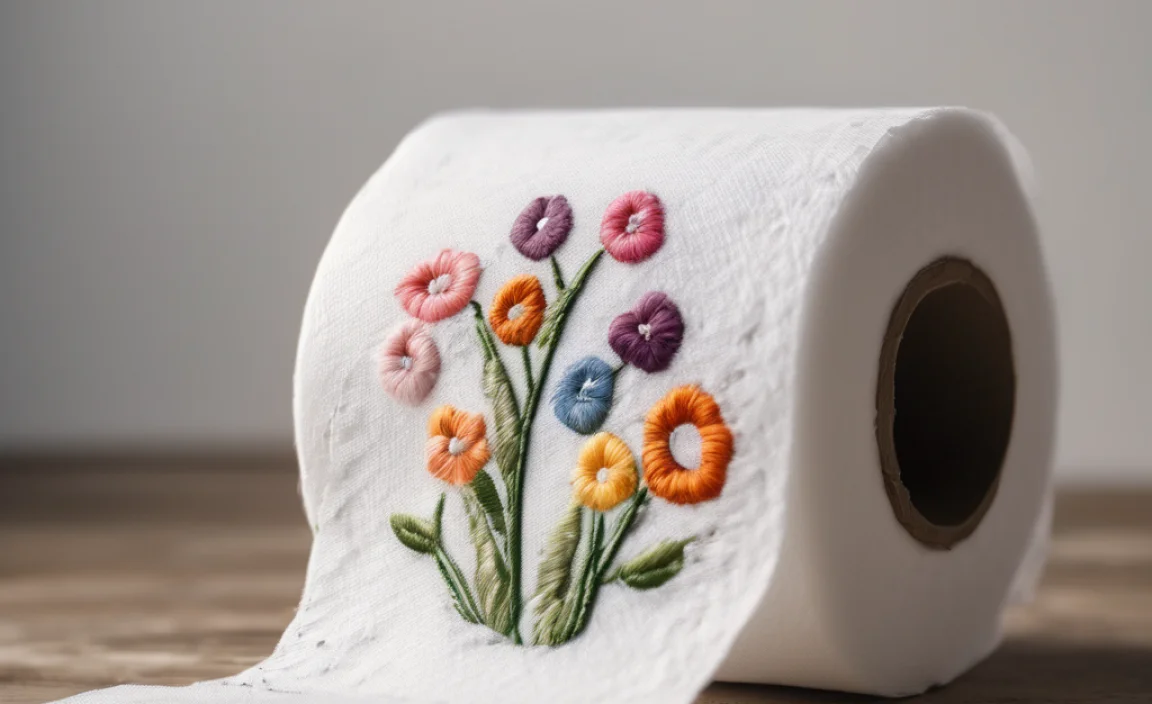
Have you ever thought about decorating toilet paper? It sounds funny, right? But some people love to add fancy designs. They might want to know how do you embroider on toilet paper. It can turn something plain into something special. Imagine having pretty flowers on your bathroom tissue!
People use special tools and tricks. This helps them avoid tearing the thin paper. It takes a lot of care and patience. Are you ready to learn more? Let’s find out how do you embroider on toilet paper. It’s a surprising craft project.
Key Takeaways
- Embroidering on toilet paper is possible, but it needs a gentle touch and special tools.
- You can use water-soluble stabilizers to keep the toilet paper from ripping.
- Simple designs work best when you think about how do you embroider on toilet paper.
- Choose light threads to avoid making the toilet paper too heavy or thick.
- Practice on scrap pieces first to get the hang of the delicate process.
What Makes Embroidering Toilet Paper Unique?
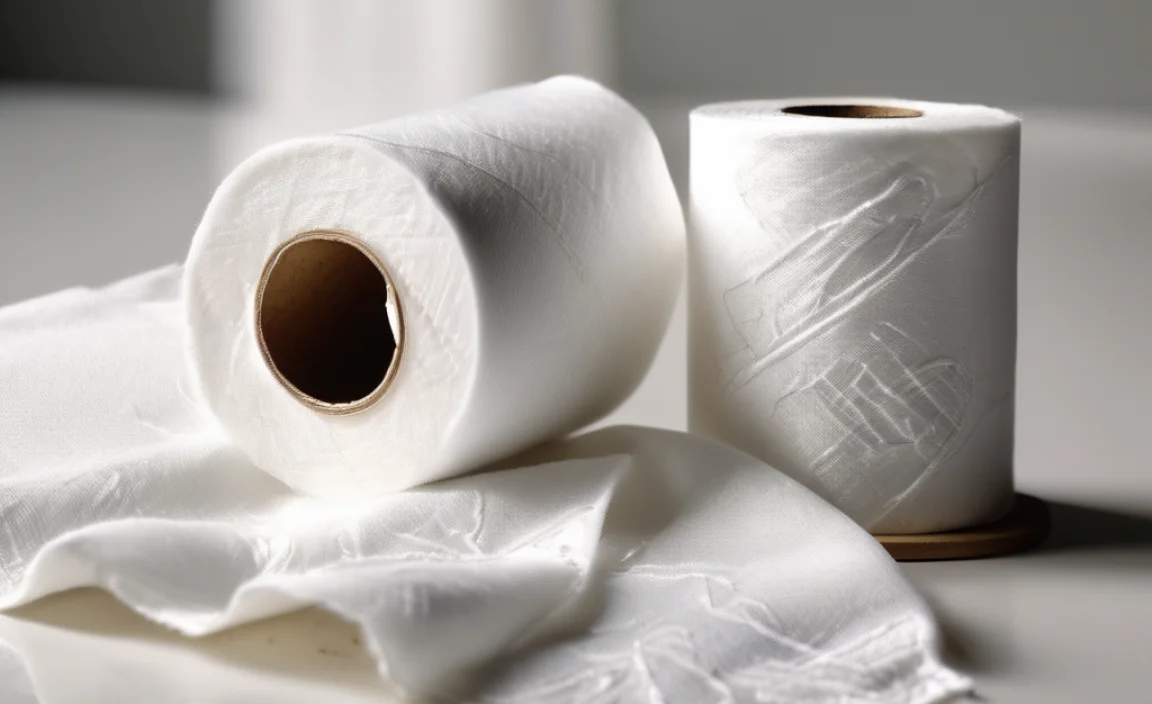
Embroidering on toilet paper is different from other fabric crafts. Toilet paper is very thin and tears easily. Normal fabric is much stronger. You can pull and stretch it without damage. Toilet paper needs extra care. You must be very gentle. If you pull too hard, it will rip. That is why this craft is so unique. It uses special stabilizers. These stabilizers help hold the toilet paper together. They keep it from falling apart while you work. You also need very sharp needles. Sharp needles make small holes. This prevents the toilet paper from tearing too much. Even the type of thread matters. Heavy threads can weigh down the toilet paper. Light threads are better. They won’t cause as much stress. This makes the whole process a delicate art. You need patience and a steady hand to succeed.
- Toilet paper is very thin and fragile.
- Stabilizers help keep it together.
- Sharp needles make clean holes.
- Light threads prevent tearing.
- Patience is key to success.
Embroidering on toilet paper is not just about the technique. It’s also about creativity. People embroider all sorts of designs. Some choose simple flowers or patterns. Others create funny pictures or messages. The possibilities are endless. This craft can add a personal touch to your bathroom. It can also be a fun way to surprise guests. Imagine their faces when they see your decorated toilet paper. It’s a great conversation starter. Plus, it shows off your crafting skills. Embroidering on toilet paper is a unique and interesting hobby. It combines art with everyday items. It’s a fun way to express yourself. Remember to take your time and enjoy the process.
Fun Fact or Stat: Some people collect embroidered toilet paper as a unique form of art!
Why Choose Toilet Paper for Embroidery?
Why would someone choose toilet paper for embroidery? It seems like a strange choice. Most people use fabric or canvas. But toilet paper offers a unique challenge. It’s delicate and unexpected. Some crafters like the challenge of working with such a fragile material. It tests their skills and patience. Others might do it for fun or as a joke. Imagine the surprise on someone’s face when they see embroidered toilet paper. It’s definitely a conversation starter. Also, toilet paper is cheap and easy to find. This makes it a good option for practicing new stitches. You don’t have to worry about ruining expensive fabric. You can experiment and learn without pressure. So, while it might seem odd, there are reasons why people choose toilet paper for embroidery. It’s all about the challenge and the fun of it.
Is Toilet Paper Embroidery Practical?
Is toilet paper embroidery practical? Probably not. Embroidered toilet paper isn’t really meant to be used. It’s more for decoration or display. The embroidery makes the toilet paper less absorbent. It might even make it rougher. So, it wouldn’t be very comfortable to use. Plus, the stitches could come undone with use. This would make a mess. The main point of embroidering toilet paper is the art itself. It’s about showing off your skills and creativity. It’s a fun and unique project. But it’s not something you’d want to use every day. Think of it as a piece of art for your bathroom. It’s meant to be admired, not used. So, while it’s not practical, it is certainly interesting and creative.
What Designs Work Best?
What kind of designs work best for toilet paper embroidery? Simple designs are usually the best choice. Intricate patterns can be too difficult to stitch on such a fragile material. Small flowers, hearts, or geometric shapes work well. You can also try simple words or initials. Avoid designs with lots of small details. These can be hard to see and stitch on toilet paper. Also, consider the colors you use. Light colors are less likely to bleed or show through the thin paper. Dark colors can sometimes be too harsh. Experiment with different designs and colors to see what you like best. Remember, the goal is to create something beautiful and unique. But it should also be easy to stitch and look good on toilet paper. So, keep it simple and have fun!
Gathering Supplies for Toilet Paper Embroidery
Gathering your supplies is the first step in learning how do you embroider on toilet paper. You’ll need a few special items. First, you need toilet paper. Choose a strong, multi-ply brand. This will help prevent tearing. Next, you need a water-soluble stabilizer. This goes behind the toilet paper. It keeps it from ripping while you stitch. You can find this at most craft stores. You’ll also need embroidery needles. Use sharp, fine needles. These make smaller holes. Regular sewing needles might be too big. Embroidery floss is also important. Choose light colors. Heavy, dark colors can show through the thin paper. A small embroidery hoop will help. It holds the toilet paper and stabilizer in place. Finally, you’ll need scissors and a marking pen. Use the pen to draw your design on the stabilizer. With these supplies, you’ll be ready to start embroidering.
| Supply | Description | Why You Need It |
|---|---|---|
| Toilet Paper | Strong, multi-ply | Base material for embroidery |
| Water-Soluble Stabilizer | Dissolves in water | Supports toilet paper during stitching |
| Embroidery Needles | Fine, sharp needles | Create small holes without tearing |
| Embroidery Floss | Light colors preferred | Adds color and design to the toilet paper |
| Embroidery Hoop | Small size | Holds everything in place |
Setting up your workspace is also key. Find a clean, flat surface. Good lighting is important. This helps you see the small stitches. Keep your supplies organized. This makes it easier to find what you need. Have a small trash can nearby. This is for scraps of thread and stabilizer. Make sure you have enough time to work. Rushing can lead to mistakes. Embroidering on toilet paper takes patience. Create a relaxing environment. Play some music or listen to a podcast. This can help you stay focused. With a well-prepared workspace, you’ll be ready to create beautiful embroidered toilet paper. Remember to take breaks and enjoy the process.
Fun Fact or Stat: Water-soluble stabilizer was originally developed for medical bandages!
Choosing the Right Toilet Paper
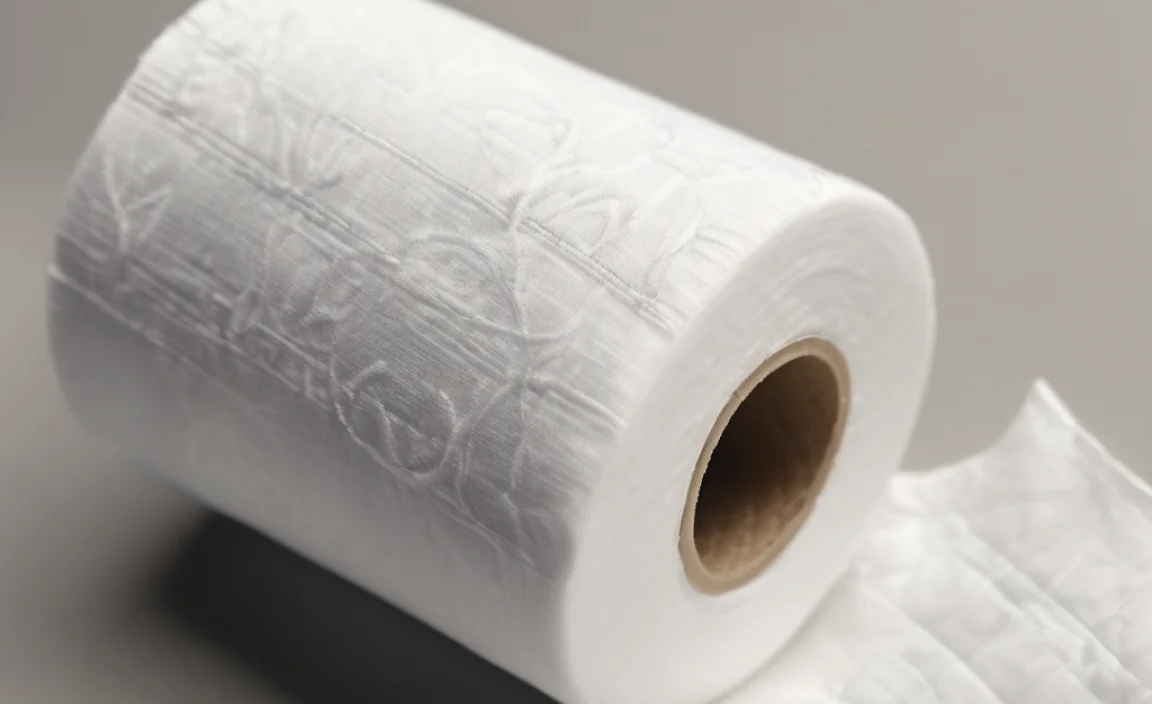
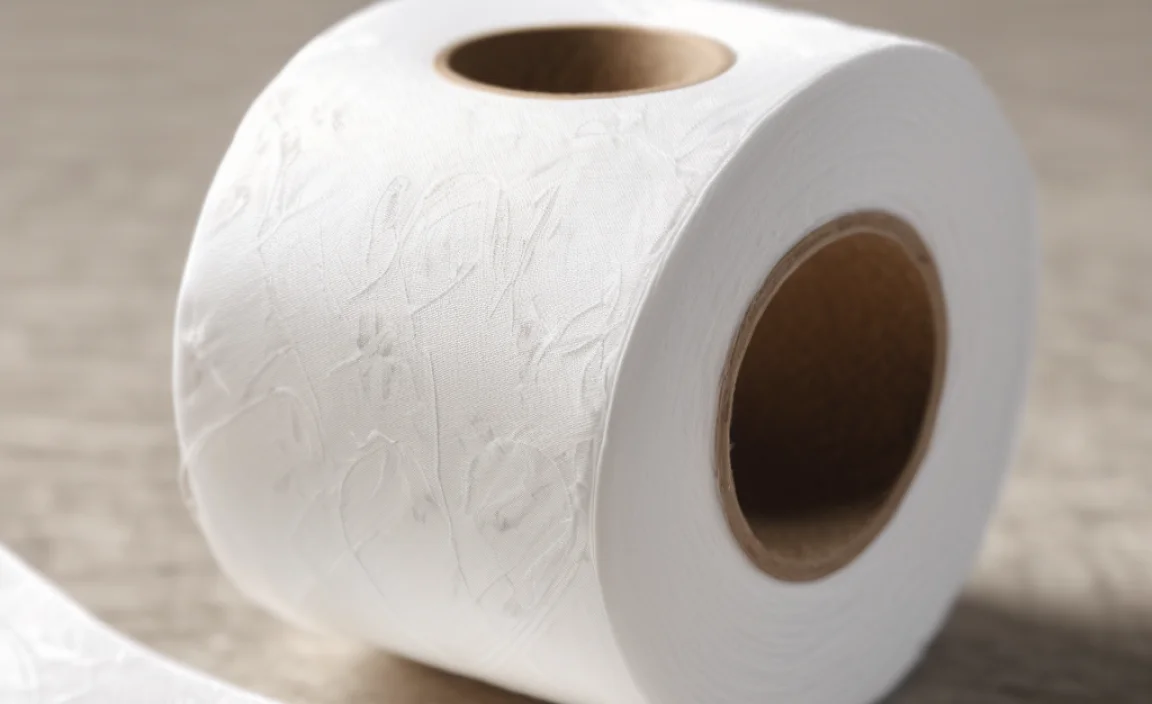
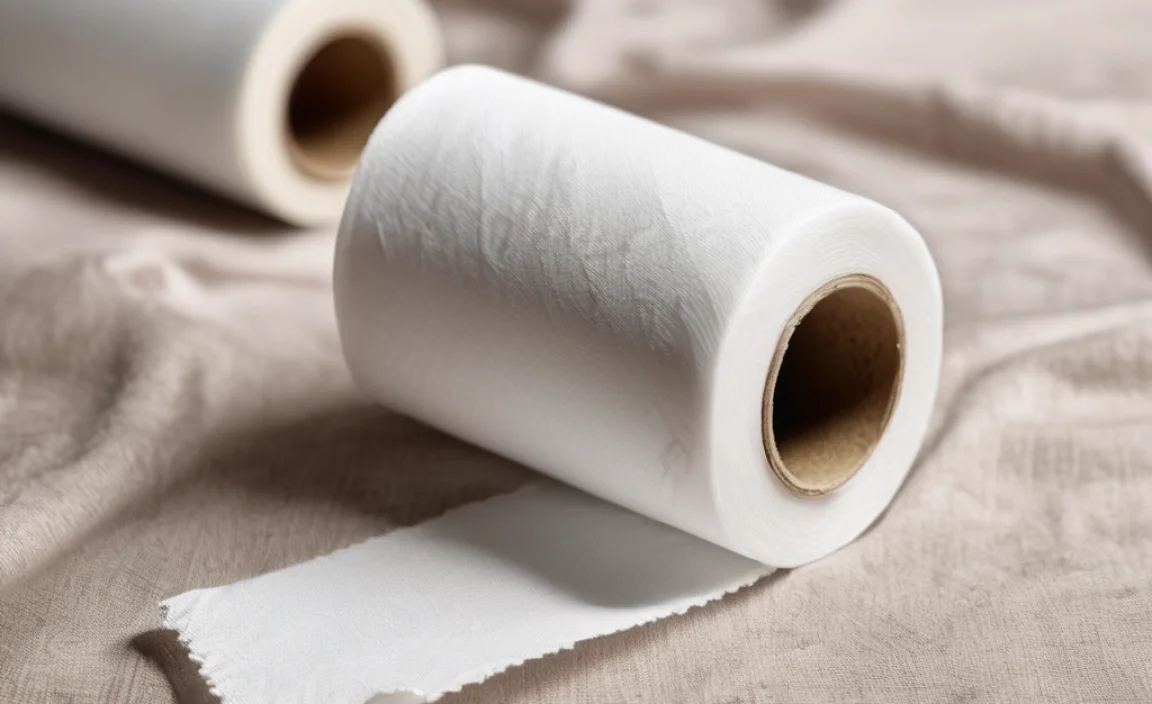
Choosing the right toilet paper is very important. You can’t just use any kind. You need something strong enough to hold the stitches. Look for multi-ply toilet paper. This means it has several layers. The more layers, the stronger it will be. Avoid thin, single-ply toilet paper. It will tear too easily. Also, consider the texture of the toilet paper. Smooth toilet paper is easier to embroider than rough toilet paper. The rough texture can catch the needle. This can make it harder to stitch. Some people even iron their toilet paper before embroidering. This helps to flatten it and make it smoother. Experiment with different brands to find what works best for you. Remember, a good base is key to a successful embroidery project.
Selecting Water-Soluble Stabilizer
Selecting the right water-soluble stabilizer is key. This stabilizer supports the toilet paper. It stops it from tearing. Choose a stabilizer that is easy to dissolve. Some stabilizers leave a sticky residue. You don’t want that. Test the stabilizer on a small piece of toilet paper first. This will help you see how it works. Cut the stabilizer slightly larger than your design. This gives you extra support. Iron the stabilizer onto the back of the toilet paper. This holds everything in place. Make sure the iron is not too hot. You don’t want to scorch the toilet paper. Once you’re done embroidering, rinse the stabilizer away with water. Follow the instructions on the stabilizer package. This will ensure that it dissolves properly.
Picking the Perfect Embroidery Floss
Picking the perfect embroidery floss is important. The floss adds color and detail to your design. Choose light colors for toilet paper embroidery. Dark colors can show through the thin paper. Cotton floss is a good choice. It’s soft and easy to work with. You can also use silk floss for a shiny look. Avoid metallic floss. It can be too heavy and stiff. Separate the strands of floss. Most floss has six strands. Use only two or three strands for toilet paper embroidery. This will keep the stitches light and delicate. Thread your needle carefully. Don’t pull too hard. This can tear the toilet paper. Knot the end of the floss securely. This will prevent the stitches from coming undone. Experiment with different colors and types of floss to find what you like best.
Preparing Toilet Paper for Embroidery
Preparing the toilet paper is a crucial step. It ensures your design looks great. First, gently unroll a section of toilet paper. Be careful not to tear it. Place the water-soluble stabilizer behind the toilet paper. Make sure the stabilizer covers the area you want to embroider. Smooth out any wrinkles or creases. This will help the stitches lay flat. Use a light-colored pencil or marker to draw your design. Keep the design simple. Intricate designs are harder to stitch on toilet paper. Now, carefully place the toilet paper and stabilizer in the embroidery hoop. Tighten the hoop gently. You want it snug but not too tight. Too much pressure can tear the toilet paper. Double-check that your design is centered in the hoop. You’re now ready to start embroidering. Remember to take your time and be patient. Embroidering on toilet paper requires a delicate touch.
- Unroll the toilet paper carefully.
- Place stabilizer behind the toilet paper.
- Smooth out wrinkles and creases.
- Draw a simple design.
- Place in embroidery hoop gently.
- Tighten the hoop snugly.
Before you begin stitching, practice on a scrap piece. This will help you get a feel for the material. It also lets you test your design. Use small, even stitches. Large stitches can pull and tear the toilet paper. Backstitch and satin stitch work well. Avoid complicated stitches. These can be too difficult to execute. As you stitch, be mindful of the tension. Too much tension can cause the toilet paper to rip. Too little tension can make the stitches loose. Keep the tension consistent. This will create a neat and even design. Remember to take breaks. Embroidering on toilet paper can be tiring. Give your hands and eyes a rest. With practice and patience, you can create beautiful embroidered toilet paper.
Fun Fact or Stat: The first embroidery hoops were made of bone or ivory!
Ironing the Toilet Paper
Should you iron the toilet paper before embroidering? Some people find it helpful. Ironing can smooth out wrinkles and creases. This creates a better surface for stitching. Use a low heat setting on your iron. Too much heat can scorch the toilet paper. Place a thin cloth between the iron and the toilet paper. This protects the toilet paper from direct heat. Iron the toilet paper gently. Don’t press too hard. You only want to smooth it out. Ironing can also help the stabilizer adhere better. This provides extra support during stitching. However, ironing is not always necessary. If your toilet paper is already smooth, you can skip this step. It’s a matter of personal preference. Experiment and see what works best for you. Just be careful not to damage the toilet paper.
Transferring the Design
Transferring your design to the toilet paper is important. You need to see where to stitch. Use a light-colored pencil or marker. Dark colors can show through the toilet paper. Draw your design directly onto the stabilizer. This is easier than drawing on the toilet paper itself. Keep the design simple. Intricate designs are hard to stitch. You can also use a transfer pen. These pens transfer the design with heat. However, be careful with heat on toilet paper. It can scorch easily. Another option is to use a stencil. Place the stencil on the stabilizer. Trace the design with your pencil or marker. Choose a method that is easy for you. The goal is to have a clear design to follow. This will make stitching much easier.
Hooping the Toilet Paper
Hooping the toilet paper properly is key. This keeps it stable during stitching. Use a small embroidery hoop. A 4-inch hoop is a good size. Separate the inner and outer rings of the hoop. Place the inner ring on a flat surface. Center the toilet paper and stabilizer over the inner ring. Place the outer ring over the toilet paper and stabilizer. Press down gently. Tighten the screw on the outer ring. This will hold everything in place. Don’t tighten it too much. You could tear the toilet paper. Adjust the fabric so it is taut. You want it smooth but not stretched. Make sure your design is centered in the hoop. Now you’re ready to start stitching. Remember to be gentle and patient. Embroidering on toilet paper takes practice.
Basic Embroidery Stitches for Toilet Paper
Learning basic embroidery stitches is important. This helps you create beautiful designs. Backstitch is a good stitch for outlines. It creates a solid line. Satin stitch fills in shapes with smooth color. Straight stitch is simple and quick. It’s great for adding small details. French knots add texture and dimension. Chain stitch creates a decorative border. Practice these stitches on scrap toilet paper first. This will help you get a feel for the material. Use light-colored floss. Heavy floss can tear the toilet paper. Keep your stitches small and even. Large stitches can pull the toilet paper. Be patient and take your time. Embroidering on toilet paper is a delicate art. With practice, you can master these basic stitches. You’ll be able to create amazing designs. Remember to have fun and be creative.
- Backstitch for solid outlines.
- Satin stitch to fill shapes.
- Straight stitch for small details.
- French knots add texture.
- Chain stitch creates borders.
- Practice on scrap toilet paper.
When you start stitching, be gentle. Toilet paper is very fragile. Don’t pull the floss too tight. This can tear the paper. Use a sharp needle. A dull needle will snag the toilet paper. Keep your hands clean. Dirt can stain the paper. If you make a mistake, don’t panic. Carefully remove the stitches with a seam ripper. Try not to tear the toilet paper. Start again and be more careful. Remember, practice makes perfect. The more you embroider, the better you’ll get. Embroidering on toilet paper is a unique and rewarding craft. It allows you to express your creativity. It also adds a touch of whimsy to your bathroom. So, grab your supplies and start stitching. You’ll be amazed at what you can create.
Fun Fact or Stat: The oldest known piece of embroidery dates back to 3000 BC!
Mastering the Backstitch
Mastering the backstitch is essential. This stitch creates a strong outline. It’s perfect for defining shapes. Bring the needle up through the toilet paper. Make a stitch forward. Then, bring the needle back down. Come up again a stitch length ahead. Continue stitching in this way. Each stitch goes back to the end of the previous one. Keep your stitches even. This creates a neat line. Use a light-colored floss. Dark colors can show through the paper. Don’t pull the floss too tight. This can tear the toilet paper. Practice the backstitch on scrap paper. This will help you get the hang of it. Once you’re comfortable, use it on your design. The backstitch will add a professional touch to your embroidery.
Perfecting the Satin Stitch
Perfecting the satin stitch takes practice. This stitch fills in shapes smoothly. Bring the needle up on one side of the shape. Bring it down on the other side. Make sure the stitches are close together. This creates a solid block of color. Keep the stitches parallel. This creates a smooth surface. Use a light-colored floss. Dark colors can be too heavy. Don’t pull the floss too tight. This can distort the shape. Work slowly and carefully. The satin stitch takes time. But the result is worth it. It adds a beautiful touch to your design. Practice on scrap toilet paper first. This will help you get the hang of it. With practice, you’ll be able to create stunning satin stitch designs.
Adding French Knots for Texture
Adding French knots creates texture. These small knots add dimension to your design. Bring the needle up through the toilet paper. Wrap the floss around the needle. Wrap it once or twice. Hold the wrapped floss with your finger. Insert the needle close to where it came out. Pull the floss through gently. This creates a small knot. Keep the knot tight. This prevents it from unraveling. Use a light-colored floss. Dark colors can be too bold. Don’t pull the floss too tight. This can tear the toilet paper. Practice French knots on scrap paper. This will help you get the hang of it. Once you’re comfortable, add them to your design. French knots will add a unique touch to your embroidery.
Finishing Your Embroidered Toilet Paper
Finishing your embroidered toilet paper is the final step. This makes your design look its best. First, carefully remove the toilet paper from the hoop. Be gentle to avoid tearing. Next, rinse the water-soluble stabilizer. Use cool water. Warm water can damage the toilet paper. Gently rub the stabilizer until it dissolves. This may take a few minutes. Once the stabilizer is gone, pat the toilet paper dry. Use a soft towel. Don’t rub too hard. This can damage the stitches. Lay the toilet paper flat to dry completely. This can take several hours. Once it’s dry, you can display your creation. Frame it or hang it on the wall. You can also give it as a gift. Embroidered toilet paper is a unique and fun present. It’s sure to make someone smile.
- Remove from hoop carefully.
- Rinse the stabilizer with cool water.
- Pat dry with a soft towel.
- Lay flat to dry completely.
- Display or give as a gift.
If you want to add extra flair, consider adding embellishments. Small beads or sequins can add sparkle. Use a fine needle to attach them. Be careful not to tear the toilet paper. You can also add a ribbon border. This frames your design. Use fabric glue to attach the ribbon. Let the glue dry completely before displaying. Remember, the goal is to create something beautiful and unique. Embroidered toilet paper is a fun and creative craft. It allows you to express your personality. So, have fun and experiment with different techniques. You’ll be amazed at what you can create. Embroidering on toilet paper is a rewarding hobby.
Fun Fact or Stat: Queen Elizabeth I was a skilled embroiderer!
Removing the Stabilizer
Removing the stabilizer is key. This reveals your beautiful design. Use cool water. Warm water can damage the toilet paper. Gently rub the stabilizer. It will start to dissolve. Be patient. It may take a few minutes. Make sure all the stabilizer is gone. Any residue can make the toilet paper stiff. Rinse the toilet paper again. This ensures all the stabilizer is removed. Pat the toilet paper dry. Use a soft towel. Don’t rub too hard. This can damage the stitches. Lay the toilet paper flat to dry. This prevents wrinkles. Removing the stabilizer is the final step. It shows off your hard work. Now you can admire your creation.
Drying the Embroidered Toilet Paper
Drying the embroidered toilet paper is important. This prevents mold and mildew. Lay the toilet paper flat on a towel. Use a clean, dry towel. Don’t hang the toilet paper. This can stretch the stitches. Place the towel in a well-ventilated area. This helps the toilet paper dry faster. You can also use a fan. This speeds up the drying process. Avoid direct sunlight. This can fade the colors. Check the toilet paper regularly. Make sure it’s drying evenly. Once it’s completely dry, you can display it. Drying the toilet paper properly ensures it lasts longer. It also keeps it looking its best. So, take your time and be patient.
Displaying Your Finished Piece
Displaying your finished piece is the best part. You get to show off your hard work. Frame the embroidered toilet paper. This protects it from dust and damage. Use a shadow box frame. This adds depth to the display. Hang the frame on the wall. Choose a spot where it will be noticed. You can also create a small display stand. Place the toilet paper on the stand. Set it on a shelf or table. Another option is to create a scrapbook. Mount the toilet paper on a page. Add photos and captions. This creates a unique keepsake. However you choose to display it, be proud of your creation. Embroidered toilet paper is a unique and fun craft. It deserves to be shown off.
Summary
Embroidering on toilet paper is a fun and unique craft. It takes patience and a delicate touch. You need special supplies like water-soluble stabilizer. This helps keep the toilet paper from tearing. Simple designs work best. Light-colored floss is also a good choice. You can use basic embroidery stitches. Backstitch, satin stitch, and French knots are all great options. Remember to be gentle and take your time. Once you’re finished, rinse away the stabilizer. Let the toilet paper dry completely. Then you can display your creation. It’s a great way to add a personal touch to your bathroom. It can also be a fun gift for friends and family. How do you embroider on toilet paper? With care and creativity!
Conclusion
Embroidering on toilet paper is a surprising craft. It may seem strange at first. But it can be a fun and rewarding hobby. It requires patience and a steady hand. You need to use special techniques. These techniques help you avoid tearing the thin paper. With practice, you can create beautiful designs. These designs can add a unique touch to your home. You can also share them with others. So, why not give it a try? Learning how do you embroider on toilet paper can open up a new world of creativity.
Frequently Asked Questions
Question No 1: Is it really possible to embroider on toilet paper?
Answer: Yes, it is possible! It might sound a little crazy, but with the right tools and techniques, you can actually embroider on toilet paper. The key is to use a water-soluble stabilizer. This stabilizer helps to keep the toilet paper from tearing while you stitch. You also need a very sharp needle and a gentle touch. It’s definitely a delicate process. But with practice, you can create some fun and unique designs. Many people find it a fun and interesting challenge.
Question No 2: What kind of toilet paper works best for embroidery?
Answer: Not all toilet paper is created equal. When it comes to embroidery, you need to choose a strong, multi-ply brand. This means that the toilet paper has several layers. This makes it less likely to tear. Avoid using thin, single-ply toilet paper. It’s just too fragile. Some people also recommend using toilet paper that is smooth rather than textured. The smooth surface makes it easier to stitch. Experiment with different brands to see what works best for you. A good base is important for a successful project. This is key when you are thinking about how do you embroider on toilet paper.
Question No 3: What is water-soluble stabilizer and why do I need it?
Answer: Water-soluble stabilizer is a special material. It dissolves completely in water. It’s used in embroidery to provide support for delicate fabrics. In the case of toilet paper embroidery, the stabilizer is essential. It keeps the toilet paper from ripping while you stitch. You simply place the stabilizer behind the toilet paper. Then you hoop them together. After you finish embroidering, you rinse the stabilizer away with water. It leaves behind only your beautiful design. You can find water-soluble stabilizer at most craft stores. It comes in different forms, like sheets or rolls. Make sure to choose one that is easy to use and dissolves cleanly.
Question No 4: What kind of embroidery floss should I use?
Answer: When choosing embroidery floss for toilet paper, less is more. Heavy floss can weigh down the toilet paper. It can also make it more likely to tear. Instead, opt for light-colored cotton floss. You can also use silk floss for a shiny effect. Most floss comes with six strands. Separate the strands and use only two or three for toilet paper embroidery. This will keep your stitches delicate and prevent the toilet paper from ripping. Also, avoid using metallic floss. This can be too stiff and difficult to work with. With the right floss, you can create some beautiful designs.
Question No 5: What are some simple design ideas for toilet paper embroidery?
Answer: Simple designs work best for toilet paper embroidery. Intricate patterns can be too difficult to stitch. They can also cause the toilet paper to tear. Some good ideas include small flowers, hearts, or geometric shapes. You can also try simple words or initials. Avoid designs with lots of small details. These can be hard to see on toilet paper. Use light colors. They are less likely to bleed through the thin paper. Experiment with different ideas. Find what you like best. Remember, the goal is to create something fun and unique. It should also be easy to stitch. Think about how do you embroider on toilet paper, and keep it simple!
Question No 6: How do I clean the embroidered toilet paper?
Answer: Embroidered toilet paper is more for decoration. It’s not really meant to be used. If it gets dirty, you can try to gently dust it off. Use a soft brush. You can also try to spot clean it with a damp cloth. Be very careful not to rub too hard. This can damage the stitches or tear the toilet paper. Avoid using soap or harsh chemicals. These can stain the paper or cause the colors to fade. The best way to keep your embroidered toilet paper clean is to protect it from dust and dirt. Display it in a frame or shadow box. This will help it last longer. Remember, it’s a delicate art form.