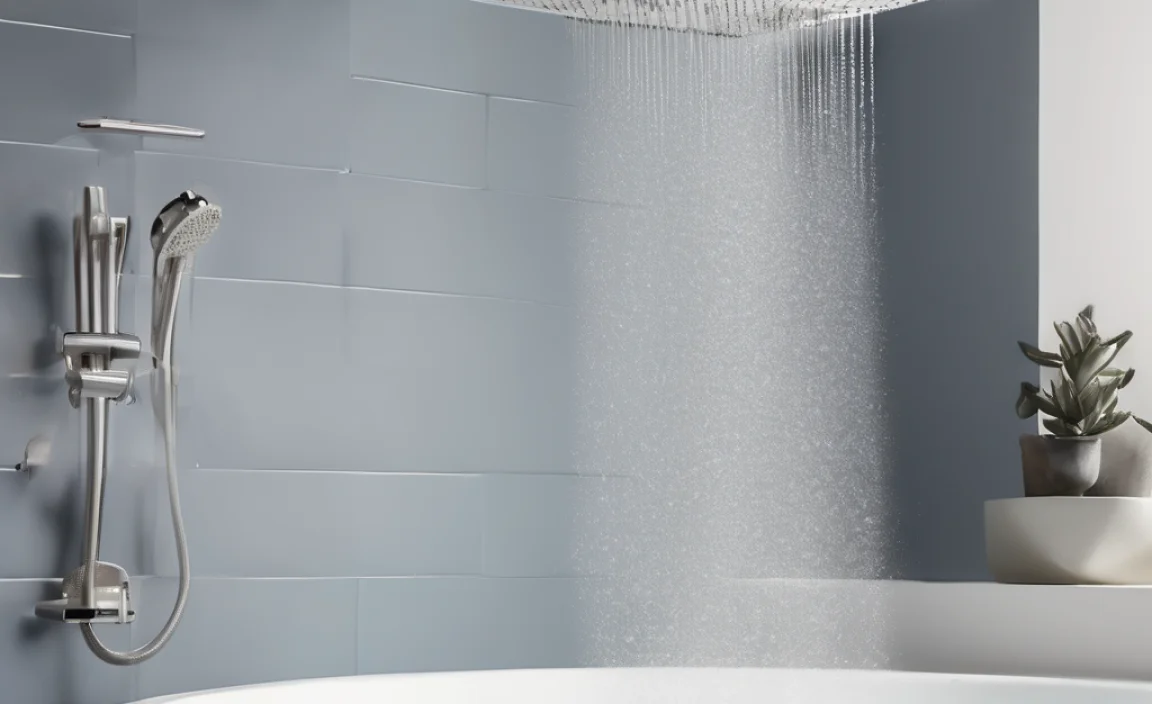
Quick Summary: Generally, you should wait at least 24 hours before showering after applying silicone sealant. This allows the silicone to fully cure and form a waterproof seal. Some high-quality silicones may cure faster, but always check the manufacturer’s instructions. For optimal results and long-lasting protection against water damage, waiting longer—up to 72 hours—is even better.
Applying silicone sealant is a great way to waterproof your bathroom or kitchen. But after you’ve carefully applied that bead, you’re probably wondering, “How long do I have to wait before I can shower?” It’s a common question! Rushing it can ruin your work. We’ve all been there, wanting to get back to our routine.
Don’t worry; we’ll walk you through exactly how long you need to wait, step by step. We’ll cover factors that affect drying time and how to make sure your silicone cures perfectly. Get ready to learn everything you need to know to get it right the first time.
Understanding Silicone Sealant and Curing
Silicone sealant is like the superhero of home improvement. It fills gaps, creates waterproof barriers, and keeps moisture out. But how does it work?
What is Silicone Sealant?
Silicone sealant is a type of adhesive that’s used to seal joints and gaps. It’s made from silicone polymers, which give it its flexibility and resistance to water, heat, and chemicals. You’ll find it in bathrooms, kitchens, and anywhere else you need a watertight seal.
The Curing Process Explained
Curing is the chemical process where the silicone changes from a liquid or gel to a solid, rubbery material. Here’s what happens:
- Exposure to Air: Most silicone sealants cure when exposed to moisture in the air.
- Chemical Reaction: The moisture triggers a chemical reaction that causes the silicone polymers to link together.
- Solidification: As the polymers link, the silicone becomes firm and creates a waterproof seal.
The curing process is crucial because it determines how well the silicone will protect against water damage. If you shower too soon, the water can interfere with the curing process, leading to a weak or incomplete seal. Think of it like baking a cake – you need to let it bake fully, or it will fall apart!
Factors Affecting Silicone Drying Time

How long silicone takes to dry isn’t set in stone. Several things can speed it up or slow it down. Knowing these factors helps you plan better and avoid jumping the gun.
Type of Silicone Sealant
Different types of silicone have different curing times. Here’s a quick rundown:
- Acetoxy Silicone: This type releases acetic acid (smells like vinegar) as it cures and generally cures faster.
- Neutral Cure Silicone: This type doesn’t release acid and is better for sensitive materials, but it might take a bit longer to cure.
- Acrylic Latex Caulk with Silicone: This is paintable and cleans up with water, but it’s less waterproof and may take longer to fully cure compared to pure silicone.
Environmental Conditions
The environment plays a big role in how quickly silicone dries:
- Temperature: Warmer temperatures usually mean faster curing. Silicone cures best between 40°F and 100°F (4°C and 38°C).
- Humidity: Silicone needs moisture to cure, so higher humidity can speed up the process. But too much humidity can trap moisture and slow things down.
- Ventilation: Good airflow helps the silicone cure evenly. Stuffy, poorly ventilated rooms can slow down the process.
Thickness of Application
The thicker the bead of silicone, the longer it will take to cure. A thin bead will dry much faster than a thick one. If you’re applying a thick layer, give it extra time to cure.
Recommended Waiting Time Before Showering

So, how long should you really wait? Here’s a clear guideline to help you decide.
The 24-Hour Rule
As a general rule, wait at least 24 hours before showering after applying silicone sealant. This gives the silicone enough time to form a decent seal. But remember, this is just a minimum.
Why Waiting Longer is Better
Waiting longer than 24 hours is often a good idea. Here’s why:
- Complete Cure: Silicone continues to cure and harden over time. Waiting longer ensures a more complete and durable seal.
- Reduced Risk of Leaks: A fully cured seal is less likely to leak or fail, saving you from potential water damage and re-application headaches.
- Optimal Performance: The longer you wait, the better the silicone will perform in the long run, providing lasting protection.
Manufacturer’s Instructions
Always, always, always read the manufacturer’s instructions on the silicone sealant tube. They know their product best and will provide specific recommendations for drying times. These instructions can vary, so don’t skip this step!
Step-by-Step Guide to Ensuring Proper Silicone Curing

Want to make sure your silicone cures perfectly? Follow these steps for the best results.
Step 1: Prepare the Area
Before applying silicone, make sure the area is clean and dry. Remove any old caulk, dirt, or mildew. Use a mold and mildew remover if needed, and let the area dry completely. This ensures the silicone adheres properly.
Step 2: Apply the Silicone Sealant
Apply a smooth, even bead of silicone along the joint or gap. Use a caulking gun for better control. Don’t apply too much at once; it’s better to apply a thin, consistent layer.
Step 3: Smooth the Bead
Use a caulk smoothing tool or a wet finger to smooth the silicone bead. This creates a professional finish and ensures the silicone is properly pressed into the gap. Excess silicone can be wiped away with a damp cloth.
Step 4: Allow Adequate Drying Time
Refer to the manufacturer’s instructions for the recommended drying time. As a general rule, wait at least 24 hours before exposing the silicone to water. For best results, wait 48-72 hours.
Step 5: Test the Seal
After the recommended drying time, test the seal by gently splashing water on the area. Look for any signs of leaks or water penetration. If you see any leaks, allow more time for curing or reapply silicone as needed.
Troubleshooting Common Issues

Sometimes, things don’t go as planned. Here are some common issues and how to fix them.
Silicone Not Drying
If your silicone isn’t drying, consider these factors:
- Low Temperature: Make sure the temperature is within the recommended range (40°F to 100°F).
- Low Humidity: Increase ventilation to introduce more moisture into the air.
- Thick Application: Thick beads take longer to dry. Give it more time or consider removing some of the excess.
- Expired Silicone: Check the expiration date on the tube. Expired silicone may not cure properly.
Silicone Cracking
Cracking can happen if the silicone dries too quickly or is applied too thinly. Here’s what to do:
- Slow Down Drying: Avoid using heaters or fans to speed up the drying process.
- Apply a Thicker Bead: Make sure you’re applying enough silicone to fill the gap.
- Use a Flexible Sealant: Choose a high-quality, flexible silicone that can withstand movement.
Silicone Molding
Mold can grow on silicone if the area isn’t properly cleaned or if the silicone doesn’t dry completely. Prevent mold by:
- Cleaning the Area: Use a mold and mildew remover before applying silicone.
- Ensuring Proper Drying: Allow the silicone to dry completely before exposing it to moisture.
- Using Mold-Resistant Silicone: Choose a silicone sealant specifically designed to resist mold and mildew.
Best Practices for Long-Lasting Silicone Seals
Follow these tips to ensure your silicone seals last for years.
- Choose the Right Silicone: Select a high-quality silicone sealant that’s appropriate for your application (e.g., bathroom, kitchen, outdoor use).
- Prepare the Surface: Clean and dry the area thoroughly before applying silicone.
- Apply Evenly: Use a caulking gun to apply a smooth, consistent bead of silicone.
- Smooth the Bead: Use a caulk smoothing tool or wet finger to create a professional finish.
- Allow Adequate Drying Time: Follow the manufacturer’s instructions and wait at least 24 hours before exposing the silicone to water.
- Inspect Regularly: Check the seals regularly for signs of damage or wear.
- Reapply as Needed: Replace damaged or worn seals to prevent water damage.
Tools and Materials You’ll Need
Having the right tools and materials makes the job much easier. Here’s a list of essentials:
- Silicone Sealant: Choose a high-quality sealant appropriate for your project.
- Caulking Gun: For applying the silicone smoothly and evenly.
- Caulk Smoothing Tool: To create a professional finish.
- Utility Knife: For removing old caulk.
- Scraper: To clean the surface.
- Cleaning Supplies: Mold and mildew remover, soap, and water.
- Damp Cloth: For wiping away excess silicone.
Silicone Sealant Comparison Table
| Type of Silicone | Cure Time | Best Use | Pros | Cons |
|---|---|---|---|---|
| Acetoxy Silicone | 24 hours | Bathrooms, kitchens | Fast curing, strong adhesion | Strong odor, can corrode some metals |
| Neutral Cure Silicone | 24-72 hours | Sensitive materials, general use | Low odor, versatile | Slower curing |
| Acrylic Latex Caulk with Silicone | 24-48 hours | Areas needing paint, low-moisture areas | Paintable, easy cleanup | Less waterproof, not as durable |
| Mold-Resistant Silicone | 24-72 hours | Bathrooms, showers | Resists mold and mildew | Can be more expensive |
The Science Behind Silicone Curing
Want to dive a bit deeper? Here’s a look at the science behind how silicone cures.
Chemical Composition
Silicone sealants are made from polymers that contain silicon, oxygen, carbon, and hydrogen. These polymers link together during the curing process to form a strong, flexible material. Different additives can be included to enhance properties like adhesion, flexibility, and resistance to mold.
The Role of Moisture
Most silicone sealants are moisture-cured, meaning they require moisture to initiate the curing process. When exposed to moisture in the air, the silicone polymers react and begin to cross-link. This cross-linking creates a network of bonds that solidify the silicone.
Temperature and Humidity Effects
Temperature and humidity play critical roles in the curing process. Higher temperatures generally speed up curing, while higher humidity provides the necessary moisture for the reaction to occur. However, extreme conditions can hinder the process. Too much moisture can prevent the silicone from forming a strong bond, while too little moisture can slow down the curing process significantly.
Alternatives to Silicone Sealant
Silicone is great, but sometimes you need other options. Here are a few alternatives:
- Polyurethane Sealant: Great for outdoor projects, it’s super durable and flexible.
- Acrylic Caulk: Easy to paint and clean, but not as waterproof as silicone.
- Butyl Rubber Sealant: Perfect for roofing and gutters because it’s very waterproof.
- Latex Caulk: Good for indoor use, easy to apply and paint.
Safety Precautions When Using Silicone
Safety first! Here are some important precautions to keep in mind when working with silicone sealant:
- Ventilation: Work in a well-ventilated area to avoid inhaling fumes.
- Skin Protection: Wear gloves to protect your skin from irritation.
- Eye Protection: Wear safety glasses to prevent silicone from getting into your eyes.
- Read the Label: Always read and follow the manufacturer’s instructions and safety guidelines.
- Disposal: Dispose of empty tubes and leftover sealant properly, following local regulations.
Real-World Examples and Case Studies
Let’s look at some real-life scenarios to illustrate the importance of proper silicone curing.
Case Study 1: Bathroom Shower
A homeowner applied silicone sealant around their shower tiles but showered after only 12 hours. The result? The silicone didn’t fully cure, leading to water seeping behind the tiles and causing mold growth. The fix involved removing the poorly cured silicone, cleaning the area, and reapplying silicone with a proper 72-hour drying time.
Case Study 2: Kitchen Sink
A renter applied silicone around their kitchen sink to stop leaks. They waited the full 48 hours before using the sink heavily. The silicone cured perfectly, creating a watertight seal that prevented water damage and saved them from potential repair costs.
Case Study 3: Outdoor Window
A DIY enthusiast sealed an outdoor window with silicone but didn’t check the weather forecast. A sudden rainstorm hit just hours after application. The rain interfered with the curing process, resulting in a weak seal that needed to be redone. The lesson? Always consider the weather conditions when applying silicone outdoors.
Frequently Asked Questions (FAQ)
Here are some common questions about silicone drying times and curing.
- How can I speed up silicone drying time?
- Ensure the area is well-ventilated and the temperature is within the recommended range (40°F to 100°F). Using a dehumidifier can also help by removing excess moisture.
- Can I use a hair dryer to dry silicone faster?
- Avoid using a hair dryer or other direct heat sources, as this can cause the silicone to dry unevenly and crack.
- What happens if silicone gets wet before it’s fully cured?
- If silicone gets wet before it’s fully cured, it can weaken the seal and may lead to leaks. Allow the area to dry completely and give the silicone more time to cure. If necessary, reapply the silicone.
- How do I know if silicone is fully cured?
- Silicone is fully cured when it’s firm to the touch and no longer tacky. It should have a rubbery consistency. If it’s still soft or sticky, it needs more time to cure.
- Is it okay to use silicone in a high-humidity environment?
- Yes, silicone can be used in high-humidity environments, but ensure proper ventilation to allow the silicone to cure properly. Using a mold-resistant silicone is also a good idea.
- Can I paint over silicone?
- Not all silicone is paintable. If you need to paint the area, use an acrylic latex caulk with silicone, which is specifically designed to be painted. Always check the product label.
- How long does silicone last once it’s opened?
- Once opened, silicone can last for several months if stored properly. Seal the tube tightly and store it in a cool, dry place. Check the expiration date before use.
Conclusion
Knowing how long to wait before showering after applying silicone is key to a successful, long-lasting seal. Remember, the general rule is to wait at least 24 hours, but waiting longer—up to 72 hours—is even better. Factors like the type of silicone, environmental conditions, and thickness of application all play a role in drying time.
By following the steps and tips outlined in this guide, you can ensure your silicone cures properly and provides reliable protection against water damage. So take your time, be patient, and enjoy the peace of mind that comes with a job well done. You got this!
Related Posts
- How to Unlock Samsung Refrigerator Water Dispenser – Easy!
How Often Should a 70 Year-Old Man Urinate at Night?- Master the Compost Tumbler Process: Simple & Effective!
- What Are Those Hotel Bathtubs Made Out Of? Ultimate Guide
- How Does Urine Osmolarity Compare? Proven Treatment Groups
- Best Ultra Quiet 2 Gallon Air Compressor: Essential 2024 Guide
- How Much is a Water Filter for Sink? Find the Smart Price
- What is Urine Fetish? Powerful Facts You Need