Toilet bolts should be snug, but not overly tight. Tighten them just enough to secure the toilet to the floor without wobbling. Over-tightening can crack the porcelain base, leading to leaks and costly repairs. Aim for a balance: secure, stable, and gentle.
Ever felt that little wobble when you sit on the toilet? Or maybe you’ve noticed water pooling around the base? Chances are, your toilet bolts are the culprit. Getting those bolts just right can be tricky. Too loose, and you’ve got a wobbly throne. Too tight, and you risk cracking the porcelain.
But don’t worry! This guide will walk you through each step to tighten your toilet bolts perfectly. We’ll cover everything from identifying the right tightness to preventing common mistakes. By the end, you’ll have a stable, leak-free toilet. Let’s get started!
Why Toilet Bolt Tightness Matters

Toilet bolts might seem like a small detail, but they play a big role in your bathroom’s functionality and safety. Here’s why getting the tightness right is so important:
- Stability: Properly tightened bolts keep your toilet stable. A wobbly toilet isn’t just annoying; it can also be a safety hazard.
- Leak Prevention: Tight bolts ensure a good seal between the toilet and the floor. This prevents water from leaking, which can cause mold, mildew, and structural damage.
- Longevity: Over-tightening can crack the porcelain base of the toilet. Correct tightness extends the life of your toilet and prevents costly repairs.
- Comfort: A stable toilet simply feels better to use. No more rocking or shifting while you’re sitting.
Tools You’ll Need

Before you start tightening those bolts, gather your tools. Having everything on hand will make the job smoother and faster.
- Adjustable Wrench: For tightening the bolts.
- Socket Set: An alternative to a wrench, offering more precision.
- Screwdriver: To hold the bolt in place while tightening the nut.
- Level: To ensure the toilet is evenly positioned.
- Shims: Plastic shims to level the toilet if the floor is uneven.
- Gloves: To protect your hands.
- Rag or Sponge: To clean up any water or mess.
Step-by-Step Guide: Tightening Toilet Bolts

Follow these steps to tighten your toilet bolts the right way. Remember, the key is to be gentle and patient.
Step 1: Assess the Situation
First, check how loose the bolts are. Gently try to wiggle the toilet. If it moves a lot, the bolts are likely too loose. Also, look for any signs of water around the base, which could indicate a leaky seal.
Step 2: Prepare the Area
Clear the area around the toilet. This gives you room to work. Place a rag or towel on the floor to protect it and to catch any drips.
Step 3: Locate the Bolts
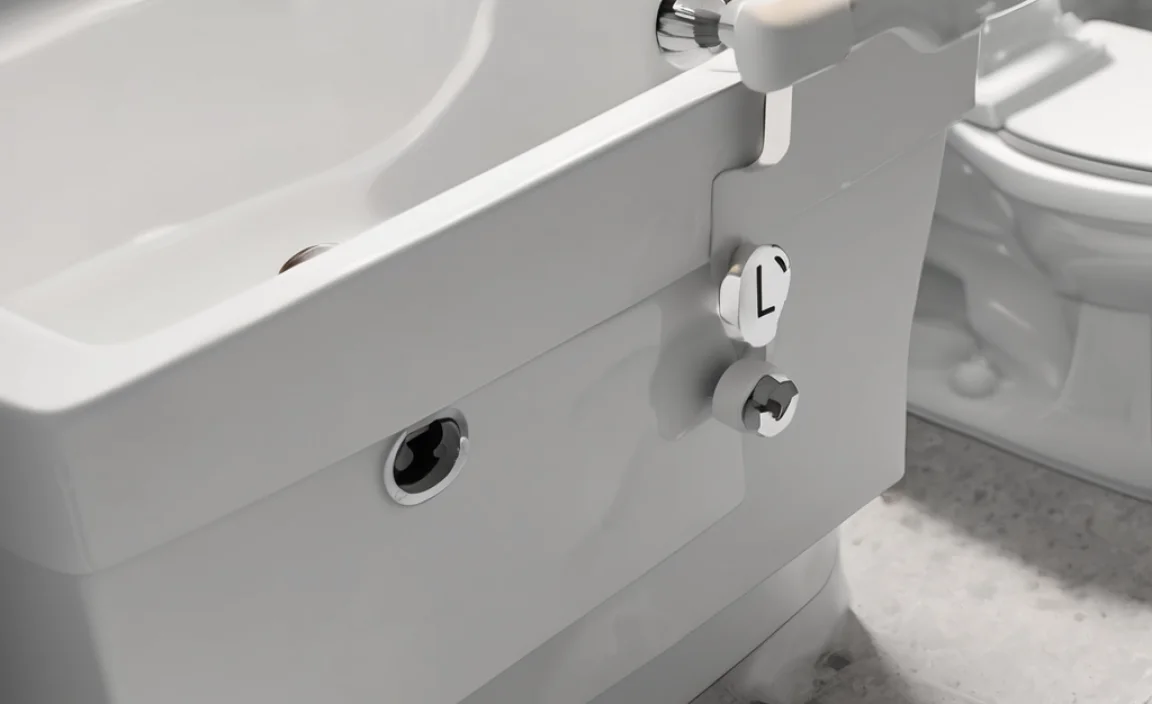
The bolts are usually hidden under plastic caps on either side of the toilet base. Pop these caps off with your fingers or a small screwdriver.
Step 4: Hand-Tighten the Bolts
Before using any tools, try tightening the bolts by hand. Sometimes, this is enough to secure the toilet. If you can tighten them significantly by hand, that’s a good sign.
Step 5: Use Your Wrench or Socket Set
If hand-tightening isn’t enough, use your wrench or socket set. Turn the wrench gently, checking the toilet’s stability as you go. Tighten each bolt a little at a time, alternating between them to ensure even pressure.
Step 6: The Quarter-Turn Rule
A good rule of thumb is the “quarter-turn.” After hand-tightening, give each bolt about a quarter-turn with the wrench. This usually provides enough tightness without risking damage.
Step 7: Check for Wobbling
After tightening, test the toilet again. Sit on it gently and see if it still wobbles. If it does, tighten the bolts a little more, but be careful not to overdo it.
Step 8: Level the Toilet (If Needed)
If the toilet is still wobbly, even with tightened bolts, the floor might be uneven. Use shims to level the toilet. Slide the shims under the base until the toilet is stable. Then, trim any excess shim material with a utility knife.
Step 9: Conceal the Bolts
Once you’re satisfied with the tightness and stability, replace the plastic caps over the bolts. This protects the bolts and gives your toilet a cleaner look.
Step 10: Clean Up
Finally, clean up any mess you made. Wipe up any water or dirt around the base of the toilet. Now, enjoy your stable, leak-free toilet!
Avoiding Common Mistakes
Tightening toilet bolts seems simple, but it’s easy to make mistakes. Here’s what to watch out for:
- Over-Tightening: This is the biggest risk. Over-tightening can crack the porcelain, leading to leaks and costly replacements.
- Uneven Tightening: Tightening one bolt more than the other can cause the toilet to rock. Always alternate between bolts to ensure even pressure.
- Ignoring Wobbling: If the toilet still wobbles after tightening, don’t ignore it. Use shims to level the toilet and provide additional support.
- Using the Wrong Tools: Using pliers or other improper tools can damage the bolts or the toilet. Stick to a wrench or socket set.
- Forgetting the Wax Ring: If you remove the toilet completely, remember to replace the wax ring. A new wax ring ensures a good seal and prevents leaks.
How to Handle Stripped or Rusted Bolts
Sometimes, you might encounter bolts that are stripped or rusted. Here’s how to deal with these issues:
- Stripped Bolts: If the bolt is stripped, it won’t tighten properly. You’ll need to replace it. Turn off the water supply, disconnect the toilet, and replace the bolt with a new one.
- Rusted Bolts: Rusted bolts can be difficult to remove. Apply a penetrating oil like WD-40 and let it sit for a few minutes. Then, try loosening the bolt with a wrench. If it still won’t budge, you might need to cut it off with a hacksaw.
When to Call a Plumber
While tightening toilet bolts is a DIY-friendly task, there are times when it’s best to call a plumber. Consider professional help if:
- You’re uncomfortable working with plumbing.
- You encounter major issues like severe rust or stripped bolts.
- The toilet continues to leak after tightening the bolts.
- You suspect there’s a problem with the wax ring or the toilet flange (the metal ring that connects the toilet to the drainpipe).
Understanding Toilet Bolt Types
There are a few different types of toilet bolts you might encounter. Knowing the differences can help you choose the right replacement if needed.
- Standard Bolts: These are the most common type, usually made of brass or stainless steel. They come with washers and nuts to secure the toilet to the floor.
- T-Bolts: These bolts have a T-shaped head that fits into slots in the toilet flange. They’re often used in older toilets.
- Closet Bolts: Similar to standard bolts, but often longer to accommodate thicker flanges or flooring.
- Plastic Bolts: While less common, plastic bolts are rust-resistant. However, they may not be as durable as metal bolts.
Toilet Bolt Torque Specifications
While there’s no one-size-fits-all torque specification for toilet bolts, here’s a general guideline to help you understand the appropriate tightness. Remember, the goal is snugness, not maximum force.
| Bolt Type | Torque Range | Notes |
|---|---|---|
| Standard Bolts (Brass or Stainless Steel) | 5-10 ft-lbs | Tighten in small increments, alternating between bolts. |
| Plastic Bolts | 3-7 ft-lbs | Be extra cautious not to over-tighten; plastic is more prone to cracking. |
| T-Bolts | 5-10 ft-lbs | Ensure the T-bolt is properly seated in the flange before tightening. |
Important Considerations:
- Porcelain Sensitivity: Porcelain can crack easily, so err on the side of caution.
- Washer Condition: Ensure washers are in good condition to distribute pressure evenly.
- “Snug Plus a Bit”: A good approach is to tighten until snug, then add just a bit more.
Toilet Bolt Materials: Choosing the Right One
The material of your toilet bolts affects their durability and resistance to corrosion. Here’s a comparison:
| Material | Pros | Cons | Best For |
|---|---|---|---|
| Brass | Corrosion-resistant, durable | Can be more expensive | General use, especially in humid environments |
| Stainless Steel | Highly corrosion-resistant, strong | Can be more expensive than standard steel | Areas with hard water or high humidity |
| Standard Steel | Affordable | Prone to rust | Dry environments, budget-friendly option |
| Plastic | Rust-proof, inexpensive | Less durable, prone to cracking | Temporary fixes or low-use bathrooms |
Key Takeaways:
- Brass and Stainless Steel: Best for long-term reliability and resistance to corrosion.
- Standard Steel: Suitable for dry environments where rust is less of a concern.
- Plastic: Use as a temporary solution or in situations where rust is a major concern and durability isn’t critical.
Toilet Bolt Maintenance Tips
Regular maintenance can prevent issues with your toilet bolts. Here are some tips:
- Check Regularly: Inspect the bolts every few months for signs of looseness or corrosion.
- Clean the Area: Keep the area around the bolts clean to prevent buildup that can cause corrosion.
- Replace When Needed: If you notice rust or damage, replace the bolts promptly.
- Use Silicone Caulk: Apply a bead of silicone caulk around the base of the toilet to seal it and prevent water from seeping under.
Troubleshooting Common Toilet Problems
Sometimes, tightening the bolts isn’t enough to solve all your toilet troubles. Here are some common problems and how to address them:
| Problem | Possible Cause | Solution |
|---|---|---|
| Toilet Wobbles After Tightening | Uneven floor | Use shims to level the toilet. |
| Water Leaks Around Base | Damaged wax ring | Replace the wax ring. |
| Toilet Still Rocks | Damaged flange | Inspect and repair or replace the flange. |
| Bolts Won’t Tighten | Stripped bolts | Replace the bolts. |
1. How do I know if my toilet bolts are too tight?
If you hear a cracking sound while tightening, or if the porcelain around the base starts to stress or chip, the bolts are too tight. Stop immediately to prevent further damage.
2. Can I reuse old toilet bolts?
It’s generally not recommended. Old bolts can be corroded or weakened, which can compromise their ability to hold the toilet securely. It’s best to use new bolts when reinstalling a toilet.
3. What if my toilet still wobbles after I’ve tightened the bolts?
The floor may be uneven. Use plastic shims to level the toilet. Slide the shims under the base until the toilet is stable, then trim any excess material.
4. How often should I check my toilet bolts?
Check your toilet bolts every six months to ensure they are snug and the toilet is stable. Regular checks can prevent leaks and further issues.
5. What type of bolts should I use for my toilet?
Brass or stainless steel bolts are the best choices. They resist corrosion and provide a secure hold. Avoid using plastic bolts for long-term installations, as they can be less durable.
6. Do I need to replace the wax ring when tightening toilet bolts?
If you’re only tightening the bolts and not removing the toilet, you don’t need to replace the wax ring. However, if you remove the toilet to replace the bolts, always use a new wax ring to ensure a proper seal.
7. What do I do if the toilet bolt spins and doesn’t tighten?
The bolt may be stripped. You’ll need to replace it. Turn off the water supply, disconnect the toilet, and install a new bolt. Make sure the new bolt is the correct size and material.
Final Thoughts
Tightening toilet bolts is a simple task that can save you from bigger plumbing problems. By following these steps and avoiding common mistakes, you can ensure your toilet is stable, leak-free, and comfortable to use. Remember, the key is to be gentle and patient. If you ever feel unsure, don’t hesitate to call a plumber. With a little care, you can keep your bathroom in top shape!


