Applying plumber’s putty to a sink drain is easy! Roll the putty into a rope, press it around the drain flange, and remove any extra after tightening. This creates a watertight seal, preventing leaks. With simple tools and a bit of patience, you can tackle this DIY task and keep your sink dry. Let’s get started!
Is your sink leaking? Don’t worry; it happens! One of the most common causes is a poor seal around the drain. The good news is that you can fix this yourself with plumber’s putty. It’s an inexpensive and easy-to-use material that creates a watertight seal.
In this guide, I’ll walk you through each step, showing you exactly how to apply plumber’s putty to your sink drain. No special skills are needed. With clear instructions, you’ll be able to stop that leak in no time. Let’s dive in!
What You’ll Need
Before you start, gather these simple tools and materials. Having everything ready will make the job go smoothly.
- Plumber’s putty
- Putty knife or a similar flat tool (optional)
- Clean cloths or paper towels
Step-by-Step Guide: Applying Plumber’s Putty to a Sink Drain
Follow these steps carefully to ensure a watertight seal. Each step is important, so take your time and double-check your work.
Step 1: Prepare the Area
First, you need to get the area clean and dry. This helps the plumber’s putty stick properly.
- Clean the Sink Drain Flange: Use a clean cloth to wipe around the sink drain opening. Remove any old putty, dirt, or grime.
- Dry the Surface: Make sure the area is completely dry. Water can prevent the putty from adhering correctly.
Step 2: Remove the Old Drain (If Necessary)
If you’re replacing an old drain, you’ll need to remove it first. If you’re installing a new sink, you can skip this step.
- Loosen the Drain Nut: Use a wrench to loosen the nut that holds the drain in place from underneath the sink.
- Remove the Old Drain: Carefully push the drain up and out of the sink.
- Clean the Drain Opening: Remove any remaining old putty or debris from the sink opening. A putty knife can be helpful here.
Step 3: Prepare the Plumber’s Putty
Now, it’s time to get the plumber’s putty ready. This step is crucial for creating a good seal.
- Knead the Putty: Take a ball of plumber’s putty and knead it in your hands until it becomes soft and pliable. This makes it easier to work with.
- Roll into a Rope: Roll the putty into a rope about ½ inch thick. Make sure it’s long enough to go around the entire drain flange.
Step 4: Apply the Putty
This is where you’ll apply the putty to create that watertight seal.
- Place the Putty: Press the rope of putty evenly around the underside of the drain flange (the part that sits inside the sink). Make sure there are no gaps.
- Ensure Even Coverage: The putty should be consistent in thickness all the way around.
Step 5: Install the Drain
Carefully put the drain into place. This step requires a bit of precision.
- Insert the Drain: Gently push the drain down into the sink opening.
- Align Properly: Make sure the drain is aligned correctly with the drainpipe underneath the sink.
Step 6: Tighten the Drain
Tightening the drain secures it and helps create a solid seal.
- Attach the Hardware: From underneath the sink, attach the mounting hardware (rubber washer, cardboard friction washer, and nut) to the drainpipe.
- Tighten the Nut: Tighten the nut by hand until it’s snug. Then, use a wrench to tighten it a bit more, but be careful not to overtighten. You want it firm, not cracked.
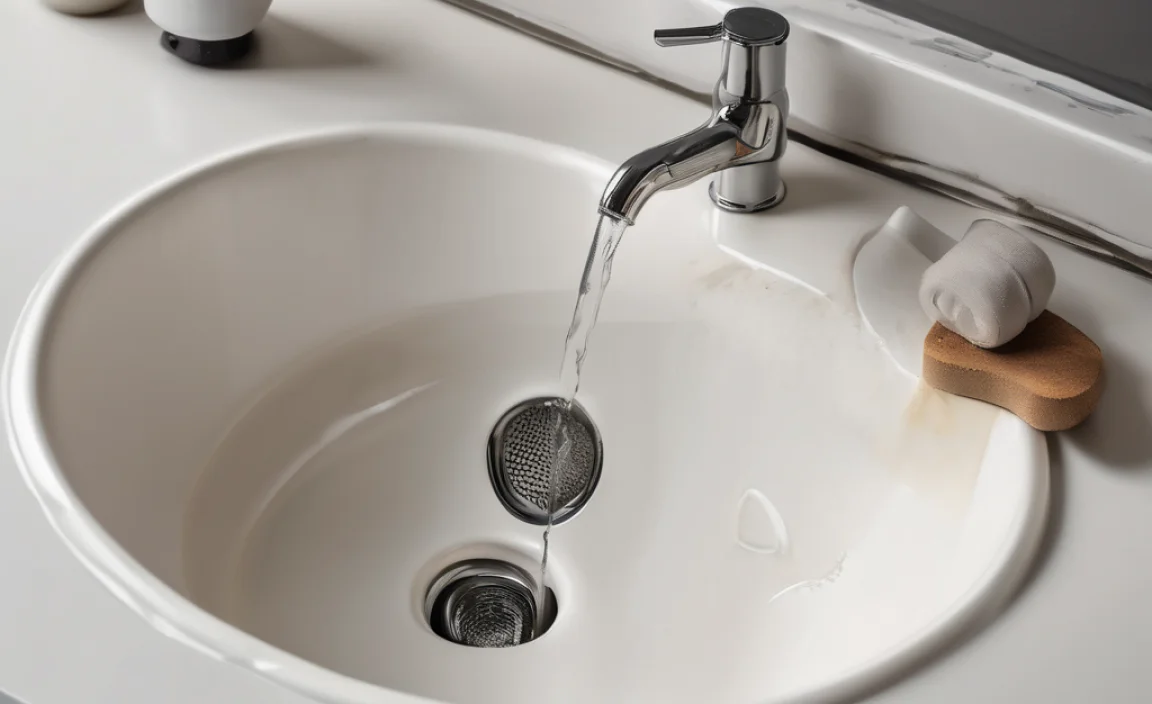
Step 7: Remove Excess Putty
Clean up any extra putty that squeezes out. This makes your sink look neat and prevents future messes.
- Scrape Away Excess: Use a putty knife or your finger to scrape away any excess putty that has squeezed out around the drain flange.
- Smooth the Seal: Smooth the remaining putty to create a clean, professional-looking seal.
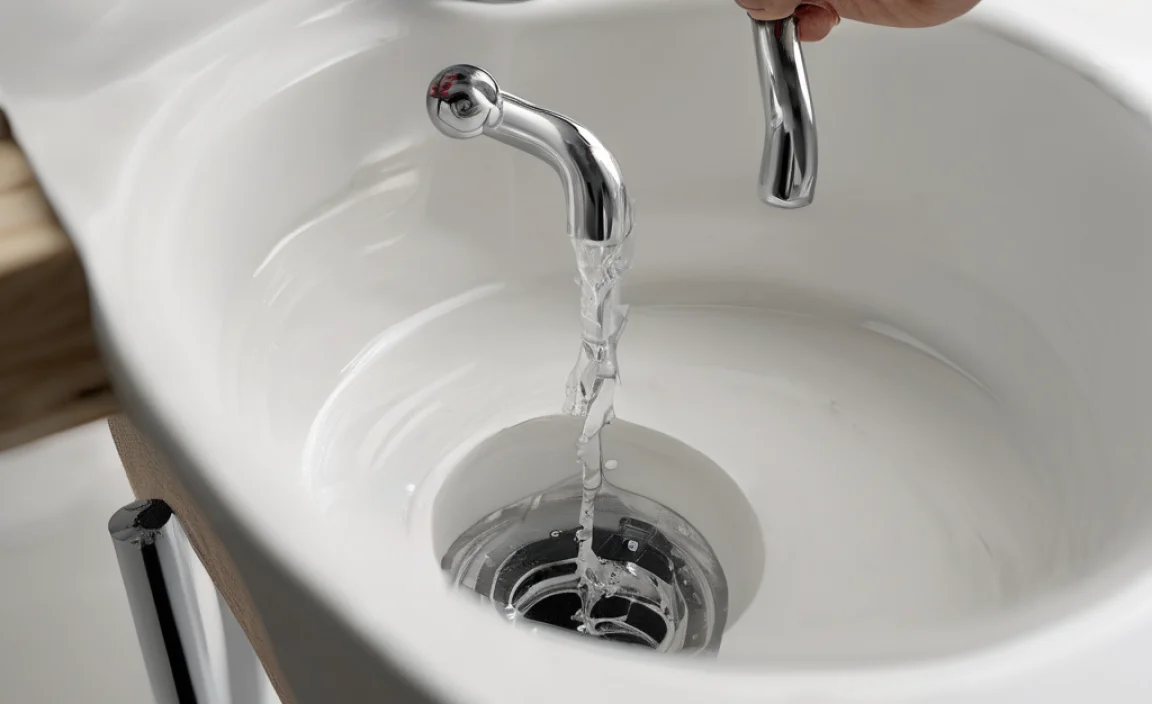
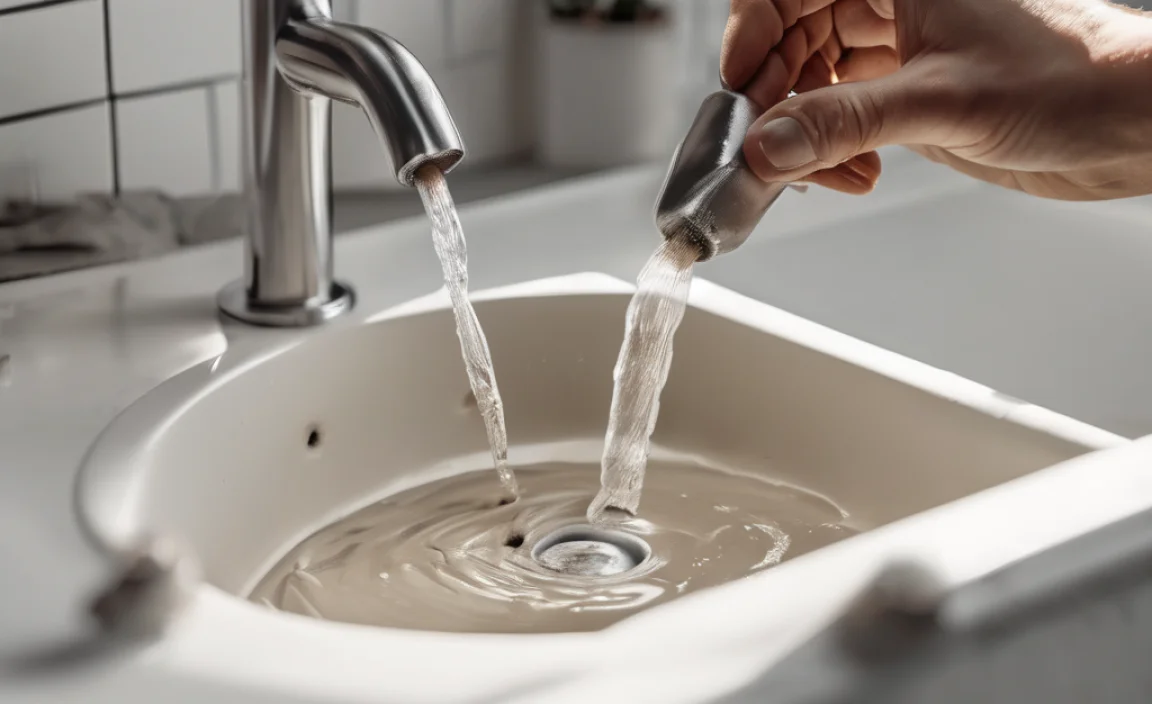
Step 8: Test for Leaks
The final step is to test your work. This ensures that the seal is watertight.
- Run Water: Turn on the faucet and let the water run for a few minutes.
- Check for Leaks: Carefully check under the sink for any signs of leaks around the drain.
- Re-tighten if Needed: If you see any leaks, tighten the nut a little more. If that doesn’t work, you may need to remove the drain and start over with fresh putty.
Tips and Tricks for a Perfect Seal
Here are a few extra tips to help you get the best possible seal.
- Use Enough Putty: Don’t be stingy with the putty. It’s better to have too much than not enough. Excess putty can be removed, but not enough putty will lead to leaks.
- Work Quickly: Plumber’s putty can dry out if you take too long. Work efficiently to ensure it stays pliable.
- Check Alignment: Make sure the drain is properly aligned before tightening. This prevents stress on the seal.
- Avoid Overtightening: Overtightening the nut can crack the sink or damage the drain. Tighten it just enough to create a firm seal.
- Clean Surfaces: A clean, dry surface is essential for good adhesion.
Troubleshooting Common Issues
Sometimes things don’t go as planned. Here’s how to handle common problems.
- Putty is too hard: If the putty is hard, knead it longer or warm it slightly in your hands.
- Putty is too soft: If the putty is too soft, let it sit for a few minutes to firm up.
- Still leaking after tightening: If the drain is still leaking after tightening, remove the drain, apply fresh putty, and try again.
When to Call a Professional
While this is a simple DIY task, there are times when it’s best to call a professional.
- Damaged Drainpipe: If the drainpipe is damaged or corroded, it’s best to have it replaced by a plumber.
- Persistent Leaks: If you’ve tried multiple times to fix the leak and it keeps coming back, it’s time to call in the pros.
- Complicated Plumbing: If you’re not comfortable working with plumbing, don’t hesitate to hire a professional.
Plumber’s Putty vs. Silicone Caulk
You might wonder whether to use plumber’s putty or silicone caulk. Here’s a quick comparison:
| Feature | Plumber’s Putty | Silicone Caulk |
|---|---|---|
| Purpose | Creating watertight seals around drains and fixtures | Sealing gaps and joints against water and air |
| Ease of Use | Easy to mold and apply; cleanup is simple | Requires a caulking gun; cleanup can be messier |
| Flexibility | Less flexible; can crack over time | More flexible; can accommodate movement |
| Durability | Less durable; can dry out and shrink | More durable; resists shrinking and cracking |
| Best For | Drain installations and sealing fixture bases | Sealing around tubs, showers, and countertops |
Plumber’s Putty: Ideal for drain installations where you need a moldable, easy-to-apply sealant.
Silicone Caulk: Better for areas exposed to more movement or needing a long-lasting, flexible seal.
Safety Tips
Safety first! Always take these precautions when working with plumbing.
- Wear Gloves: Protect your hands from dirt and grime by wearing gloves.
- Eye Protection: Wear safety glasses to protect your eyes from debris.
- Turn Off Water: Turn off the water supply before starting any plumbing work.
- Avoid Harsh Chemicals: Avoid using harsh chemicals that can damage your plumbing or harm you.
Cost Considerations
Here’s a quick look at the costs involved in this DIY project.
| Item | Estimated Cost |
|---|---|
| Plumber’s Putty | $5 – $10 |
| Putty Knife | $5 – $15 |
| Wrench (if needed) | $10 – $30 |
| Total | $20 – $55 |
As you can see, this is a very affordable DIY project. Hiring a plumber could cost you $100 or more, so doing it yourself can save you a lot of money.
FAQ: Applying Plumber’s Putty to Sink Drain
1. What is plumber’s putty used for?
Plumber’s putty is used to create a watertight seal around plumbing fixtures like sink drains, faucets, and toilet bases. It prevents water from leaking through gaps.
2. How long does plumber’s putty take to dry?
Plumber’s putty doesn’t actually dry. It remains pliable, allowing for adjustments. However, it can harden slightly over time.
3. Can I use plumber’s putty on plastic pipes?
Yes, plumber’s putty is safe to use on plastic pipes. It won’t damage the plastic.
4. How do I remove old plumber’s putty?
Use a putty knife or scraper to gently remove the old putty. You can also use mineral spirits to soften it if it’s stubborn.
5. Is plumber’s putty the same as caulk?
No, plumber’s putty and caulk are different. Plumber’s putty is used for creating seals around fixtures, while caulk is used for sealing gaps and joints.
6. Can I reuse plumber’s putty?
It’s not recommended to reuse plumber’s putty. Once it’s been used, it can become contaminated and may not create a reliable seal.
7. What do I do if the putty gets on my hands?
Use soap and water to wash the putty off your hands. A citrus-based cleaner can also help remove any residue.
Conclusion
And there you have it! You’ve successfully applied plumber’s putty to your sink drain. No more leaks, no more wasted water, and a job well done. It’s amazing what you can accomplish with a little know-how and some simple tools.
Remember to take your time, follow each step carefully, and don’t be afraid to double-check your work. If you encounter any issues, just refer back to the troubleshooting tips. With a bit of patience, you’ll be able to tackle this and many other DIY projects around your home.
So go ahead, enjoy your leak-free sink and the satisfaction of knowing you fixed it yourself. You’ve got this!