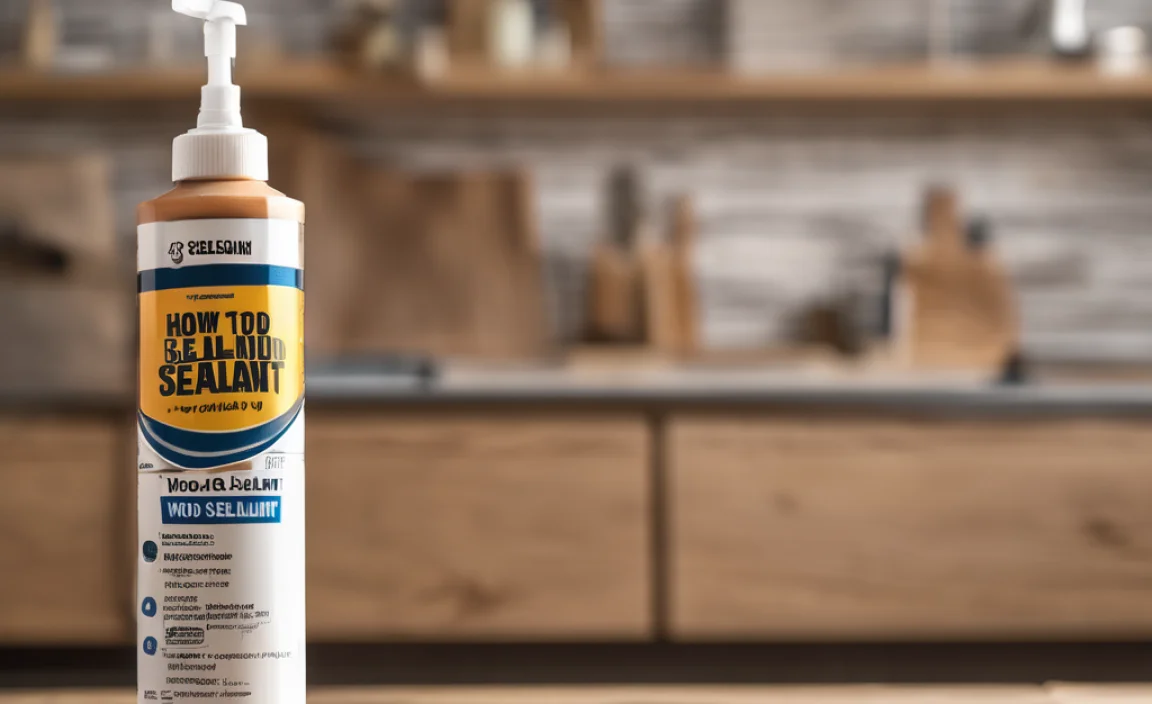
Applying wood sealant protects your wood projects from water damage, scratches, and wear. First, clean and sand the wood surface. Then, apply the sealant in thin, even coats using a brush, cloth, or sprayer. Allow each coat to dry completely before applying the next. With a few simple steps, you can keep your wood looking great for years!
Have you ever finished a beautiful woodworking project, only to watch it get ruined by water stains or scratches? It’s a common problem! Wood is a fantastic material, but it needs protection to stay in top shape. Applying wood sealant might seem tricky, but don’t worry! It’s a straightforward process that anyone can master. With the right steps, you can keep your wood projects looking fantastic for years. This guide will walk you through each step, making sure your wood stays protected and beautiful. Let’s get started!
What You’ll Need
Before you start, gather these materials:
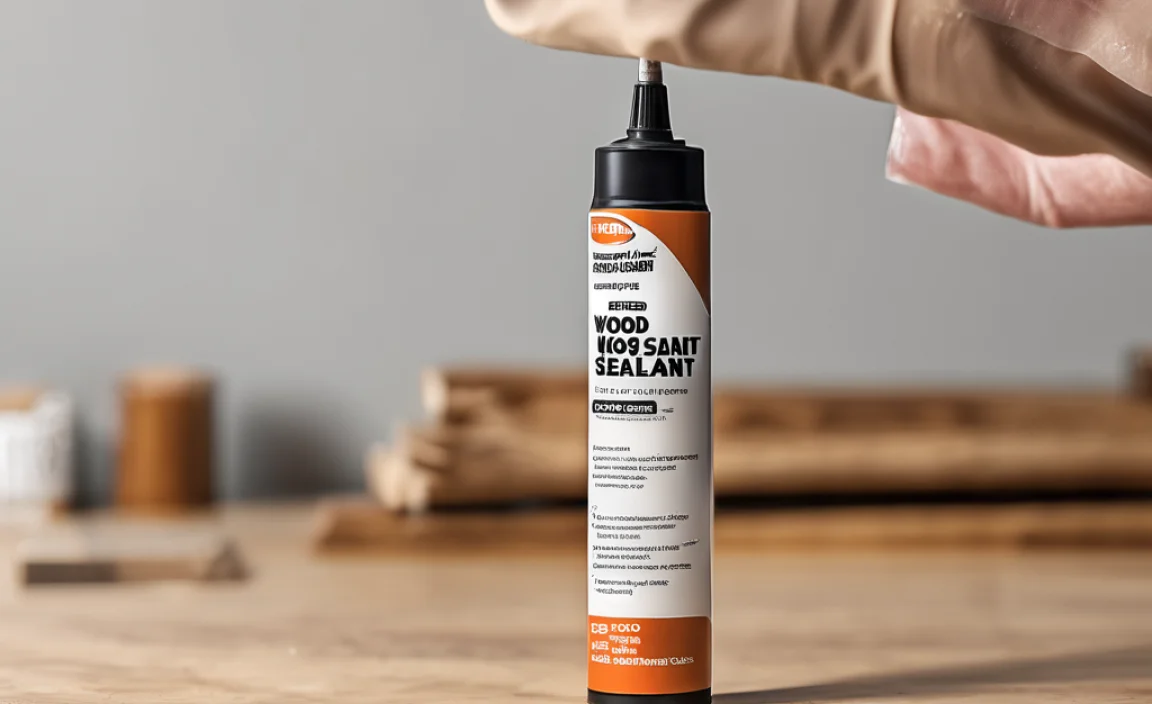
- Wood sealant (polyurethane, varnish, lacquer, or penetrating oil)
- Sandpaper (120-grit and 220-grit)
- Tack cloth
- Paintbrushes, cloths, or a sprayer
- Safety glasses
- Gloves
- Drop cloths or plastic sheeting
- Mineral spirits or соответствующий solvent (for cleanup)
Step-by-Step Guide: How to Apply Wood Sealant
Follow these steps to properly apply wood sealant and protect your projects.
Step 1: Prepare the Wood Surface
Proper preparation is key to a smooth, lasting finish.
- Clean the Wood: Remove any dirt, dust, or debris with a damp cloth. Let the wood dry completely.
- Sand the Wood: Start with 120-grit sandpaper to smooth out any imperfections. Then, use 220-grit sandpaper for a final smooth finish. Sand in the direction of the wood grain.
- Remove Sanding Dust: Use a tack cloth to remove all sanding dust. This ensures the sealant adheres properly.
Step 2: Choose the Right Wood Sealant
There are several types of wood sealants, each with its own pros and cons. Here’s a quick overview:
- Polyurethane: Durable and water-resistant, ideal for surfaces that see heavy use.
- Varnish: Offers good protection and is available in various sheens, suitable for furniture and trim.
- Lacquer: Dries quickly and provides a hard finish, often used for cabinets and musical instruments.
- Penetrating Oil: Enhances the wood’s natural beauty and provides some protection, best for items needing a natural look.
Consider the following table to help you choose:
| Sealant Type | Pros | Cons | Best For |
|---|---|---|---|
| Polyurethane | Durable, water-resistant, long-lasting | Can look plastic-like, strong odor | Floors, tabletops, high-use surfaces |
| Varnish | Good protection, various sheens, easy to apply | Less durable than polyurethane, can yellow over time | Furniture, trim, cabinets |
| Lacquer | Dries quickly, hard finish, easy to repair | Requires good ventilation, less water-resistant | Cabinets, musical instruments, decorative items |
| Penetrating Oil | Enhances natural wood, easy to apply, natural look | Less protection, requires reapplication, not water-resistant | Wooden bowls, cutting boards, decorative pieces |
Step 3: Prepare Your Work Area
A clean and well-ventilated workspace is essential for applying wood sealant.
- Ventilation: Work in a well-ventilated area or wear a respirator to avoid inhaling fumes.
- Protection: Cover your work surface with drop cloths or plastic sheeting to protect it from spills.
- Safety Gear: Wear safety glasses and gloves to protect your eyes and skin.
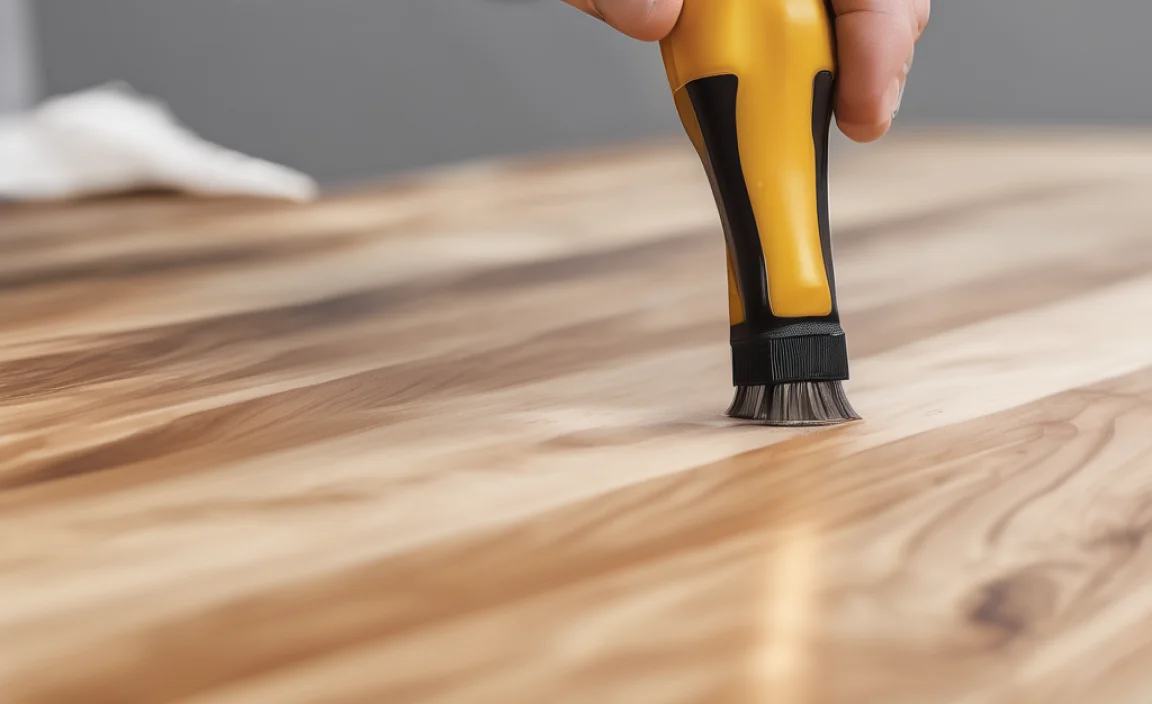
Step 4: Apply the First Coat of Sealant
Applying the first coat correctly sets the stage for a smooth, even finish.
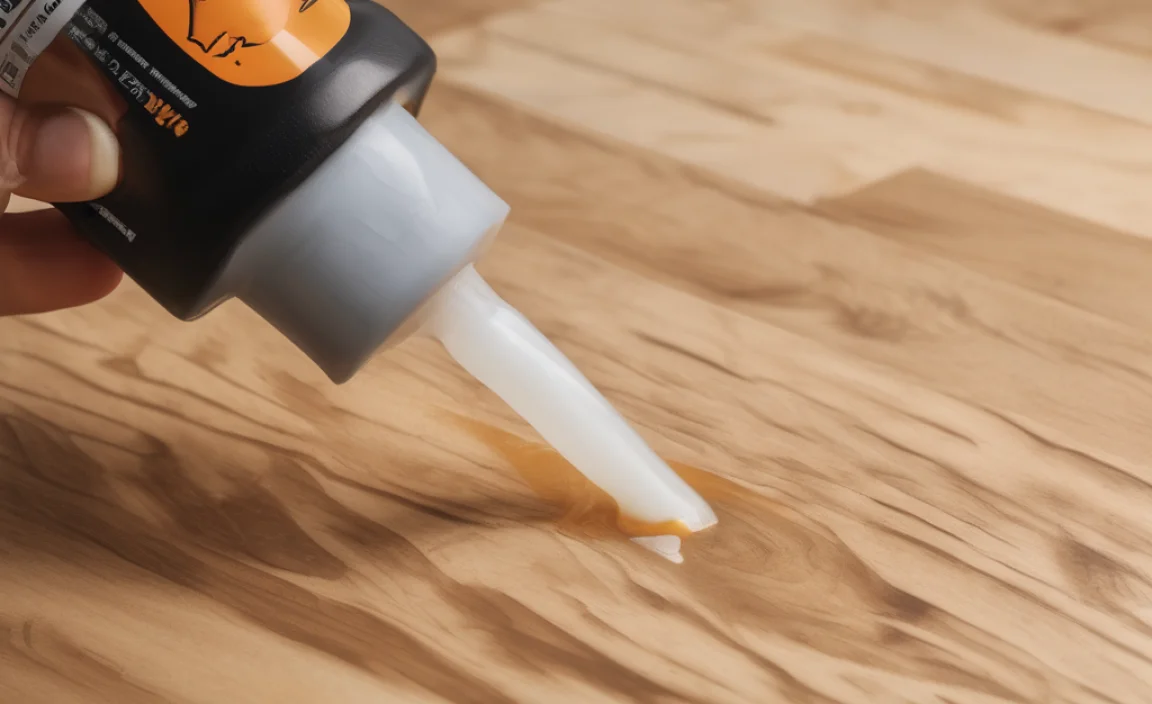
- Stir the Sealant: Gently stir the sealant to mix it thoroughly. Avoid shaking, which can create air bubbles.
- Apply a Thin Coat: Use a high-quality brush, cloth, or sprayer to apply a thin, even coat of sealant. Follow the wood grain.
- Avoid Overlap: Prevent drips and unevenness by avoiding overlap. If using a sprayer, maintain a consistent distance and speed.
Step 5: Let the First Coat Dry
Allow the first coat to dry completely before moving on. Drying times vary depending on the type of sealant and environmental conditions.
- Check Drying Times: Refer to the manufacturer’s instructions for recommended drying times.
- Ideal Conditions: Ensure the area is well-ventilated and the temperature is within the recommended range for optimal drying.
- Inspect the Finish: Check for any imperfections, such as dust particles or drips, after the first coat dries.
Step 6: Sand Lightly Between Coats
Lightly sanding between coats helps create a smooth, even finish.
- Use Fine-Grit Sandpaper: Use 220-grit sandpaper to lightly sand the surface. This helps to knock down any imperfections and create a better surface for the next coat.
- Remove Dust: After sanding, use a tack cloth to remove all sanding dust.
- Inspect the Surface: Ensure the surface is smooth and free of any dust or debris before applying the next coat.
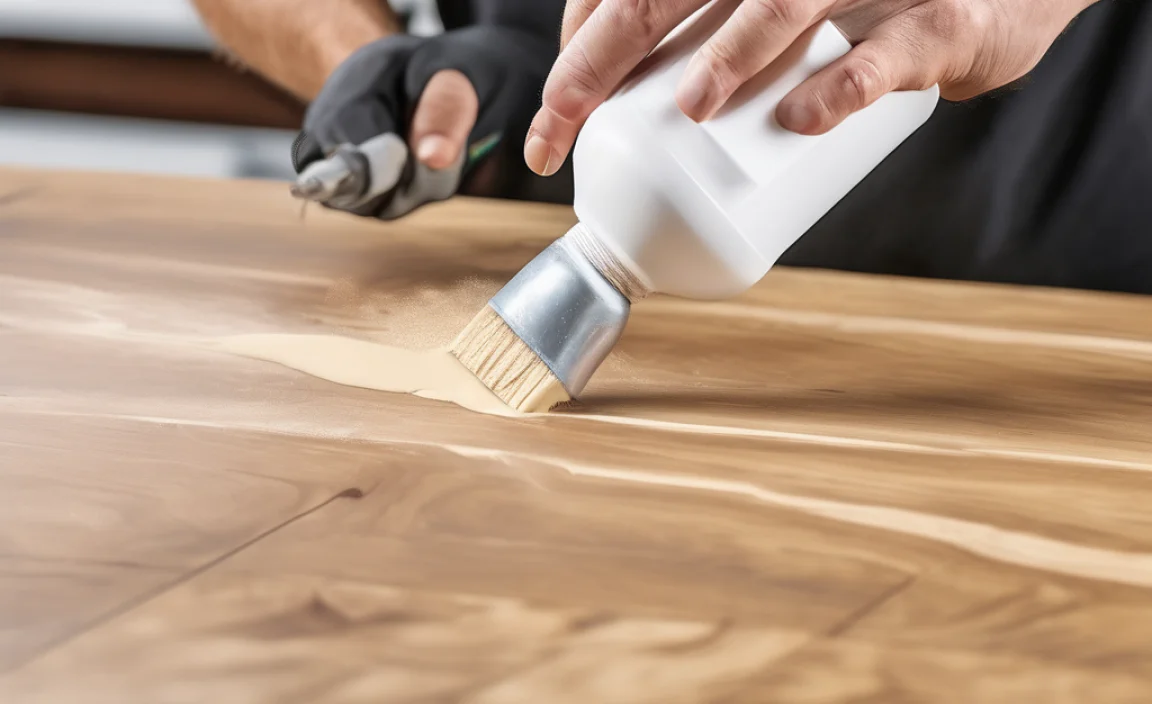
Step 7: Apply Additional Coats
Apply two to three coats of sealant for optimal protection.
- Apply Thin, Even Coats: Repeat the application process, applying thin, even coats of sealant.
- Allow Proper Drying Time: Allow each coat to dry completely before sanding and applying the next coat.
- Inspect Each Coat: Check for any imperfections after each coat dries and address them before proceeding.
Step 8: Final Inspection and Cleanup
Once the final coat has dried, inspect your work and clean up your supplies.
- Inspect the Finish: Check for any missed spots, drips, or imperfections. If necessary, lightly sand and apply another coat of sealant to those areas.
- Clean Your Tools: Clean your brushes, cloths, or sprayer with mineral spirits or the appropriate solvent.
- Proper Disposal: Dispose of used sealant and cleaning materials according to local regulations.
Tips for a Professional Finish
Follow these tips to achieve a professional-looking finish:
- Use High-Quality Brushes: Invest in high-quality brushes for a smooth, even application.
- Apply Thin Coats: Thin coats are better than thick coats, which can lead to drips and unevenness.
- Sand Lightly: Lightly sand between coats to remove imperfections and create a smooth surface.
- Control the Environment: Work in a dust-free environment to prevent particles from getting trapped in the finish.
- Test in an Inconspicuous Area: Always test the sealant in an inconspicuous area to ensure it provides the desired look and protection.
Common Mistakes to Avoid
Avoid these common mistakes when applying wood sealant:
- Skipping Surface Preparation: Proper surface preparation is crucial for adhesion and a smooth finish.
- Applying Thick Coats: Thick coats can lead to drips, runs, and uneven drying.
- Not Sanding Between Coats: Sanding between coats helps remove imperfections and improves adhesion.
- Ignoring Drying Times: Not allowing enough drying time can lead to a soft, tacky finish.
- Working in a Dusty Environment: Dust particles can get trapped in the finish, creating a rough surface.
FAQ: Applying Wood Sealant
What is the best type of wood sealant to use?
The best type of wood sealant depends on your project. Polyurethane is great for durability, varnish for furniture, lacquer for a quick finish, and penetrating oil for enhancing natural wood.
How many coats of wood sealant should I apply?
Apply two to three coats of wood sealant for optimal protection. Make sure to let each coat dry completely before applying the next.
Do I need to sand between coats of wood sealant?
Yes, lightly sanding between coats with 220-grit sandpaper helps create a smooth, even finish by removing any imperfections.
How long does wood sealant take to dry?
Drying times vary depending on the type of sealant and environmental conditions. Check the manufacturer’s instructions for specific drying times, usually between 4 to 24 hours.
Can I apply wood sealant with a sprayer?
Yes, you can apply wood sealant with a sprayer for a smooth, even finish. Make sure to maintain a consistent distance and speed while spraying.
What safety precautions should I take when applying wood sealant?
Work in a well-ventilated area, wear safety glasses and gloves, and use a respirator if necessary to avoid inhaling fumes.
How do I clean up after applying wood sealant?
Clean your brushes, cloths, or sprayer with mineral spirits or the appropriate solvent. Dispose of used sealant and cleaning materials according to local regulations.
Troubleshooting Common Issues
Sometimes, despite your best efforts, you might encounter issues. Here’s how to troubleshoot them:
| Issue | Possible Cause | Solution |
|---|---|---|
| Bubbles in the Finish | Shaking the sealant, applying too thick a coat | Stir gently, apply thinner coats, use a foam brush |
| Uneven Finish | Poor surface preparation, uneven application | Sand the surface thoroughly, apply sealant evenly, use a sprayer |
| Tacky Finish | Insufficient drying time, high humidity | Allow more drying time, ensure good ventilation, check humidity levels |
| Dust Particles in the Finish | Dusty environment, dirty tools | Work in a clean area, use a tack cloth, clean your brushes |
| Runs or Drips | Applying too much sealant, uneven surface | Apply thinner coats, sand the runs after drying, ensure surface is level |
Advanced Techniques
Once you’re comfortable with the basics, consider these advanced techniques:
- Tinting Sealant: Add stain to your sealant to achieve a custom color.
- Using a Grain Filler: Apply a grain filler before sealing to create an ultra-smooth surface on open-pore woods like oak or ash.
- Applying Multiple Sealants: Combine different types of sealants for enhanced protection and aesthetics (e.g., a penetrating oil followed by a coat of varnish).
Conclusion
Applying wood sealant is a simple yet crucial step in protecting and enhancing your woodworking projects. By following this step-by-step guide, you can ensure a durable, beautiful finish that lasts for years. Remember to prepare your surface properly, choose the right sealant for your needs, and apply thin, even coats. With a little practice and attention to detail, you’ll be able to achieve professional-quality results every time. So go ahead, protect your wood and enjoy the beauty of your creations for years to come!