Do you know what a sink valve is? It controls the water flow to your sink. Have you ever wondered how to change sink valve? It might seem hard, but it is not. Imagine water spraying everywhere because the valve broke. You can fix it yourself! Let’s learn how to change sink valve step by step.
It’s important to know how to do this. This guide makes it easy for kids. You can help your parents or even do it yourself.
Key Takeaways
- Knowing how to change sink valve can prevent costly plumbing bills.
- Always turn off the water supply before starting any plumbing work.
- Gather all the necessary tools before you begin the replacement process.
- Follow each step carefully to ensure a leak-free and secure installation.
- Regularly check your sink valves to spot problems early and fix them fast.
Steps for How to Change Sink Valve
Learning how to change sink valve is useful. First, you need to know what a sink valve does. It stops and starts the water going to your faucet. Over time, these valves can wear out. They might leak or become hard to turn. When this happens, you need to change them. Changing a sink valve is not too hard. You can do it with some simple tools. You’ll need a wrench, a screwdriver, and maybe a bucket. Make sure you turn off the water first! This will stop water from spraying everywhere. Changing the valve yourself can save money. It also teaches you a new skill. Follow the steps carefully, and you’ll be fine. Remember safety first!
- Turn off the water supply.
- Gather your tools.
- Disconnect the old valve.
- Install the new valve.
- Check for leaks.
Changing a sink valve is a common task. Many homeowners do it themselves. It is important to choose the right valve. There are different types of valves. Some are better than others. Look for a valve that is strong and lasts long. A good valve will prevent leaks. It will also be easy to turn. When you install the new valve, make sure it is tight. But don’t make it too tight! You could break it. After you install it, turn the water back on slowly. Check for any leaks. If you see a leak, tighten the valve a little more. Keep checking for leaks over the next few days. This will make sure everything is working right.
Fun Fact or Stat: The average lifespan of a sink valve is about 10 years, but this can vary depending on water quality and usage!
Why is the Valve Leaking?
Why is your sink valve leaking? Leaks can happen for many reasons. The valve might be old and worn out. The rubber parts inside can break down. Sometimes, hard water can cause problems. Minerals in the water can build up inside the valve. This makes it hard to turn. It can also cause leaks. If you see water dripping, it’s time to check the valve. Don’t wait too long to fix it. A small leak can waste a lot of water. It can also damage your cabinet. Fixing a leak right away can save you money. It can also prevent bigger problems. Check your valves often to catch leaks early. This will help you keep your sink working well.
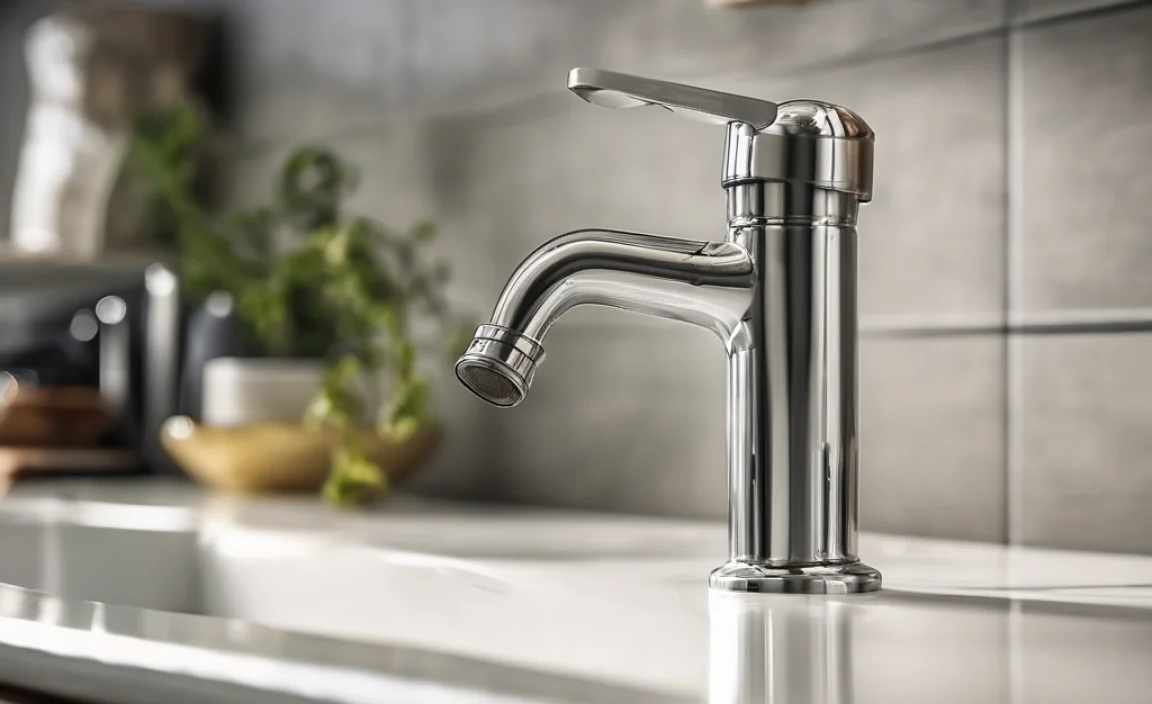
What Tools Do You Need?
What tools do you need to change a sink valve? You don’t need many tools. A wrench is the most important one. You’ll use it to loosen and tighten the valve. You might also need a screwdriver. Some valves have screws that hold them in place. A bucket is useful to catch any water. You might also want some towels. They can help clean up spills. A flashlight can help you see better. Sometimes, the space under the sink is dark. Make sure you have all your tools before you start. This will make the job easier and faster. Having the right tools makes a big difference.
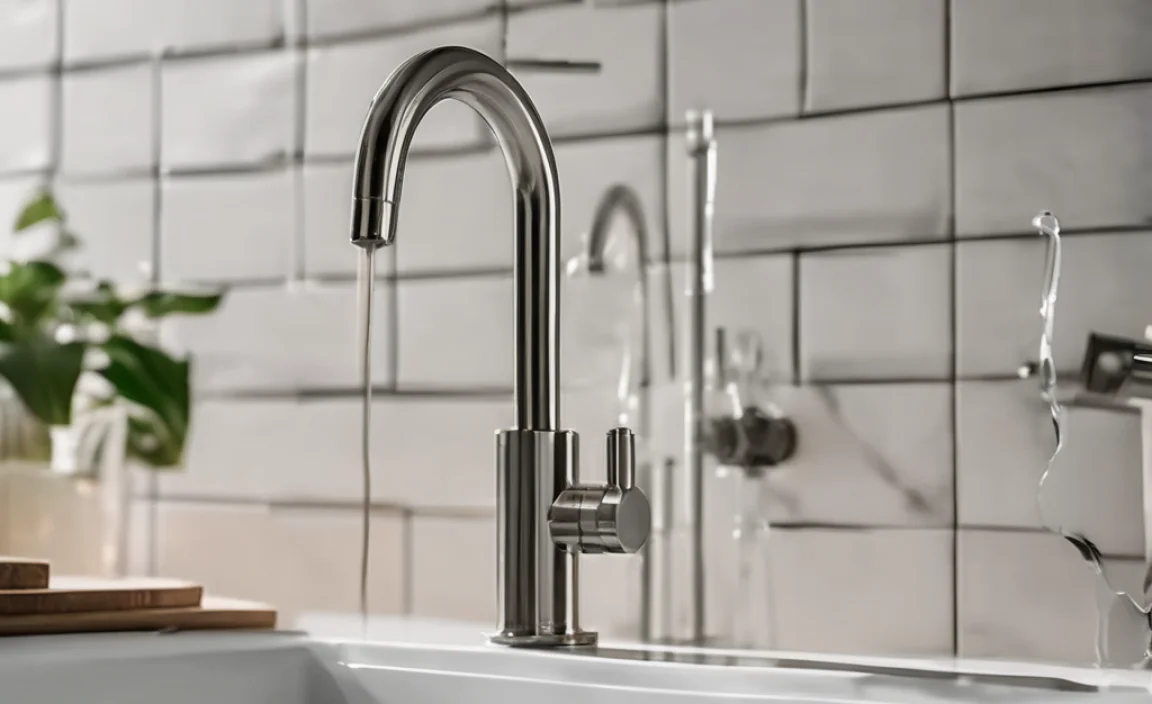
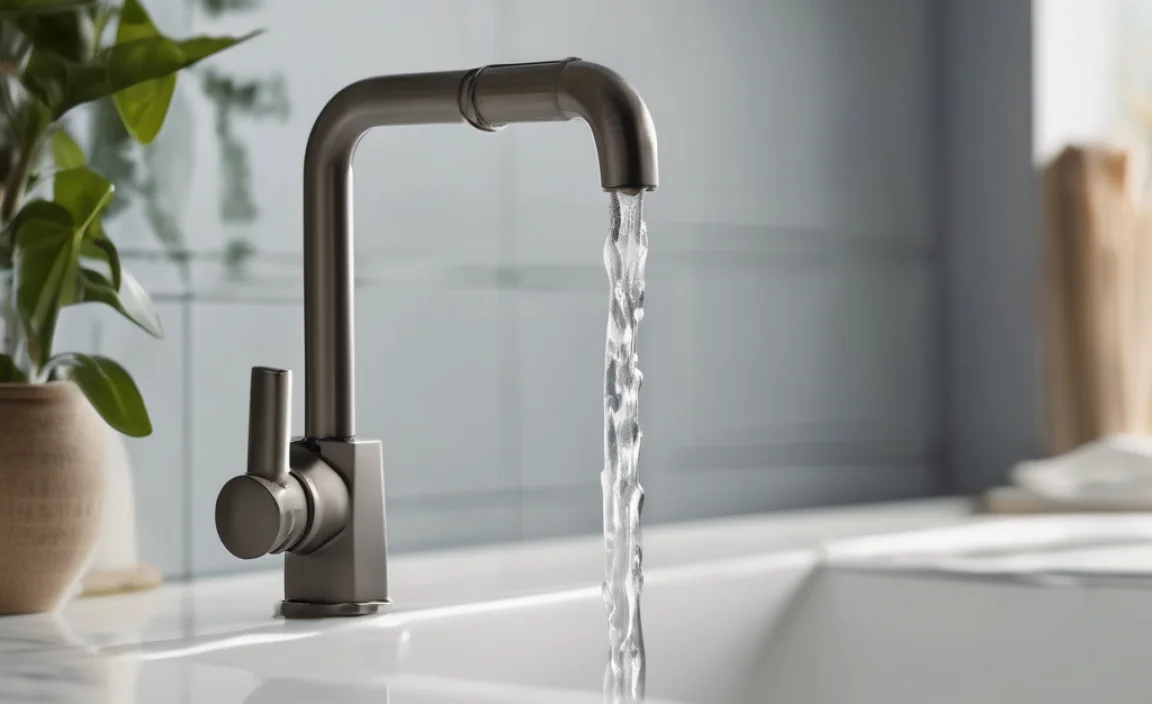
How Do You Turn Off the Water?
Do you know how to change sink valve? But first, you must turn off the water. Find the shut-off valves under your sink. There are usually two valves, one for hot water and one for cold water. Turn both valves clockwise until they stop. This will stop the water from flowing to your faucet. If you don’t have shut-off valves, you need to turn off the main water supply. This is usually in your basement or outside your house. Turn the main valve off and then open your faucet. This will let any remaining water drain out of the pipes. Now it is safe to change the sink valve. Always double-check that the water is off before you start.
Fun Fact or Stat: A dripping faucet can waste up to 3,000 gallons of water per year, so fixing leaks promptly is important!
Getting Ready to Change the Valve
Getting ready to change the valve is important. First, gather all your tools. You will need a wrench, a screwdriver, and a bucket. Also, have some towels ready. These will help clean up any spills. Turn off the water supply to the sink. This will stop water from spraying everywhere. Check that the water is off by turning on the faucet. If no water comes out, you are ready to start. Now, look at the old valve. See how it is connected. This will help you install the new valve correctly. Take a picture if you need to. This can be a helpful reminder. Being prepared makes the job easier.
- Gather all necessary tools.
- Turn off the water supply.
- Check the old valve’s connections.
- Have towels ready for spills.
- Take a picture for reference.
- Read the instructions for the new valve.
Before you start, make sure you have the right replacement valve. There are different types of valves. Some are for hot water, and some are for cold water. Make sure you get the right one for your sink. Read the instructions that come with the new valve. This will tell you how to install it correctly. If you are not sure about something, ask for help. A plumber can answer your questions. They can also show you how to do it. It is better to be safe than sorry. Changing a sink valve is not too hard, but it is important to do it right. This will prevent leaks and other problems.
Fun Fact or Stat: Plumbers recommend replacing both hot and cold water valves at the same time to ensure consistent performance!
Picking the Right Valve
Picking the right valve is very important. Sink valves come in different sizes. They also have different types of connections. You need to choose a valve that fits your sink. Look at the old valve before you buy a new one. Note the size and type of connection. Take the old valve to the store with you. This will help you find the right replacement. Ask the store clerk for help if you need it. They can help you find a valve that fits. Choosing the right valve will make the installation easier. It will also prevent leaks. Make sure you get a good quality valve. It will last longer and work better.
Checking the Connections
Checking the connections is important. Look at the pipes connected to the valve. Make sure they are in good condition. If the pipes are old or rusty, you might need to replace them too. Clean the pipes before you connect the new valve. This will help prevent leaks. Use a wire brush to clean the threads. Make sure the connections are tight. But don’t make them too tight! You could damage the pipes. Use Teflon tape on the threads. This will help seal the connection. Check for leaks after you install the new valve. Tighten the connections if you see any leaks. Checking the connections will help ensure a leak-free installation.
Safety First
Safety should always come first. When you work with water, be careful of electric shocks. Make sure the area is dry. Wear rubber gloves to protect your hands. Turn off the power to the sink if you are working with electrical parts. If you are not sure about something, ask for help. It is better to be safe than sorry. Don’t rush the job. Take your time and do it right. If you feel uncomfortable, call a plumber. They can do the job for you. Safety is the most important thing. Always think about safety when you work on your sink.
Fun Fact or Stat: Wearing safety glasses can protect your eyes from debris or water splashes during plumbing repairs!
Removing the Old Sink Valve
Removing the old sink valve can be tricky. First, make sure the water is turned off. Place a bucket under the valve to catch any water. Use a wrench to loosen the connections. Turn the wrench counterclockwise. If the connections are stuck, try using penetrating oil. Let the oil sit for a few minutes. This will help loosen the connections. Be careful not to damage the pipes. Hold the pipe with one wrench and turn the valve with another. This will prevent the pipe from twisting. Once the connections are loose, you can remove the old valve. Clean the area before installing the new valve. Removing the old valve carefully will help you install the new one correctly.
- Make sure the water is off.
- Place a bucket underneath.
- Loosen the connections with a wrench.
- Use penetrating oil if needed.
- Hold the pipe with a second wrench.
- Clean the area after removing the valve.
Sometimes, the old valve is really stuck. If you can’t loosen it with a wrench, you might need to use a valve removal tool. This tool is designed to remove stubborn valves. You can rent one from a hardware store. Follow the instructions that come with the tool. Be careful not to damage the pipes. If you are still having trouble, call a plumber. They have the tools and experience to remove the valve safely. Don’t force anything. Forcing it could damage the pipes and make the problem worse. Removing the old valve can be hard, but with the right tools and patience, you can do it.
Fun Fact or Stat: Old valves can sometimes be corroded, making them difficult to remove, so patience is key!
Dealing with Stuck Connections
Dealing with stuck connections can be frustrating. Sometimes, the connections are so tight that you can’t loosen them with a wrench. Try using penetrating oil. Spray the oil on the connections and let it sit for a few minutes. This will help loosen the rust and corrosion. You can also try heating the connections with a heat gun. Be careful not to overheat the pipes. This could damage them. Use two wrenches. Hold the pipe with one wrench and turn the valve with the other. This will give you more leverage. If you are still having trouble, call a plumber. They have special tools to deal with stuck connections.
Using Penetrating Oil
Using penetrating oil can help loosen stuck connections. Spray the oil on the threads of the connection. Let it sit for at least 15 minutes. The oil will seep into the threads and loosen the rust. You can also tap the connection lightly with a hammer. This will help the oil penetrate deeper. After the oil has sat for a while, try loosening the connection with a wrench. If it is still stuck, apply more oil and wait longer. Sometimes, you need to apply the oil several times before the connection will loosen. Be patient and keep trying. Penetrating oil can be a lifesaver when dealing with stuck connections.
Knowing When to Call a Plumber
Knowing when to call a plumber is important. If you are not comfortable working on plumbing, it is best to call a professional. If you have tried everything and the valve is still stuck, call a plumber. If you damage the pipes, call a plumber. Plumbers have the tools and experience to fix plumbing problems safely. They can also prevent further damage. It is better to spend money on a plumber than to cause more damage to your home. Don’t be afraid to ask for help. Plumbers are there to help you. They can make sure the job is done right.
Fun Fact or Stat: Many plumbers offer emergency services for urgent plumbing issues like burst pipes or severe leaks!
Installing the New Sink Valve
Installing the new sink valve is the next step. First, clean the threads on the pipes. Use a wire brush to remove any dirt or debris. Wrap Teflon tape around the threads. This will help create a watertight seal. Make sure you wrap the tape in the right direction. Tighten the new valve by hand first. Then, use a wrench to tighten it further. Be careful not to overtighten it. This could damage the valve or the pipes. Check for leaks after you turn the water back on. If you see any leaks, tighten the connections a little more. Installing the new valve correctly will prevent leaks and ensure that your sink works properly.
| Valve Type | Pros | Cons | Best Use |
|---|---|---|---|
| Compression Valve | Easy to install, no soldering | Can loosen over time | DIY projects, quick fixes |
| Solder Valve | Strong, long-lasting connection | Requires soldering skills | Permanent installations |
| Push-Fit Valve | Fast installation, no tools needed | More expensive | Tight spaces, quick repairs |
| Ball Valve | Full flow, durable | Larger size | Main water lines |
- Clean the pipe threads.
- Wrap Teflon tape around the threads.
- Tighten the valve by hand first.
- Use a wrench to tighten further.
- Check for leaks after turning on the water.
Make sure the new valve is the right size for your sink. If it is too small, it won’t fit properly. If it is too big, it will be hard to tighten. Use the right tools to tighten the valve. A wrench is the best tool for this job. Don’t use pliers or other tools. They could damage the valve. Be careful not to cross-thread the connections. This can cause leaks. If you are not sure about something, ask for help. A plumber can show you how to install the valve correctly. Installing the new valve is an important step. Doing it right will ensure that your sink works properly for years to come.
Fun Fact or Stat: Teflon tape, also known as plumber’s tape, helps create a watertight seal by filling gaps between the threads of pipes and fittings!
Using Teflon Tape Correctly
Using Teflon tape correctly is important for preventing leaks. Wrap the tape around the threads in a clockwise direction. This will ensure that the tape tightens as you screw the valve on. Overlap the tape slightly as you wrap it. Use enough tape to cover all the threads. Usually, two or three layers of tape are enough. Don’t use too much tape. This can make it hard to tighten the valve. After you wrap the tape, screw the valve onto the pipe. Tighten it by hand first, then use a wrench. Check for leaks after you turn the water back on. If you see any leaks, tighten the valve a little more. Using Teflon tape correctly will help prevent leaks and keep your sink working properly.
Tightening the Connections
Tightening the connections properly is important to prevent leaks. Use a wrench to tighten the valve. Be careful not to overtighten it. This could damage the valve or the pipes. Tighten the valve until it is snug. Then, give it one more turn. This should be enough to create a watertight seal. Check for leaks after you turn the water back on. If you see any leaks, tighten the valve a little more. Sometimes, you need to tighten the valve several times before it stops leaking. Be patient and keep trying. Tightening the connections properly will help prevent leaks and keep your sink working properly.
Checking for Leaks
Checking for leaks is the final step in installing a new sink valve. Turn the water on slowly and watch for any drips or leaks. Check the connections where the valve meets the pipes. If you see any leaks, tighten the connections a little more. Use a wrench to tighten the valve. Be careful not to overtighten it. If the valve is still leaking, turn off the water and check the Teflon tape. Make sure it is wrapped correctly around the threads. You might need to re-wrap the tape and try again. Check for leaks again after you re-wrap the tape. Keep checking for leaks over the next few days. This will ensure that the valve is properly sealed and that your sink is working properly.
Fun Fact or Stat: A small leak can waste hundreds of gallons of water per month, so it’s important to fix them promptly!
Maintaining Your Sink Valve
Maintaining your sink valve will help it last longer. Check the valve regularly for leaks. If you see any leaks, tighten the connections. Clean the valve with a damp cloth. This will remove any dirt or debris. Don’t use harsh chemicals. They could damage the valve. Turn the valve on and off regularly. This will help prevent it from getting stuck. If the valve is hard to turn, apply some lubricant. This will help it move more easily. Replace the valve if it is old or damaged. Maintaining your sink valve will help it work properly for years to come.
- Check for leaks regularly.
- Clean the valve with a damp cloth.
- Turn the valve on and off regularly.
- Apply lubricant if the valve is hard to turn.
- Replace the valve if it is old or damaged.
How to change sink valve is not the only thing to know. You also need to take care of it. Prevent drips. Small drips can waste a lot of water. They can also damage your sink and cabinet. Fix drips right away. Check the valve for signs of wear and tear. If you see any cracks or damage, replace the valve. Regular maintenance will help prevent problems. It will also save you money in the long run. Taking care of your sink valve is easy. Just follow these simple tips. Your sink will thank you.
Fun Fact or Stat: Regular maintenance can extend the life of your sink valve by several years, saving you money on repairs!
Checking for Corrosion
Checking for corrosion is an important part of maintaining your sink valve. Corrosion can cause the valve to leak or fail. Look for signs of rust or white buildup on the valve and connections. If you see any corrosion, clean it off with a wire brush. You can also use a corrosion inhibitor to protect the valve. Apply the inhibitor according to the instructions on the package. Regular cleaning and protection will help prevent corrosion and keep your sink valve working properly.
Preventing Hard Water Buildup
Preventing hard water buildup can extend the life of your sink valve. Hard water contains minerals that can build up inside the valve and cause it to clog or leak. You can install a water softener to reduce the mineral content of your water. You can also use a water filter to remove minerals. Clean the valve regularly with vinegar. Vinegar can dissolve mineral buildup. Pour some vinegar into a bag and attach it to the valve. Let it sit for a few hours. Then, remove the bag and rinse the valve with water. Preventing hard water buildup will help keep your sink valve working properly.
Lubricating the Valve
Lubricating the valve can help keep it turning smoothly. Over time, the valve can become stiff or hard to turn. This can be caused by mineral buildup or corrosion. Apply some lubricant to the valve stem. You can use a silicone-based lubricant or a plumbing lubricant. Turn the valve back and forth to distribute the lubricant. This will help loosen any buildup and keep the valve turning smoothly. Lubricate the valve regularly to prevent it from getting stuck. This will help extend the life of your sink valve.
Fun Fact or Stat: Using a water softener can reduce mineral buildup in your plumbing system, prolonging the life of your pipes and fixtures!
Summary
How to change sink valve involves several steps. First, you must gather your tools. Next, turn off the water supply. Then, remove the old valve. After that, install the new valve. Make sure to use Teflon tape. Tighten the connections with a wrench. Finally, turn on the water and check for leaks. Remember to maintain your sink valve. Check for leaks regularly. Clean the valve with a damp cloth. Lubricate the valve if it is hard to turn. Replacing a sink valve is not too hard. With the right tools and instructions, you can do it yourself. This will save you money and teach you a new skill.
Conclusion
Changing a sink valve is a useful skill. You can save money by doing it yourself. Always be careful when working with plumbing. Turn off the water before you start. Use the right tools for the job. Check for leaks after you finish. If you are not comfortable doing it yourself, call a plumber. Knowing how to change sink valve can help you maintain your home. It can also prevent water damage. Follow the steps carefully, and you’ll be fine.
Frequently Asked Questions
Question No 1: Why is my sink valve leaking?
Answer: A sink valve might leak because it is old or worn out. The rubber parts inside the valve can break down over time. Hard water can also cause leaks. Minerals in the water can build up inside the valve, making it hard to turn and causing leaks. If you see water dripping from your sink valve, it’s time to check it and consider replacing it. Ignoring a leak can waste water and damage your cabinet, so it’s best to fix it promptly.
Question No 2: What tools do I need to change a sink valve?
Answer: To change a sink valve, you will need a few basic tools. A wrench is essential for loosening and tightening the valve connections. You might also need a screwdriver, depending on the type of valve. A bucket is useful for catching any water that might spill. Towels are helpful for cleaning up spills. A flashlight can help you see better in the dark space under the sink. Having all these tools ready before you start will make the job easier and faster. Make sure to gather everything before you begin how to change sink valve.
Question No 3: How do I turn off the water before changing the valve?
Answer: Turning off the water is the first and most important step. Look for the shut-off valves under your sink. There are usually two valves, one for hot water and one for cold water. Turn both valves clockwise until they stop. This will stop the water from flowing to your faucet. If you don’t have shut-off valves under your sink, you will need to turn off the main water supply to your house. This is usually located in your basement or outside your house. After turning off the water, open your faucet to let any remaining water drain out of the pipes. Now, you are ready to safely proceed. Remember, this is a must when you want to know how to change sink valve.
Question No 4: What is Teflon tape, and how do I use it?
Answer: Teflon tape, also known as plumber’s tape, is a white tape used to create a watertight seal on pipe threads. To use it, wrap the tape around the threads of the pipe in a clockwise direction. Overlap the tape slightly as you wrap it. Use enough tape to cover all the threads, usually two or three layers. This tape helps fill the gaps between the threads, preventing leaks. Ensure proper application when you are about to learn how to change sink valve.
Question No 5: How do I know if the new valve is properly installed?
Answer: After installing the new valve, turn the water on slowly and watch for any drips or leaks. Check the connections where the valve meets the pipes. If you see any leaks, tighten the connections a little more with a wrench. Be careful not to overtighten, as this could damage the valve or pipes. If the valve continues to leak, turn off the water and check the Teflon tape. Make sure it is wrapped correctly around the threads. Keep an eye on the valve over the next few days to ensure that it remains leak-free. If you follow the steps on how to change sink valve carefully you will get it right.
Question No 6: When should I call a plumber instead of trying to change the sink valve myself?
Answer: You should call a plumber if you are not comfortable working on plumbing or if you encounter any difficulties during the process. If you have tried everything and the valve is still stuck, call a plumber. If you damage the pipes, call a plumber. Plumbers have the tools and experience to fix plumbing problems safely and prevent further damage. It’s better to spend money on a plumber than to cause more damage to your home. If you’re unsure about any step, seeking professional help is always a good idea. Remember safety first when you discover how to change sink valve.