Quick Summary: Cleaning your sink head is easy! Simply remove the aerator, rinse away any debris, and soak it in vinegar to dissolve mineral buildup. Use an old toothbrush to scrub away stubborn grime. Rinse thoroughly, reassemble, and enjoy a sparkling, like-new sink head. Regular cleaning prevents clogs and ensures a smooth, even water flow.
Is your sink head sputtering or spraying water unevenly? Don’t worry; you’re not alone! Mineral buildup and small debris often clog those tiny holes, reducing water pressure and making a mess. The good news is that cleaning your sink head is a super simple DIY task. You can restore it to its former glory in just a few easy steps.
This guide will walk you through the entire process, from gathering your supplies to reassembling your freshly cleaned sink head. Get ready to say goodbye to annoying sprays and hello to a smooth, consistent water flow!
Why Clean Your Sink Head?

You might be wondering why it’s so important to clean your sink head regularly. Well, there are several good reasons:
- Improved Water Flow: Mineral deposits and debris can clog the tiny holes in your sink head, restricting water flow and reducing water pressure. Cleaning removes these blockages, restoring a strong, even stream.
- Better Hygiene: A dirty sink head can harbor bacteria and mold. Regular cleaning helps to eliminate these unwanted guests, ensuring cleaner water for washing your hands and dishes.
- Extended Lifespan: Buildup can corrode and damage the sink head over time. Cleaning helps to prevent this, extending the life of your fixture.
- Cost Savings: A clogged sink head can cause you to use more water than necessary. By cleaning it, you can reduce water waste and lower your water bill.
- Aesthetics: Let’s face it, a clean sink head simply looks better! It adds a touch of sparkle to your kitchen or bathroom.
Tools and Materials You’ll Need
Before you get started, gather these simple supplies. Most of these are items you probably already have around the house!
- Adjustable Wrench or Pliers: Used to loosen and remove the sink head aerator.
- Vinegar: A natural and effective cleaning agent for dissolving mineral buildup. White vinegar works best.
- Old Toothbrush: For scrubbing away stubborn grime and debris.
- Small Container or Bowl: To soak the aerator in vinegar.
- Soft Cloth or Sponge: For wiping down the sink head and surrounding area.
- Needle or Pin (Optional): To clear any stubborn clogs in the aerator holes.
- Towel: To protect the sink and catch any drips.
Step-by-Step Guide: Cleaning Your Sink Head
Now, let’s dive into the step-by-step process of cleaning your sink head. Follow these instructions carefully, and you’ll have a sparkling clean sink in no time!
Step 1: Prepare the Area
Before you start, clear the area around your sink. Remove any items that might get in the way, such as soap dispensers or sponges. Place a towel in the sink to protect it from scratches and to catch any drips.
Step 2: Remove the Aerator
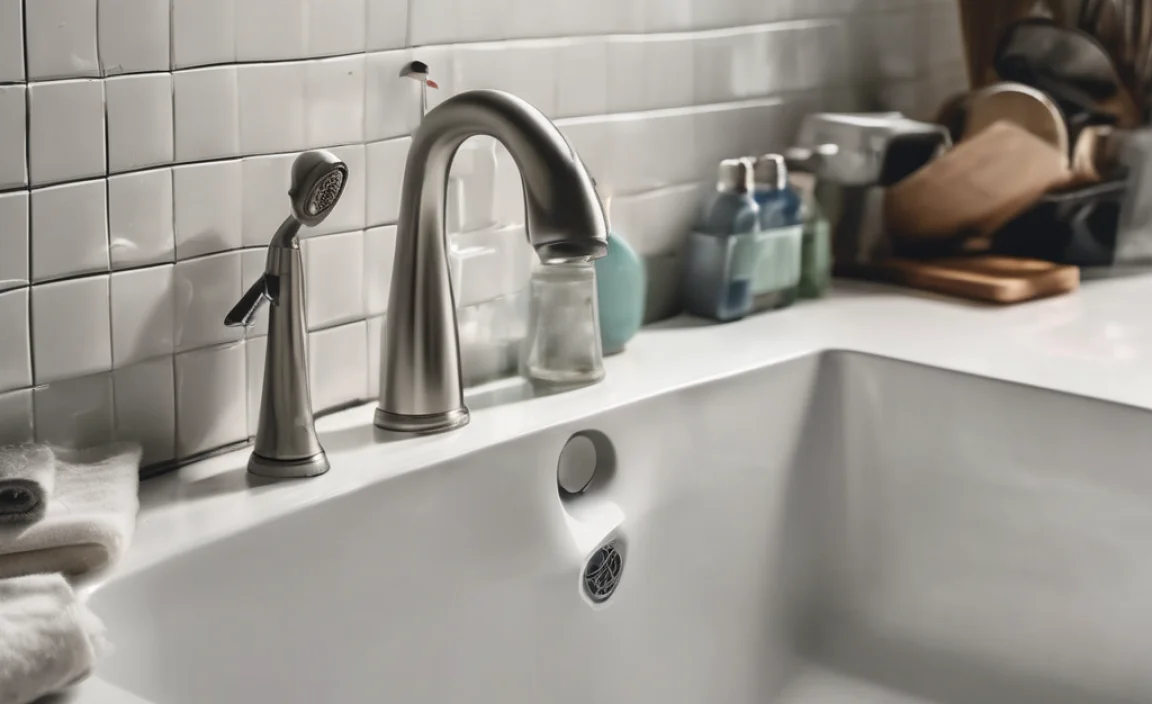
The aerator is the small, usually round, piece at the very end of your sink head. It’s responsible for controlling the water flow. Here’s how to remove it:
- Locate the Aerator: It’s usually screwed onto the end of the faucet.
- Use a Wrench or Pliers: Gently use an adjustable wrench or pliers to loosen the aerator. Be careful not to scratch the finish. You may want to wrap the aerator with a cloth to protect it from the tool’s teeth.
- Unscrew the Aerator: Once loosened, unscrew the aerator by hand. It should come off easily.
- If It’s Stuck: If the aerator is stuck, try soaking a cloth in vinegar and wrapping it around the aerator for about 30 minutes. This can help to loosen mineral buildup.
Step 3: Disassemble the Aerator (If Possible)
Some aerators can be disassembled into smaller parts. This allows for more thorough cleaning. If your aerator comes apart, carefully separate the pieces. Take note of how they fit together so you can reassemble them correctly later.
Step 4: Rinse the Aerator Components
Rinse all the aerator components under running water. This will remove any loose debris and sediment. Use your fingers to gently rub away any visible grime.
Step 5: Soak in Vinegar
Vinegar is your best friend when it comes to dissolving mineral buildup. Here’s how to use it:
- Fill a Container: Pour enough vinegar into a small container or bowl to completely submerge the aerator components.
- Soak the Components: Place the aerator parts into the vinegar and let them soak for at least 1 hour. For heavily soiled aerators, you can soak them overnight.
Step 6: Scrub with a Toothbrush
After soaking, use an old toothbrush to scrub away any remaining grime and mineral deposits. Pay close attention to the small holes in the aerator. Use a circular motion to loosen the buildup.
Step 7: Clear Stubborn Clogs
If you encounter any stubborn clogs that the toothbrush can’t remove, use a needle or pin to carefully poke them out. Be gentle to avoid damaging the aerator.
Step 8: Rinse Thoroughly
Rinse all the aerator components thoroughly under running water to remove any traces of vinegar and loosened debris. Make sure the water flows freely through all the holes.
Step 9: Reassemble the Aerator
If you disassembled the aerator, carefully reassemble the parts in the correct order. Refer to the notes you took earlier if needed.
Step 10: Reinstall the Aerator
Screw the reassembled aerator back onto the sink head by hand. Once it’s snug, use the adjustable wrench or pliers to tighten it gently. Be careful not to overtighten, as this could damage the aerator or the faucet.
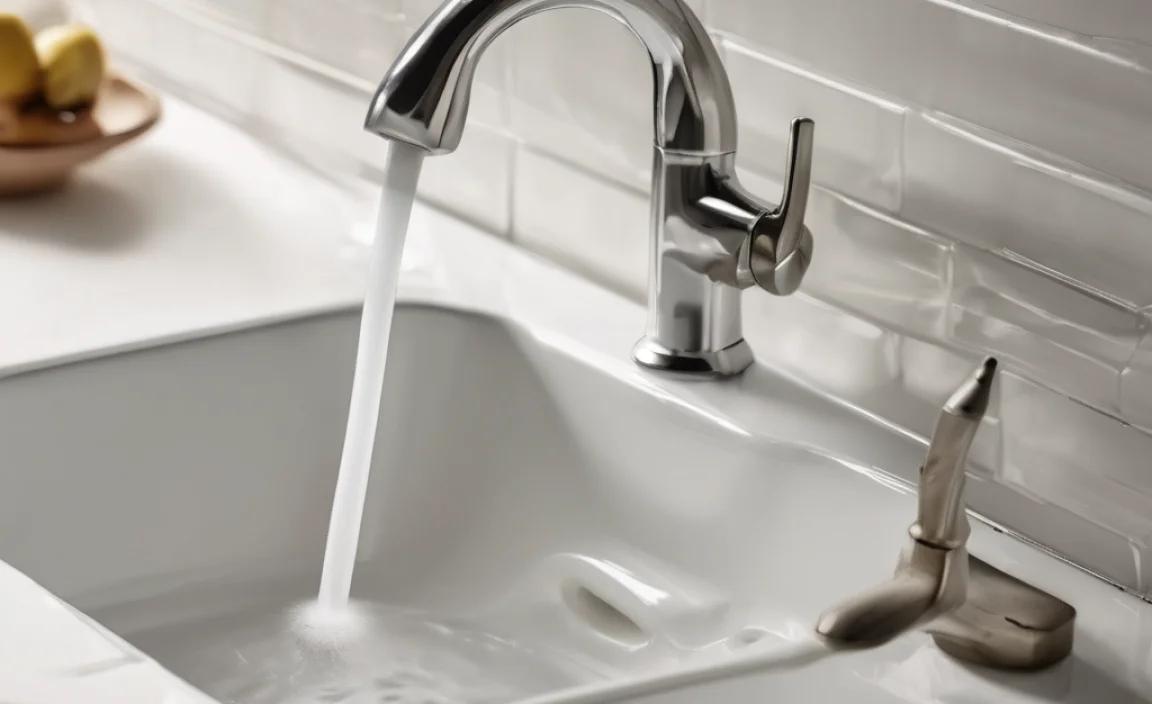
Step 11: Test the Water Flow
Turn on the water and check the flow. It should be smooth and even, without any sputtering or spraying. If the water flow is still restricted, repeat the cleaning process or consider replacing the aerator.
Step 12: Clean Up
Wipe down the sink head and surrounding area with a soft cloth or sponge. Remove the towel from the sink and dispose of any used cleaning materials.
Tips for Preventing Future Buildup

Here are a few tips to help prevent mineral buildup and keep your sink head clean for longer:
- Wipe Regularly: Wipe down your sink head with a damp cloth after each use to remove water spots and soap scum.
- Use a Water Softener: If you have hard water, consider installing a water softener to reduce mineral deposits.
- Clean Regularly: Make it a habit to clean your sink head every few months to prevent buildup from becoming severe.
Troubleshooting
Sometimes, even after cleaning, you might encounter a few issues. Here’s how to troubleshoot them:
| Problem | Possible Cause | Solution |
|---|---|---|
| Water flow is still restricted. | Stubborn clogs remain. | Repeat the cleaning process, paying extra attention to clearing the holes with a needle or pin. |
| Aerator leaks after reassembly. | Aerator parts are not properly aligned or tightened. | Disassemble the aerator and reassemble it carefully, ensuring all parts are correctly aligned. Tighten the aerator securely, but avoid overtightening. |
| Aerator is damaged. | Aerator is old or corroded. | Replace the aerator with a new one. Aerators are relatively inexpensive and can be found at most hardware stores. |
When to Replace Your Sink Head
While cleaning can often restore a sink head to its former glory, there are times when replacement is the best option. Consider replacing your sink head if:
- It’s Severely Corroded: If the sink head is heavily corroded or damaged, cleaning may not be enough to restore its function.
- It’s Cracked or Broken: Cracks and breaks can cause leaks and reduce water pressure.
- You’ve Tried Cleaning Multiple Times: If you’ve cleaned the sink head several times and the water flow is still restricted, it may be time for a replacement.
- You Want to Upgrade: You might simply want to upgrade to a newer, more stylish sink head.
Choosing a New Sink Head
If you decide to replace your sink head, here are a few factors to consider:
- Style: Choose a sink head that complements the style of your faucet and your kitchen or bathroom decor.
- Finish: Select a finish that matches your existing fixtures, such as chrome, brushed nickel, or oil-rubbed bronze.
- Water Flow Rate: Consider the water flow rate of the sink head. A lower flow rate can save water, but it may also reduce water pressure.
- Features: Some sink heads come with special features, such as adjustable spray patterns or built-in water filters.
Safety First
While cleaning your sink head is a simple task, it’s important to take a few safety precautions:
- Turn off the Water: Before removing the aerator, turn off the water supply to the faucet to prevent leaks and water damage.
- Protect Your Eyes: Wear safety glasses or goggles to protect your eyes from splashes of water or cleaning solutions.
- Be Gentle: When using tools to loosen or tighten the aerator, be gentle to avoid damaging the faucet or the aerator itself.
- Avoid Harsh Chemicals: Stick to natural cleaning solutions like vinegar. Harsh chemicals can damage the finish of your faucet and may be harmful to your health.
FAQ: Cleaning Your Sink Head
Here are some frequently asked questions about cleaning sink heads:
- Q: How often should I clean my sink head?
- A: It’s a good idea to clean your sink head every 2-3 months, or more often if you notice reduced water flow or mineral buildup.
- Q: Can I use bleach to clean my sink head?
- A: While bleach can kill bacteria, it’s not the best choice for cleaning sink heads. It can damage the finish and may not effectively remove mineral buildup. Vinegar is a safer and more effective option.
- Q: What if I can’t remove the aerator?
- A: If the aerator is stuck, try soaking a cloth in vinegar and wrapping it around the aerator for about 30 minutes. This can help to loosen mineral buildup. You can also try using a rubber band or a jar opener to get a better grip.
- Q: Can I clean the sink head without removing it?
- A: Yes, you can clean the sink head without removing it by filling a plastic bag with vinegar and securing it around the sink head with a rubber band. Let it soak for a few hours, then rinse thoroughly.
- Q: What is that white stuff on my sink head?
- A: The white stuff is likely mineral buildup, primarily calcium and lime deposits from hard water. Vinegar is effective at dissolving these deposits.
- Q: My sink head is still sputtering after cleaning. What should I do?
- A: Double-check that all the holes in the aerator are clear of debris. If the sputtering persists, there may be a problem with the faucet itself, such as a clogged cartridge.
- Q: Can I use CLR to clean my sink head?
- A: CLR (Calcium, Lime, and Rust Remover) can be used, but it’s stronger than vinegar. Dilute it according to the product instructions and rinse thoroughly after use. Avoid prolonged exposure to CLR, as it can damage some finishes.
Conclusion
Cleaning your sink head is a simple yet effective way to improve water flow, maintain hygiene, and extend the life of your faucet. By following the steps outlined in this guide, you can easily restore your sink head to its former glory. Remember to clean your sink head regularly to prevent buildup and keep your water flowing smoothly. With a little elbow grease and some common household supplies, you can enjoy a sparkling clean sink and a refreshing stream of water!