Connecting a shower faucet is a simple DIY project. First, turn off the water supply. Then, remove the old faucet. Clean the pipe threads and apply Teflon tape. Screw on the new faucet tightly. Test for leaks. With these steps, you can easily install your new shower faucet and enjoy a refreshing shower in no time!
Is your old shower faucet leaking or just plain ugly? Don’t worry; you can easily replace it yourself! Many people think plumbing is scary, but connecting a shower faucet is easier than you think. With a few basic tools and some patience, you can save money and enjoy a brand-new shower experience.
This guide will walk you through each step, from turning off the water to testing for leaks. We’ll keep it simple and clear so anyone can follow along. Ready to get started? Let’s dive in!
Tools and Materials You’ll Need
Before you begin, gather these essential tools and materials. Having everything ready will make the job much smoother.
- New Shower Faucet: Choose one that fits your shower’s style and size.
- Adjustable Wrench: For loosening and tightening nuts.
- Pipe Wrench: Provides extra grip on pipes.
- Teflon Tape: To seal threaded connections and prevent leaks.
- Screwdrivers: Both flathead and Phillips head.
- Plumber’s Putty: To seal around the faucet base.
- Clean Rags: For wiping up water and cleaning surfaces.
- Bucket: To catch any dripping water.
- Gloves: To protect your hands.
- Pencil or Marker: To mark positions if needed.
Safety First: Preparing for the Installation
Safety is key whenever you’re working with plumbing. Follow these precautions to protect yourself and your home.
- Turn Off the Water: Locate the main water shut-off valve for your home or just for the bathroom. Turn it off to prevent flooding.
- Drain the Pipes: Open the old shower faucet to drain any remaining water in the pipes. This will prevent unexpected spills.
- Protect the Shower Area: Cover the shower floor and walls with a drop cloth or old towels to protect them from scratches and debris.
- Wear Safety Glasses: Protect your eyes from any debris that may fall while working.
Step-by-Step Guide: Connecting Your New Shower Faucet
Follow these detailed steps to install your new shower faucet with confidence.
Step 1: Remove the Old Shower Faucet
Removing the old faucet is the first step. Be gentle to avoid damaging the surrounding tiles and pipes.
- Inspect the Old Faucet: Look for any screws or caps holding the faucet in place. Remove them with the appropriate screwdriver.
- Loosen the Connections: Use an adjustable wrench to loosen the nuts connecting the faucet to the water pipes. Turn counterclockwise to loosen.
- Detach the Faucet: Carefully pull the old faucet away from the wall. If it’s stuck, gently wiggle it back and forth while pulling.
- Clean the Area: Use a clean rag to wipe away any old plumber’s putty or debris from the wall and pipe threads.
Step 2: Prepare the Pipe Threads
Properly preparing the pipe threads is essential for a leak-free connection.
- Inspect the Threads: Check the pipe threads for any damage or corrosion. If they are damaged, you may need to call a professional plumber to repair them.
- Apply Teflon Tape: Wrap Teflon tape clockwise around the pipe threads. Overlap each layer slightly. Use about three to four layers of tape.
- Smooth the Tape: Press the tape firmly onto the threads to ensure a good seal.
Step 3: Install the New Shower Faucet
Now it’s time to install the new faucet. Take your time and ensure all connections are tight.
- Position the Faucet: Carefully align the new faucet with the water pipes. Make sure it’s level and centered.
- Hand-Tighten the Connections: Screw the faucet connections onto the pipe threads by hand. Turn clockwise to tighten.
- Tighten with a Wrench: Use an adjustable wrench to tighten the connections further. Be careful not to overtighten, as this can damage the pipes or faucet. A snug fit is usually sufficient.
- Apply Plumber’s Putty: If your faucet has a base that sits against the wall, apply a bead of plumber’s putty around the base to seal it.
- Remove Excess Putty: Wipe away any excess plumber’s putty with a clean rag.
Step 4: Test for Leaks
Testing for leaks is crucial to ensure your new faucet is properly installed.
- Turn On the Water: Slowly turn the water supply back on.
- Check the Connections: Inspect all connections for any signs of water leakage. Pay close attention to where the faucet connects to the pipes.
- Tighten if Necessary: If you see any leaks, tighten the connections slightly with a wrench. Do not overtighten.
- Run the Shower: Turn on the shower to check for leaks while the water is running. Inspect the faucet base and connections.
- Dry and Observe: Dry all the connections with a clean rag and observe for a few minutes to ensure there are no slow leaks.
Troubleshooting Common Issues
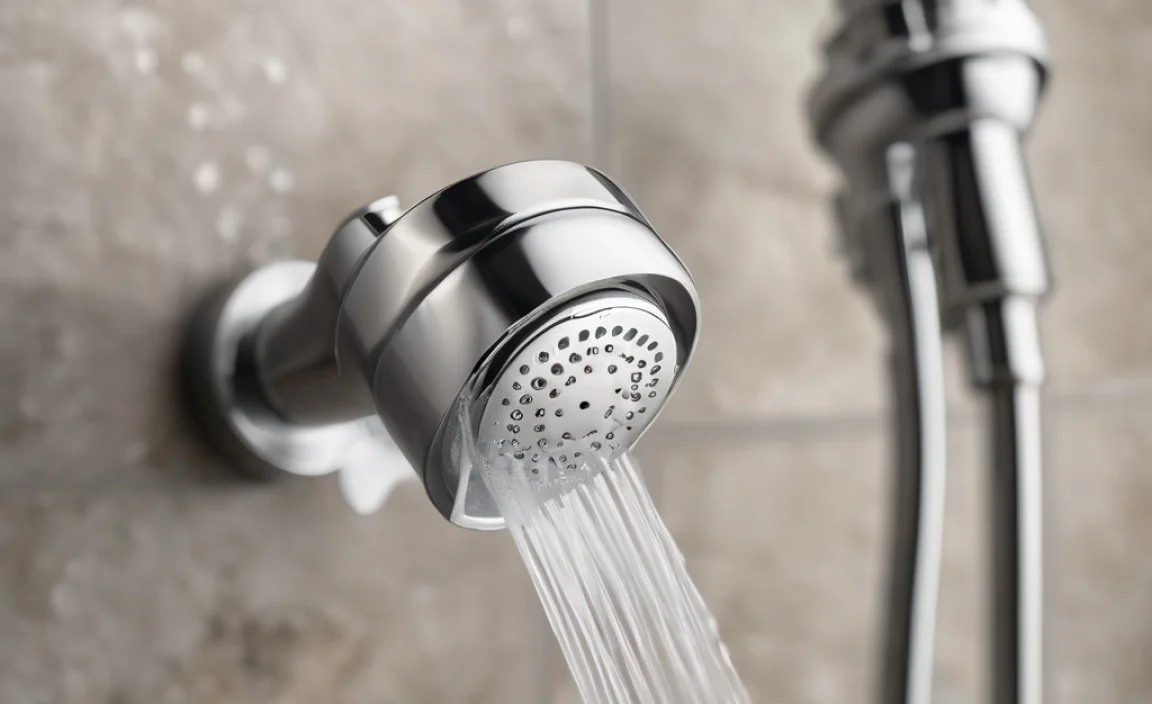
Sometimes, things don’t go as planned. Here are some common issues and how to address them.
- Leaky Connections: If you have leaky connections, try tightening them slightly with a wrench. If that doesn’t work, remove the faucet, reapply Teflon tape, and reinstall.
- Low Water Pressure: Low water pressure could be due to a clogged showerhead or a problem with your home’s water supply. Clean the showerhead and check your water pressure regulator.
- Stripped Threads: If you strip the threads on the pipes or faucet, you may need to call a professional plumber to repair or replace the damaged parts.
- Faucet Doesn’t Fit: Ensure you bought the correct size faucet. If the pipe sizes don’t match, you may need an adapter.
Tips for Maintaining Your Shower Faucet
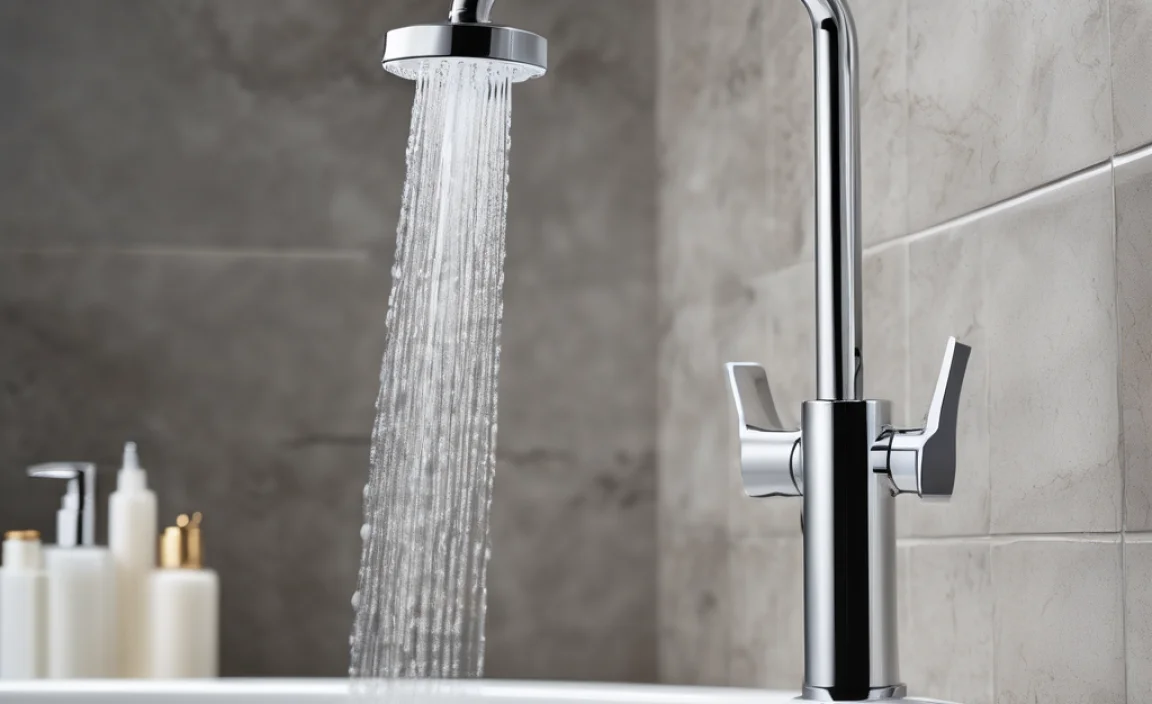
Proper maintenance will keep your shower faucet working smoothly for years.
- Clean Regularly: Clean your shower faucet regularly with a mild soap and water solution. This will prevent mineral buildup and corrosion.
- Check for Leaks: Periodically check for leaks around the faucet base and connections. Address any leaks promptly to prevent water damage.
- Replace Worn Parts: Replace any worn or damaged parts, such as O-rings and washers, as needed.
- Avoid Harsh Chemicals: Avoid using harsh chemicals or abrasive cleaners on your shower faucet, as they can damage the finish.
Choosing the Right Shower Faucet
Selecting the right shower faucet can enhance your bathroom’s look and functionality. Here are some factors to consider:
- Style: Choose a style that complements your bathroom’s décor. Options include modern, traditional, and contemporary designs.
- Finish: Select a finish that matches your other bathroom fixtures. Common finishes include chrome, brushed nickel, and oil-rubbed bronze.
- Functionality: Consider the features you want, such as adjustable spray patterns, temperature control, and water-saving options.
- Brand Reputation: Opt for a reputable brand known for quality and durability.
- Price: Set a budget and find a faucet that offers the best value for your money.
Different Types of Shower Faucets
Understanding the different types of shower faucets can help you make an informed decision.
- Single-Handle Faucets: These faucets have one handle that controls both water temperature and flow. They are easy to use and offer a sleek, modern look.
- Dual-Handle Faucets: These faucets have separate handles for hot and cold water. They provide precise temperature control and a classic appearance.
- Thermostatic Faucets: These faucets maintain a constant water temperature, preventing sudden changes and ensuring a comfortable shower experience.
- Pressure-Balancing Faucets: These faucets automatically adjust the water pressure to prevent sudden temperature changes when other water sources are used in the house.
- Shower Panels: These all-in-one systems include multiple showerheads, body jets, and a hand shower. They offer a luxurious and customizable shower experience.
Cost Considerations
Knowing the costs involved can help you budget for your shower faucet installation.
- Faucet Price: Shower faucets can range in price from $50 to $500 or more, depending on the style, finish, and features.
- Tools and Materials: Budget for the cost of tools and materials, such as Teflon tape, plumber’s putty, and wrenches. These items typically cost between $20 and $50.
- Professional Installation: If you hire a professional plumber, expect to pay between $150 and $500 for installation, depending on the complexity of the job.
When to Call a Professional
While connecting a shower faucet is a DIY-friendly project, there are times when it’s best to call a professional plumber.
- Damaged Pipes: If you discover damaged or corroded pipes, it’s best to have them repaired or replaced by a professional.
- Complex Plumbing: If your plumbing system is complex or you encounter unexpected issues, a plumber can diagnose and resolve the problem efficiently.
- Lack of Experience: If you’re uncomfortable working with plumbing or lack the necessary experience, hiring a professional can ensure the job is done correctly and safely.
- Building Codes: Some areas require a licensed plumber to perform certain plumbing work to comply with building codes.
Shower Faucet Styles and Finishes
Choosing the right style and finish can transform your bathroom. Here’s a quick guide:
| Style | Description | Pros | Cons |
|---|---|---|---|
| Modern | Sleek, minimalist designs with clean lines. | Contemporary look, easy to clean. | Can feel sterile if not balanced with warmer elements. |
| Traditional | Classic designs with ornate details and curves. | Timeless appeal, adds elegance. | Can be harder to clean, may not suit modern bathrooms. |
| Contemporary | A blend of modern and traditional elements. | Versatile, fits many bathroom styles. | May lack a distinct character. |
Here are the popular finishes:
| Finish | Description | Pros | Cons |
|---|---|---|---|
| Chrome | Shiny, reflective surface. | Durable, easy to clean, affordable. | Shows water spots and fingerprints easily. |
| Brushed Nickel | Matte finish with a warm, subtle sheen. | Resists water spots, hides fingerprints. | Can be more expensive than chrome. |
| Oil-Rubbed Bronze | Dark, antique-looking finish. | Adds warmth, hides imperfections. | Can be expensive, may not suit all bathroom styles. |
Essential Plumbing Terms
Familiarize yourself with these plumbing terms to better understand the installation process.
- Pipe Threads: The spiral ridges on the end of a pipe that allow it to be screwed into fittings.
- Teflon Tape: A white, non-stick tape used to seal threaded connections and prevent leaks.
- Plumber’s Putty: A soft, pliable sealant used to create a watertight seal around fixtures.
- Adjustable Wrench: A wrench with an adjustable jaw for gripping and turning nuts and bolts.
- Pipe Wrench: A heavy-duty wrench with serrated jaws for gripping and turning pipes.
- Shut-Off Valve: A valve that controls the flow of water to a fixture or the entire house.
- O-Ring: A rubber gasket used to create a seal between two parts.
FAQ: Your Shower Faucet Questions Answered
Can I really install a shower faucet myself?
Yes! With the right tools and a step-by-step guide, most homeowners can install a shower faucet themselves. Just take your time and follow each step carefully.
What if I overtighten the connections?
Overtightening can damage the pipes or faucet. If you feel resistance, stop tightening. It should be snug, not overly forced. If you think you’ve overtightened, loosen it and check for damage.
How do I know if I have a leak?
Look for water droplets or dampness around the connections. If you suspect a leak, dry the area thoroughly and check again after a few minutes. Even a small drip means you need to tighten the connection or reapply Teflon tape.
What kind of Teflon tape should I use?
Standard white Teflon tape is fine for most shower faucet installations. Just make sure to wrap it correctly and use enough layers (3-4) to create a good seal.
Do I need plumber’s putty for all faucets?
No, you only need plumber’s putty if your faucet has a base that sits flush against the shower wall. It helps create a watertight seal and prevents water from seeping behind the faucet.
What if the old faucet is really stuck?
Try applying penetrating oil to the connections and let it sit for a few minutes. Then, gently wiggle the faucet back and forth while pulling. If it’s still stuck, you may need to use a bit more force or call a plumber.
How often should I replace my shower faucet?
A good quality shower faucet can last 10-20 years, but it depends on the water quality and usage. Replace it when you notice leaks, corrosion, or a significant drop in performance.
Conclusion
Congratulations! You’ve successfully connected your new shower faucet. By following these steps, you’ve not only saved money but also gained valuable DIY skills. Enjoy your refreshed shower experience, knowing you did it yourself. Remember to regularly maintain your faucet to keep it working smoothly for years to come. Happy showering!


