Have you ever walked down a street and noticed the glow of a street light? They guide us safely at night and often create a cozy atmosphere. But have you thought about how to draw a street light? It might sound tricky, but it’s actually quite fun!
Imagine standing in front of a blank piece of paper. You can turn a simple shape into a bright part of your drawing. With just a few strokes, you can create something magical. Wouldn’t you like to learn how to draw street light in a way that impresses your friends?
Let’s dive into this creative journey together! You’ll be amazed at how easy it is to bring this everyday object to life on your paper. Get ready to impress everyone with your drawing skills!
How To Draw A Street Light: Step-By-Step Guide
How to Draw Street Light
Drawing a street light is easier than you think! Start with a tall pole and add a base for support. Next, draw the lamp on top; it can be round or rectangular. Want to add some flair? Consider adding decorative elements, like patterns or colors. Imagine how a street light can brighten a dark street at night. Can you picture it lighting up your neighborhood? With a little practice, you can create your own stunning street light sketches!
Understanding the Basic Structure of Street Lights
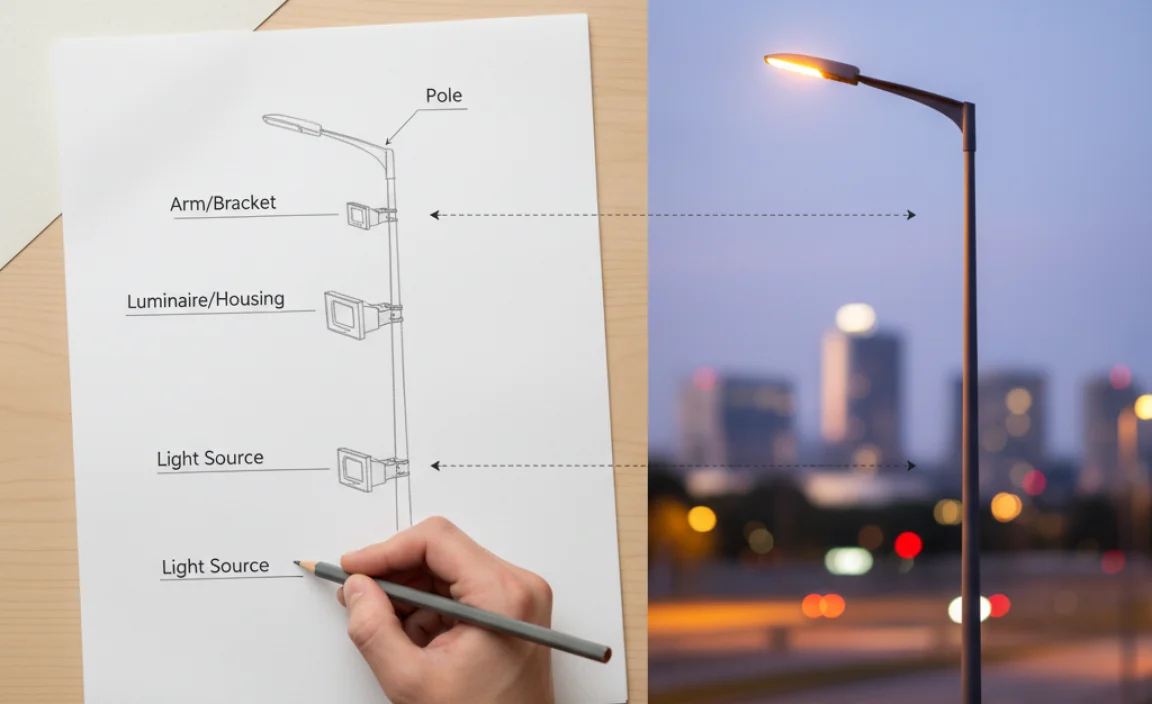
Describe common components of street lights (pole, fixture, lamp).. Discuss variations in design based on location and function..
Street lights are like the superheroes of the night. They have three main parts: the pole, the fixture, and the lamp. The pole is the tall part, keeping everything standing strong. The fixture holds the lamp, which shines bright to light up the streets. Depending on where they’re placed, designs can vary. For example, lights in parks might look different than those on busy roads. Here’s a fun table showing some common street light types:
| Type | Main Use | Design Example |
|---|---|---|
| Standard Street Light | Road illumination | Simple and tall |
| Decorative Light | Parks or pathways | Creative and colorful |
| Solar Light | Eco-friendly areas | Uses sunlight |
Gathering the Necessary Tools for Drawing
List essential drawing materials (pencils, erasers, paper, etc.).. Recommend optional tools for enhancing the drawing (markers, colored pencils)..
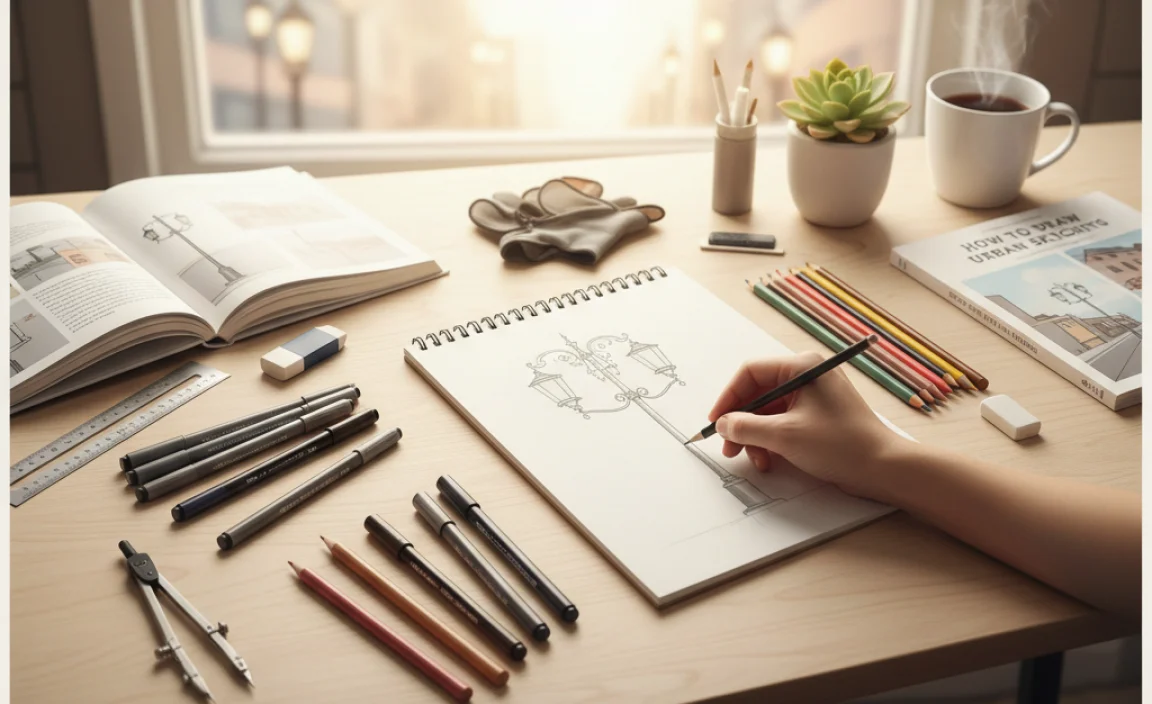
To start your street light masterpiece, gather a few key tools. You’ll need some good-quality pencils for sketching. Grab a reliable eraser to fix mistakes – trust me, even the best artists make oopsies! Don’t forget sturdy paper because sketching on a napkin is not a great idea (unless it’s an art project gone wild!).
For extra flair, consider using markers or colored pencils. They can turn your light into a shining star on the page. Think of these as the sprinkles on your drawing cupcake! Here’s a simple table of what you might need:
| Essential Tools | Optional Tools |
|---|---|
| Pencils | Markers |
| Erasers | Colored Pencils |
| Paper | Watercolors |
With the right tools, even a stick figure can shine brightly! So, let’s get to drawing!
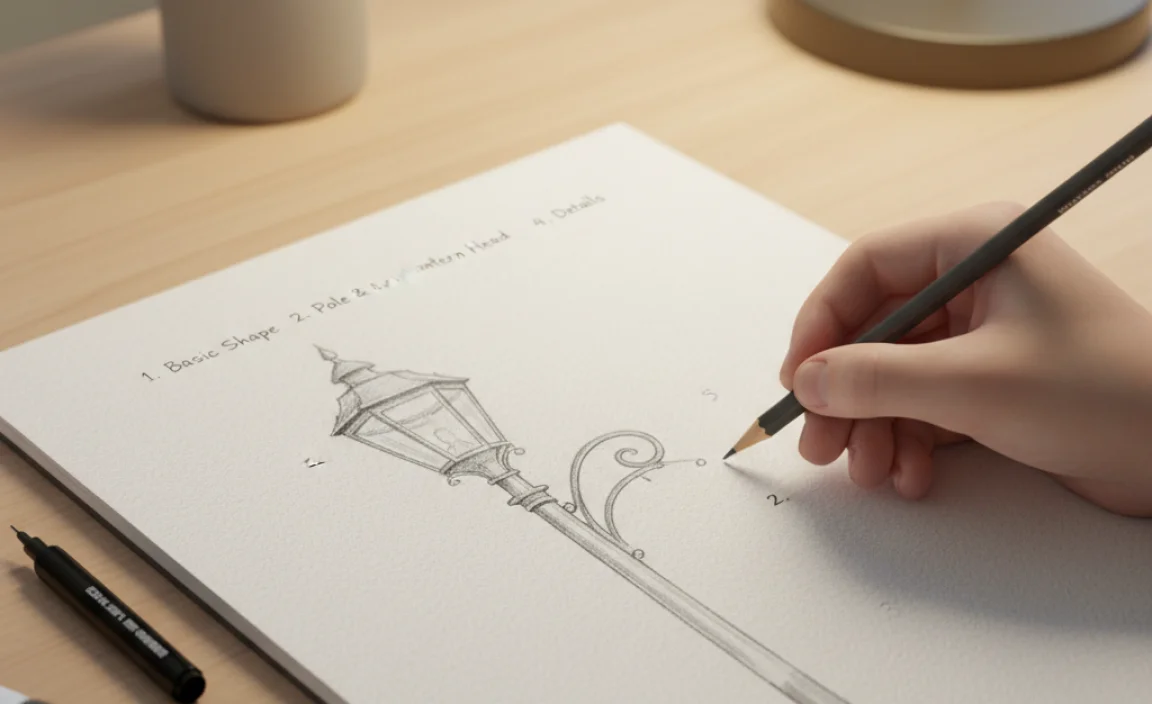
Step-by-Step Guide to Drawing a Street Light
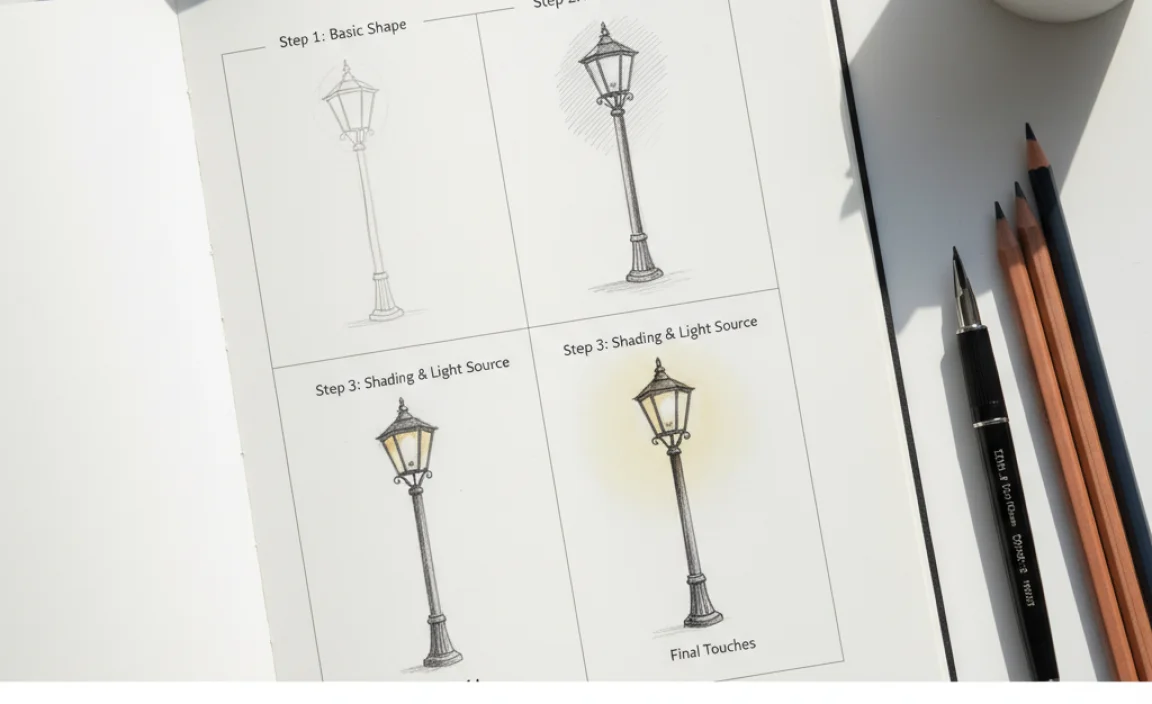
Provide detailed steps for sketching the basic outline.. Explain how to add details such as the light fixture and poles..
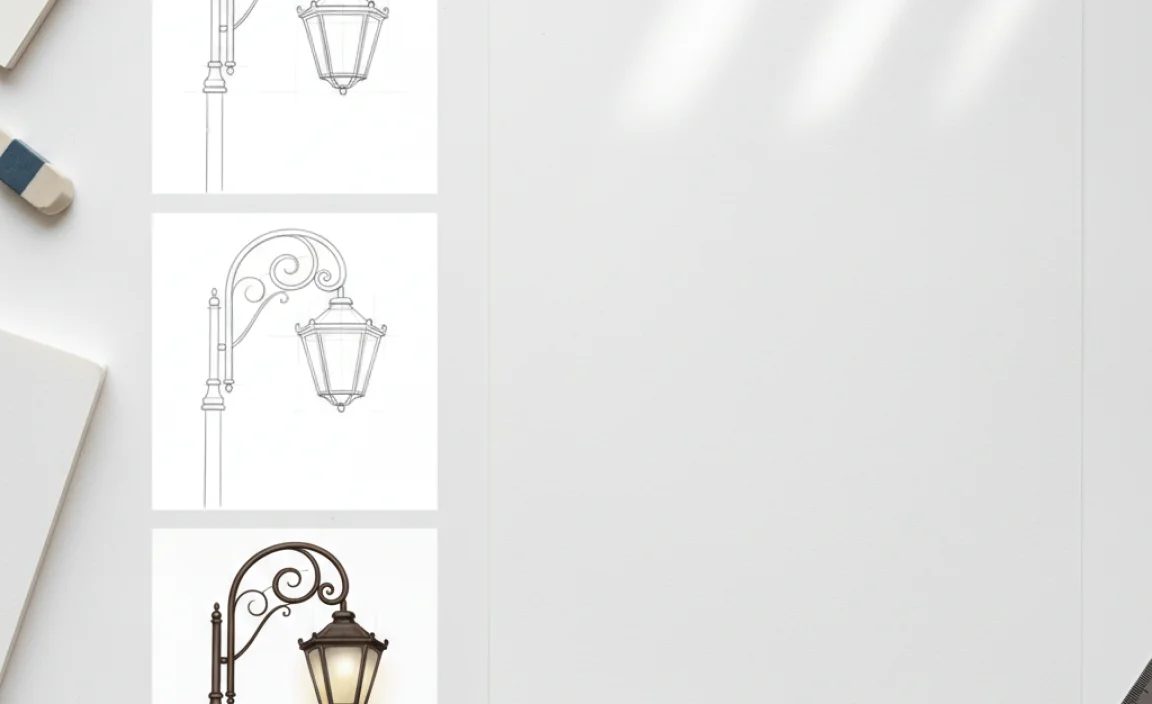
Start with a simple tall rectangle for the street light pole. Make it slightly wider at the bottom. Next, draw a smaller rectangle or oval on top for the light fixture. It can look like a giant cookie on a stick! Now, add details like the light’s glass covering, and some lines to show the pole’s texture.
| Step | Action |
|---|---|
| 1 | Draw the pole (tall rectangle). |
| 2 | Add the light fixture (smaller rectangle/oval). |
| 3 | Include details like the light’s cover and pole texture. |
Don’t forget to shade a bit for depth! You want your street light to shine, but not *beam* at you like it’s on a first date! Keep practicing, and soon, you’ll light up your page with amazing drawings!
Tips for Adding Depth and Dimension
Discuss techniques for shading to create a threedimensional effect.. Explain perspective and how it can enhance realism in the drawing..
Shading is like giving your street light its own cozy blanket. Use a soft pencil to create shadows on one side, making it pop! This way, it looks less like a stick and more like a real light. Remember to think about where light comes from; it should shine brightly on one side and leave the other a bit darker.
Now, let’s chat about perspective. Imagine standing on the street, seeing the light above you. It shouldn’t look flat! Draw it smaller at the top and wider at the base. This trick gives your drawing a real sense of space, making everyone say, “Wow!” Here’s a quick guide:
| Technique | Description |
|---|---|
| Shading | Creates depth with shadows on one side. |
| Perspective | Makes objects smaller as they go up. |
So remember, with a little shading and perspective magic, your street lamp will shine brighter than your neighbor’s new car. Happy drawing!
Incorporating Surroundings into the Artwork
Suggest ways to add contextual elements (ground, buildings, trees).. Discuss how surrounding elements can change the perception of the street light..
Adding things around your street light can make your drawing pop! Try including ground, buildings, and trees to give context. They tell a story about your street light’s home. For example, a tall tree next to your light can make it feel cozy, as if they’re best friends! Or a nearby busy building can show we’re in a lively city. Here’s a fun table to illustrate how surroundings change perception:
| Element | Effect |
|---|---|
| Ground | Gives stability and balance |
| Buildings | Creates a sense of place |
| Trees | Adds warmth and life |
Mixing in these elements makes your artwork more relatable. Remember, a street light in a quiet park feels different than one on a bustling avenue. Don’t be afraid to let your imagination shine like that light!
Common Mistakes and How to Avoid Them
Identify frequent errors beginners make when drawing street lights.. Offer solutions and tips for correcting these issues..
Beginners often make common mistakes while drawing street lights. These errors can make their drawings look odd. Here are solutions to help improve:
- Shape: Ensure the pole is straight and tall.
- Details: Add a bulb at the top for realism.
- Proportions: Keep the light smaller than the pole.
- Shadow: Add some shading to give depth.
With practice, these tips can help create better street light drawings!
What are some common mistakes to watch for?
Beginners often miss key details like proportions and shading. These mistakes can make street lights look unrealistic. Paying close attention to these parts helps a lot!
Advanced Techniques for Experienced Artists
Describe methods for creating more complex street light designs.. Discuss digital drawing techniques for illustrating street lights..
Making complex street light designs can be fun. Start with shapes. Layers help add depth. Try using curves and angles. You can also use details like patterns or textures for more style.
For digital drawing, tools can enhance your art. Use layers to separate parts of your light. Digital brushes can create shadows and highlights. Try these methods:
- Use a tablet to draw easily.
- Experiment with colors for realism.
- Utilize blending techniques for smooth effects.
How can I add details to street lights?
Add patterns or textures to make your design unique. Use a mix of shapes to keep it interesting.
Showcasing Your Artwork
Provide tips for displaying and sharing completed drawings.. Discuss avenues for feedback and engagement with the art community..
Once your street light drawing shines like a star, it’s time to show it off! You can display it at home, or share your masterpiece on social media. Friends and family will love to cheer you on. For feedback, join local art groups or online forums. Sharing your art can be like casting a spell; the more you share, the more art lovers appear!
| Where to Share Your Art | Why it’s Fun |
|---|---|
| Social Media | Get instant applause! |
| Art Exhibitions | Feel like a superstar! |
| Online Art Communities | Connect with fellow doodlers! |
Remember, every artist starts somewhere. So, keep on drawing, sharing, and laughing! Who knows? You might just create the next big trend in street lamp art!
Conclusion
In conclusion, learning how to draw a street light is fun and simple. Start with basic shapes like circles and rectangles. Add details like the bulb and pole. Practice makes perfect, so keep trying! You might even discover your own unique style. For more tips, check out drawing books or videos. Let’s get creative and draw together!
FAQs
What Are The Basic Shapes And Structures Needed To Sketch A Realistic Street Light?
To sketch a street light, start with a tall rectangle for the pole. Then, draw a smaller rectangle on top for the light fixture. Add a circle or oval at the top for the light bulb. Finally, include a flat base at the bottom to show where the pole stands. Use straight lines and simple shapes to keep it easy!
How Can Different Lighting Techniques Be Used To Enhance The Drawing Of A Street Light?
You can use different lighting techniques to make your street light drawing look better. First, add shadows by using dark colors where the light doesn’t reach. Then, use highlights to show where the light shines brightest. You can also create a warm glow around the street light with soft, bright colors. This way, your drawing will look alive and interesting!
What Materials Are Best For Drawing A Street Light, And How Do They Affect The Outcome?
To draw a street light, good materials include pencils, colored pencils, and markers. Pencils are great for sketching and making changes. Colored pencils make your picture bright and detailed. Markers are fun for bold colors and fast filling. Using different materials helps your drawing look interesting and unique!
How Can I Incorporate Surrounding Elements, Such As Buildings Or Trees, To Create Context In My Street Light Drawing?
To make your street light drawing look better, you can add buildings and trees around it. Draw a few tall trees on one side. You can sketch simple houses or shops nearby. This will help people see where the street light belongs. Don’t forget to add details, like leaves on the trees and windows on the buildings!
What Are Some Common Mistakes To Avoid When Drawing Street Lights, And How Can I Improve My Technique?
When drawing street lights, avoid drawing them too tall or too short compared to cars and people. Make sure the light is bright enough by adding some shine. Use straight lines for the pole and a solid base to keep it steady. You can practice by looking at real street lights and studying their shapes. Keep trying, and your drawings will get better!