Quick Summary: Extending a toilet flange is simpler than you think! You can raise a too-low flange using flange extenders or a new, taller flange. This prevents leaks and ensures a secure toilet installation. Just measure carefully, follow our easy steps, and you’ll have your toilet working perfectly in no time!
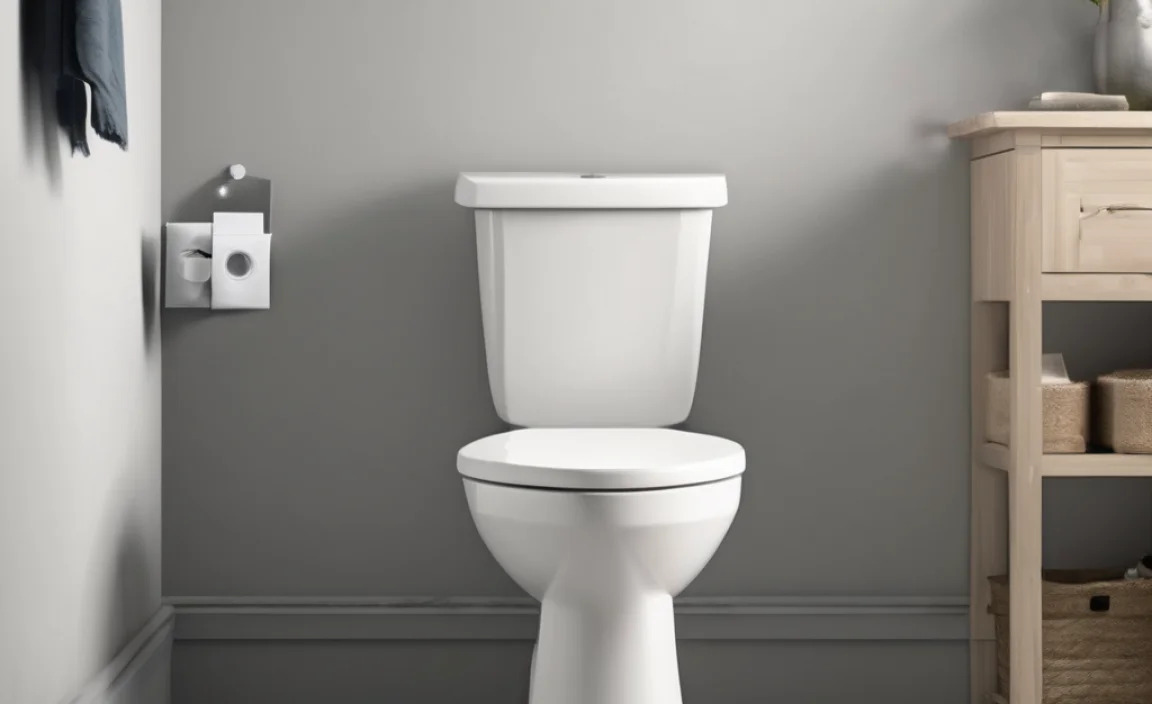
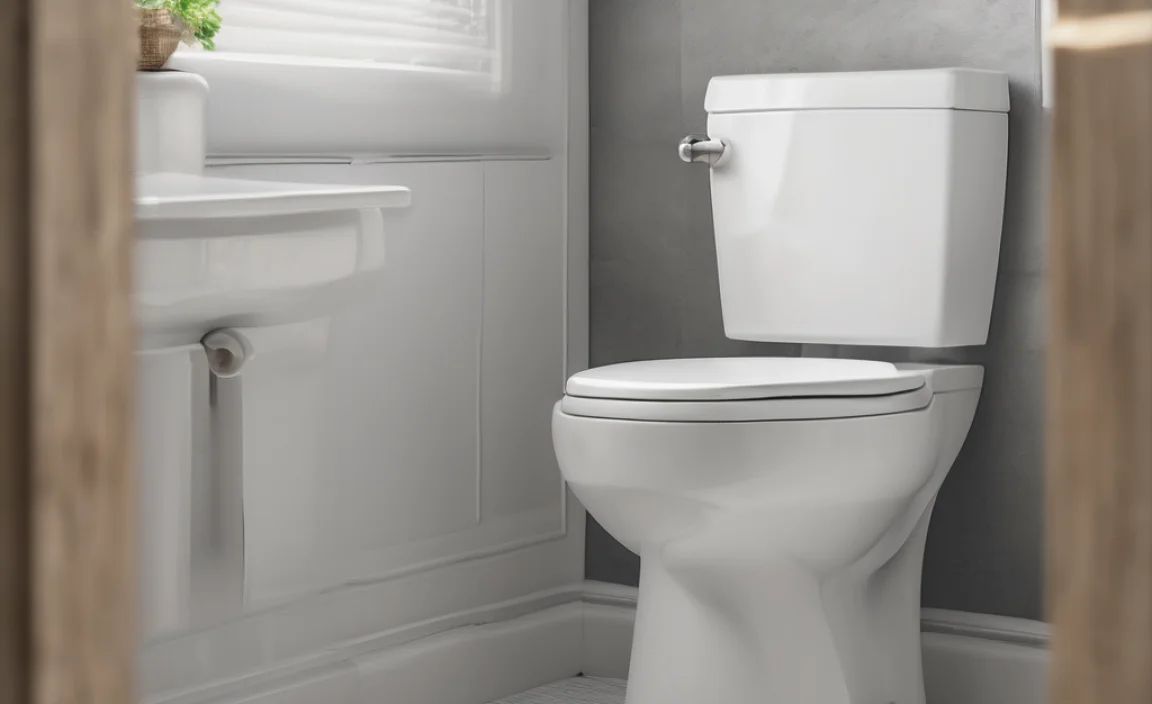
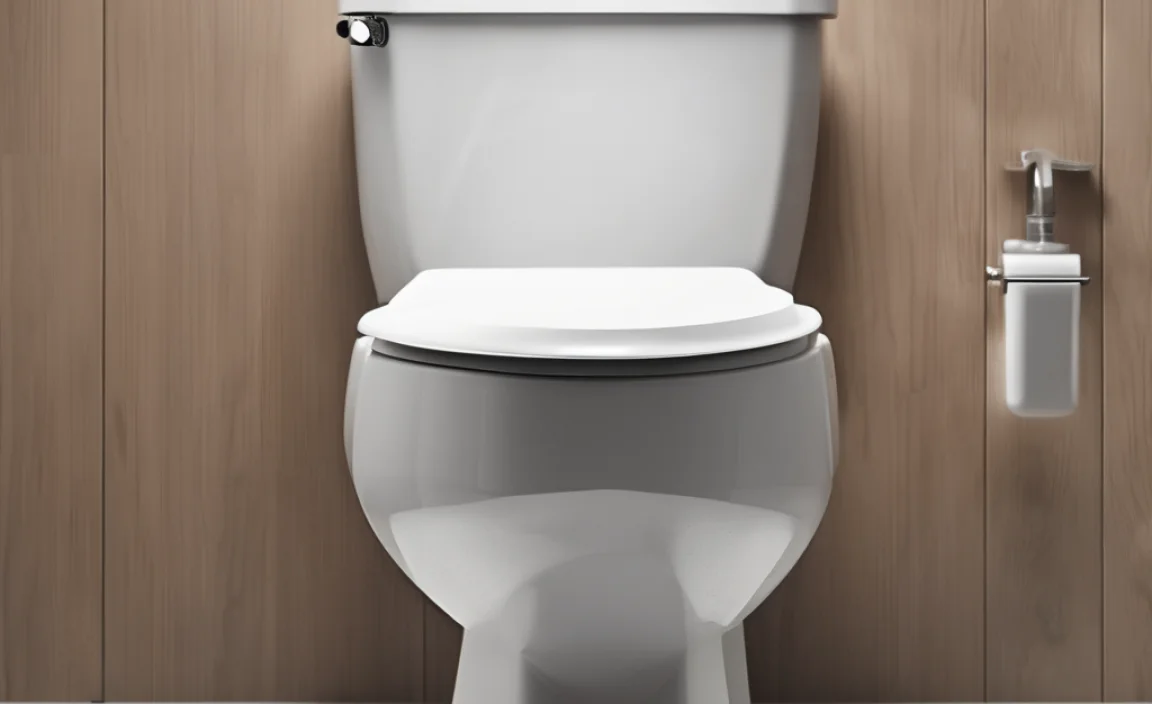
Is your toilet wobbly, or do you notice leaks around the base? A toilet flange that sits too low is often the culprit. Don’t worry; this is a common issue, and you don’t need to call a plumber! Extending a toilet flange might sound intimidating, but it’s a straightforward DIY project. We’ll walk you through each step with clear instructions, so you can confidently fix your flange and get your toilet back in top shape. Get ready to say goodbye to leaks and wobbles!
Why Extend a Toilet Flange?
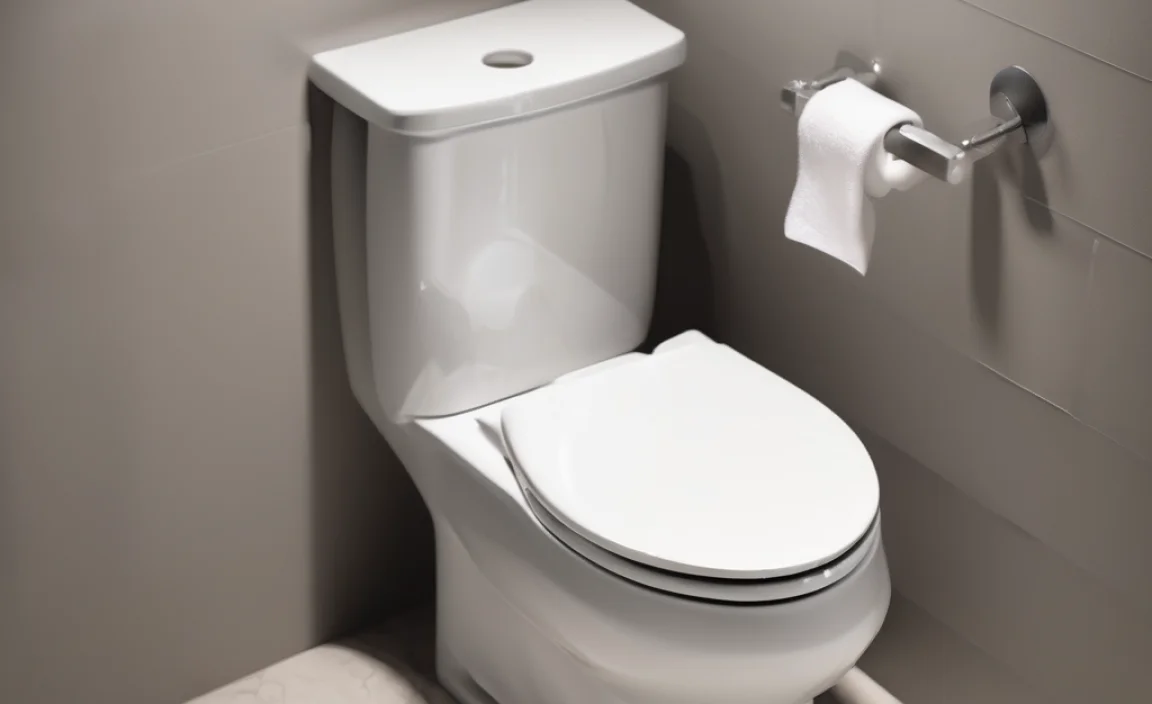
A toilet flange is a crucial part. It connects your toilet to the drainpipe in the floor. When the flange is level with the finished floor, everything works perfectly. But problems arise when:
- New Flooring: You install new, thicker flooring (like tile or stone). This can leave the flange sitting too low.
- Flange Damage: Old flanges can crack or break, needing repair or replacement.
- Improper Installation: Sometimes, the flange wasn’t installed correctly in the first place.
A too-low flange creates a gap between the toilet and the drainpipe, causing:
- Leaks: Water can seep out, damaging your floor and creating mold.
- Wobbly Toilet: The toilet won’t sit securely, making it uncomfortable and potentially dangerous.
- Sewer Gas: Unpleasant odors can escape into your bathroom.
Extending the flange solves these problems by creating a proper seal and stable base for your toilet.
Tools and Materials You’ll Need
Before you start, gather these essential tools and materials. Having everything on hand will make the job go smoothly.
- Toilet Flange Extender or Replacement Flange: Choose the right type for your situation (more on this below).
- Screwdriver: Both flathead and Phillips head may be needed.
- Wrench: To tighten bolts.
- Putty Knife or Scraper: For removing old wax rings.
- Tape Measure: Accuracy is key!
- Pencil or Marker: For marking measurements.
- New Wax Ring: Always replace the wax ring when reinstalling a toilet.
- Caulk (optional): For sealing around the base of the toilet.
- Gloves: To protect your hands.
- Safety Glasses: To protect your eyes.
- Old Rags or Towels: For cleanup.
Choosing the Right Extension Method

There are a few ways to extend a toilet flange. The best method depends on the extent of the problem and the existing flange material.
1. Toilet Flange Extender
A flange extender is a ring that sits on top of the existing flange, raising it to the correct height. This is a good option if your flange is in good condition but just needs a slight lift.
Pros:
- Easy to install
- Inexpensive
Cons:
- Only suitable for small extensions
- May not work with all types of flanges
2. Replacing the Entire Flange
If your existing flange is damaged or needs a significant height increase, replacing it is the best solution. This involves removing the old flange and installing a new one that is level with the finished floor.
Pros:
- Provides a more secure and reliable solution
- Allows for a greater height adjustment
Cons:
- More complex installation
- Requires more tools and materials
3. Adding a Flange Spacer
Flange spacers are simple rings that add a small amount of height. They are useful for very minor adjustments.
Pros:
- Simple and cheap
- Easy to install
Cons:
- Limited height adjustment
- Not suitable for damaged flanges
Step-by-Step Guide: Extending Your Toilet Flange
Now, let’s get to the actual process. Follow these steps carefully to extend your toilet flange and fix those annoying leaks and wobbles.
Step 1: Prepare the Area
Before you start any plumbing work, it’s essential to prepare the area.
- Turn off the water supply: Locate the shut-off valve behind the toilet and turn it clockwise until it’s completely closed.
- Flush the toilet: Hold the handle down to remove as much water as possible from the tank and bowl.
- Remove any remaining water: Use a sponge or small container to soak up any water left in the bowl and tank.
- Disconnect the water supply line: Use a wrench to disconnect the water supply line from the toilet tank. Have a bucket handy to catch any drips.
- Remove the toilet: Remove the caps covering the toilet bolts. Use a wrench to loosen and remove the bolts. Carefully lift the toilet straight up and off the flange. It’s best to have someone help you with this, as toilets can be heavy.
- Prepare the area: Stuff a rag into the drain opening to prevent sewer gases from escaping.
Step 2: Remove the Old Wax Ring
The old wax ring needs to be removed before you can proceed.
- Scrape off the old wax ring: Use a putty knife or scraper to carefully remove the old wax ring from the toilet flange and the bottom of the toilet.
- Clean the surfaces: Make sure the flange and the bottom of the toilet are clean and free of any wax residue.
Step 3: Assess the Existing Flange
Now, take a good look at your existing flange.
- Check for damage: Look for cracks, breaks, or corrosion. If the flange is severely damaged, you’ll need to replace it entirely.
- Determine the height: Use a ruler or measuring tape to measure the distance between the top of the flange and the finished floor. This will help you determine how much you need to extend it.
Step 4: Install the Toilet Flange Extender (If Applicable)
If you’re using a flange extender, follow these steps:
- Clean the existing flange: Make sure the top of the existing flange is clean and free of debris.
- Position the extender: Place the flange extender on top of the existing flange, aligning the bolt holes.
- Secure the extender: Use screws to secure the extender to the existing flange. Make sure the screws are tight, but don’t overtighten them.
Step 5: Replace the Entire Flange (If Applicable)
If you’re replacing the entire flange, follow these steps:
- Cut the old flange: Use a saw to cut the old flange off the drainpipe. Be careful not to damage the drainpipe.
- Clean the drainpipe: Clean the inside of the drainpipe to remove any debris or old adhesive.
- Dry Fit the new flange: Place the new flange over the drainpipe and check the fit. The top of the flange should be level with the finished floor.
- Apply PVC Primer and Cement: Apply PVC primer to the outside of the drainpipe and the inside of the new flange. Then, apply PVC cement to both surfaces.
- Install the new flange: Quickly slide the new flange over the drainpipe and twist it slightly to ensure a good seal. Hold it in place for a few seconds until the cement sets.
- Secure the flange to the floor: Use screws to secure the flange to the floor.
| Step | Action | Notes |
|---|---|---|
| 1 | Turn off Water | Essential for safety and preventing leaks. |
| 2 | Remove Toilet | Handle carefully; toilets can be heavy. |
| 3 | Assess Flange | Check for damage; decide on extension method. |
| 4 | Install Extender/Flange | Follow specific instructions for your chosen method. |
| 5 | Reinstall Toilet | Ensure proper alignment and a new wax ring. |
Step 6: Reinstall the Toilet
Now it’s time to put the toilet back in place.
- Install a new wax ring: Place a new wax ring on the bottom of the toilet, around the flange opening.
- Position the toilet: Carefully lower the toilet onto the flange, aligning the bolt holes.
- Secure the toilet: Insert the toilet bolts through the holes and tighten the nuts. Don’t overtighten them, as this could crack the porcelain.
- Connect the water supply line: Reconnect the water supply line to the toilet tank.
- Turn on the water supply: Slowly turn the water supply valve counterclockwise to turn the water back on.
- Check for leaks: Flush the toilet a few times and check for leaks around the base and the water supply line.
Step 7: Seal the Base (Optional)
For an extra layer of protection, you can seal the base of the toilet with caulk.
- Apply caulk: Apply a bead of caulk around the base of the toilet, where it meets the floor.
- Smooth the caulk: Use your finger or a caulk smoothing tool to smooth the caulk and create a clean, watertight seal.
Troubleshooting Tips
Sometimes, things don’t go exactly as planned. Here are some common issues and how to solve them.
- Toilet Still Wobbles: Make sure the toilet bolts are tightened evenly. If the floor is uneven, you may need to use shims to stabilize the toilet.
- Leaks Persist: Double-check the wax ring. It may not be seated properly, or it may be the wrong size. Also, inspect the water supply line connections.
- Difficulty Removing Old Flange: Use a penetrating oil to loosen any corroded screws or bolts.
Safety First!
Plumbing projects can be messy and potentially hazardous. Always follow these safety precautions:
- Wear gloves: Protect your hands from bacteria and chemicals.
- Wear safety glasses: Prevent debris from getting into your eyes.
- Turn off the water supply: This is crucial to prevent flooding.
- Be careful when lifting the toilet: Toilets are heavy and can cause back injuries. Get help if needed.
| Safety Precaution | Why It’s Important |
|---|---|
| Wear Gloves | Protects hands from bacteria and chemicals. |
| Wear Safety Glasses | Prevents debris from entering eyes. |
| Turn off Water | Prevents flooding and water damage. |
| Careful Lifting | Avoids back injuries due to heavy toilet weight. |
Cost Considerations
Extending a toilet flange is a relatively inexpensive DIY project. Here’s a breakdown of potential costs:
- Toilet Flange Extender: $10 – $30
- Replacement Toilet Flange: $20 – $50
- Wax Ring: $5 – $10
- Caulk: $5 – $10
- Tools (if needed): $0 – $50 (depending on what you already own)
Compared to hiring a plumber, which can cost $100 – $300 or more, doing it yourself can save you a significant amount of money.
FAQ: Extending Toilet Flange
1. Can I extend a toilet flange myself?
Yes, most homeowners can extend a toilet flange themselves with basic tools and a little patience. Just follow our step-by-step guide!
2. What if my toilet flange is severely damaged?
If your flange is severely cracked or corroded, it’s best to replace it entirely. This provides a more secure and reliable solution.
3. How do I know if my toilet flange needs to be extended?
If your toilet wobbles, leaks around the base, or sits lower than the surrounding floor, your flange probably needs to be extended.
4. What type of flange extender should I use?
Choose a flange extender that is compatible with your existing flange material and provides the necessary height adjustment. PVC extenders are common and easy to use.
5. Do I need to replace the wax ring every time I remove the toilet?
Yes, always use a new wax ring when reinstalling a toilet. Old wax rings can lose their seal and cause leaks.
6. What if I overtighten the toilet bolts?
Overtightening the toilet bolts can crack the porcelain. Tighten them snugly, but not excessively.
7. Can I use shims to level the toilet if the floor is uneven?
Yes, shims can be used to level the toilet if the floor is uneven. Place them between the toilet and the floor, and then trim off any excess.
Conclusion
Extending a toilet flange is a manageable DIY project that can save you money and prevent headaches down the road. By following our step-by-step guide, you can confidently tackle this task and ensure your toilet is secure, leak-free, and functioning perfectly. Remember to take your time, be careful, and don’t hesitate to ask for help if you need it. With a little effort, you’ll have your bathroom back in top shape in no time!